
Pulse 7 - Graphic tablet Vulcan - Free user manual and instructions
Find the device manual for free Pulse 7 Vulcan in PDF.


| Product Type | 7-inch Android Tablet |
| Dimension | Approx. 190 x 110 x 10 mm (estimated) |
| Weight | Approx. 300 g (estimated) |
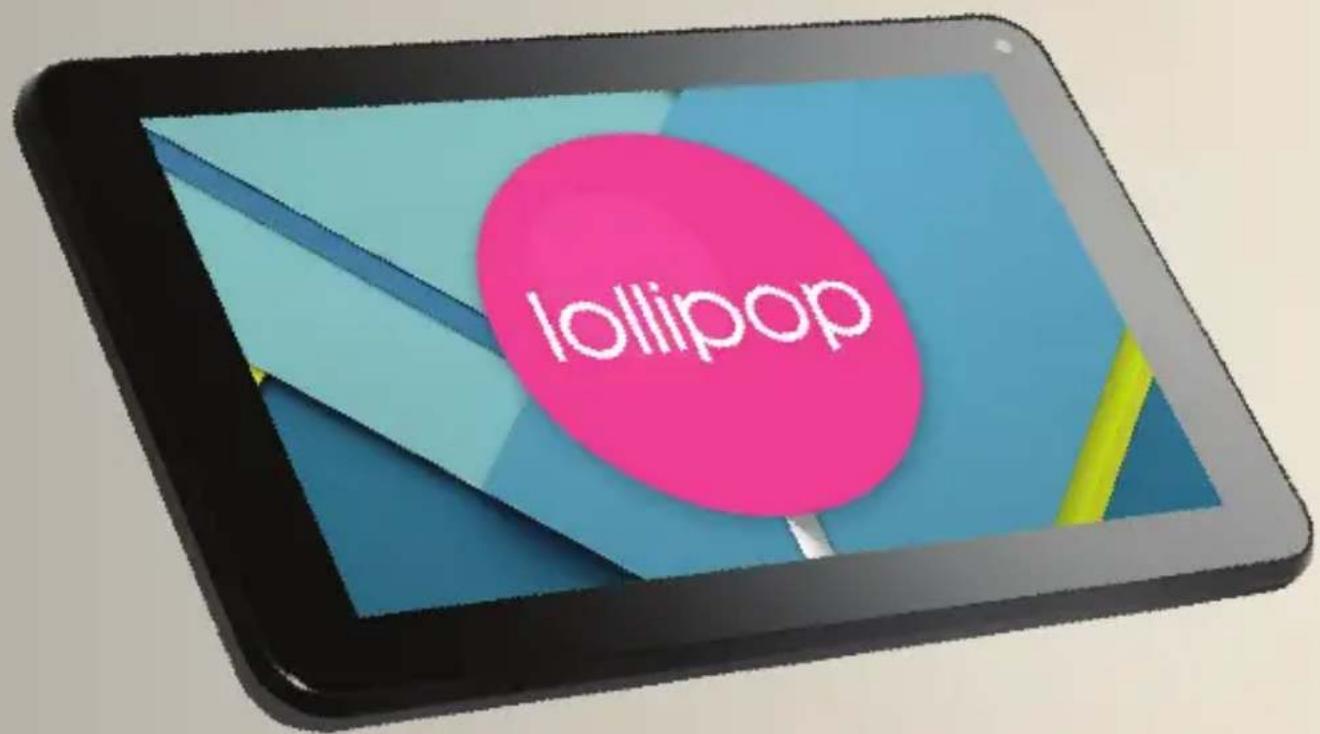
| Operating System | Android 5.1 Lollipop |
| Processor | RK3126 Quad-Core Cortex A7 @ 1.3 GHz |
| RAM | 1 GB |
| Storage | 8 GB or 16 GB (expandable via microSD up to 32 GB) |
| Display | 7" TFT LCD, 1024 x 600 pixels |
| Camera | Front 2 MP, Rear 2 MP or 5 MP |
| Wi-Fi | 802.11 b/g/n |
| Battery | Li-ion 3.7 V 2500 mAh |
| Battery Life | Up to 3 hours |
| Input Voltage | DC 5 V via micro USB |
| Memory Card Slot | MicroSD, up to 32 GB |
| Audio Jack | 3.5 mm headphone jack |
| Cleaning | Use a dry cloth; do not use liquid cleaners |
| Safety | Keep away from water, heat, and dust; unplug during storms |
| Repairability | Battery not user-replaceable; contact support for service |
| Warranty | Standard manufacturer warranty (details in warranty card) |
| Package Contents | Tablet, Charger, User Manual, Warranty Card |
Frequently Asked Questions - Pulse 7 Vulcan
User questions about Pulse 7 Vulcan
0 question about this device. Answer the ones you know or ask your own.
Ask a new question about this device
Download the instructions for your Graphic tablet in PDF format for free! Find your manual Pulse 7 - Vulcan and take your electronic device back in hand. On this page are published all the documents necessary for the use of your device. Pulse 7 by Vulcan.
USER MANUAL Pulse 7 Vulcan
natural_image
Abstract blue bar chart icon on white background (no text or symbols)PULSE7
7" Android Tablet
MANUAL DE USUARIO
Thank you for choosing the Vulcan Electornics, Inc.. This device is designed to provide distinct and different experiences for both study and entertainment.
This manual will introduce the main function, operation method and other information. Please read this manual carefully before using the device. This user guide describes features that are common to most models.
Package Contents
Please check carefully for the following items inside the package. If anything is missing or appears to be damaged, please visit the manufacturer's website at www.VulcanElectornics.com.
-Tablet
-Charger
-User Manual
-Warranty Card
Product Specifications
CPU RK3126, Cortex A7 Quad Core 1.3 Ghz
Operation System Android 5.1
Internal Memory 1GB
Storage 8GB or 16GB
Display 7" 1024x600
Memory Card Micro SD (Support 32GB max)
Camera Front 2MP/Back 2MP or 5MMP
Wifi 802.11b/g/n
Lithium Battery 3.7V/2500mAh
Working time 3 hours
IMPORTANT SAFETY INSTRUCTIONS
Before using the unit, be sure to read all operating instructions carefully. Please note that these are general precautions and may not pertain to your unit. For example, this unit may not have the capability to be connected to an outdoor antenna.
1) Read these instructions.
All the safety and operating instructions should be read before the product is operated.
2) Keep these instructions.
The safety and operating instructions should be retained for future reference.
3) Heed all warnings.
All warnings on the product and in the operating instructions should be adhered to.
4) Follow all instructions.
All operating and use instructions should be followed.
5) Do not use this apparatus near water.
Do not use this product near water and moisture, for example: near a bathtub, washbowl, kitchen sink or laundry tub; in a wet basement: or near a swimming pool.
6) Clean only with dry cloth.
Unplug this product from the wall outlet before cleaning. Do not use liquid cleaners or aerosol cleaners. Use a dry cloth for cleaning.
7) Do not block any ventilation openings. Install in accordance with the manufacturer's instructions.
Slots and openings in the cabinet and in the back or bottom are provided for ventilation, to ensure reliable operation of the product and to protect it from overheating. These openings must not be blocked or covered. The openings should never be blocked by placing the product on a bed, sofa, rug or other similar surface. This product should never be placed near or over a radiator or heat source. This product should not be placed in a built-in installation such as a bookcase or rack unless proper ventilation is provided or the manufacturer's instructions have been adhered to.
8) Do not install near any heat sources such as radiators, heat registers, stoves, or other apparatus (including amplifiers) that produce heat.
9) Do not defeat the safety purpose of the polarized or grounding-type plug. A polarized plug has two blades with one wider than the other. A grounding type plug has two blades and a third grounding prong. The wide blade or the third prong are provided for your safety. If the provided plug does not fit into your outlet, consult an electrician for replacement of the obsolete outlet.
10) Protect the power cord from being walked on or pinched particularly at plugs, convenience receptacles, and the point where they exit from the apparatus.
11) Only use attachments/accessories specified by the manufacturer.
IMPORTANT SAFETY INSTRUCTIONS
12) Use only with the cart, stand, tripod, bracket, or table specified by the manufacturer, or sold with the apparatus. When a cart is used, use caution when moving the cart/apparatus combination to avoid injury form tip-over.
An appliance and cart combination should be moved with care. Quick stop, excessive force and uneven surfaces may cause the appliance and cart combination to overturn.

13) Unplug this apparatus during lightning storms or when unused for long periods of time.
To protect your product from a lightning storm, or when it is left unattended and unused for long periods of time, unplug it from the wall outlet and disconnect the antenna or cable system. This will prevent damage to the product due to lightning and power-line surges
14) Refer all servicing to qualified service personnel. Servicing is required when the apparatus has been damaged in any way, such as power-supply cord or plug is damaged, liquid has been spilled or objects have fallen into the apparatus, the apparatus has been exposed to rain or moisture does not operate normally, or has been dropped.
15) Power source.
This product should be operated only from the type of power source indicated on the marking label. If you are not sure of the type of power supply to your home, consult your appliance dealer or local power company. For products intended to operate from battery power, or other source, refer to the operation instructions.
16) Overloading.
Do not overload wall outlets and extension cords as this can result in a risk of fire or electric shock.
17) Object and liquid entry.
Never push objects of any kind into they product through openings as they nay touch dangerous voltage points or short parts that could result in fire or electric shock. Never spill or spray any type of liquid on the product.
18) Service
Do not attempt to service this product yourself as opening or removing covers may expose you to dangerous voltage or other hazards. Refer all servicing to qualified service personnel.
19) Replacement parts.
When replacement parts are required, be sure the service technician uses replacement parts specified by the manufacturer or those that have the same characteristics as the original parts.
Unauthorized substitutions may result in fire or electric shock or other hazards.
IMPORTANT SAFETY INSTRUCTIONS
20) Safety check.
Upon completion of any service or repairs to this product, ask the service technician to perform safety check to determine that the product is in proper operation condition.
21) Wall or ceiling mounting.
The product should be mounted to a wall or ceiling only as recommended by the manufacturer.
22) Damage requiring service.
Unplug this product from the wall outlet and refer service to qualified service personnel under the following conditions.
a) When the power-supply cord or plug is damaged.
b) If liquid has been spilled or objects have fallen into the product.
c) If the product has been exposed to rain or water.
d) If the product does not operate normally by following the operating instructions.
Adjust only those controls that are covered by the operating instructions, as an adjustment of other controls may result in damage and will and require extensive work by a qualified technician to restore in the product to its normal operation.
e) If the product has been dropped or the cabinet has been damaged.
f) When the product exhibits a distinct change in performance-this indicates a need for service.
IMPORTANT SAFETY INSTRUCTIONS
This manual contains important safety precautions and information for correct usage.
Please be sure to read this manual carefully before use to avoid any damage to the device.
- Do not place the product in hot, wet or dusty environments.
- Do not place the product in hot environments. Especially in summer, do not place a car with all the windows closed or in the sun.
- Avoid dropping or smashing the product and do not shake the TFT screen excessively as it may cause image or abnormal display screen.
- Select a suitable volume and avoid loud sound while using headphone/earphones.
- Turn down the volume or stop using the product if your ears start hurting or ringing.
- In the following situations, please charge the product:
A. The device shows on the bottom right corner.
B. System automatically shuts down, and it turns off soon after restart.
C. Operation buttons do not work properly.
D. The unit will not turn on.
Note: Chargers of other models cannot be used for this device because they may cause damage to the device that will void the warranty. Please contact our customer service department if you need a replacement charger.
- Do not disconnect the device while formatting, downloading and/or uploading; otherwise, application errors may occur.
- We are not responsible for any memory erasure or loss caused by damage or product maintenance, or other personal reasons.
- Do not disassemble the product, and avoid cleaning the product with ethyl alcohol, thinner, or benzene.
- Do not use this product in areas which prohibit the use of electronic devices, for example, in an airplane.
- Do not use this product while driving or walking in the street, as it may cause a car accident.
Notes:
This device is not waterproof.
All images in this manual are for reference only. Specifications and appearance of the product and the screens subject to change without prior notice.
Front Appearance


Battery Recharge
The device has Recharging the Battery a built-in DC = 5V,2500 mAh rechargeable Lithiumion Polymer batteries. Recharge as follows:
Insert the small plug from the supplied USB connection cable to micro USB jack on the device.
Insert the other end to the USB on the AC/USB Adaptor. Plug the AC/USB Adapter into the wall outlet having AC 100-240V\~, 50/60 Hz.

Please note the DC Jack and the microUSB cannot be plugged in at the same time, it may damage the tablet
This power unit is intended to be in a horizontal position.
Notes: Your battery will last longer if you follow these simple guidelines for caring for and storing it.
A. For charging the first time, charge the device approximately 10 hours. For normal charging, the device needs approximately a 4 hour charge.
B. Recharge and store the device within the temperature range of 5^ C\~ 35^ C ( 40^ F\~ 95^ F).
C. Do not overcharge (longer than 24 hours). Excessive charging or running the unit until battery goes empty will damage battery. Battery life will be extended if you keep the battery fully charge.
D. Battery life naturally shortens slowly over time.
E. The rechargeable battery incorporated into this product is not user replaceable.
Micro SD card
This device supports an Micro SD Card (Card not included).
To increase memory size, insert an Micro SD card into the card slot on the side of unit as the figure below:

Notes:
A. Insert the card (Up to 32GB, not included) into the card slot on left side of unit with metal chip face down.
B. To take out the card, press the card until a "Press sound" is heard then pull out the card.
C. Before replacing the storage card, make sure the unit has been powered off.
D. When inserting the storage card, make sure the direction you select is correct.
Never insert violently to avoid damaging the card or the unit. If the storage card doesn't work, please check if the direction is correct.
E. When the card is used for the first time, or it has been used in another device, please format it first through the Computer. You also need to download the desired music, photos and/or movie onto the card before installing into the unit.
Important: Formatting the Micro SD Card will delete all the data on the card. Download the data to your computer before formatting the card.
Power on/off the Device
A. Press and hold the Power ⏻ On/Off button beside the keyboard to power on the unit.
B. To save power of battery. Press the Power On/Off button or (Sleep) button to turn off the screen. Press it again to turn the unit on.
C. To power off the device, press and hold the Power On/Off button until the subsetting menu appears on the screen. Slide to the Power off button "Power off" menu will appear, select "OK" button.
Notes:
Like your computer, after turning on the Device, you may have to wait a short while to let the operating system boot up before the home page appears on the screen.
Connect to PC
How to connect Device to PC
A. Connect the Device to the PC via the Mini USB port on the side of cabinet to the USB port on your PC by the supplied connection cable.
B. Then the "Media Transfer Protocol (MTP)" will appear on the right-lower corner of the screen.

Earphone/Headphone jack
For private listening, connect an Earphone/Headphone to the Headphone jack on the left side of cabinet. The speaker will cut off automatically (Earphone /Headphone not included).
Getting Started
On home page, press the " button on the upper-right corner, the following picture will appear on the screen. Press the Settings ( ) button on the screen, the setting menu will appear on the screen, then:

Press on the screen and move Left of Right (Up or down) to show more selections. Press the corresponding button you need to set. The sub-setting menu will appear on the screen, follow on screen instructions.
WIRELESS & NETWORKS
To browse the web; connecting to apps store, use e-mail, Facebook, Twitter...you must connect this unit to internet by Wi-Fi as below:
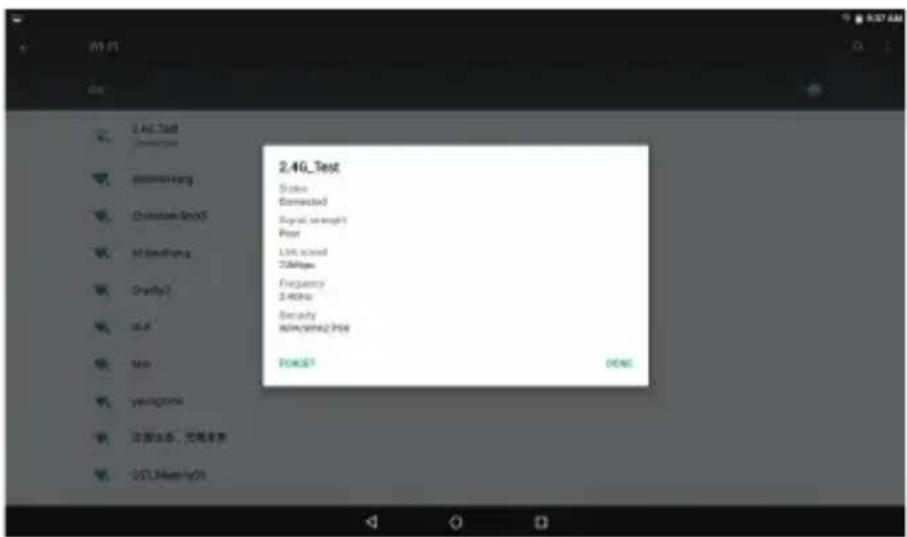
- Press the Wi-Fi "OFF" button then slide it to the right to turn Wi-Fi ON, wait a few seconds, the available Wi-Fi networks will appear.
- Press the desired network to start connection as on screen instructions.(Maybe ask for password).
NOTE: After setting, you can turn it ON or OFF by press the ( )widget on the screen.
The device automatically scans and lists all local Wi-Fi Network found. This icon 🔒 indicates secure networks that require login name/password to connect.
Press the desired network which you want to connect, → enter the Network Password if applicable, → Press Connect.
Press ↩ to return to the previous screen.
If your Wi-Fi network is set as hidden, it won't be found by the auto scan. Press "+" and follow the prompts to add your network.

DISPLAY
Brightness: To adjust the screen brightness by moving the scaling bar.
Wallpaper: To choose and set the wallpaper screen.
Sleep: To enable sleep mode and select time to sleep while not in operation.
Font size: To adjust the dispaly Font Size.
Status Bar

• The Status Bar lies at the bottom of the screen.
- At the left side there are
- Below are some advises on how to operate the operation zone.
- By pressing the icon, you can get back to the previous screen.
- By pressing the icon, you can get back to the homepage wherever interface you are in.
- By pressing the icon, a window popup which shows the latest apps in operation.
- By pressing the icon, conceal the Status Bar on the bottom of the screen.
At the right side there are
- The 00:42 icon for Time.
- The 00:42 icon for sound level, press it to adjust sound level by moving the scaling bar.
• The 00:42 icon for screenshot. - The 00:42 icon for WIFI status.
- The 00:42 icon for Show battery status.
- In the main menu interface, you can open and operate any app by pressing on the icons to run applications such as Files Browser, Browser, My Music, as well as during web browsing or PDF viewing, you can drag the menu, by pressing the navigation keys (Up, down, left, right arrows), to scrolling up and down the page as well as to enable the page to move different directions respectively.
Clock
Press the

Clock application icon, You an see the time and date.
Alarm
You can use your device as an alarm clock by setting multiple alarms.
This clock 🔒 icon displayed at the LEFT bottom of screen, press to see one or more alarms have been set and are active.
Add Alarm
Press the clock application icon.
Press to setup alarm → Press. to add alarm.
Set up your alarm as desired (Input alarm time, touch "OK"
Delete Alarm
Press the Clock application icon.
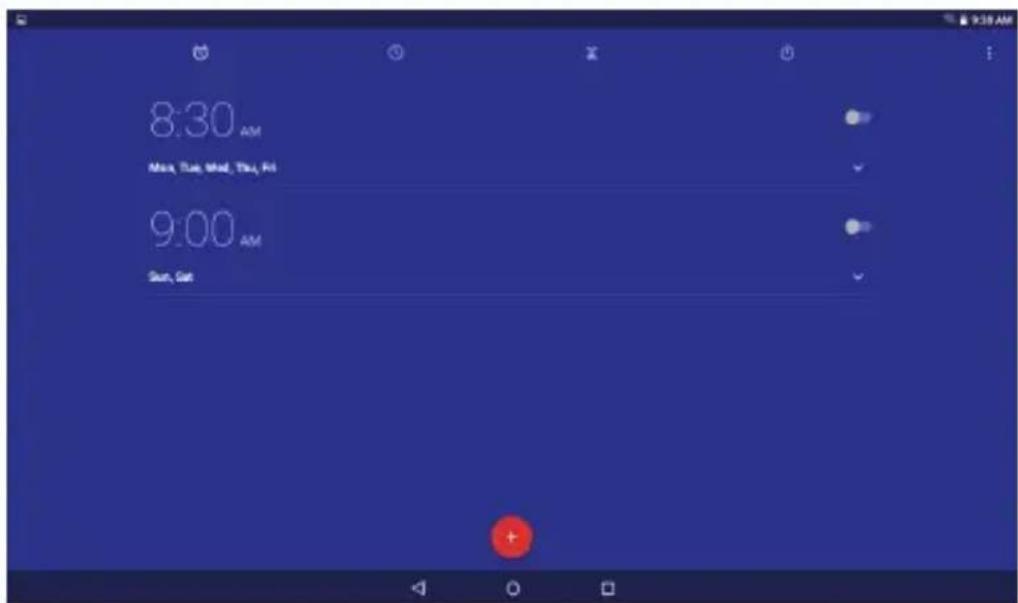
Press 📞 icon to see one or more alarms have been set.
CALENDAR
Press the

Calendar applicationicon.

For the first time using the Calendar, you need to add a Gmail™ account. Enter Gmail™ address and password. Press "Next" and follow the prompts to complete the account configuration. Then you can use the Calendar. (Note: In Account Setup screen, manual change the server for www.google.com)
Add Event
On the Calendar screen, press on the date to which you want to add an event. Press on the event time, → press in each entry field to enter the desired event information.
Press Done.
Inside the apps menu, press the icon M to enter the "Email" client. It's required to configure the account information for the first time. Pre-register and set up your email account is necessary. Please be advised that Email account registration is necessary in order to access services provided by Android.

Press the Web Devices File Browser application icon to view the files on all storage devices (Local Disk, Micro SD card, USB device), and to quickly & easily install Android application on your Tablet.
Use the icons across the top of the screen as follows:

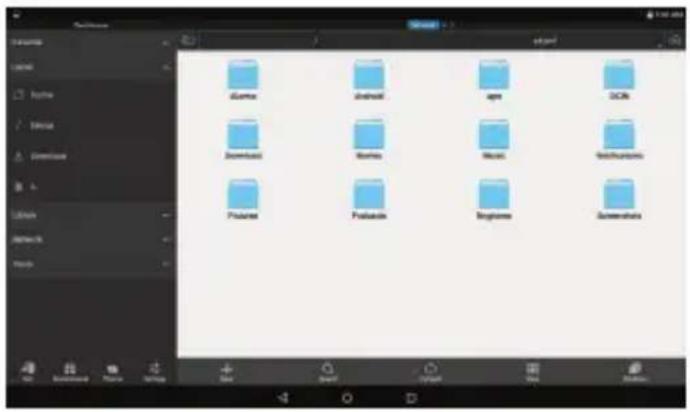
Press the "Local" choose storage devices (SD = Micro SD, USB) to display the contents of your storage device.
Press and hold in the folder/file you want to copy (Supports multiple folder/file selection)
Press COPY

Choose storage devices (Local)
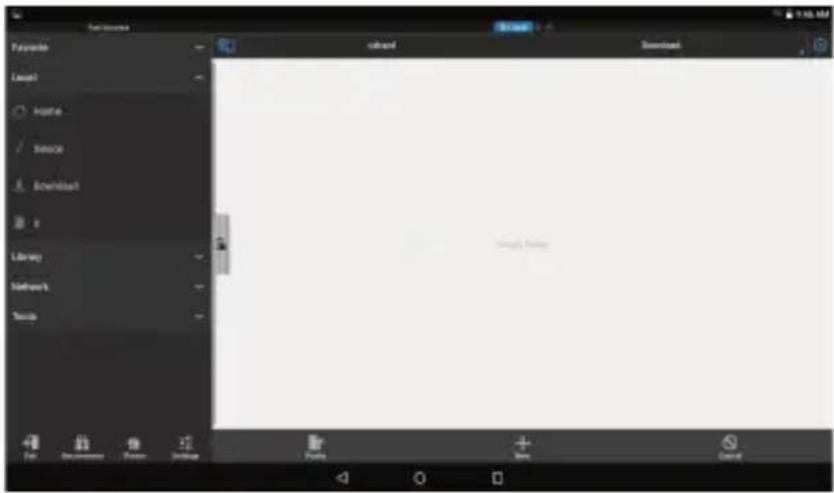
Press on the Local.--Select the folder which you want to copy the file. Press Paste

Android
Q: What Android OS version is on my Device?
A: Android 5.1
Basic Device Functionary
Q: Do I have to charge the battery before use?
A: You should charge the battery for at least 4 hours, but you can use the device while it's charging. Use the included power adapter to charge; this device charge via USB cable.
Q: Can I use any of my personal email addresses to send/receive email?
A: The device supports POP3 and SMTP accounts. Some free email accounts are not supported on mobile devices. Check with your email provider to see if your account is supported.
Media Cards
Q: Which media cards are compatible with my Device?
A: Micro SD cards.
Music
Q: How do I add music files to my device?
A: Copy the music files from your computer onto a micro SD card or USB storage device, and then use the File Browser application to copy the files into the device.
Photos
Q: How do I add photo files to my device?
A: Copy the photo files from your computer onto a micro SD card or USB storage
device, and then use the File Browser application to copy the files into the device.
Video
Q: Can I play YouTube TM videos on my device?
A: Yes. You can press the YouTube TM application icon to quick access videos.
Q: How do I add video files to my device?
A: Copy the video files from your computer onto a micro SD card or USB storage device, and then use the File Browser application to copy the files into the device.
Wi-Fi
Q: Do I need a Wi-Fi adapter to connect to the Internet?
A: No. The Wi-Fi adapter is built-in to the device.
Storage:
Q: How do I turn the device into a USB storage device?
A: Connect the device using included USB cable with the PC, immediately a screen will display on the screen, Press "Turn on USB storage" to connect the device with the PC.
Cannot power on the device.
Connect the supplied AC/USB Adaptor. (During recharging, the device can work normally.
Cannot go online.
Check if your Wi-Fi setting is correct, proper password may be needed.
Check if your router is working properly.
Check your signal bar on the Device. It may not be connected due to weak Wi-Fi signal.
Earphones do not transmit sound.
Earphone volume is poor.
Try another music file.
Screen is flashing after power on is performed.
Short of power, please charge the battery.
How to buy/download the applications from the internet.
Make sure your device is already hooked up to Wi-Fi/ networks. Press Google Play icon on the home page. Search, Buy, Download and Install the desired applications by following the on screen instruction.
Warning: Personal details and Credit Card information may be required, please stay Alert!
Media files can't be found:
If new files were added onto the device; press the "File Browser" icon on the APPS menu to search.
Use correct Apps to open corresponding media files. Press "Gallery" to view photos.
Press "Play Music" to play music.
How to enter the Settings menu while applications/programs are running.
After turning on the application/program, Press the Option button where is normally listed on the bottom of the screen to enter settings menu. Set each setting as instructed by the on screen instructions (functions depend on the software of the applications).
Cannot hook up with Wi-Fi or the Wi-Fi signal is weak.
Make sure Wi-Fi is available in your location and you are authorized (with correct password) to hook up it.
The device may be too far from the signal source. Move your device closer to the signal source.
How to remove personal data/email accounts from the device:
In the settings menu, select and enter "Backup & reset" setting.
Press "Factory data reset" button to enter.
Press "Reset device" button.
Press "Erase everything" button to start reset. Wait until the device finishes resetting by itself.
The device will turn off automatically. (It may need a few minutes).
IMPORTANT:
After Factory Data reset, all users' data (users installed applications, passwords, e-mail accounts, Gmail accounts, media files etc...) will be deleted. Backup this data before resetting.
Vulcan Electornics, Inc.
All Rights Reserved
Android, Google and other marks are trademarks of Google Inc.
The information contained herein is subject to change without notice. The only warranties for Connect and services are set forth in the express warranty statements accompanying such products and services.
Nothing herein should be construed as constituting an additional warranty. Connect shall not be liable for technical or editorial errors or omissions contained herein.
First Edition: May 2016
For sales inquiry (US & Worldwide)
Email: sales@vulcanelectronics.com
For technical support, please contact Vulcan Electornics, Inc.
U.S. and Worldwide
Toll Free Number: 1-855-280-3895
Monday - Friday 8:00 am - 5:00 pm PST
Email: support@vulcanelectronics.com
Mexico (Spanish)
Toll Free Number: 1-800-639-5535
Monday - Friday 8:00 am - 5:00 pm PST
Email: soporte@vulcanelectronics.com

natural_image
Abstract blue bar chart icon on gray background (no text or symbols)PULSE7
7" Android Tablet
USER MANUAL

CPU RK3126, Cortex A7 Quad Core 1.3 Ghz
Sistema Operativo Android 5.1
Memoria Interna 1GB
Auriculares
Vulcan Electornics, Inc.
All Rights Reserved


- PULSE7
- MANUAL DE USUARIO
- Package Contents
- Product Specifications
- IMPORTANT SAFETY INSTRUCTIONS
- 20) Safety check.
- 21) Wall or ceiling mounting.
- 22) Damage requiring service.
- Notes:
- Front Appearance
- Battery Recharge
- Micro SD card
- Power on/off the Device
- Connect to PC
- How to connect Device to PC
- Earphone/Headphone jack
- Getting Started
- WIRELESS & NETWORKS
- DISPLAY
- Status Bar
- Clock
- Alarm
- Add Alarm
- Delete Alarm
- CALENDAR
- Add Event
- Choose storage devices (Local)
- Android
- Basic Device Functionary
- Media Cards
- Music
- Photos
- Video
- Wi-Fi
- Storage:
- Cannot power on the device.
- Cannot go online.
- Earphones do not transmit sound.
- Screen is flashing after power on is performed.
- How to buy/download the applications from the internet.
- Media files can't be found:
- How to enter the Settings menu while applications/programs are running.
- Cannot hook up with Wi-Fi or the Wi-Fi signal is weak.
- How to remove personal data/email accounts from the device:
- IMPORTANT:
- For sales inquiry (US & Worldwide)
- U.S. and Worldwide
- Mexico (Spanish)
- USER MANUAL
- Auriculares
Brand : Vulcan
Model : Pulse 7
Category : Graphic tablet