Atom 500 - Hi-Fi System Vaxis - Free user manual and instructions
Find the device manual for free Atom 500 Vaxis in PDF.


User questions about Atom 500 Vaxis
0 question about this device. Answer the ones you know or ask your own.
Ask a new question about this device
Download the instructions for your Hi-Fi System in PDF format for free! Find your manual Atom 500 - Vaxis and take your electronic device back in hand. On this page are published all the documents necessary for the use of your device. Atom 500 by Vaxis.
USER MANUAL Atom 500 Vaxis
Wireless Video System
Instructions
VAXIS · ATOM 500
Wireless Video System
To Our Vaxis Customers:
Thank you for your recent purchase of the Vaxis Atom 500. We created this product with you in mind and hope you will find the Atom 500 useful.
Features
- 500 feet transmission system
- <0.1s latency
• Enclosed Antenna Design
• HDMI input and output
- Support USB-C voltage input
- iOS & Android App support
- Support smart option
• Future Firmware Upgrades via USB
- Smart fan
- OLED display screen
• Stable & Reliable industrial metal
housing
Applications
- Indie filmmaking
• Live broadcasting
• Sports
• Educational videography
• Wedding videography
• Corporate / event videography
Packing list
text_image
vaxis COLD BIND ATOMATO1
text_image
WARKS MOLI 0.05 MOLI MOLI 0.05 MOLI2
text_image
Instructions3
natural_image
Pure mechanical component diagram without any text, numbers, or symbols●

●
natural_image
Simple line drawing of a USB cable with two connectors (no text or symbols)6

7
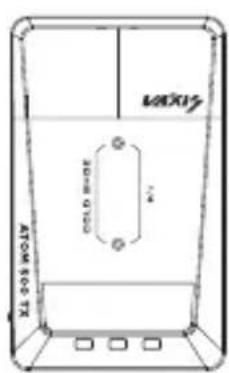
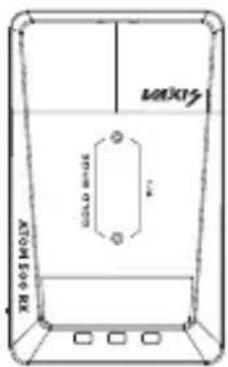
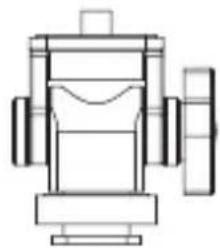
1 Transmitter*1 Receiver*1 User Manual Expansion accessory
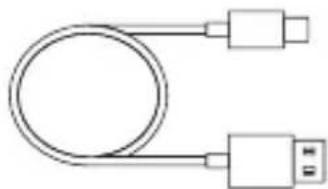
5 Cold shoe mount 6 USB Type-C cable h7agon spanner
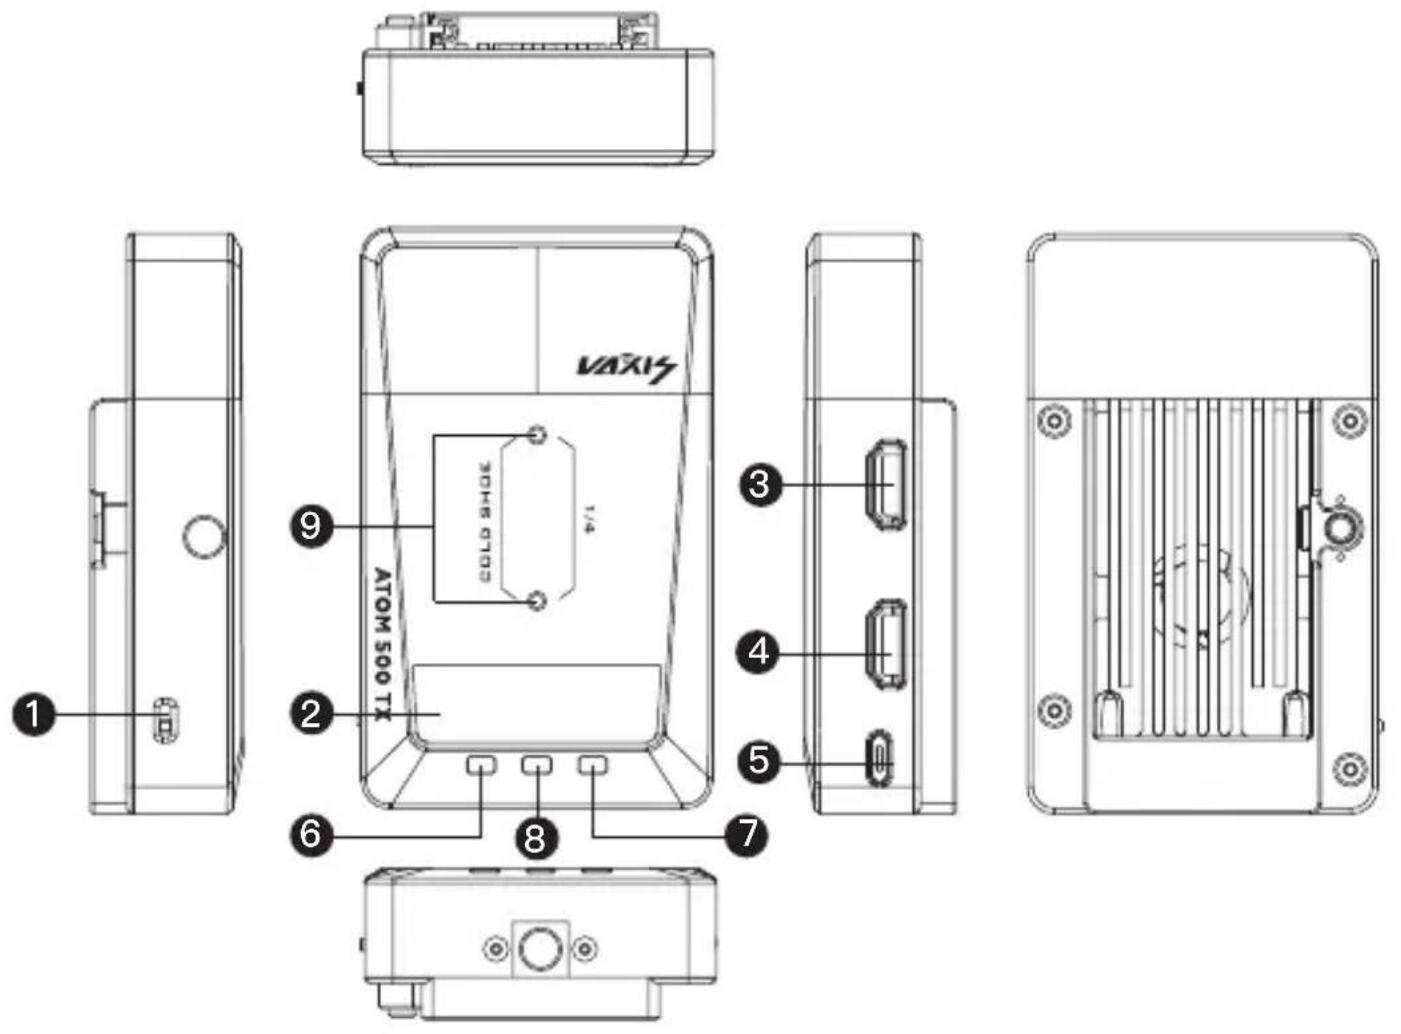
1 Power Switch OED display HDMI output HDMI input
5 USB interface 6 Up 7 Down 8 Menu/OK
9 1/4 20 screw mount
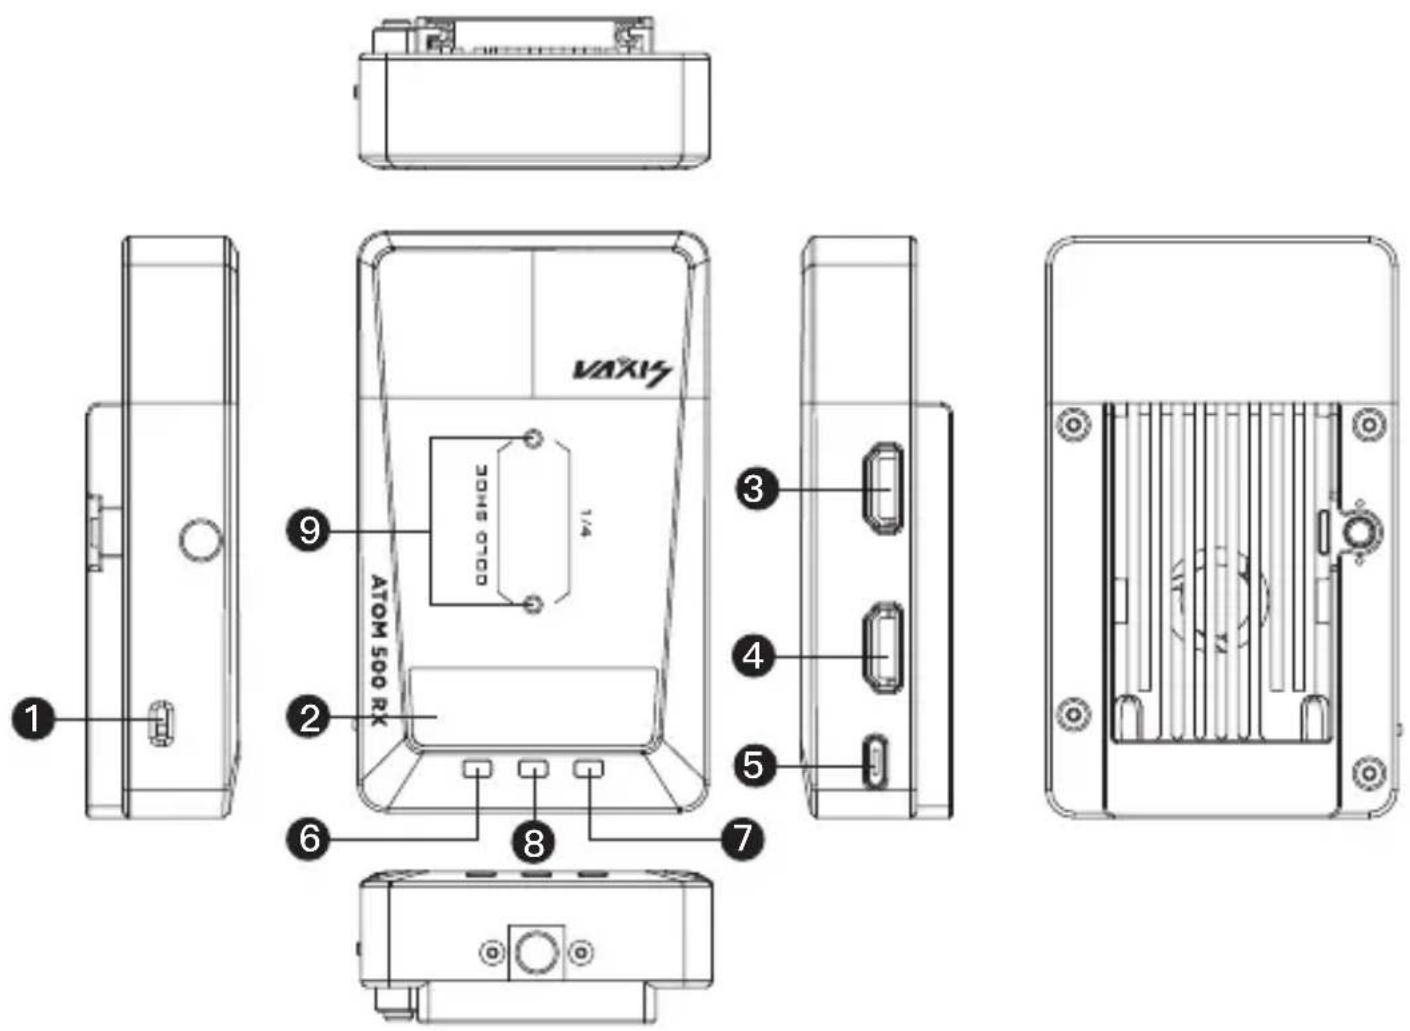
1 Power Switch CED display HDMI input
5 USB interface 6 Up 7 Down 8 Menu/OK
9 1/4 20 screw mount
Transmitter
text_image
Tmill 1080P60 35°C CH. 01 6.5vFAN AUTOReceiver
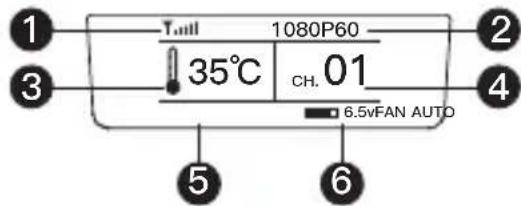
text_image
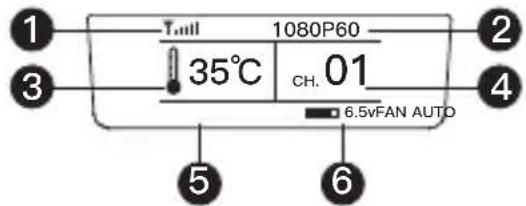
Tmill 1080P60 35°C CH. 01 6.5vFAN AUTO1 Signal Strength 2 eo Format
③ Temperature ④ Channel
⑤ Fan Level ⑥ Battery Voltage
1 Signal Strength 2 eo Format
③ Temperature ④ Channel
⑤ Fan Level ⑥ Battery Voltage
Operations Guide
Transmitter
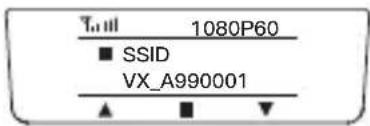
Long press the menu button for approximately 3 seconds to enter the menu window to access the following features:
text_image
T_III 1080P60 ■ SSID VX_A990001Function of each option:
PARING: It can pair with the RX. TX and RX need to operate simultaneously.
SSID: Display the SSID and Use for APP monitoring connected
PWD: display the PWD, Used for APP monitoring connected, PWD is changeable
CONNECTED RX: Current receiver connected quantity
APP: App monitoring off or on
Version: display current version
Return
Receiver
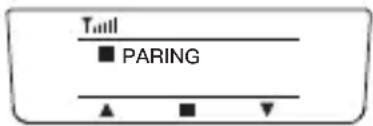
Long press the menu button for approximately 3 seconds to enter the menu windowto access the following features:
text_image
Tail ■ PARING ▲ ■ ▼Function of each option:
PARING: It can pair with the TX. TX and RX need to operate simultaneously.
OSD: OSD off or on
SSID: Display the SSID and Use for APP monitoring connected
PWD: display the PWD, Used for APP monitoring connected, PWD is changeable
PRIO: latency priority and image priority for choice
Version: display current version
Return
Channel change
Long press either the up or down button on the transmitter to change the channel, then press the OK button to confirm the selected channel. The receiver will change to the same channel as the transmitter automatically and simultaneously.
App's PWD change
Long press menu button to enter the menu window, click the down button to PWD
TX Firmware Upgrade
1) Copy the firmware upgrade file to a USB Flash Drive.
2) Power on TX, wait until frequency information appears.
3) Insert the USB flash drive into the OTG adapter and connect it to the TX's USB Type-C port.
4) The TX unit will automatically upgrade the firmware in 2–3 minutes. When the device finishes upgrading, the TX unit will restart automatically.
RX Firmware upgrade.
5) Copy the firmware upgrade file to a USB Flash Drive.
6) Power on RX, wait until frequency information appear.
7) Insert the USB flash drive into the OTG adapter and connect it to the RX's USB Type-C port.
8) The RX unit will automatically upgrade the firmware in 2–3 minutes. When the device finishes upgrading, the RX unit will restart automatically.
Note: Before copying the firmware upgrade file, make sure the USB flash drive is formatted to FAT32. Please check the version info to make sure the system upgraded successfully.
Long press the up or down button approximately 3 seconds to enter the fan settings: • fan low, fan high, fan auto, fan off.
App monitoring on or off mode
Long press the MENU button to enter the Menu window where you will be able to select on or off the APP monitoring.
APP connection and use
- The application name is Vaxis Vision and is available in the App store / Play store

text_image
QR code image containing encoded data, no visible human-readable text
Scan the QR code, It will skip to app store automatically.
2.App connect:
1) Open the app (Vaxis vision) to choose Connect to Device
2) Long press TX menu button3-5 seconds, then up and down to change
Change to SSID, type SSID (VX_A00001) into the APP.
3) Change the pwd
Type the password in the APP, Click connect
| TX | RX | |
| Interface | HDMI input/outputUSB Type-C input | HDMI Output*2USB Type-C input |
| voltage | 5V DC | 5V DC |
| Power consumption | 6.5w | 4.5w |
| Input Video Format | 720P@60Hz1080I@50/601080P@24/25/30/50/60 | / |
| Output Video Format | / | 720P@60Hz1080I@50/601080P@24/25/30/50/60 |
| Weight | 134g | 130g |
| Dimensions | 105*63.5*20mm | 105*63.5*20mm |
| Frequency | 5GHz | |
| Transmission Power | 17dbm | |
| Delay | ≤0.1s | |
| Rx sensitivity | -80dbm | |
Connection issue
- Check and make sure the power supply functions well on both the transmitter and the receiver.
- Check if the battery level is enough, If the battery level is too low, Please change another battery.
- Change to another channel to troubleshoot
- Re-paring the device
Display issue
- Please check if the video source is connected to the HDMI IN interface correctly.
- Check if the OLED displays the video format. If not, check if the HDMI cable connected to transmitter is correctly linked with the camera and if the camera has the video output
- Check if the format of the camera output interface is compatible with this system.
Video image stuck issue
- Check if the HDMI IN/OUT cables are connected well.
- Check the signal strength status to see if the signal strength is too weak Change the channel or shorten the distance between the devices.
APP CONNECTION ISSUES
- Make sure that the SSID and PWD are correct. Check if the PWD has been changed.
- Make sure the APP is turned on.
- Check the number of connected APP device. 1 transmitter can connect with/up to a maximum of 3 devices for wireless monitoring.
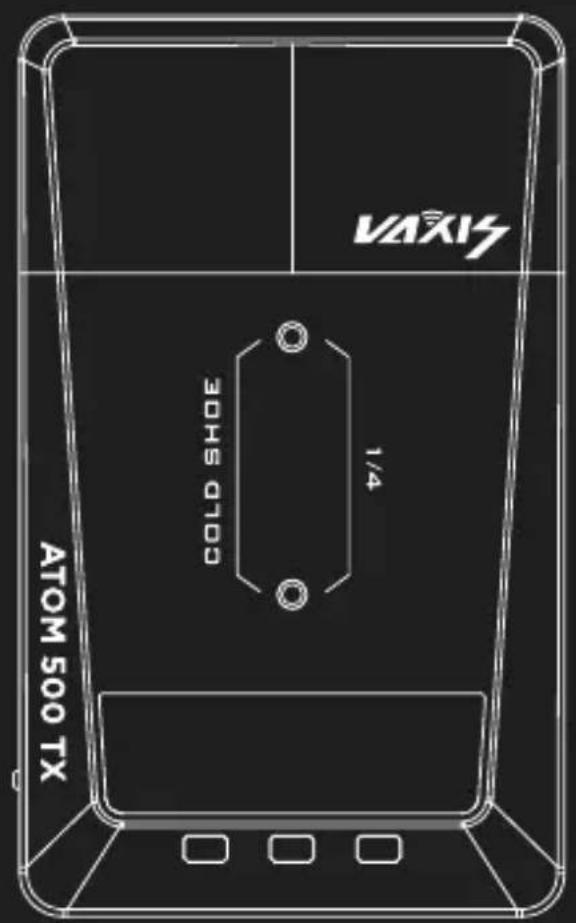
text_image
VAXIS 300 COLD SHOE 1/4 ATOM 500 TX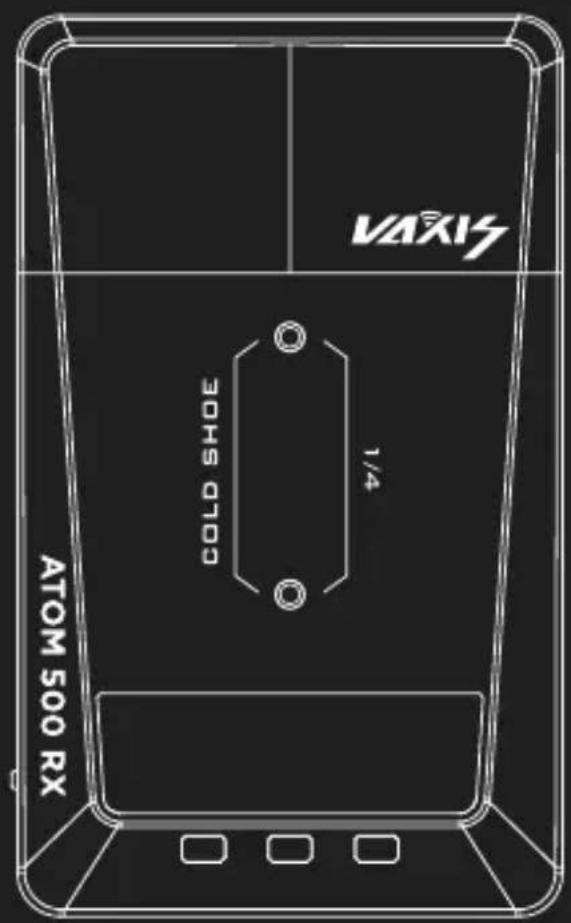
text_image
VAXIS 30HS GOLE 1/4 ATOM 500 RXHN Gmcine Technology Co., Ltd.