Adventurer 3 Lite - 3D Printer Flashforge - Free user manual and instructions
Find the device manual for free Adventurer 3 Lite Flashforge in PDF.


User questions about Adventurer 3 Lite Flashforge
0 question about this device. Answer the ones you know or ask your own.
Ask a new question about this device
Download the instructions for your 3D Printer in PDF format for free! Find your manual Adventurer 3 Lite - Flashforge and take your electronic device back in hand. On this page are published all the documents necessary for the use of your device. Adventurer 3 Lite by Flashforge.
USER MANUAL Adventurer 3 Lite Flashforge
natural_image
Open cardboard box with internal compartments and a central display (no visible text or symbols)- Open the box.
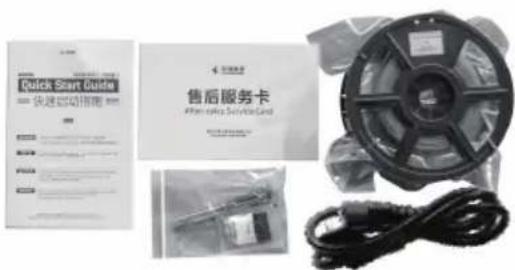
- Remove wrapping paper box on the top, there is a Quick start, an after-sales service, an accessory kit, a power cable and a roll of material on the plastic box.
natural_image
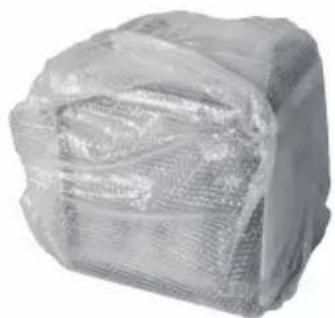
Folded plastic bag wrapped in plastic wrap, showing internal texture and mesh (no text or symbols)- Take out the printer of the carton, remove bubble pack outside the printer.
natural_image
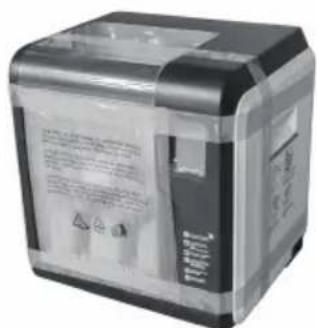
Exterior view of a transparent plastic device with internal components (no visible text or symbols)- Tear off fixed tapes and front door protective bag.
natural_image
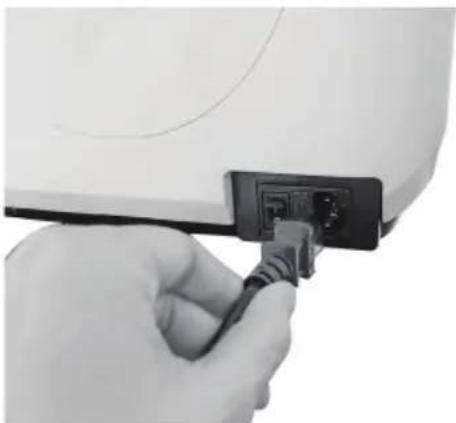
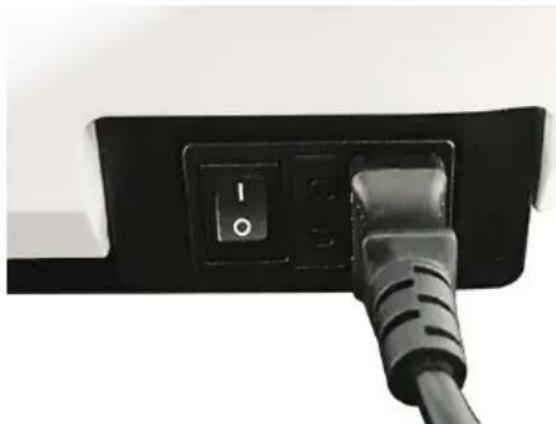
Close-up of a hand inserting a black cable into a white electronic device (no text or symbols visible)- Take power cable out and plug it into power input.
natural_image
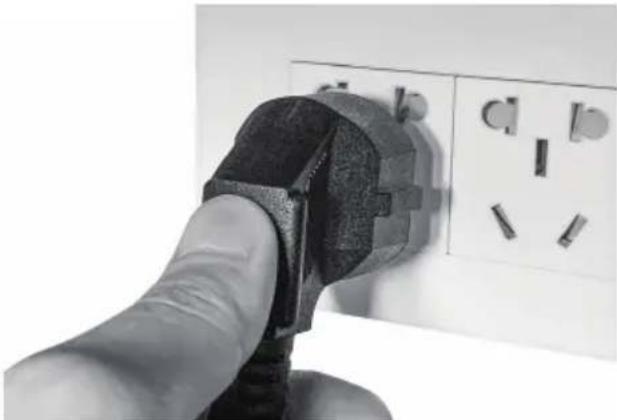
Close-up of a hand inserting an electric plug into a wall socket (no text or symbols visible)- Plug the other end of power cable into socket, turn on the power switch.
natural_image
Close-up of a black electrical outlet with a black switch labeled '10' and a cable inserted (no readable text or symbols)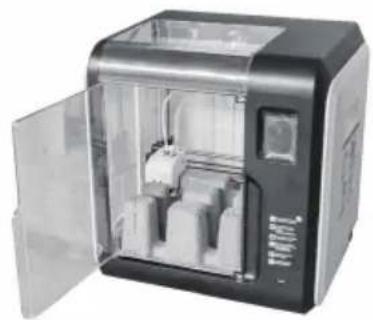
natural_image
Exterior view of a 3D printer with open lid and internal modules (no visible text or symbols)- Turn on the power switch. 8. Open the front door.
text_image
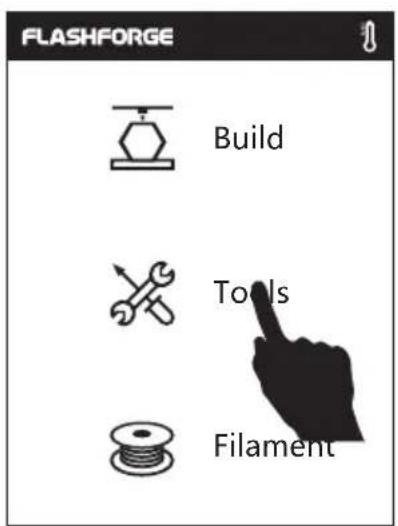
FLASHFORGE Build Tools Filament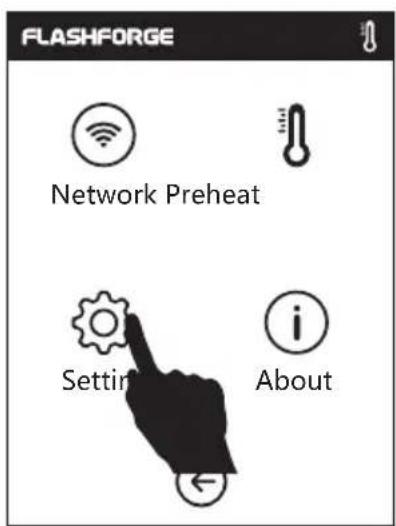
text_image
FLASHFORGE Network Preheat Setting About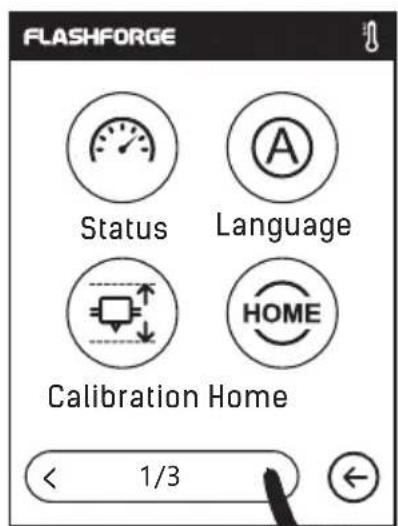
text_image
FLASHFORGE Status Language Calibration Home < 1/3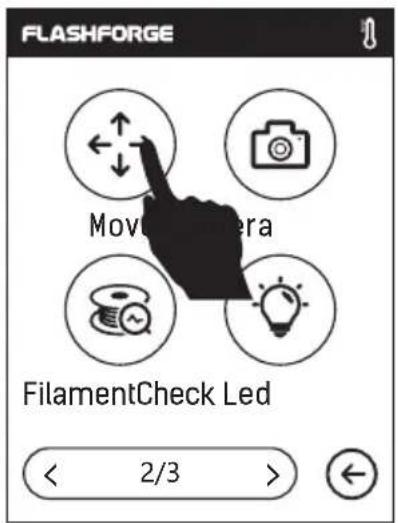
text_image
FLASHFORGE Move Camera FilamentCheck Led < 2/3 >- Tap [Tools]–[Setting] on the touch screen as the picture showed above, tap [Move].
text_image
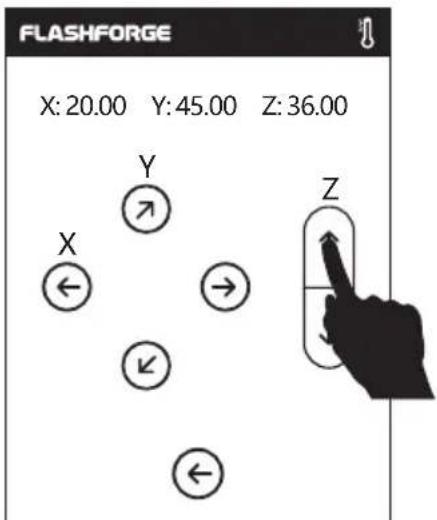
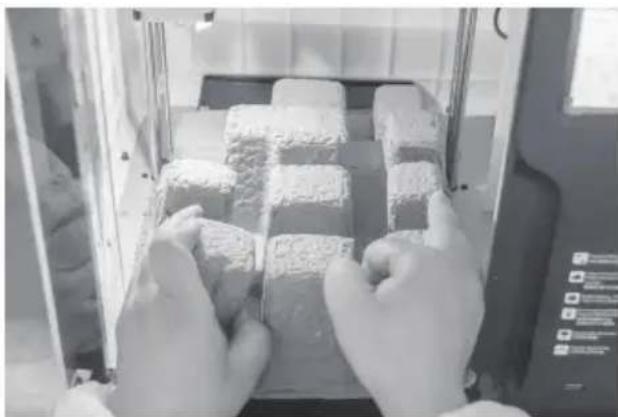
FLASHFORGE X: 20.00 Y: 45.00 Z: 36.00 Y Z X ← → ← ←- Tap the upper arrow in the moving page to make the extruder raises for removing the paper box on the bottom easier.
natural_image
Close-up of gloved hands handling stacked rectangular blocks inside a 3D printer (no visible text or symbols)- Squeeze wrapping paper box to the middle slightly and take it out.
natural_image
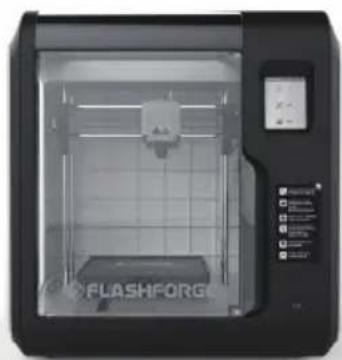
Front view of a black FLASHFORG 3D printer with visible internal structure and control panel (no readable text or symbols)- Unboxing completed! Recommended that you take good care of packing materials for further carrying and keeping.
Kit Contents
natural_image
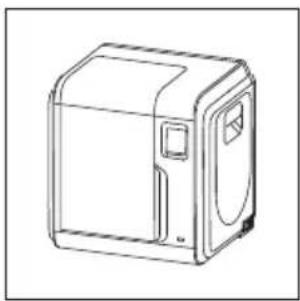
Line drawing of a rectangular electronic device with a handle and control panel (no text or symbols)3D Printer

natural_image
Illustration of a coiled cable or wire spool with visible internal structure (no text or symbols)Filament
natural_image
Pure diagram of a twisted cable or wire with no text, numbers, or symbolsPower Cable
text_image
售后服务卡 After-sales Service CardAfter-sales service card
text_image
快速启动指南Quick Start Guide
natural_image
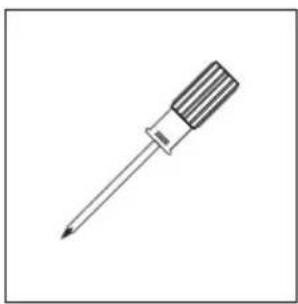
Simple line drawing of a screwdriver with no text or symbolsScrewdriver

natural_image
Simple line drawing of a pinwheel with a handle and blade (no text or symbols)Unclogging Pin Tool
natural_image
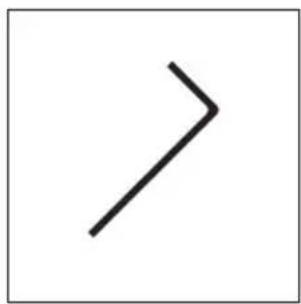
Simple black right-pointing arrow on white background (no text or symbols)Allen Wrench
text_image
CREASEGrease
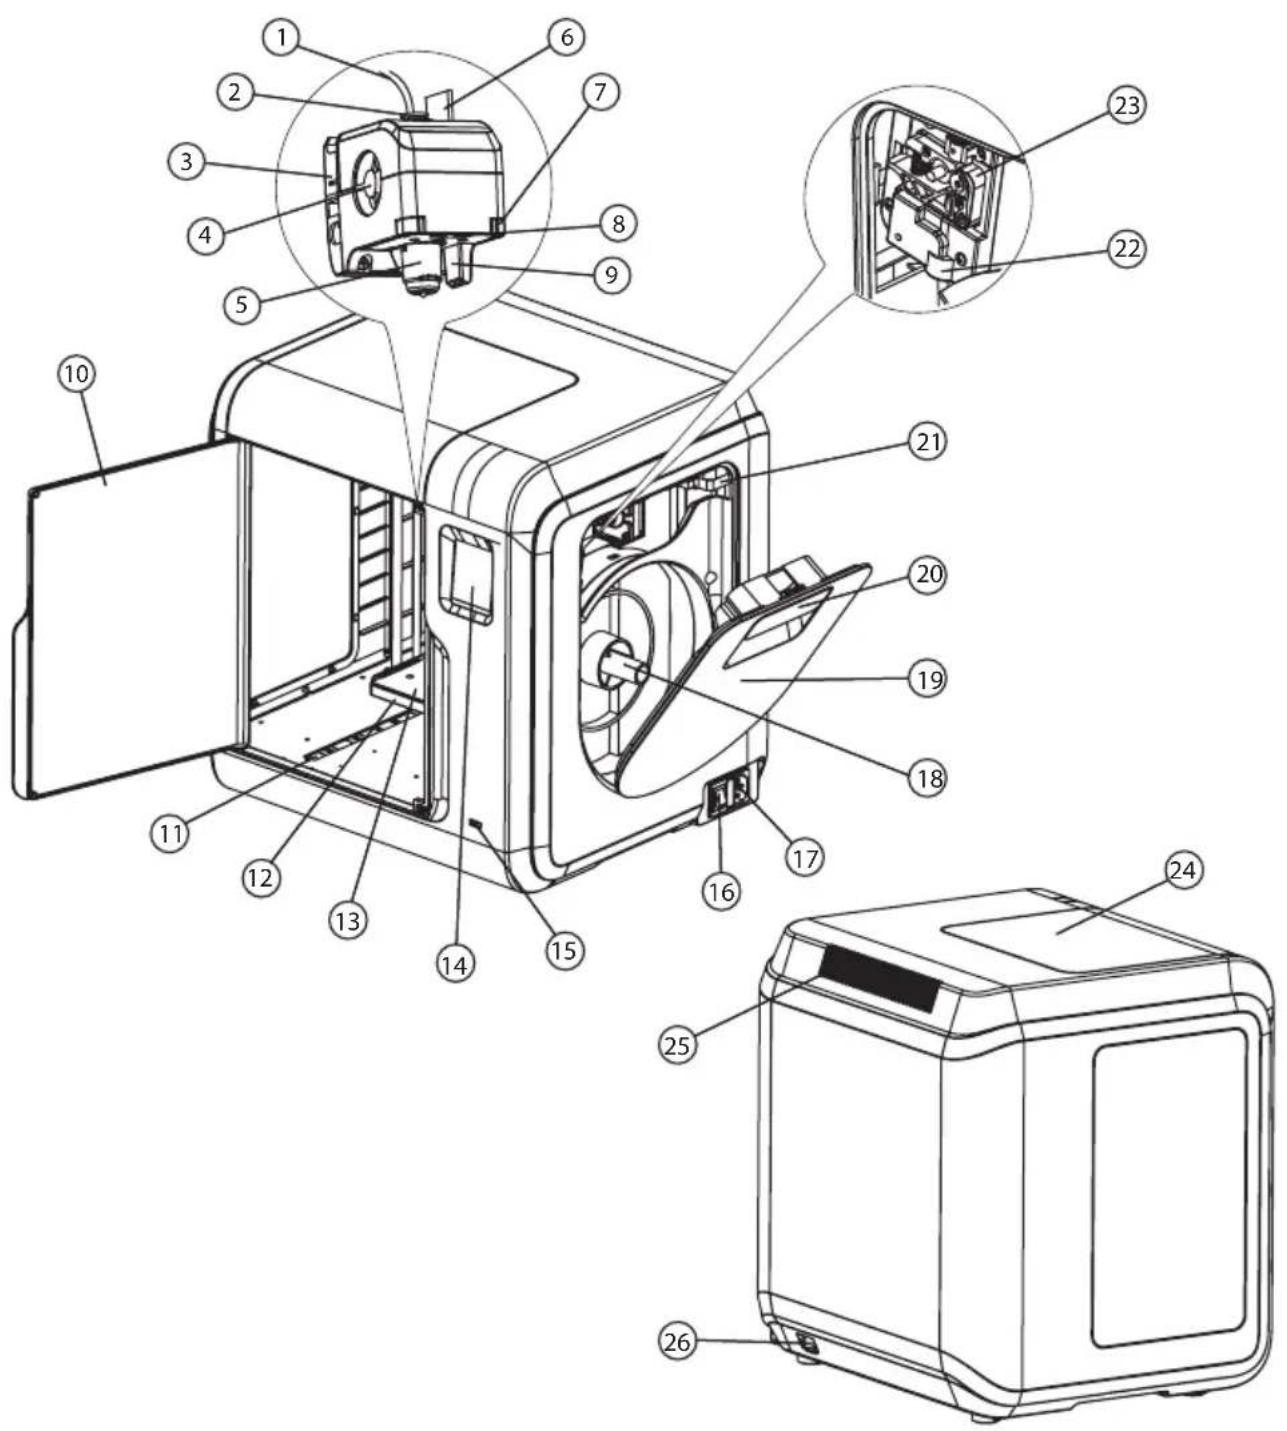
Getting to know your Adventurer 3
text_image
Technical diagram of a microwave oven with numbered components for identification and assembly reference.- Filament guide tube 2. Filament guide tube joint 3. Extruder base 4. Cooling Fan
- Removable nozzle 6. Extruder cables 7. Clip 8. Led light
- Turbo Fan Baffle 10. Front door 11.Y-Axis sliding slot 12.Platform base
- Removable build plate 14. Touch-screen 15. USB stick input 16. Power switch
- Power input 18. Spool holder 19. Filament cover 20. Filament cover handle
- Moto 22. Filament intake 23. Filament feeding wheel 24. Top cover
- Air outlet 26. Ethernet input
First Print
text_image
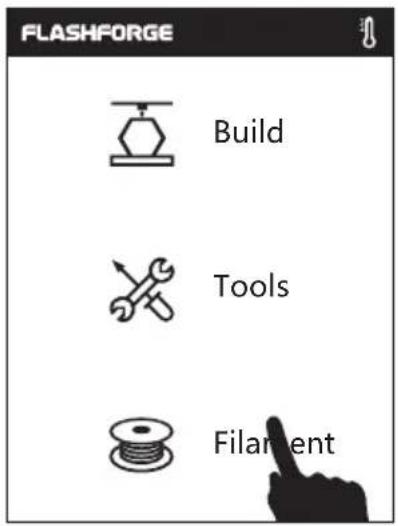
FLASHFORGE Build Tools Filament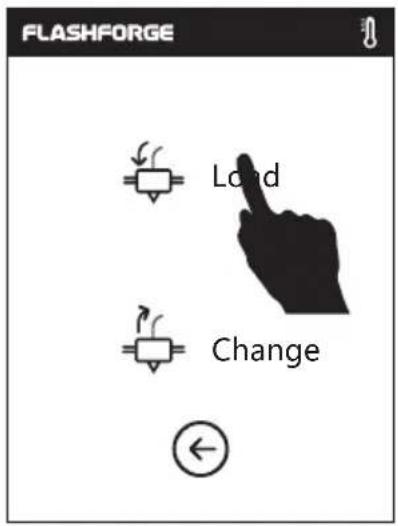
text_image
FLASHFORGE Load Change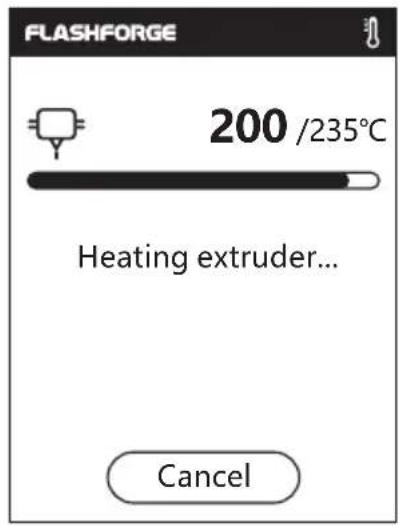
text_image
FLASHFORGE 200 /235°C Heating extruder... Cancel- Tap [Filament], tap [Load], after load completed, tap [OK].
text_image
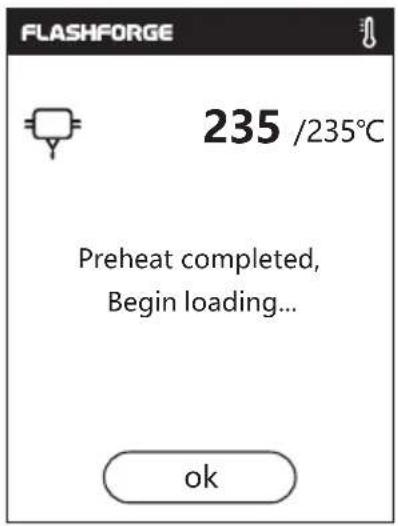
FLASHFORGE 235 /235°C Preheat completed, Begin loading... ok- As shown on the left, loading starts when the extruder heated to target temperature.
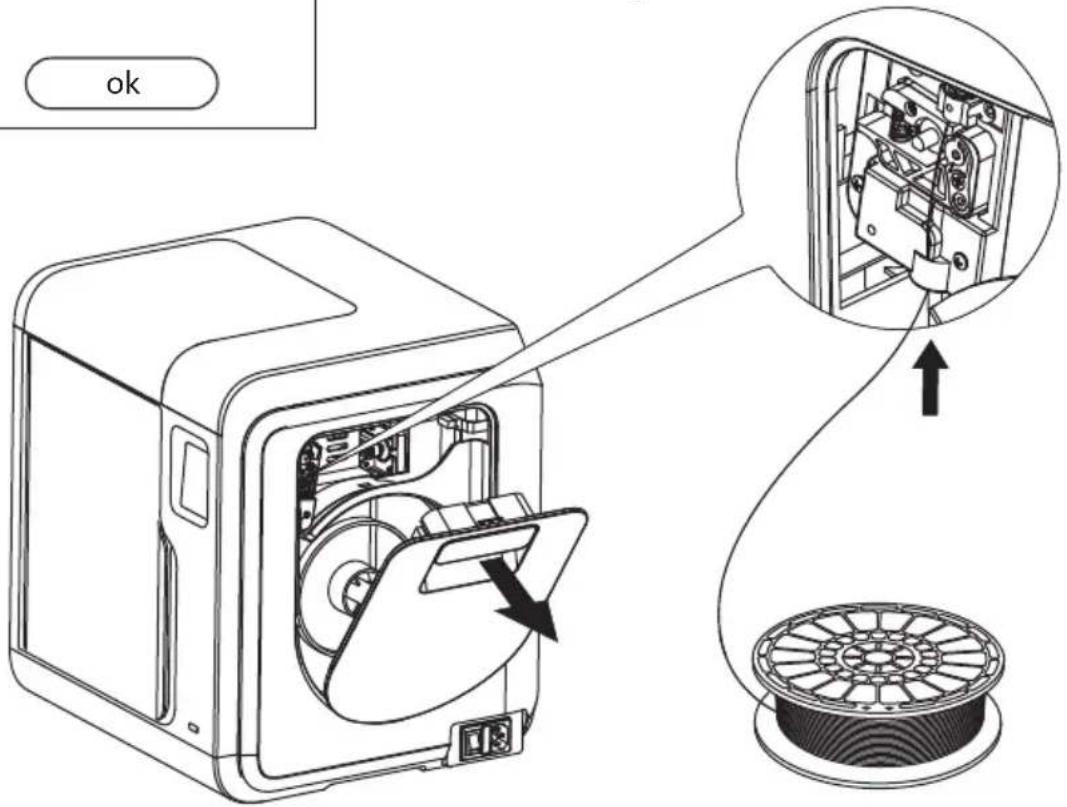
- Open the filament cover, insert the filament into the filament intake, push filament into the feeding wheel until some resistance is sensed.
Note: Please make sure filament has been pushed into the feeding wheel!
text_image
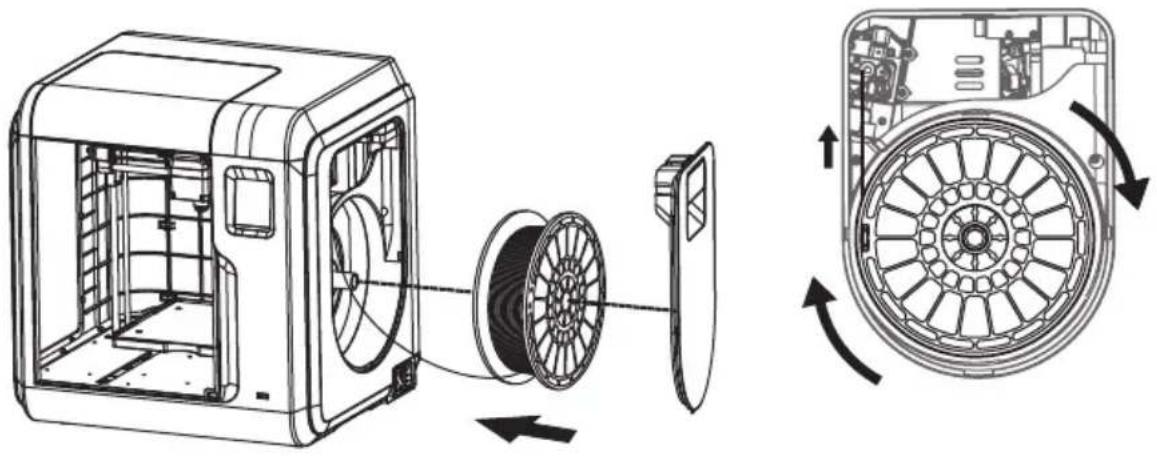
okMind the loading direction of filament, make sure to be clockwise as the picture showed.
natural_image
Technical line drawing of a mechanical device showing internal components and external rotation (no text or symbols)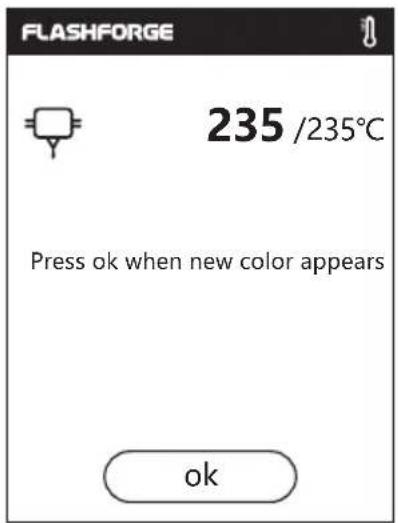
text_image
FLASHFORGE 235 /235°C Press ok when new color appears ok- Load completed when you see filament come out of extruder, tap [OK]. Put the spool of filament on the spool holder, close the filament cover.
Model Print
text_image
FLASHFORGE Build Tools Filament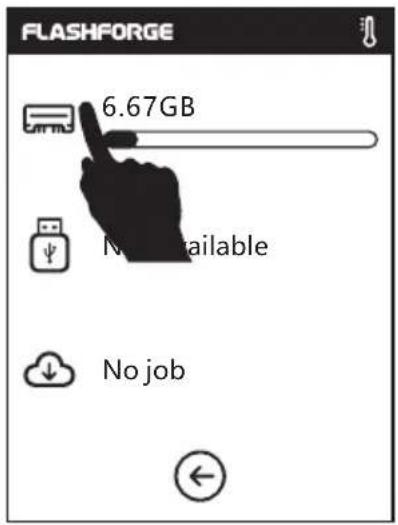
text_image
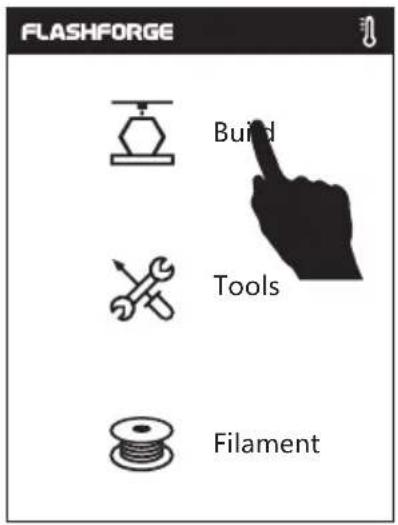
FLASHFORGE 6.67GB No available No job- Tap [Build], choose the file path: Print from local memory card
text_image
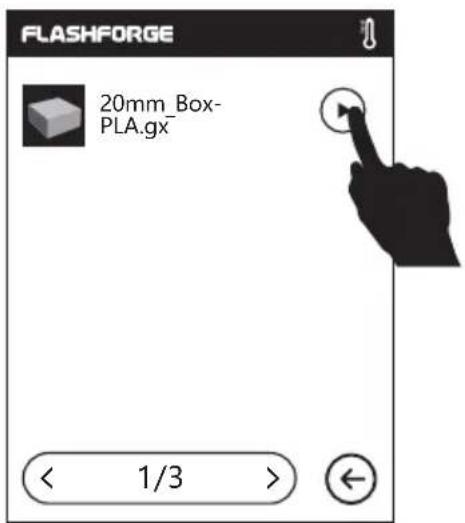
FLASHFORGE 20mm_Box- PLA.gx < 1/3 >- Locate the model file

in the model list, Tap▶ on its right to start printing; file name to enter model details page, tap→ to start printing.
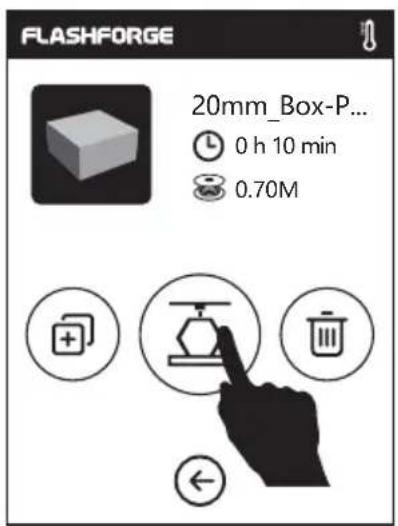
text_image
FLASHFORGE 20mm_Box-P... 0 h 10 min 0.70M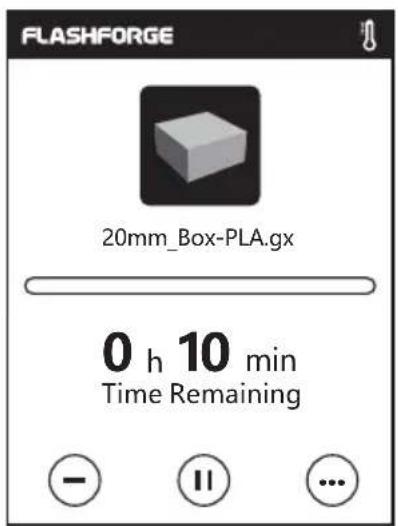
text_image
FLASHFORGE 20mm_Box-PLA.gx 0 h 10 min Time Remaining - II ...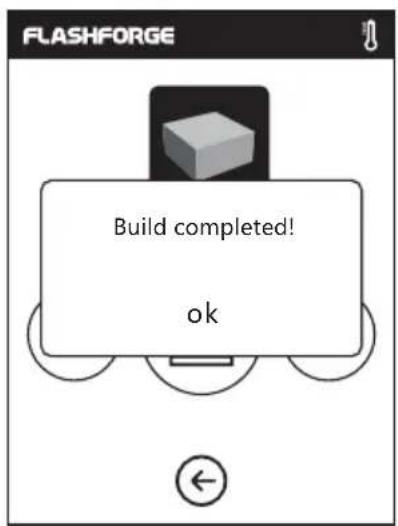
text_image
FLASHFORGE Build completed! ok- Extruder will heat up and printer will start printing after heating completed. After model printing finished, printer will sound a beep and pop out notice on touch screen.
Model Remove
text_image
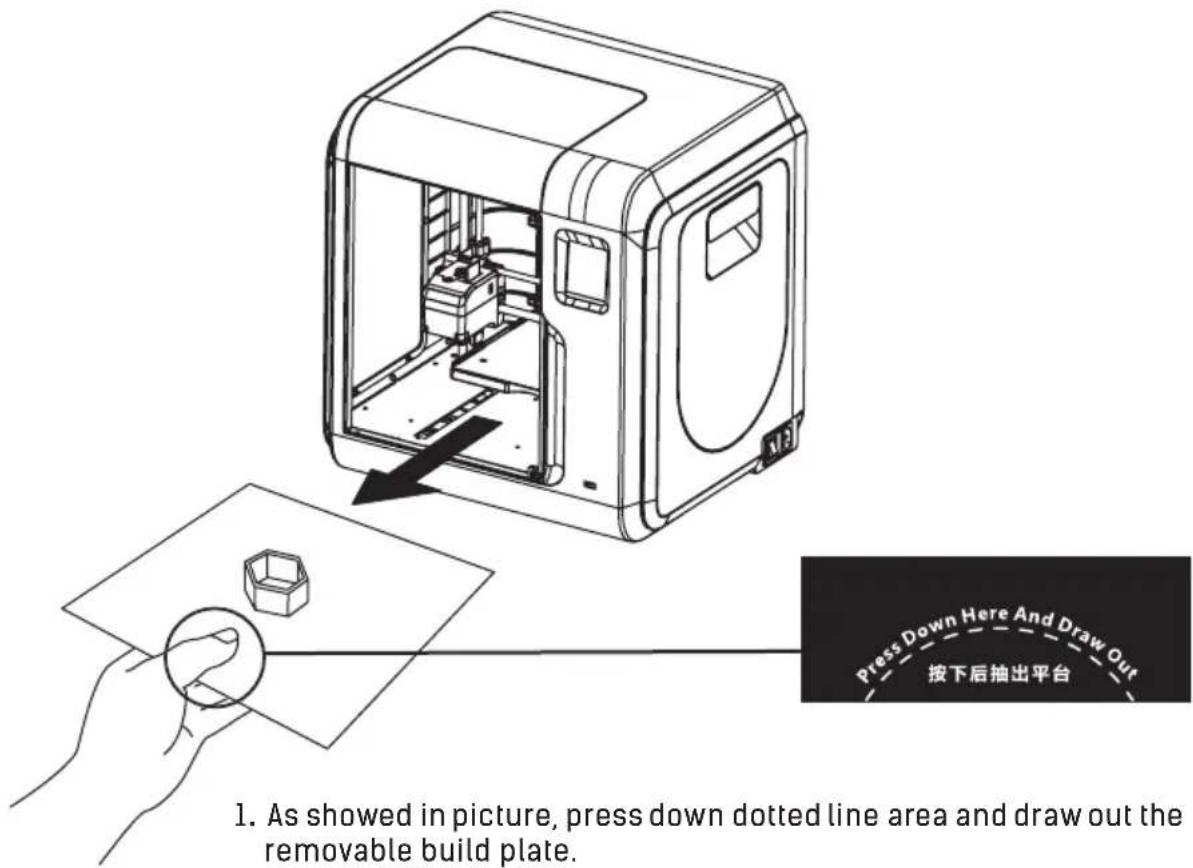
Press Down Here And Draw Out 按下后抽出平台 1. As showed in picture, press down dotted line area and draw out the removable build plate.- As showed in picture, press down dotted line area and draw out the removable build plate.
Notices
When printing completed, extruder and build plate may still hot, please start operating after cooling down!
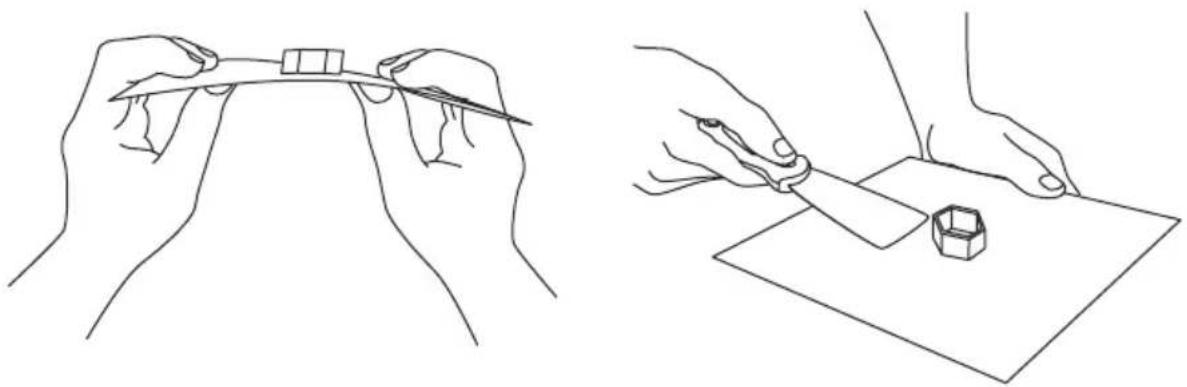
natural_image
Line drawings of two hands holding pens and a small object on a flat surface (no text or symbols)- Bend the build plate, the plate will produce certain deformation, separating the plate away from the bottom of model (Please use a scraper to assist removing when model is too small or big).
Change Filament
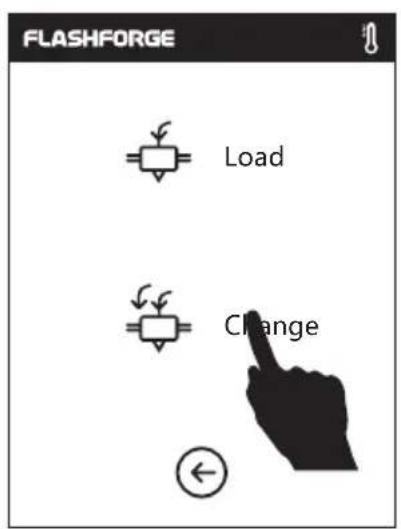
text_image
FLASHFORGE Load Change- Tap [Filament], tap [Change], extruder starts preheating.
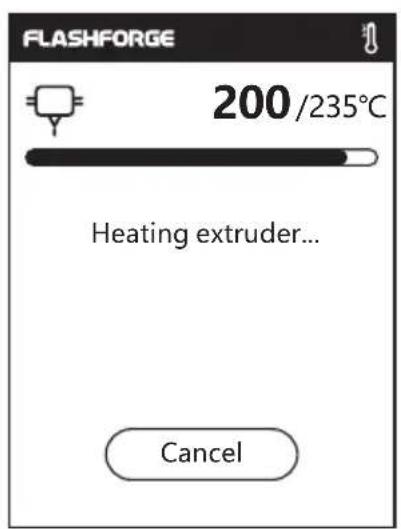
text_image
FLASHFORGE 200 /235°C Heating extruder... Cancel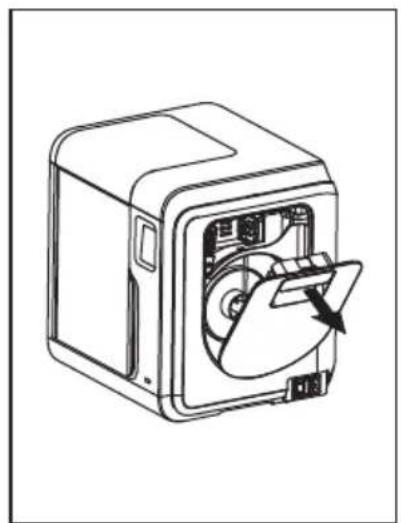
natural_image
Line drawing of a washing machine with a circular component inserted, showing internal components and a directional arrow (no text or symbols)- Open the filament cover.
natural_image
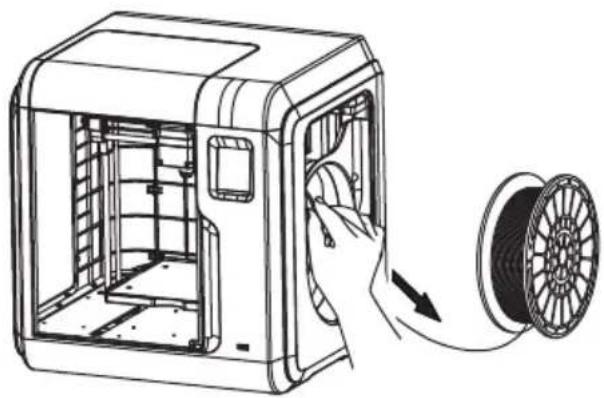
Line drawing of a 3D printer with internal structure and spool, showing part being rotated (no text or symbols)- Pull out the filament as the picture showed above.
natural_image
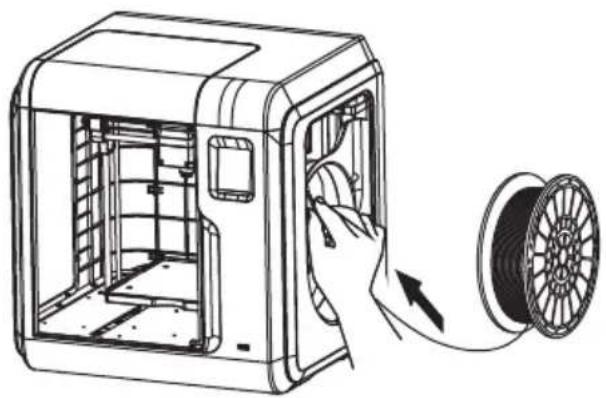
Line drawing of a 3D printer with spool and cable being inserted (no text or symbols)- Insert new filament into the filament intake and push the filament into the feeding wheel until resistance is sensed.
text_image
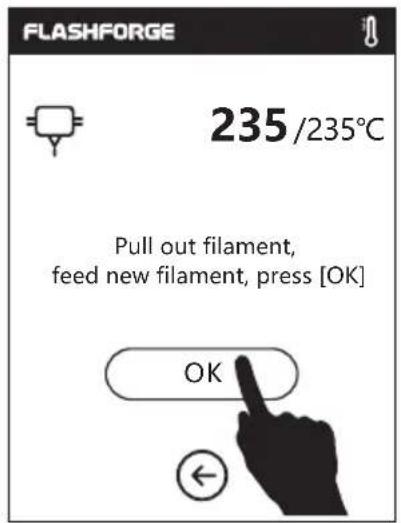
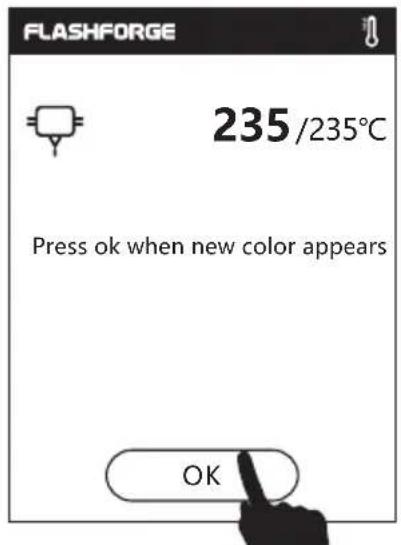
FLASHFORGE 235 /235°C Pull out filament, feed new filament, press [OK] OK- Tap [ok] after plugging in new filament, loading starts. When new filament come out of extruder steadily, replace is completed, tap [OK].
text_image
FLASHFORGE 235 /235°C Press ok when new color appears OK
natural_image
Line drawing of a mechanical device with an open lid and internal components, showing a curved arrow indicating rotation (no text or symbols present)- Put the spool of filament on the spool holder, close the filament cover.