StudioDeck Plus - Turntable MoFi - Free user manual and instructions
Find the device manual for free StudioDeck Plus MoFi in PDF.


User questions about StudioDeck Plus MoFi
0 question about this device. Answer the ones you know or ask your own.
Ask a new question about this device
Download the instructions for your Turntable in PDF format for free! Find your manual StudioDeck Plus - MoFi and take your electronic device back in hand. On this page are published all the documents necessary for the use of your device. StudioDeck Plus by MoFi.
USER MANUAL StudioDeck Plus MoFi
- StudioDeck™ Turntable
- Dustcover
- Delrin® Platter
- Platter Belt
-
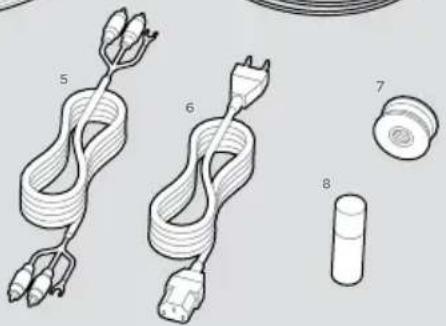
RCA Interconnects
-
Power Cord
- Counterweight
- AdditionalParts
• Hex Wrench (2)
- Anti-skate Weight
- Stylus Brush
natural_image
Illustration of cable and plug components labeled 5, 6, 7, and 8 (no text or symbols on the diagram itself)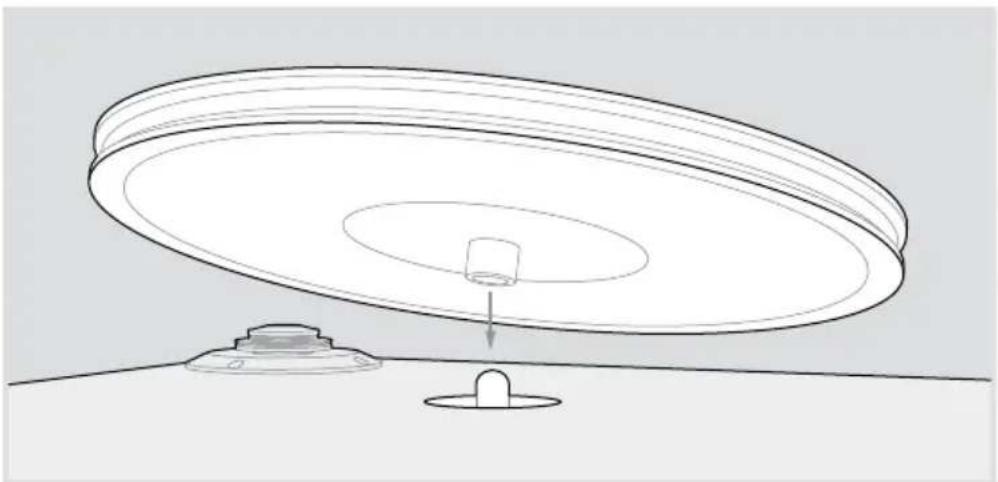
natural_image
Diagram of a ceiling-mounted device with a cylindrical component and a base mount (no text or symbols)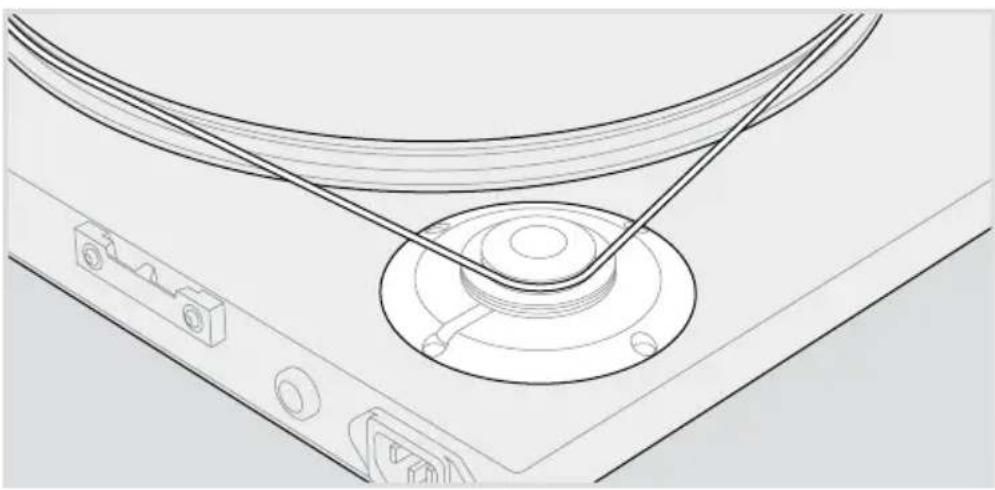
natural_image
Technical line drawing of a mechanical component with a central circular base and connecting rods (no text or symbols)ASSEMBLY
Make sure StudioDeck ^™ is placed on a level surface
If cartridge is not included, follow cartridge manufacturer's installation instructions
Carefully place the Delrin® platter on the bearing hub, making sure it spins freely.
Install the turntable belt, with the belt attached to the top pulley for 33 RPM records, and the bottom pulley for 45 RPM records.
TRACKING FORCE AND ANTI-SKATE
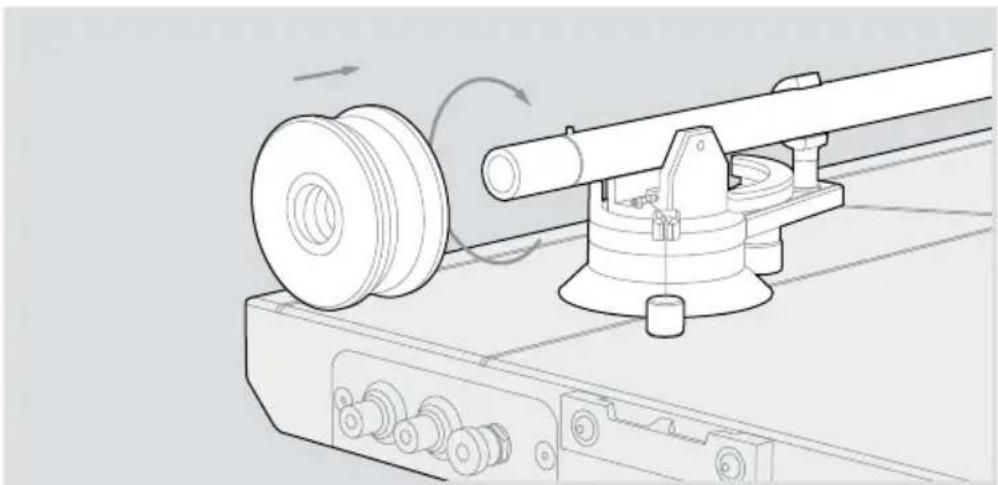
Install the supplied counterweight onto the tonearm's endstub and balance the arm for zero-tracking. Using a stylus force gauge, rotate the counterweight until the desired tracking force is achieved per your cartridge manufacturer's specifications.
Attach the anti-skate weight with loop to the anti-skate pin, and dress the remaining line and weight to the arm's anti-skate hanger. Set the loop to the suggested notch on the pin based on your cartridge's weight. Each notch reads from front to back:
If StudioDeck™ came with the StudioTracker™ cartridge preinstalled, use Notch 2.
natural_image
Technical line drawing of a mechanical device with pulley and rotating shaft (no text or symbols)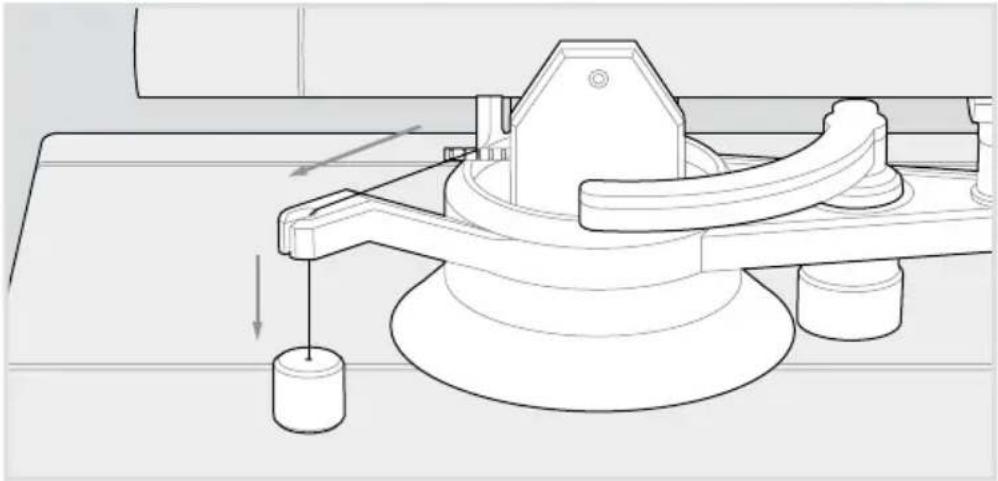
natural_image
Technical line drawing of a mechanical assembly with a cylindrical component and directional arrows (no text or symbols)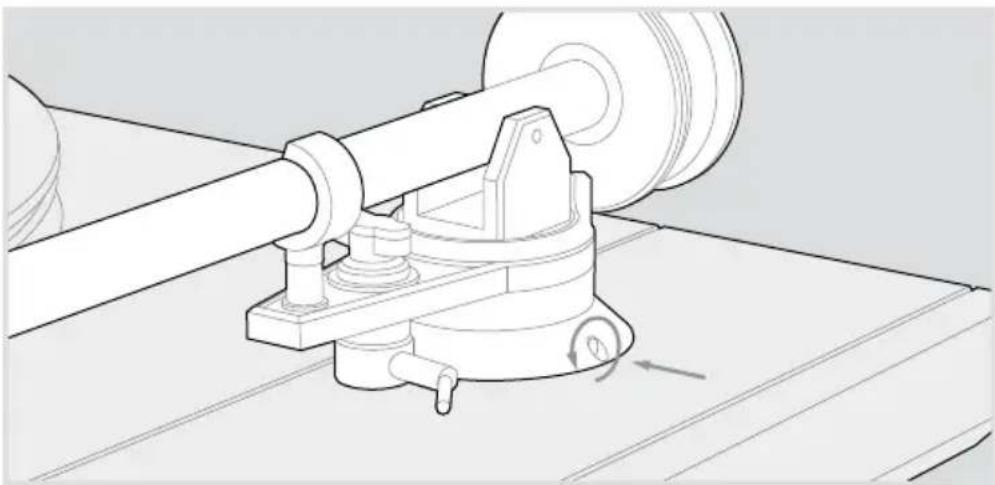
natural_image
Technical line drawing of a mechanical assembly with rotating components (no text or symbols)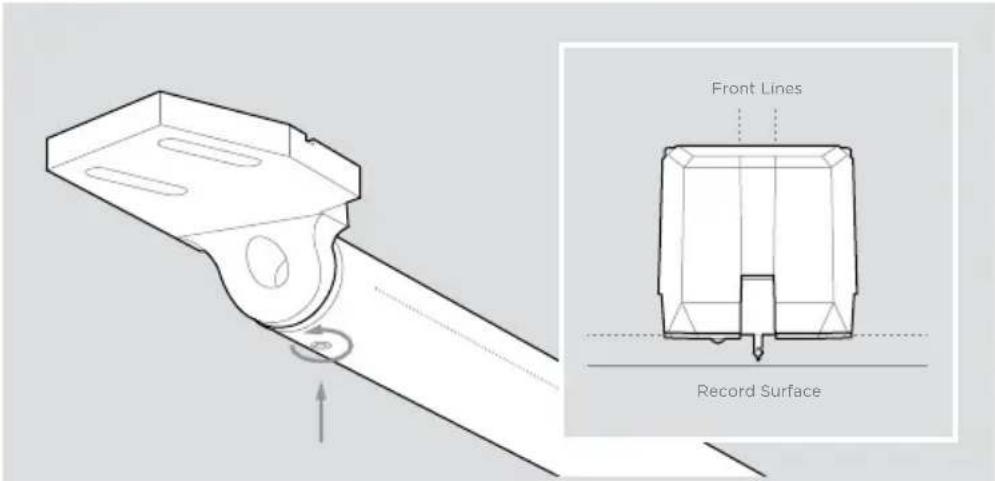
text_image
Front Lines Record SurfaceVTA AND AZIMUTH
If StudioDeck™ came with StudioTracker™ preinstalled, the following steps were completed at the factory
After setting tracking force and anti-skate, adjust the tonearm's height. Loosen the hex screw located at the base of the tonearm to raise or lower the arm height, and tighten once the arm is parallel to the record surface.
Next, adjust your headshell and cartridge for correct azimuth. Loosen the hex screw located under the armtube, then adjust the headshell as needed until it is parallel to the record surface.
CONNECTIONS AND LEVELING
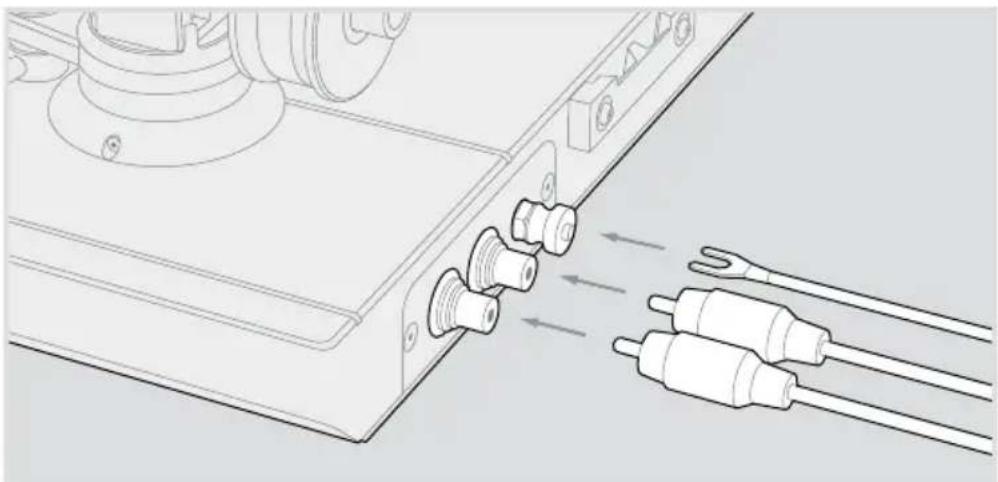
Install the RCA interconnects and ground wire to your preamp's phono section, and then connect the power cord from the turntable to any outlet or power conditioner of your choice.
If the turntable is on an unleveled surface, place a bubble level on the platter, then carefully adjust each foot until the turntable's platter is true.
natural_image
Technical line drawing of a device with attached connectors and connecting wires (no text or symbols)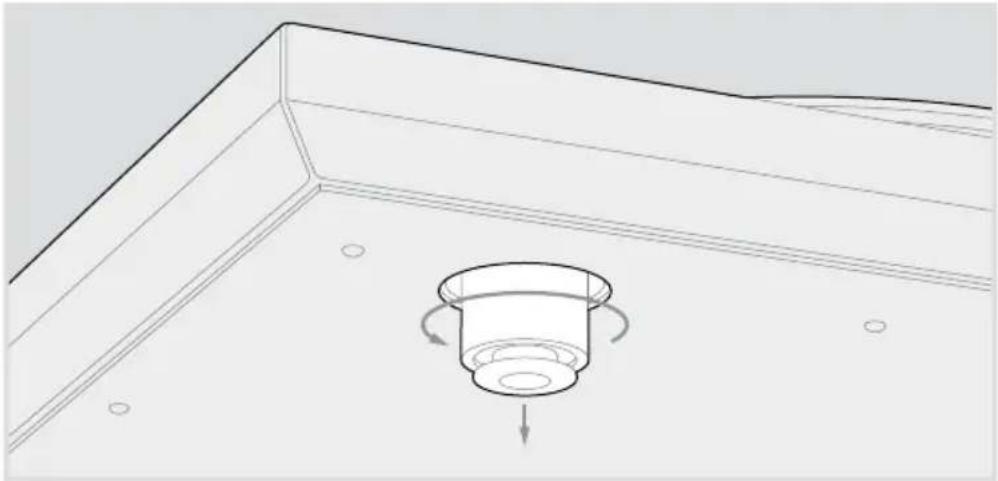
natural_image
Technical line drawing of a ceiling structure with a circular component and directional arrows indicating rotation (no text or symbols)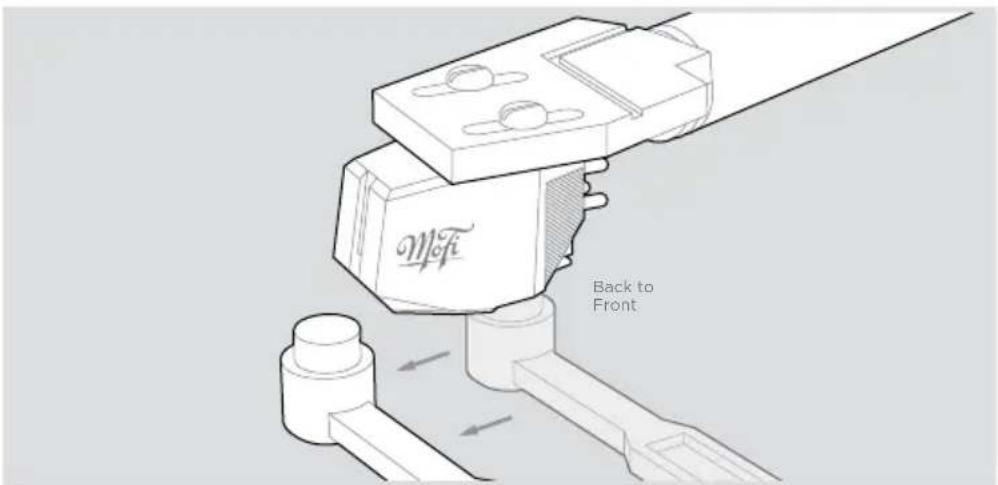
text_image
Mofi Back to Front.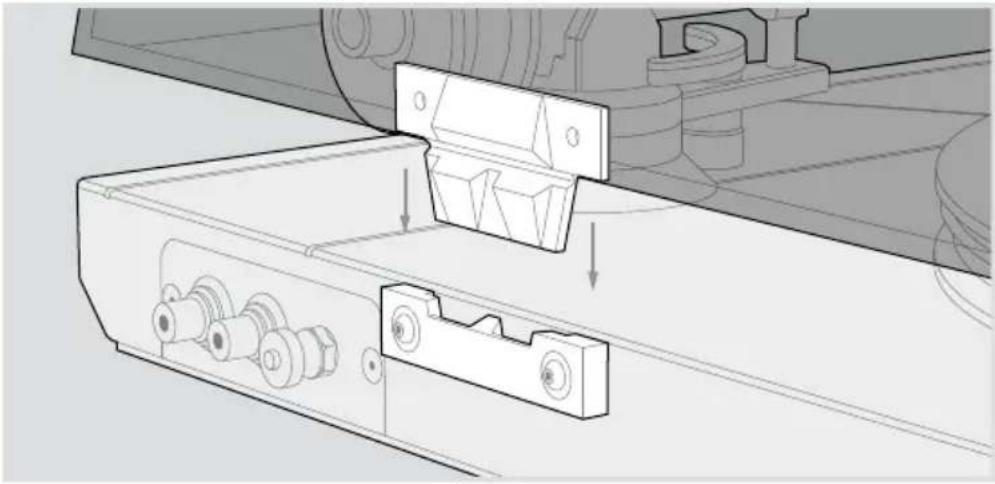
natural_image
Technical line drawing of a mechanical assembly with no visible text or symbolsSTYLUS CARE AND DUSTCOVER
Keep your records clean by using a high-quality record brush and record cleaner
After each play, gently clean your stylus, always brushing back-to-front using the supplied stylus brush. We also recommend using a liquid stylus cleaner such as Mobile Fidelity LP#9.
When not in use, please cover your turntable with the supplied dustcover. For best sonic results, remove the dustcover while playing.
StudioDeck™ UltraDeck™
Motor 300 RPM AC Synchronous 300 RPM AC Synchronous
Speeds 33 1/3 RPM, 45.0 RPM 33 1/3 RPM, 45.0 RPM
Platter 3.88 lb Delrin
E
6.8 lb Delrin®
Wow & Flutter 0.017% - 0.025% 0.017% - 0.025%
Signal-To-Noise Ratio 72dB 74dB
Power Supply Requirements
120V 60Hz, 220-230V 50Hz, 100V 50Hz
120V 60Hz, 220-230V 50Hz, 100V 50Hz
Power Consumption < 5W < 5W
Dimensions
19.69" × 5.375" × 14.25"
19.69" × 6" × 14.25"
Weight
19.1 lb
23.1 lb
Tonearm
| Type | 10" Straight Aluminum, Gimbaled Bearing | 10" Straight Aluminum, Gimbaled Bearing |
| Overhang | 0.71" (18mm) 0.71" (18mm) | |
| Offset Angle | 22.8° (+/- 2° adjustable) | 22.8° (+/- 2° adjustable) |
| Effective Mass 35g (+/- 0.5g) | 35g (+/- 0.5g) | |
| Cartridge Weight Range | 5g - 10g | 5g - 10g |

ELECTRONICS
www.mofielectronics.com
MoFi Electronics - 1811 W Bryn Mawr Ave Chicago IL