FAS8080 - NAS NetApp - Free user manual and instructions
Find the device manual for free FAS8080 NetApp in PDF.


User questions about FAS8080 NetApp
0 question about this device. Answer the ones you know or ask your own.
Ask a new question about this device
Download the instructions for your NAS in PDF format for free! Find your manual FAS8080 - NetApp and take your electronic device back in hand. On this page are published all the documents necessary for the use of your device. FAS8080 by NetApp.
USER MANUAL FAS8080 NetApp
Installation and Setup Instructions
FAS80xx Systems with I/O Expansion Modules
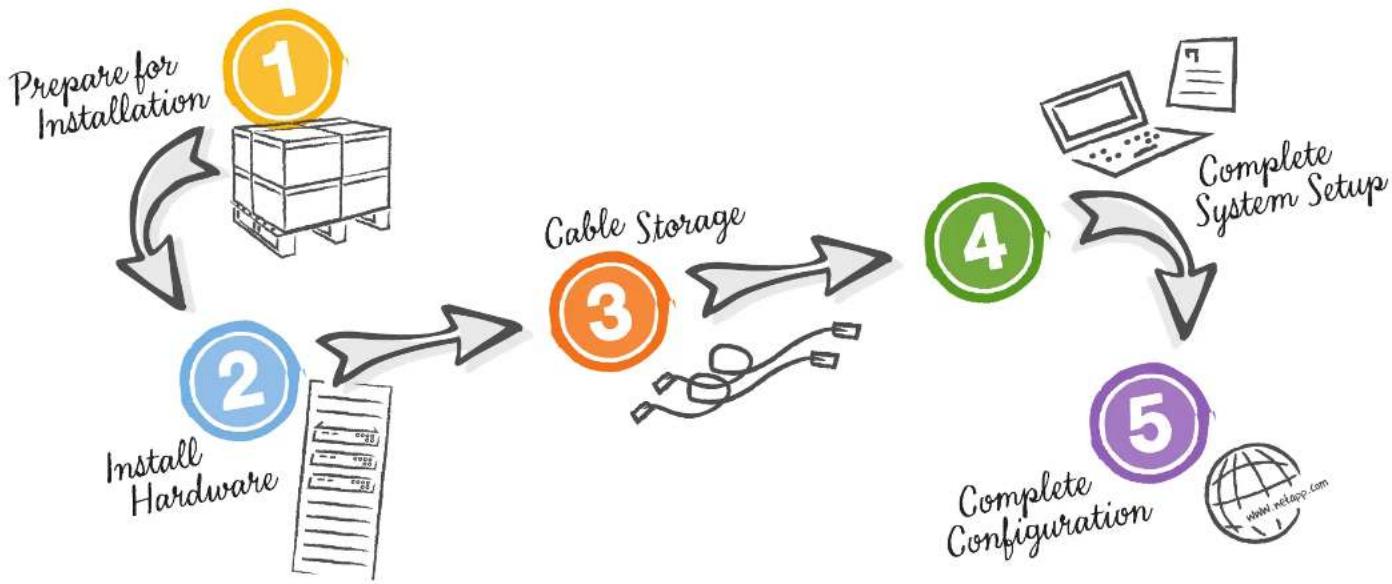
flowchart
graph TD
    A["Prepare for Installation"] --> B["1"]
    B --> C["2"]
    C --> D["Install Hardware"]
    D --> E["Cable Storage"]
    E --> F["3"]
    F --> G["4"]
    G --> H["Complete Configuration"]
    H --> I["5"]
    I --> J["Complete System Setup"]
    J --> K["7"]
    K --> L["www.netapp.com"]

Prepare for installation (Choose option A or B below)

A For Clustered Data ONTAP For 7-Bode, HA

In the box:
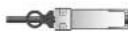
Storage / HA cable
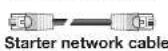
10 GbE cable
Configuration worksheet
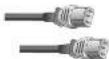
Power cables
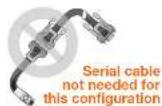

You provide:
Rack space - 6U

Additional network cables
For connecting your storage to your network switch and Microsoft® Windows® client

Microsoft Windows client
Runs the software to configure your storage system
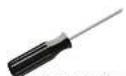
Screwdriver

• System Setup Software
http://support.netapp.com/NOW/public/system_setup/
- OnCommand System Manager
http://support.netapp.com/NOW/cgi-bin/software/
- Config Advisor
http://support.netapp.com/NOW/download/tools/config_advisor/

In the box:
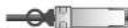
Storage / HA cable
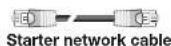
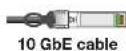

Power cables
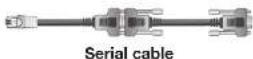

You provide:
Rack space - 6U
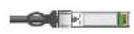

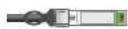

Additional network cables
For connecting your storage to your network switch and Microsoft® Windows® client
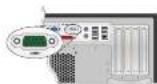
Serial console connection
Connection to DB9 serial console port or USB-to-DB9 converter to laptop
Screwdriver

Download:Do
- System configuration worksheet http://support.netapp.com/documentation/productlibrary/index.html?productID=30092
- OnCommand System Manager http://supportLnetapp.com/NOW/cgi-bin/software/
- Config Advisor http://support.netapp.com/NOW/download/tools/config_advisor/
2
Install hardware

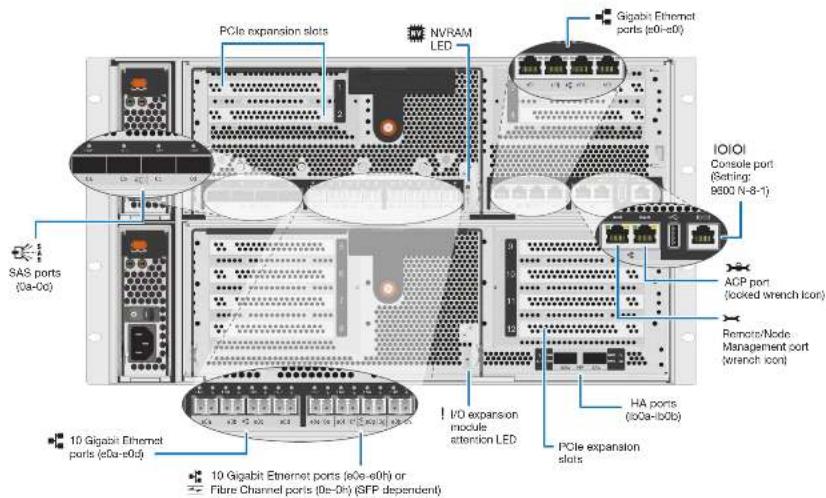
BACK VIEW OF SYSTEM
text_image
PCIe expansion slots NVRAM LED Gigabit Ethernet ports (e01-e02) IOIOI Console port (Setting: 9600 N-8-1) SAS ports (0a-0c) AGP port (looked wrench icon) Remote/Node Management port (wrench icon) 10 Gigabit Ethernet ports (e0a-e0b) 10 Gigabit Ethernet ports (e0e-e0h) or Fibre Channel ports (0e-0h) (SFP dependent) I/O expansion module attention LED PCIe expansion slots HA ports (0a0a-b0b)FRONT VIEW OF SYSTEM
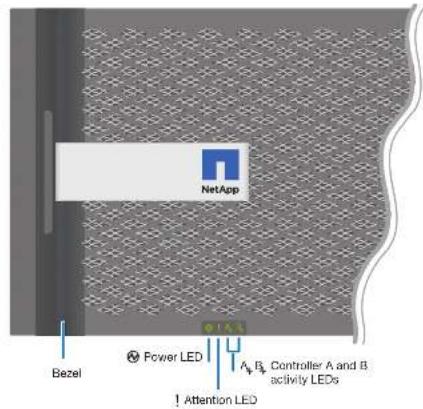
text_image
NetApp Bezel Power LED A B Controller A and B activity LEDs ! Attention LED1
Install system
- Rack the system.
Rail kit: Follow instructions in the rail kit.
OR System cabinet: install in the system cabinet.
- Place the bezel on the front of the system.
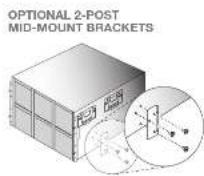
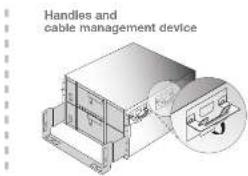
text_image
Handles and cable management device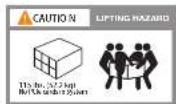
2
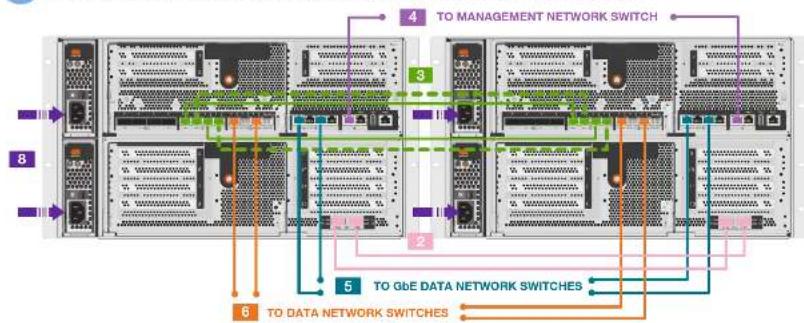
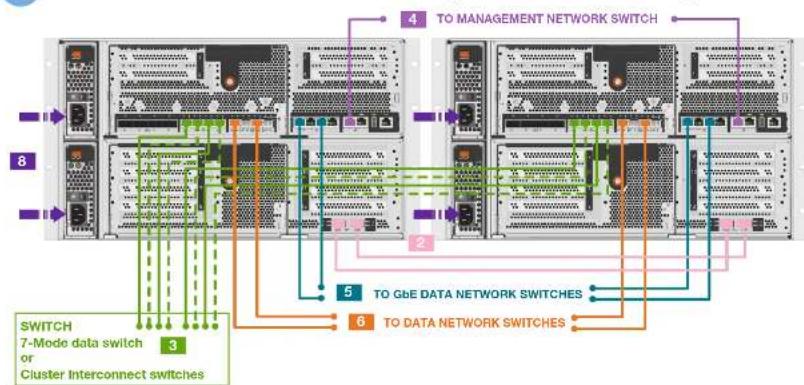
Cable controller to switches and power (Choose option A or B below)
See your network administrator for help connecting to your switch.
1 Attach cable management tray. (Not shown)
2 HA cables
Connect HA ports ib0a to ib0a and ib0b to ib0b.
3 10GbE Network cables
OPTION A: Connect the cluster interconnect e0a to e0a, e0c to e0c. Optional - e0b to e0b, and e0d to e0d ports on both controllers.
OPTION B: Connect e0a and e0d to switches. Optional - connect e0b and e0d to switches.
4 Network cables
Connect wrench ports to the management switch.
5 Network cables
Connect GbE ports e0i and e0k to GbE data network switches.
6 10GbE Network cables
Connect ports e0e|0e and e0g|0g to data switch.
7 Strap the cables to the cable management tray. (Not shown)
8 Power cables
Cable both power supplies for each chassis.
ALL power cords MUST be used for all units.
A
Clustered Data ONTAP, two node switchless cluster
text_image
4 TO MANAGEMENT NETWORK SWITCH 3 2 5 TO GBE DATA NETWORK SWITCHES 6 TO DATA NETWORK SWITCHESB
7-Mode and clustered Data ONTAP, Switched HA configuration
text_image
4 TO MANAGEMENT NETWORK SWITCH 8 2 5 TO GBE DATA NETWORK SWITCHES 6 TO DATA NETWORK SWITCHES 3 SWITCH 7-Mode data switch or Cluster Interconnect switches
DO NOT power on system at this point.
3
A
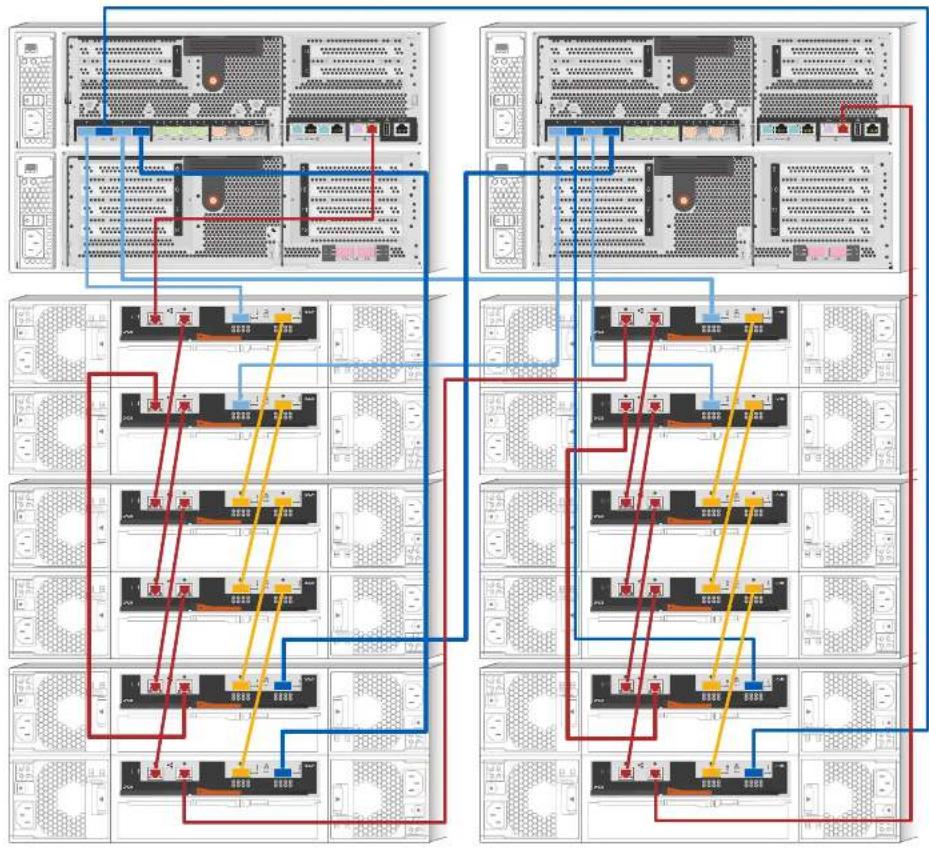
HA configuration with DS424x disk shelves


Storage cables
1 Daisy chain SAS ports.
2 Connect first SAS ports.
3 Connect last SAS ports.

Network cables
Connect ACP ports on controllers to the disk shelves and shelf-to-shelf ACP ports.
flowchart
graph TD
    subgraph Server Rack1
        A["Server Rack 1"] --> B["Server Rack 2"]
        B --> C["Server Rack 3"]
        C --> D["Server Rack 4"]
        D --> E["Server Rack 5"]
        E --> F["Server Rack 6"]
        F --> G["Server Rack 7"]
        G --> H["Server Rack 8"]
        H --> I["Server Rack 9"]
        I --> J["Server Rack 10"]
    end

    subgraph Server Rack2
        K["Server Rack 1"] --> L["Server Rack 2"]
        L --> M["Server Rack 3"]
        M --> N["Server Rack 4"]
        N --> O["Server Rack 5"]
        O --> P["Server Rack 6"]
        P --> Q["Server Rack 7"]
        Q --> R["Server Rack 8"]
        R --> S["Server Rack 9"]
        S --> T["Server Rack 10"]
    end

    subgraph Server Rack3
        U["Server Rack 1"] --> V["Server Rack 2"]
        V --> W["Server Rack 3"]
        W --> X["Server Rack 4"]
        X --> Y["Server Rack 5"]
        Y --> Z["Server Rack 6"]
        Z --> AA["Server Rack 7"]
        AA --> AB["Server Rack 8"]
        AB --> AC["Server Rack 9"]
        AC --> AD["Server Rack 10"]
    end

    subgraph Server Rack4
        AE["Server Rack 1"] --> AF["Server Rack 2"]
        AF --> AG["Server Rack 3"]
        AG --> AH["Server Rack 4"]
        AH --> AI["Server Rack 5"]
        AI --> AJ["Server Rack 6"]
        AJ --> AK["Server Rack 7"]
        AK --> AL["Server Rack 8"]
        AL --> AM["Server Rack 9"]
        AM --> AN["Server Rack 10"]
    end

    subgraph Server Rack5
        AO["Server Rack 1"] --> AP["Server Rack 2"]
        AP --> AQ["Server Rack 3"]
        AQ --> AR["Server Rack 4"]
        AR --> AS["Server Rack 5"]
        AS --> AT["Server Rack 6"]
        AT --> AU["Server Rack 7"]
        AU --> AV["Server Rack 8"]
        AV --> AW["Server Rack 9"]
        AW --> AX["Server Rack 10"]
    end

    subgraph Server Rack6
        AY["Server Rack 1"] --> AZ["Server Rack 2"]
        AZ --> BA["Server Rack 3"]
        BA --> BB["Server Rack 4"]
        BB --> BC["Server Rack 5"]
        BC --> BD["Server Rack 6"]
        BD --> BE["Server Rack 7"]
        BE --> BF["Server Rack 8"]
        BF --> BG["Server Rack 9"]
        BG --> BH["Server Rack 10"]
    end

    subgraph Server Rack7
        BI["Server Rack 1"] --> BJ["Server Rack 2"]
        BJ --> BK["Server Rack 3"]
        BK --> BL["Server Rack 4"]
        BL --> BM["Server Rack 5"]
        BM --> BN["Server Rack 6"]
        BN --> BO["Server Rack 7"]
        BO --> BP["Server Rack 8"]
        BP --> BQ["Server Rack 9"]
        BQ --> BR["Server Rack 10"]

    subgraph Server Rack8
        BIY["Server Rack 1"] --> ZY["Server Rack 2"]
        ZY --> ZYA["Server Rack 3"]
        ZYA --> ZYB["Server Rack 4"]
        ZYB --> ZYC["Server Rack 5"]
        ZYC --> ZYD["Server Rack 6"]
        ZYD --> ZYE["Server Rack 7"]
        ZYE --> ZYF["Server Rack 8"]
        ZYF --> ZYG["Server Rack 9"]
    end

    subgraph Server Rack9
        ZH["Server Rack 1"] --> ZHAY["Server Rack 2"]
        ZHAY --> ZHAYA["Server Rack 3"]
        ZHAY --> ZHAYB["Server Rack 4"]
        ZHAYA --> ZHAYC["Server Rack 5"]
        ZHAYC --> ZHAYD["Server Rack 6"]
        ZHAYD --> ZHAYE["Server Rack 7"]
        ZHAYE --> ZHAYF["Server Rack 8"]
    end

    subgraph Server Rack10
        ZJ["Server Rack 1"] --> ZJAY["Server Rack 2"]
        ZJAY --> ZJAYA["Server Rack 3"]
        ZJAYA --> ZJAYB["Server Rack 4"]
        ZJAYB --> ZJAYC["Server Rack 5"]
        ZJAYC --> ZJAYD["Server Rack 6"]
    end
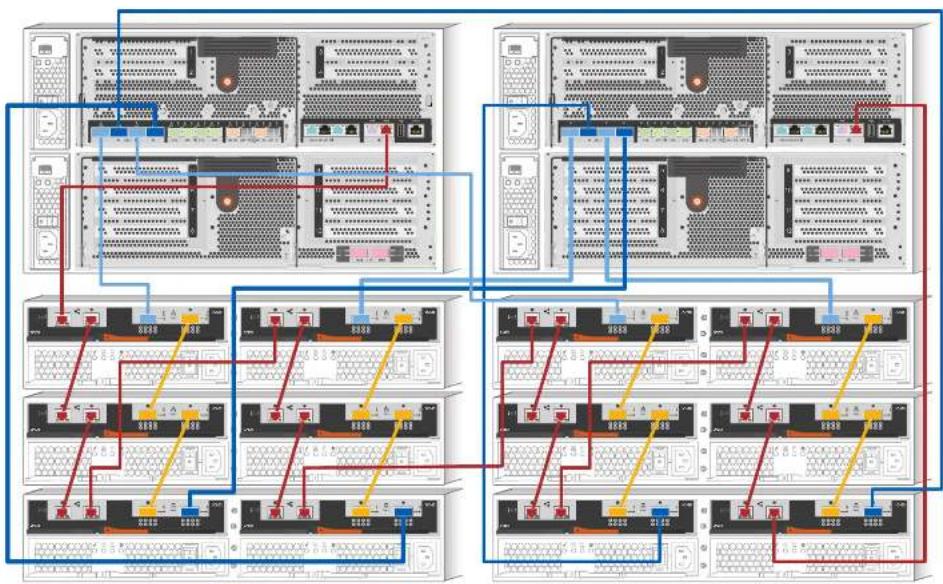
B
1 Daisy chain SAS ports.
2 Cable first SAS ports.
3 Cable last SAS ports.

Network cables
Cable ACP ports on controllers to the disk shelves and shelf-to-shelf ACP ports.
flowchart
graph TD
    subgraph Server 1
        A["Server Rack"] --> B["Client Port"]
        B --> C["Server Rack"]
        C --> D["Client Port"]
        D --> E["Server Rack"]
    end

    subgraph Server 2
        F["Server Rack"] --> G["Client Port"]
        G --> H["Server Rack"]
        H --> I["Client Port"]
        I --> J["Server Rack"]
    end

    subgraph Server 3
        K["Server Rack"] --> L["Client Port"]
        L --> M["Server Rack"]
        M --> N["Client Port"]
        N --> O["Server Rack"]
    end

    style Server 1 fill:#f9f,stroke:#333
    style Server 2 fill:#bbf,stroke:#333
    style Server 3 fill:#bfb,stroke:#333
4
Complete System Setup
(Choose option A or B below)


For Clustered Data ONTAP For

ode, HA
1 Complete configuration worksheet
From http://support.netapp.com/NOW/public/system_setup/
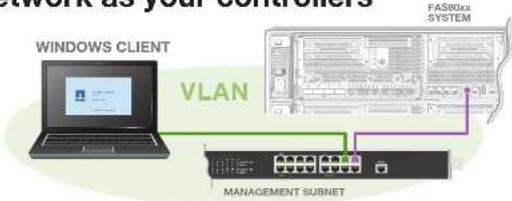
2 Cable Windows client to same network as your controllers
flowchart
graph TD
    A["Windows Client"] -->|VLAN| B["Management Subnet"]
    B --> C["FAS80xx SYSTEM"]
3 Power on all disk shelves ONLY and check IDs
4 Install and run System Setup software
*If you cannot use System Setup, see the Data ONTAP Software Setup Guide.
• Install System Setup software.
- Do not power on your system until directed by System Setup software.
Both power supplies MUST be powered on.
Discover the system. Wait for discover to complete.
- Enter the values from the configuration worksheet into System Setup.*
1 Complete configuration worksheet
From http://support.netapp.com/documentation/productlibrary/index.html?productID=30092 and select your version of the Data ONTAP Software Setup Guide for your system
2 Cable serial console
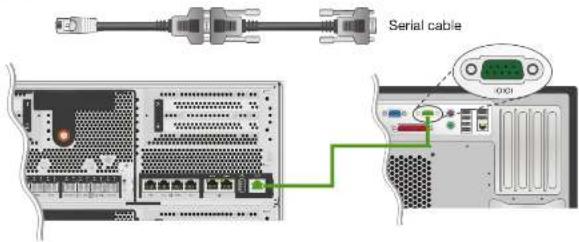
text_image
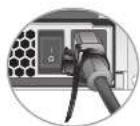
Serial cable3 Power on all disk shelves, check IDs, and then power on the controllers.
ALL power supplies MUST be powered on.
4 Complete initial network configuration
Enter the values from the configuration workbook worksheets when prompted by setup script.
5
Complete configuration

1 Register at support.netapp.com
• Create an account and register your system.
• Get your license keys.
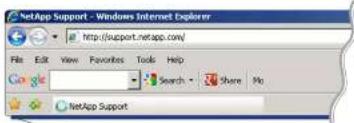
text_image
NetApp Support - Windows Internet Explorer File Edit View Favorites Tools Help Google Search Share Mo NetApp Support2 Download and run Config Advisor From http://support.netapp.com/NOW/download/tools/config\_advisor/
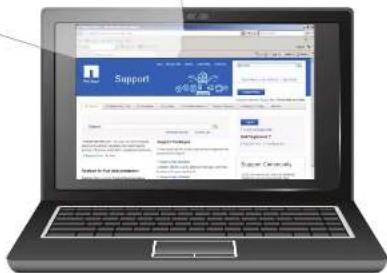
text_image
Support www.niuni.com Support Community3 Download OnCommand System Manager From http://support.netapp.com/NOW/cgi-bin/software/
- Provision more storage.
- Configure other protocols, data protection, and AutoSupport.
- Set up Service Processor and Remote Support Agent.

NetApp support site


HELPFUL LINKS
Visit the NetApp web site for more information.
- System Setup information: http://support.netapp.com/NOW/public/system_setup/
• Data ONTAP 8 library: http://support.netapp.com/documentation/productlibrary/index.html?productID=30092 - Licenses: http://support.netapp.com/eservice/agree.do?moduleId=PROTOCOL
• Controller and configuration examples; Universal SAS and ACP Cabling Guide: https://library.netapp.com/ecm/ecm_download_file/ECMM1280392 - OnCommand System Manager documentation set: http://support.netapp.com/documentation/productlibrary/index.html?productID=61372
- Data ONTAP Express Guides for your version of Data ONTAP: http://support.netapp.com/documentation/productlibrary/index.html?productID=30092