American Charcoal KS14021 - Rotisserie Tesco - Free user manual and instructions
Find the device manual for free American Charcoal KS14021 Tesco in PDF.


User questions about American Charcoal KS14021 Tesco
0 question about this device. Answer the ones you know or ask your own.
Ask a new question about this device
Download the instructions for your Rotisserie in PDF format for free! Find your manual American Charcoal KS14021 - Tesco and take your electronic device back in hand. On this page are published all the documents necessary for the use of your device. American Charcoal KS14021 by Tesco.
USER MANUAL American Charcoal KS14021 Tesco
American Charcoal Grill Assembly instructions
Product size assembled:
L102 x W71 x H113.5cm
natural_image
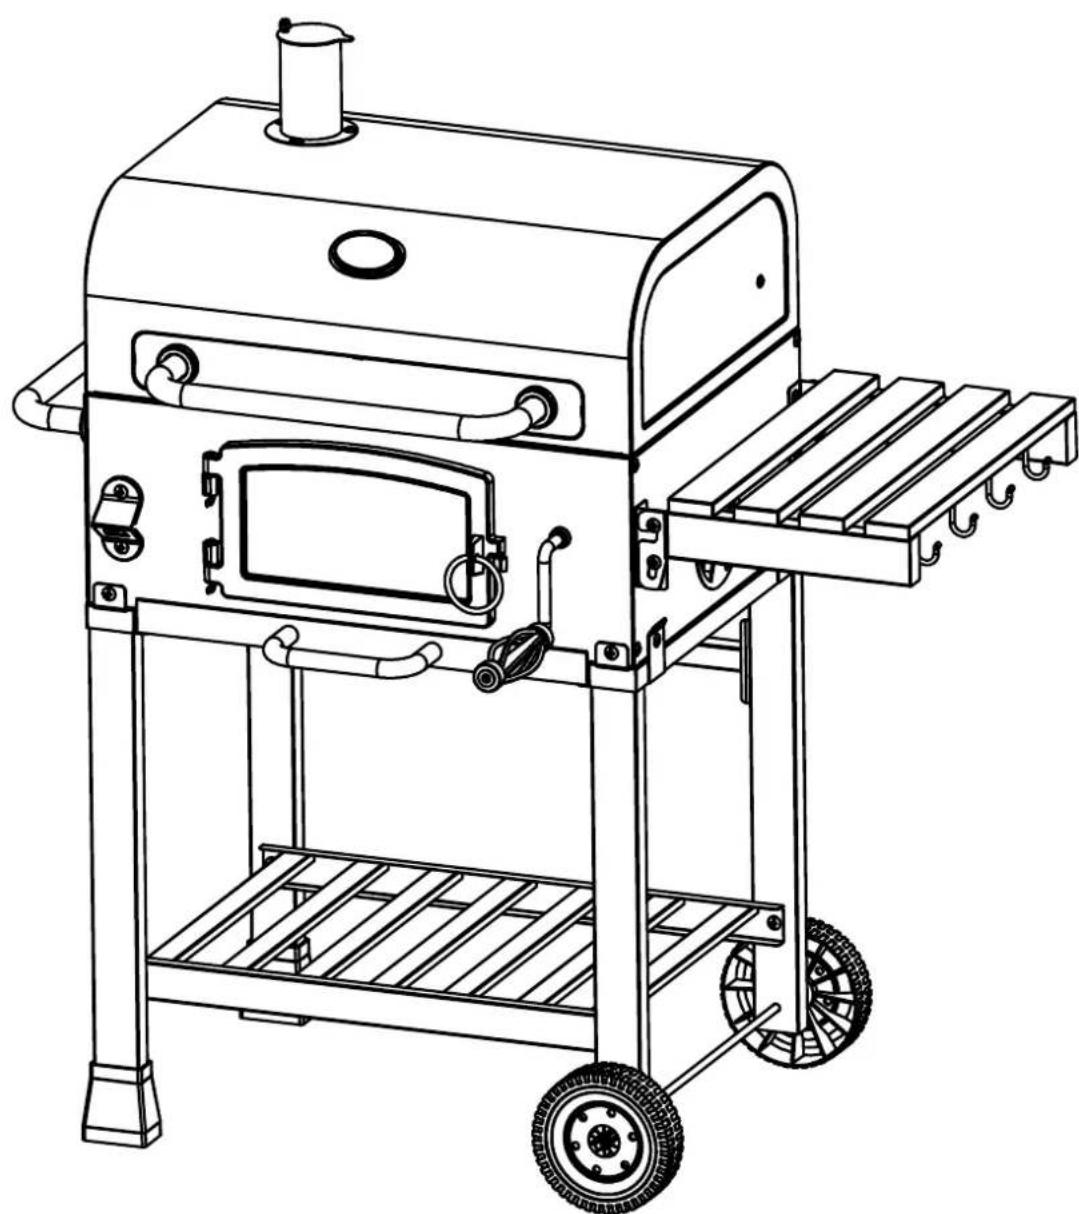
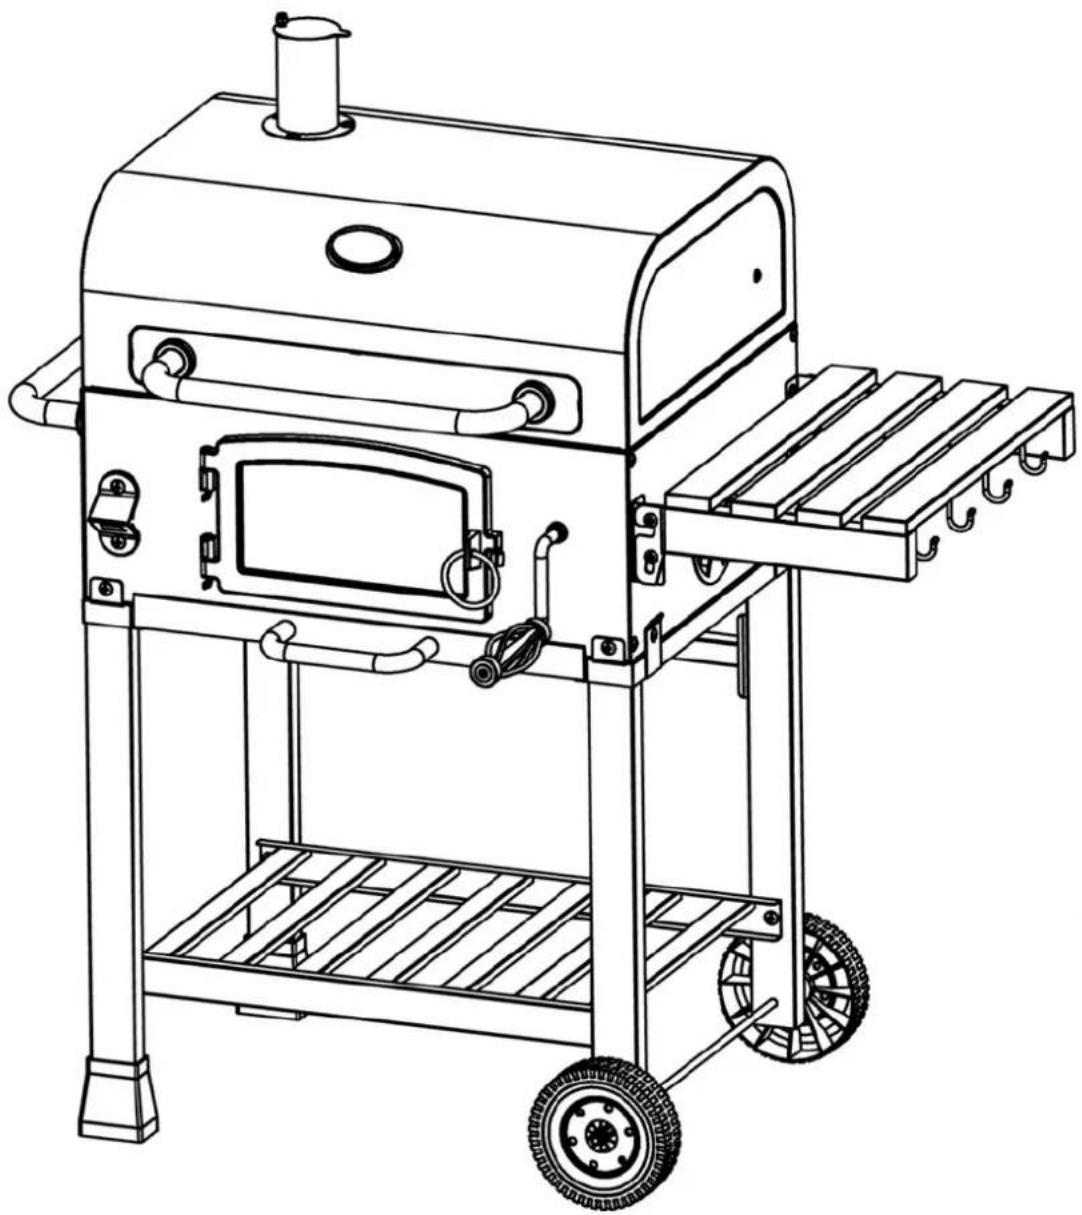
Line drawing of a portable outdoor grill with wheels and a top-mounted lid (no text or symbols)Ref No.: KS14021
Catalog No.:
American Charcoal Grill
Assembly instructions
Before you start

Warnings
REMEMBER-DO NOT USE INDOORS! FOR OUTDOORS ONLY.
Great care has been taken during production to remove sharp edges but you should handle all components with care to avoid possible injury.
- Keep a fire extinguisher handy.
- Hot fat may drip at the bottom of the firebowl so keep your feet clear.
- If fire flares up due to dripping fat, douse flames with fine water spray.
- DO NOT touch metal parts of the BBQ until it has completely cooled to avoid burns. BBQ handles will be hot and unsafe to touch during use, unless you are wearing protective gear (pot holders, gloves, BBQ mittens, hot pad etc).
• Never handle charcoal after lighting. - Ensure coals have completely burnt before removing the ash.
- Not to be installed in or on recreational vehicles and/or boats.
- Store away ONLY when barbecue is completely extinguished and cool.
- In construction of this BBQ use all and only the components provided.
- Caution! Do not use spirit or petrol for lighting or relighting. Use only firelighters complying with EN1860-3.
- Caution! Keep well away from heat sensitive materials and objects.
• After use, extinguish and allow cooling. - Only store away when thoroughly cool and extinguished.
- Caution! To avoid damage to property, ALWAYS place this appliance on a surface which is suitably heat resistant as this appliance will get extremely hot during operation.
- Caution! To avoid injury, be aware that the resting surface directly beneath this appliance will get very hot during operation and will remain very hot sometime after afterwards-keep feet, other limbs and all property/item well away from this area.
- Attention! This barbecue will become very hot. Do not move it during operation.
• Warning: Keep children and pets away. - Important! Please retain this manual for future reference.
- Unwrap all packaging materials and place components on top of carton box or on a clean floor to prevent it from scratching.
- Keep small parts out of reach of children.

Do's
Stand your barbecue on a safe, level surface, well away from flammable items such as wooden fences or over-hanging tree branches.
Keep children and pets away.
An adult should always be in charge of the BBQ. Never leave a hot barbecue unattended.
Be careful of sharp edges during assembly.
When you are ready to start, make sure you have the right tools, plenty of space and a clean, dry area for assembly.
Check the pack and make sure you have all the parts listed. During assembly, children should be kept away from the product due to possible risk of injury.
Ensure this product is fully assembled as illustrated before use.
To clean, wipe with a sponge and soapy water. Do not use solvent based cleaners or detergents as they can bleach or damage this product.
Tools not included.

Don'ts
CAUTION! Do not use spirit or petrol for lighting or re-lighting! Use only firelighters complying to EN1860-3!
ATTENTION! Once lit, DO NOT move your BBQ or leave it unattended!
Always make sure the barbecue is fully extinguished and completely cool before applying any covers OR storing away-remember coals can remain hot for sometime and could re-ignite under certain conditions UNLESS fully damped down and/ or extinguished.
CAUTION! NEVER STORE a barbecue indoors unless ALL coals and ash have been thoroughly removed and thrown away outdoors and all barbecue surfaces have been cleaned and are cool, as otherwise this could lead to fire and/or emissions of poisonous gases which could cause death.
DO NOT use power tools to construct this product.
DO NOT over tighten screws or bolts.
DO NOT tighten screws until fully assembled.
DO NOT sit or stand on the product.
DO NOT use the product if parts are missing, damaged or worn.
Number of people required to assemble
Two persons to assemble and lift
Time to assemble

1-2 hours
Tools required (not supplied)

not
supplied

not
supplied
Our promise
We are happy to refund or replace any Tesco product which falls below the high standard you expect. Just ask any member of staff.
This will not effect your statutory rights.
We are here to help:
Tesco Stores Ltd., Welwyn Garden City AL7 1GA,U.K.
Spare parts are also available in the unlikely event that any are missing.
Please call: 0870 066 6938
Please have the Ref. number available to assist with your query.
This is located on the front page of the instruction manual.
Further help
Instructions for use
Barbecue should be heated up and the fuel kept red hot for at least 30 min prior to the first cooking on the barbecue.
Method 1 - Charcoal & Lighting Fluid/Gel Follow Charcoal & Lighting Fluid/Gel product instructions and warnings. (not included)
- Set up your barbecue in a safe place with sufficient space and make sure the barbecue is installed on a secure level base. Place enough charcoal in the bowl to a depth of 3-5 cm.
- CAUTION: Carefully apply lighting fluid/gel in small amounts over the charcoal. Over application can be dangerous.
• DO NOT spill any lighting fluid/gel onto your hands or clothes. - Wait for 30 seconds to allow the liquid to soak into the charcoal before lighting.
- DO NOT light the charcoal if you have spilt fluid or gel onto your clothes. Light the charcoal using a long taper or safety lighter.
• DO NOT squirt liquid onto burning charcoal.
Method 2 - Lighting Blocks Follow lighting block product instructions and warnings. (not included)
- Place three or four Lighting Blocks in the centre of the barbecue fire bowl and light with a match.
- Place pieces of charcoal around each burning block. Add more charcoal as required, in a pyramid formation.
- When burning is established, spread the fuel out evenly. The fire should be ready for cooking when even white ash or an even red glow is visible.
• DO NOT cook before the fuel has a coating of ash. - Ensure that the cooking grill is fully located into the grill supports.
When the charcoal is alight, the smoke and flames have died down and the charcoal has an even layer of grey ash, rake the charcoal into a level layer in the hearth.
Small quantities of charcoal may be added on top of the charcoal layer prior to cooking to extend cooking time.
To help prevent food sticking, apply a thin coating of cooking oil on the grill prior to cooking.
To adjust the airflow using the air vent we recommend to use of a heat resistant glove.
ALWAYS WEAR OVEN GLOVES WHEN HANDLING THE CHARCOAL BBQ.
Care Instructions
Follow these instructions to maintain the appearance and life of this BBQ.
- It is not advisable to completely fill the fire bowl as the barbecue may become far too hot to cook successfully.
- Line the fire bowl with aluminum cooking foil, shiny side up, to make it easier to clean your barbecue after use. Leave ventilation holes clear by piercing the foil where necessary. This process will lengthen the life of your barbecue and reflect the heat more efficiently on to the food.
- To clean your grill, soak the cooking grill and tools in hot soapy water when the barbecue is completely cool as soon as possible after use.
- When you have finished cooking, never pour cold water directly on the coals to extinguish them as this may damage your grill. Use old cinders, sand or a fine water spray.
- Store in a cool dry place. Ensure it is clean and dry thoroughly. It must be thoroughly cleaned of all ash and unused fuel/coals before storage. (See Warnings)
CAUTION! To help avoid injury or damage to property, it is vitally important that you clean and maintain your barbecue after every use. Please note that you should inspect your barbecue before every use - the barbecue should be clean and in good working order.
Please note that this appliance will not last forever and will begin to degrade with use over time. It is very important that you replace your barbecue as and when it begins to show signs of fatigue, corrosion or damage. Please note: Continuing to use an appliance which is damaged could cause injury or damage to property.
- Protect from severe weather conditions.
We recommend you use a BBQ cover to protect this item when not in use. BBQ must be cooled before cover is added. Covers must be removed periodically to minimize moisture build up and damage to the BBQ, as most covers are not breathable. - Some components are held at BBQ service centre please contact 0870 066 6938 if you are missing parts.
Email:Helpline@ClickSpares.co.uk
American Charcoal Grill Assembly instructions
Care and Maintenance
Charcoal is available in lump wood form (large irregular pieces) and as briquettes (uniformly sized pieces). This Charcoal BBQ works best with briquettes.
It is not advisable to completely fill the firebowl as the BBQ may become far too hot to cook successfully. As a guide a 3kg bag of charcoal briquettes should last for at least 2 full BBQ fires. Recommend charcoal max 1.5 kg to be used for each firebowl, evenly distributed on the charcoal grate.
If the fires flares up due to dripping fat then douse the flames lightly with a fine water spray.
When you have finished using the Charcoal BBQ, never pour cold water directly on the coals to extinguish them as this may damage your Charcoal BBQ. Use old cinder, sand or a fine water spray.
Empty the bottom bowl of ashes when they are completely cold. To clean your Charcoal BBQ, soak the cooking grill and tools in hot soapy water as soon as possible after use. Dry thoroughly and store in a dry place.
Do not leave your Charcoal BBQ outside unprotected.
Food safety
- Thoroughly defrost frozen meat and poultry in the refrigerator before cooking. Keep raw meat and poultry separate from cooked food.
- Ensure that the grill is thoroughly cleaned before cooking and lighting the barbecue.
- Always wash hands after handling raw meat and poultry before handling any ready to eat food.
- Wipe and disinfect surfaces that have been in contact with raw meat and poultry.
- When barbecuing meat and poultry, make sure the barbecue is really hot. Place the larger, thicker portions furthest away from the most intense heat to ensure thorough cooking without burning and turn regularly.
- Use separate utensils for handling raw meat or poultry and cooked food on the barbecue, or wash them thoroughly between use.
- To check whether meat, particularly poultry, is cooked, pierce the flesh with a skewer or fork: the juices should run clear. Ensure the product is piping hot throughout.
Attention!
This BBQ will become very hot do not move it during operation. Do NOT use indoors.
"Warning! Keep children and pets away!"
"Caution! Do not use spirit or petrol for lighting or re-lighting! Use only firelighters complying to EN 1860-3"
Carbon Monoxide Hazard
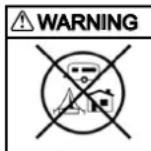
CARBON MONOXIDE HAZARD Danger of carbon monoxide poisoning-NEVER light this product or let it smoulderor cool down in confined spaces
Warning!
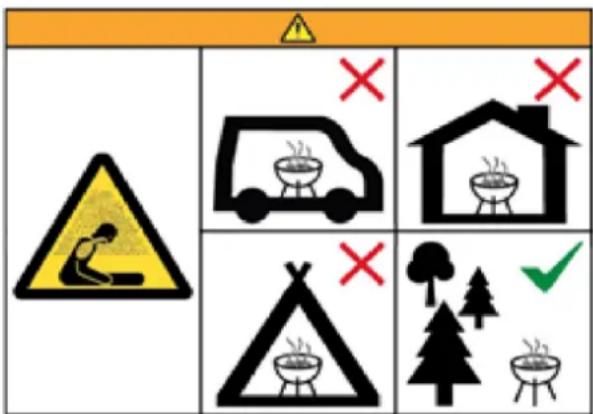
Do not use this barbecue in a confined and/or a habitable space, e.g. houses, tent, caravans, motor homes, boats. Danger of carbon monoxide poisoning fatality.
text_image
Safety warning diagram showing hazard symbols for outdoor heating and equipment, including car, house, fire, and tree.American Charcoal Grill
Assembly instructions
Fixtures and fittings supplied (not actual size)
| Ref | Dimmension(mm) Visual Qty | ||
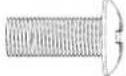
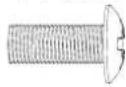
| A | M6x15mm Bolt 49 | 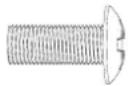 | |
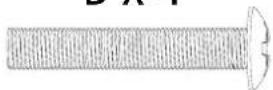
| B | M6x35mm Bolt 8 | 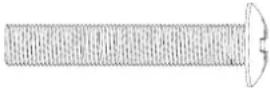 | |
| C | M6x30mm Bolt 4 | 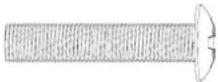 | |
| D | M8 Nut 2 | 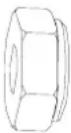 | |
| E | M6 Nut 5 |  | |
| F | Washer 2 |  | |
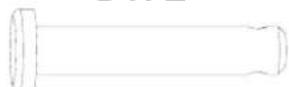
| G | Door Hinge Bolt 2 |  | |
| H | R Pin 5 |  | |
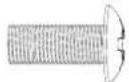
| I | M6 x15mmShoulder Bolt | 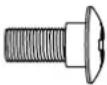 | 4 |
| J | Lid Pin 2 | 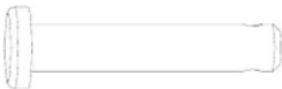 | |
American Charcoal Grill
Assembly instructions
Components supplied (not actual size)
| Ref | Description Visual Qty | ||
| 1 Lid | assembly 1 |  | |
| 2 Chimney 1 | 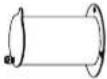 | ||
| 3 | Temperature gauge | 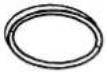 | 1 |
| 4 Handle 2 | 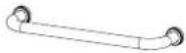 | ||
| 5 Firebowl left panel 1 | 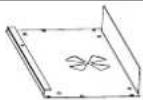 | ||
| 6 | Firebowl front panel | 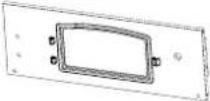 | 1 |
| 7 | Firebowl back panel | 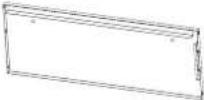 | 1 |
| 8 | Firebowl right panel | 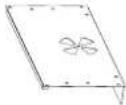 | 1 |
| 9 Warming rack 1 | 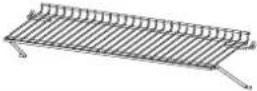 | ||
| 10 Cooking grill 2 | 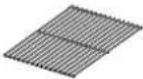 | ||
| 11 Charcoal tray 1 | 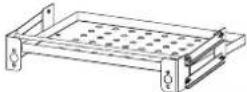 | ||
| 12 | Crank handle threaded mount |  | 1 |
| 13 Crank handle 1 |  | ||
| 14 Cart left assembly 1 | 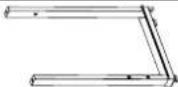 | ||
| 15 Leg cap 2 |  | ||
| 16 Bottom shelf 1 | 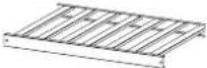 | ||
| 17 | Cart right assembly | 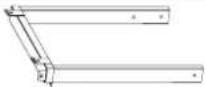 | 1 |
Components supplied (not actual size)
| Ref | Description | Visual | Qty |
| 18 | Wheel | 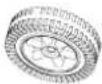 | 2 |
| 19 | Axle | 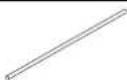 | 1 |
| 20 | Cart back support | 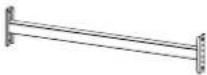 | 1 |
| 21 | Bottle opener | 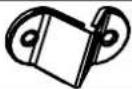 | 1 |
| 22 | Firebowl front door | 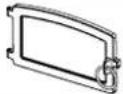 | 1 |
| 23 | Ash tray handle | 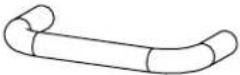 | 1 |
| 24 | Ash tray | 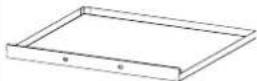 | 1 |
| 25 | Damper |  | 2 |
| 26 | Side shelf front bracket |  | 1 |
| 27 | Side shelf back bracket |  | 1 |
| 28 | Hook |  | 4 |
| 29 | Side shelf | [4XXK] | 1 |
| 30 | Lower hinge |  | 2 |
| 31 | Upper hinge |  | 2 |
American Charcoal Grill
Assembly instructions
Getting to know your product

text_image
Exploded view diagram of household appliances and fixtures with numbered labelsTESCO
American Charcoal Grill
Assembly instructions
1
text_image
Technical diagram of a device with labeled components, showing front, side, and top views with numbered parts.
not supplied
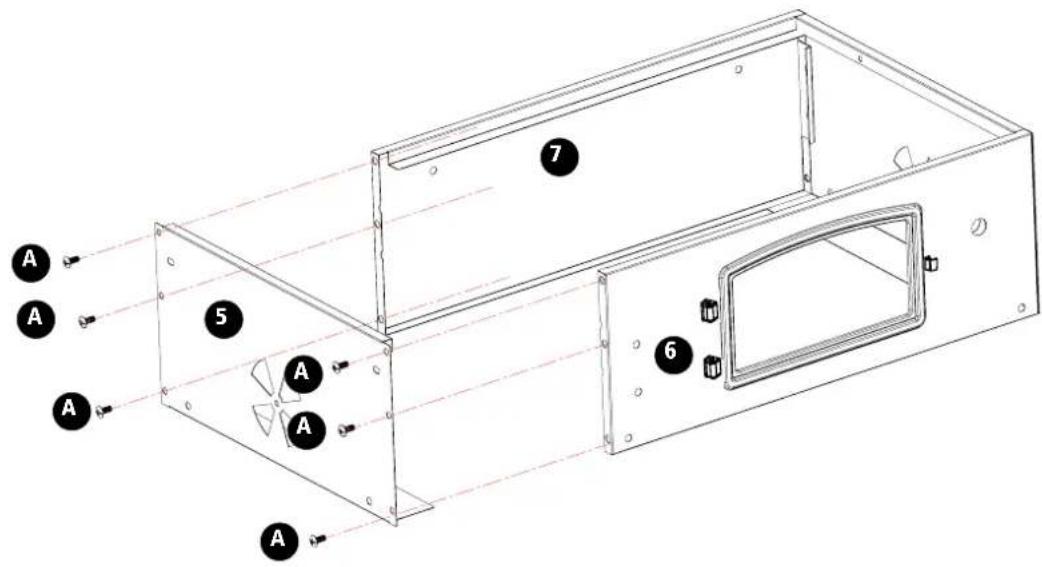
A x 4
2
text_image
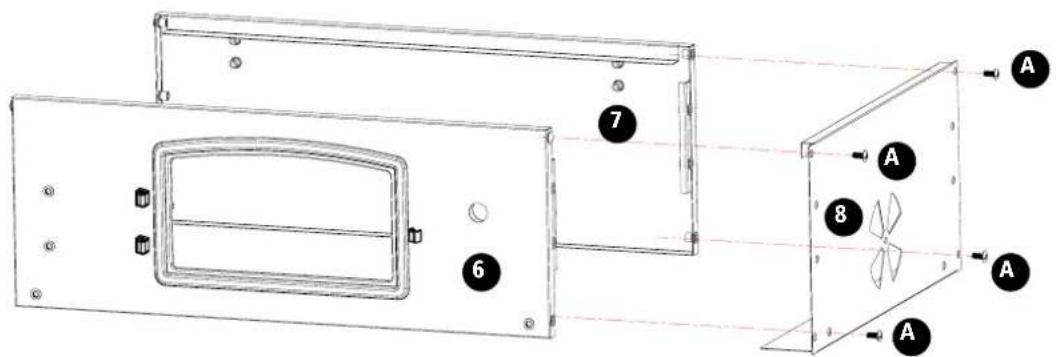
A A 5 7 6 A A A
not supplied
A x 6
www.tesco.com
TESCO
American Charcoal Grill
Assembly instructions
3
text_image
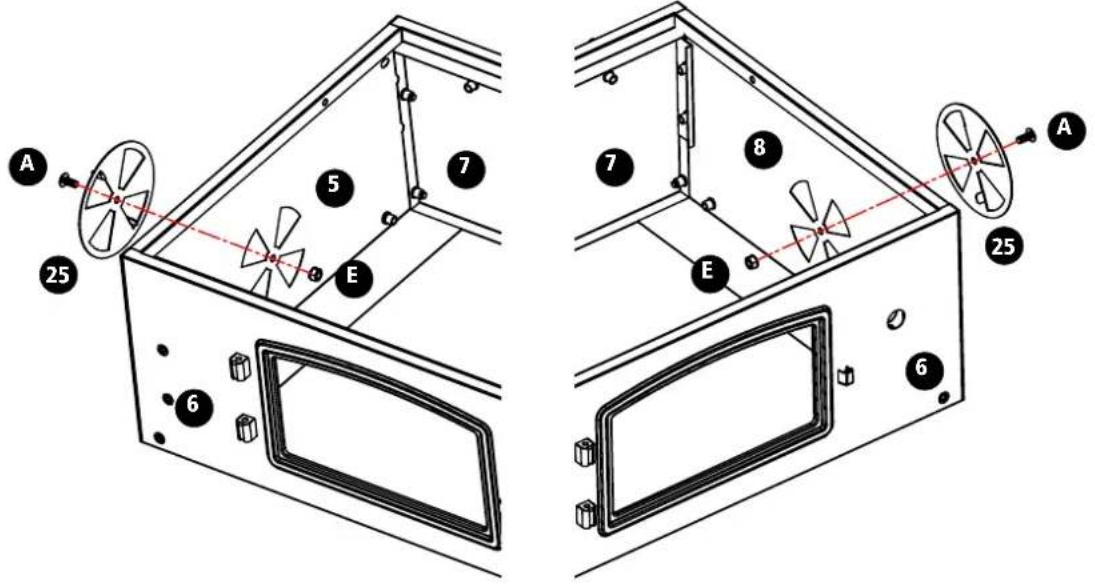
A 25 5 7 E 6 7 8 E 25 6 A
not supplied

not supplied
A x 2
Ex 2

4

text_image
Technical diagram of a mechanical device with labeled components A, 4, and 5, showing internal structure and fan-like features.
not supplied
A x 2
TESCO
American Charcoal Grill
Assembly instructions
5
text_image
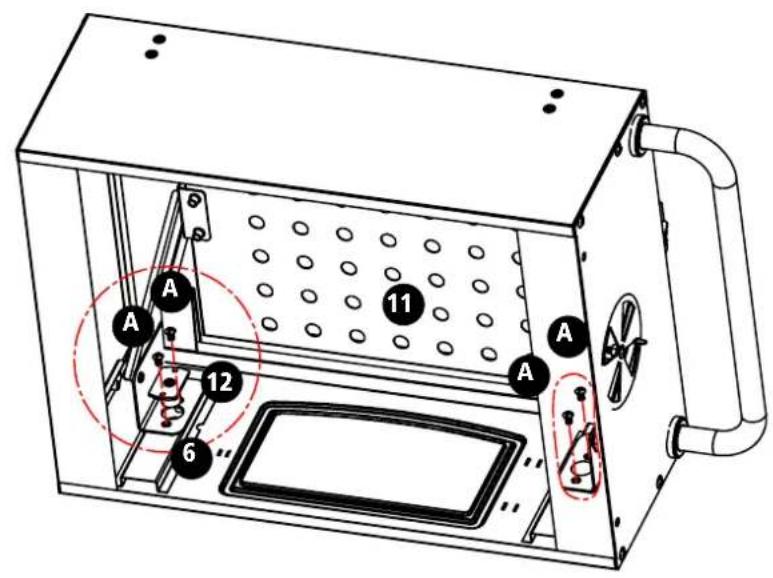
Technical diagram of a microwave oven with labeled components and numbered parts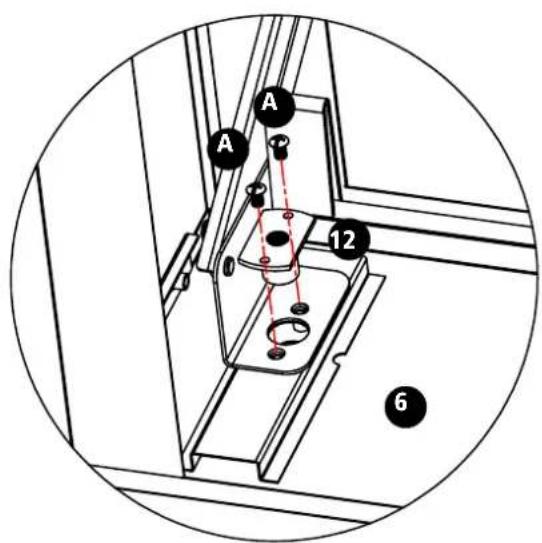
text_image
A A 12 6
not supplied
A x 4
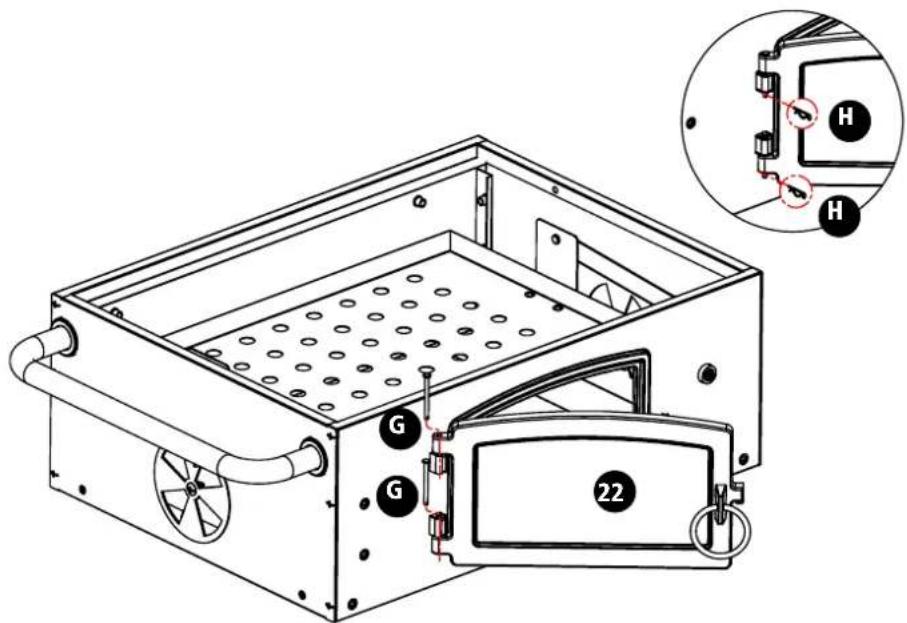
6
text_image
Technical diagram of a portable air vent with labeled components and an inset showing internal wiring connections.G x 2
H x 2

www.tesco.com
TESCO
American Charcoal Grill
Assembly instructions
7
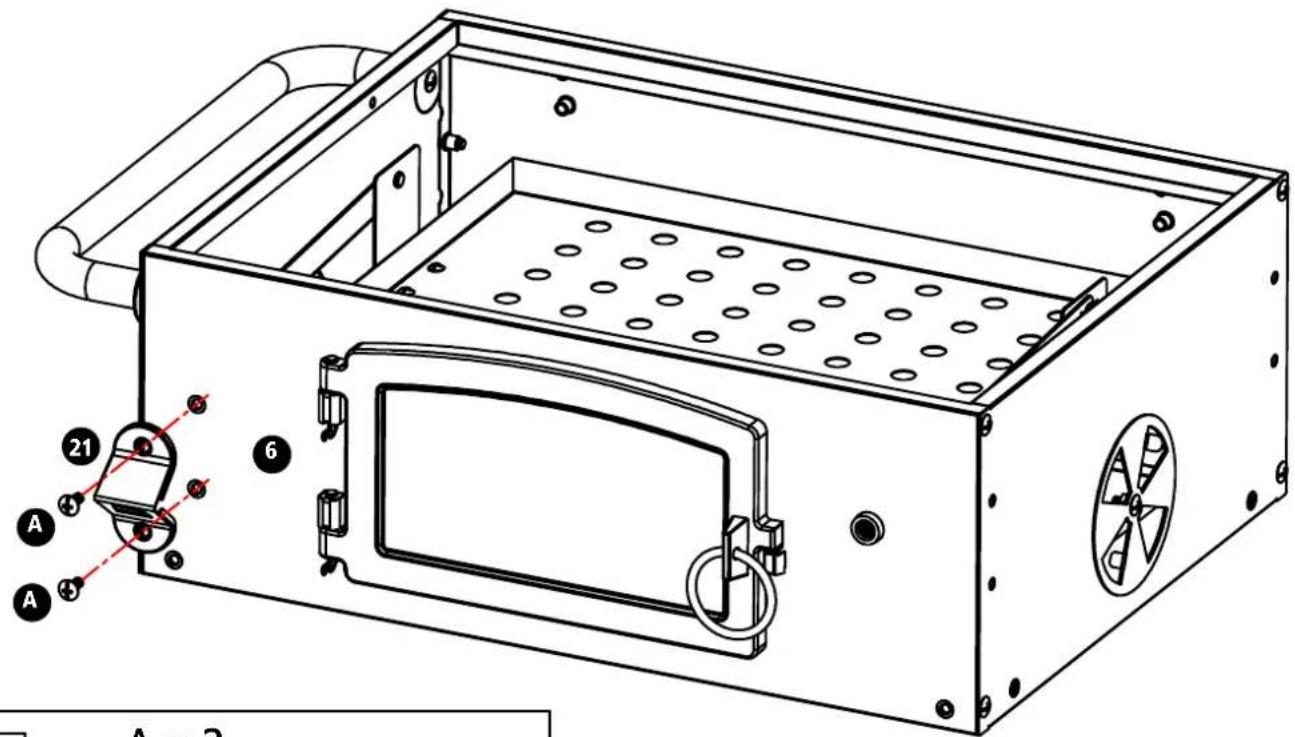
text_image
Technical diagram of an industrial furnace or boiler with labeled components and numbered parts
not supplied
A x 2

8
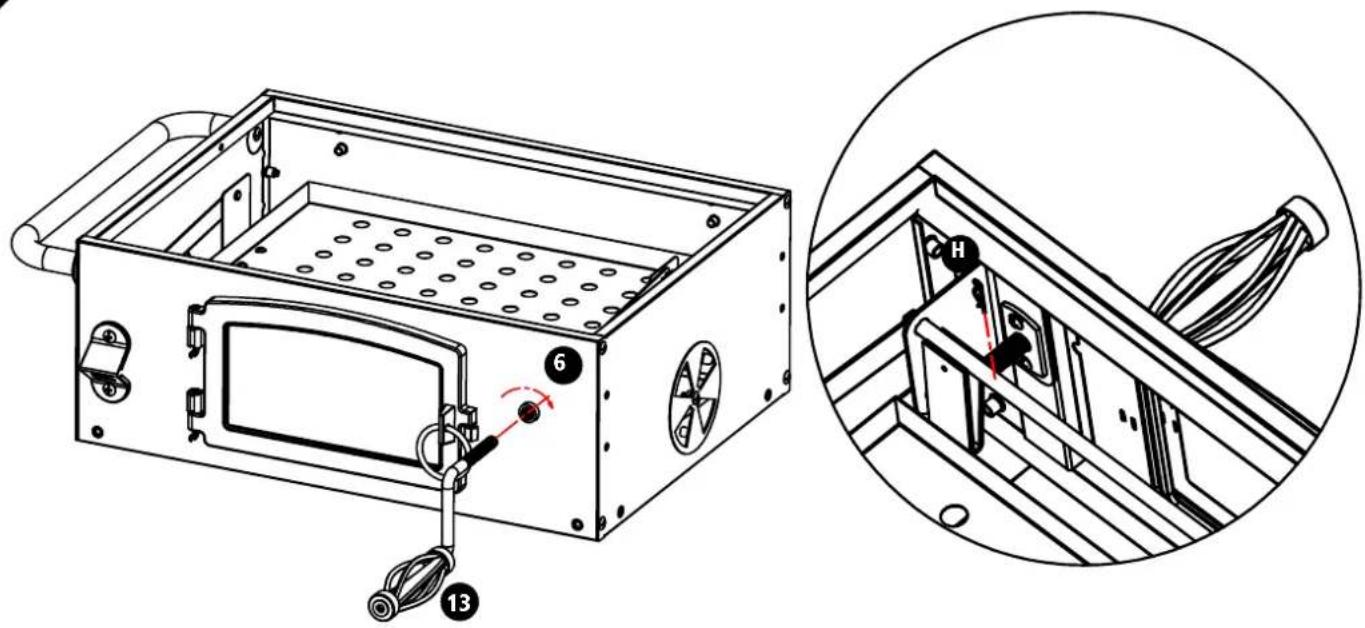
text_image
Technical diagram of a device with labeled components and a magnified inset showing internal wiring connections.H x 1

TESCO
American Charcoal Grill
Assembly instructions
9
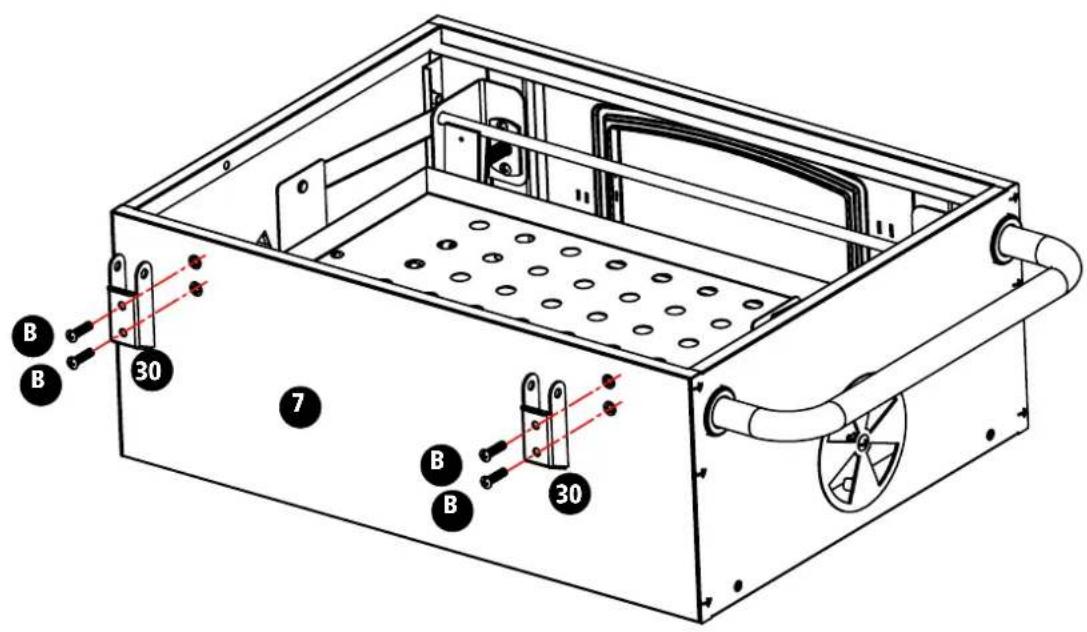
American Charcoal Grill
Assembly instructions
11
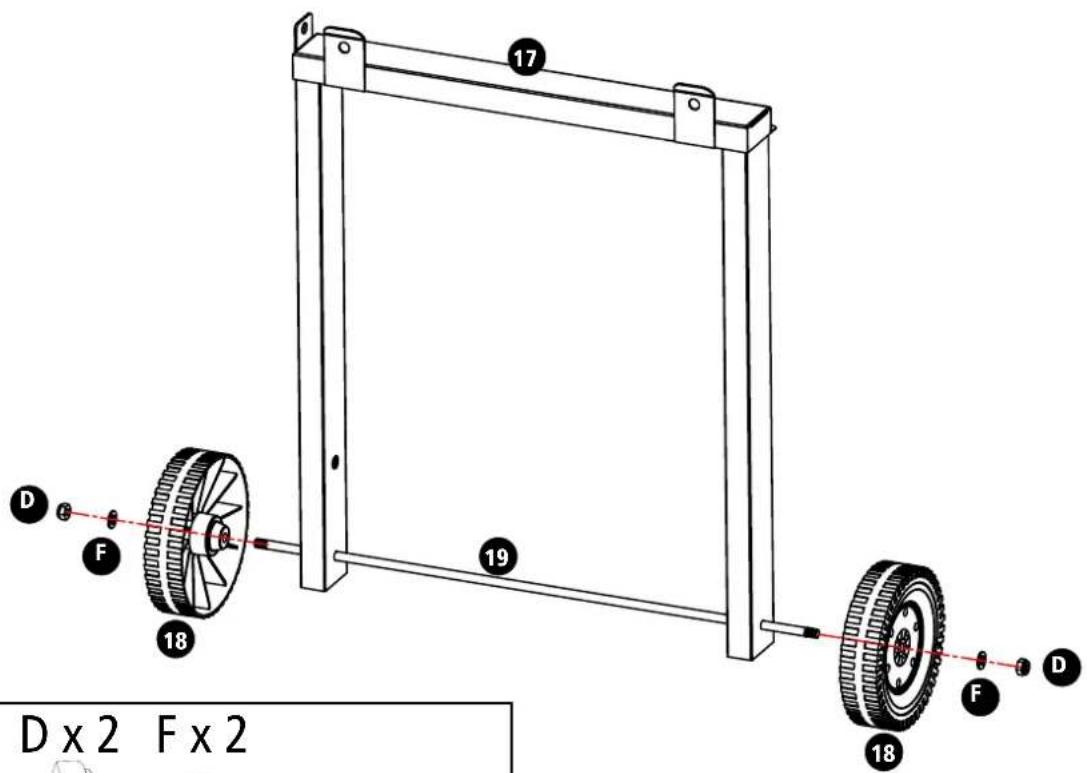
text_image
D x 2 F x 2 17 18 19 18 F D
not supplied
D x 2 F x 2


12
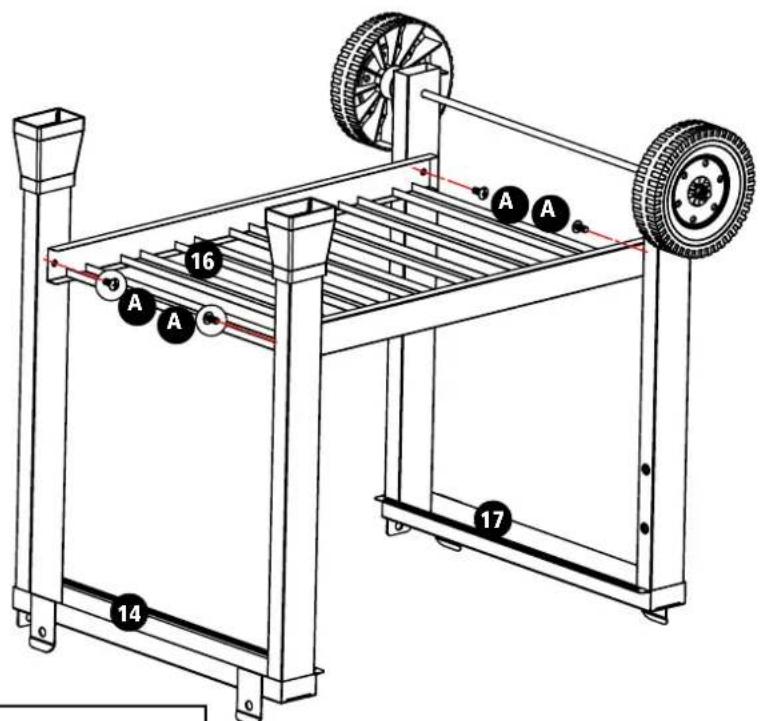
text_image
Technical diagram of a mechanical cart with labeled parts and wheel positions
not supplied
A x 4
www.tesco.com
TESCO
American Charcoal Grill
Assembly instructions
13
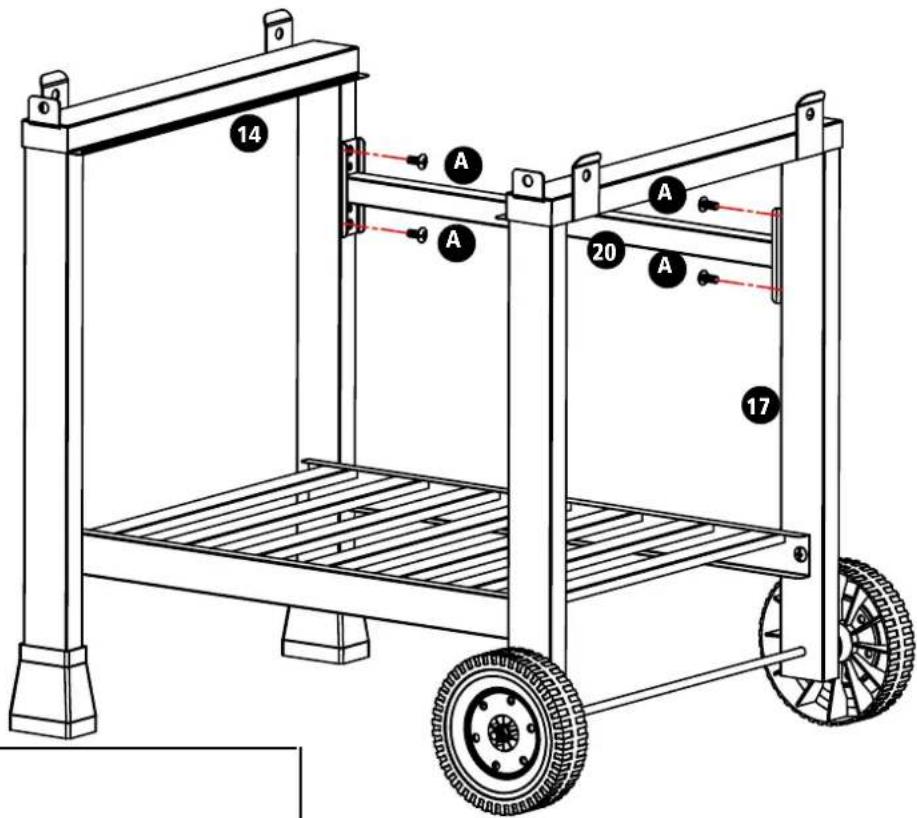
text_image
14 A A 20 A 17
not supplied
A x 4
14
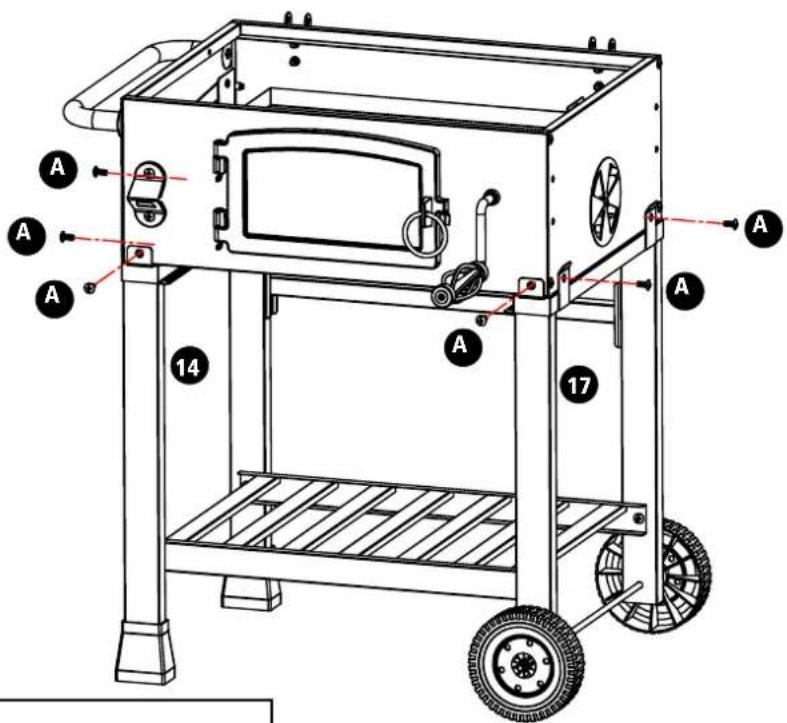
text_image
A A A 14 A 17 A
not supplied
A x 6
www.tesco.com
TESCO
American Charcoal Grill
Assembly instructions
15
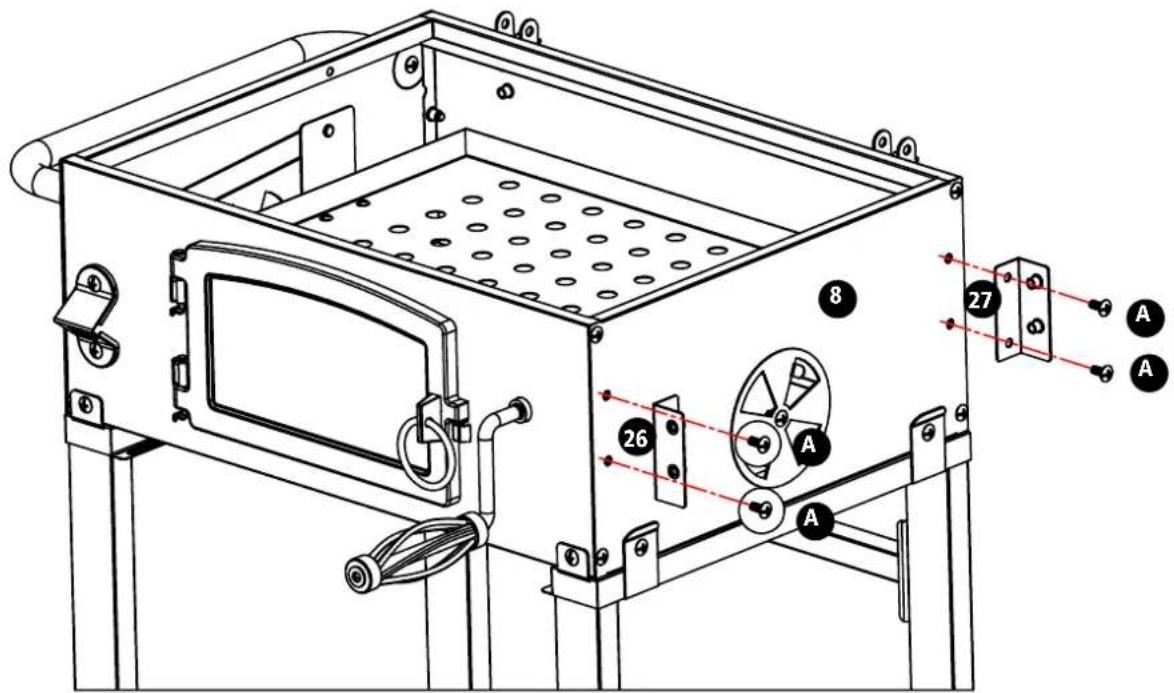
text_image
Technical diagram of an industrial machine with labeled components and numbered parts
not supplied
A x 4
16
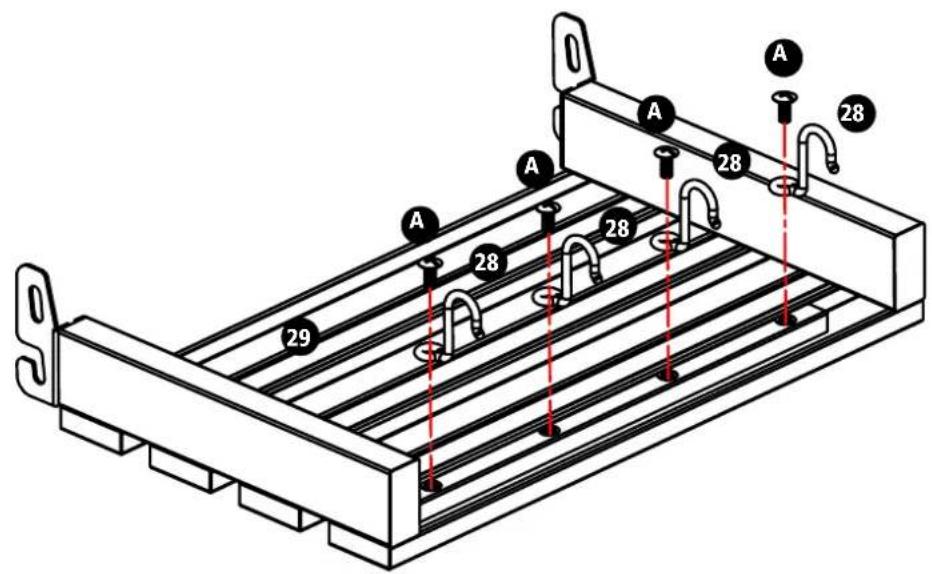
text_image
A 28 A 28 28 29 A 28 A 28
not supplied
A x 4
.www.tesco.com
TESCO
American Charcoal Grill
Assembly instructions
17
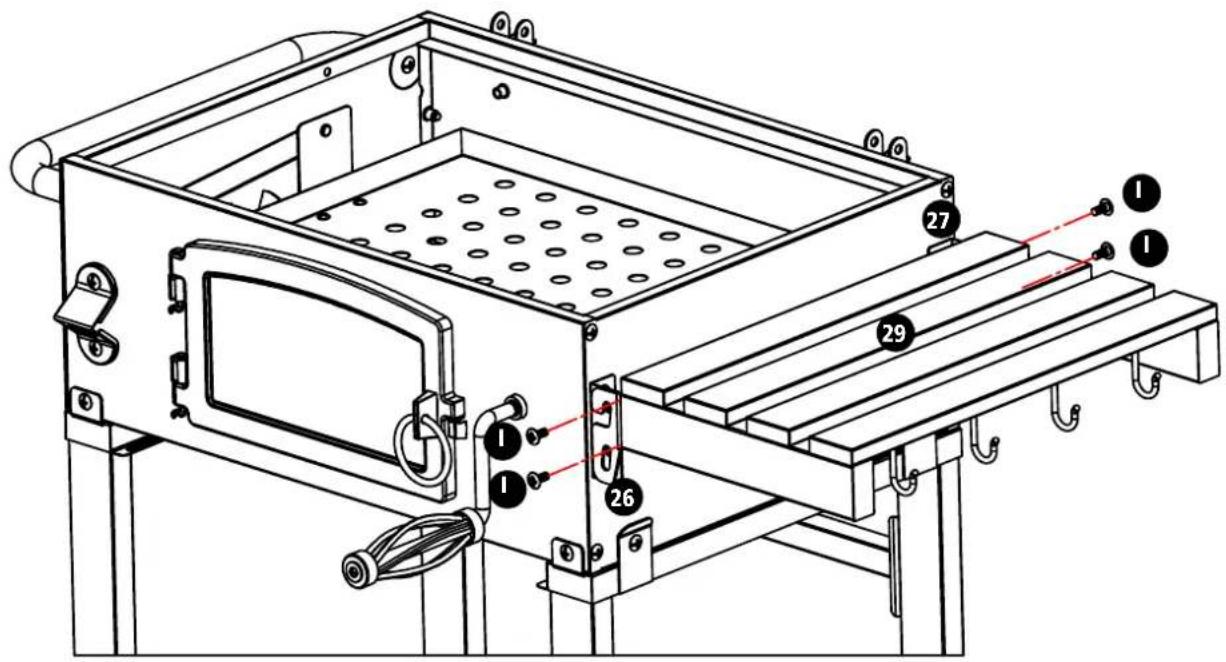
text_image
Technical diagram of a mechanical device with numbered components and labeled parts
not supplied
1×4
18
text_image
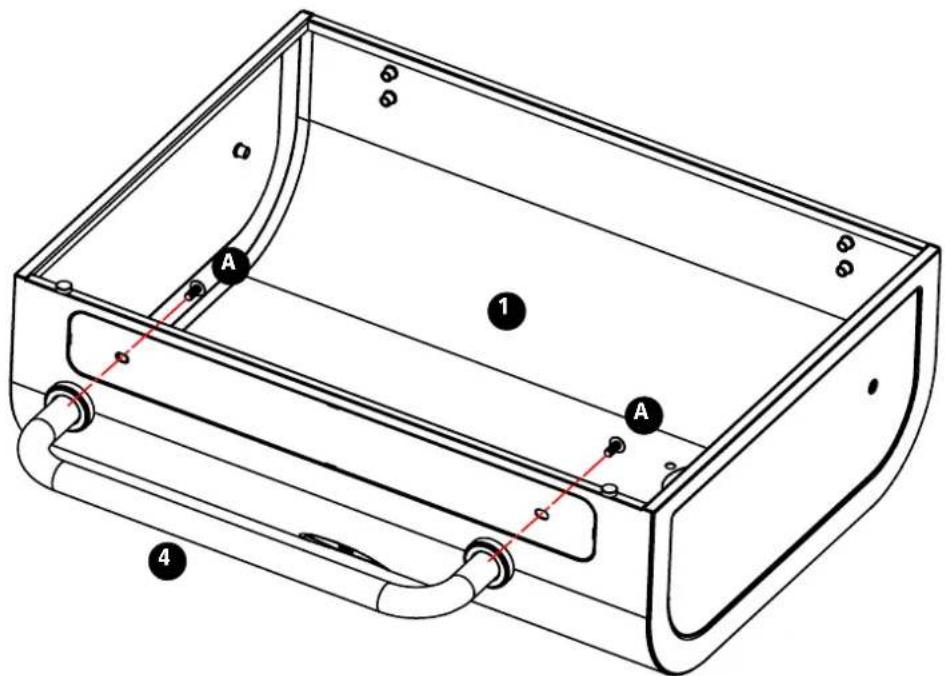
Technical diagram of a rectangular device with labeled components A and numbered parts 1, 2, and 4
not supplied
A x 2
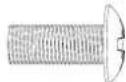
TESCO
[Non-Text]
American Charcoal Grill
Assembly instructions
19
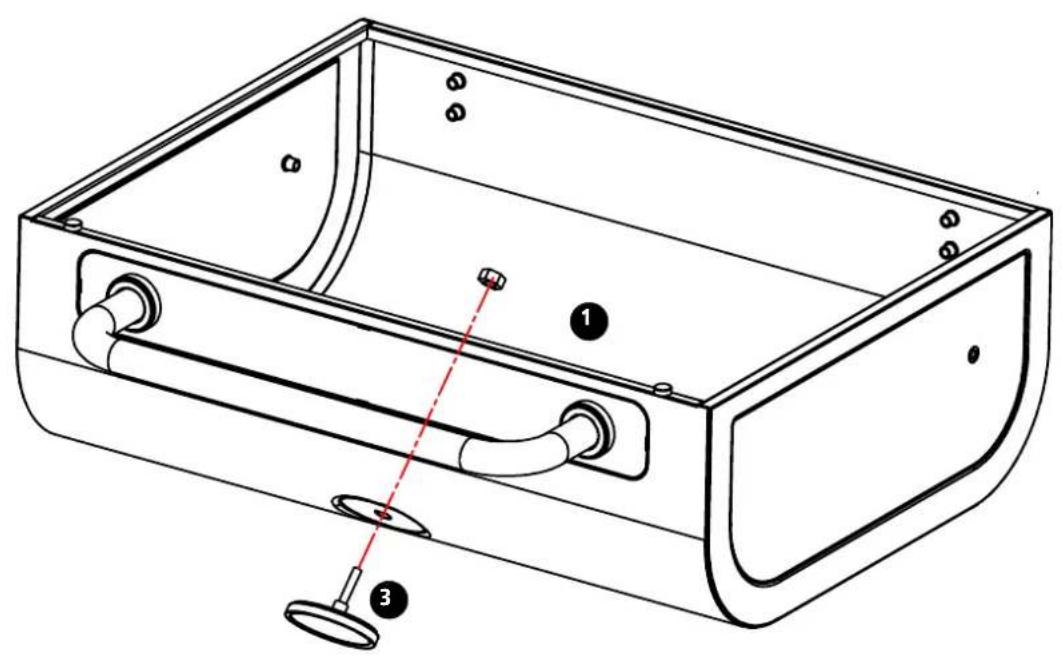
text_image
Technical diagram of a rectangular device with labeled parts and a red dashed line indicating a measurement or connection.20
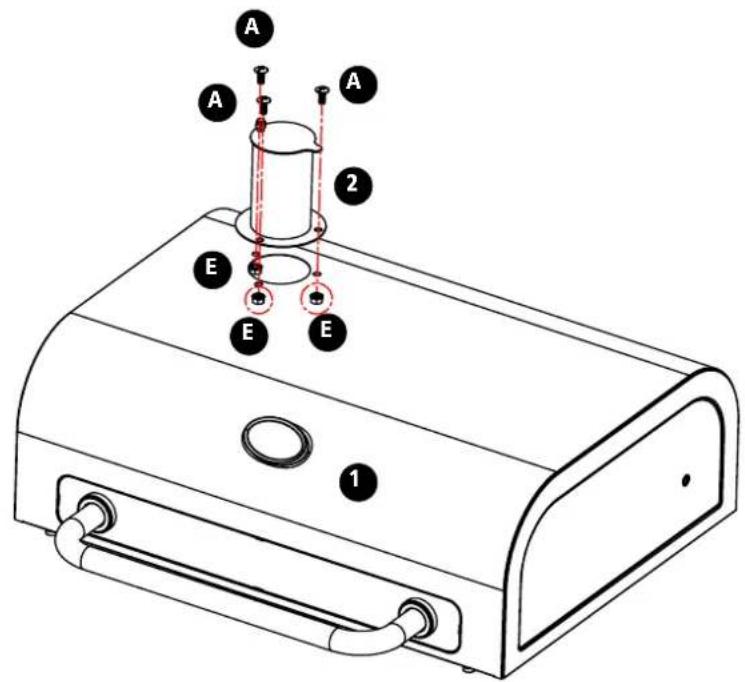
text_image
A A A 2 E E E 1
not supplied

not supplied
A x 3
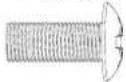
Ex 3

TESCO
American Charcoal Grill
Assembly instructions
21
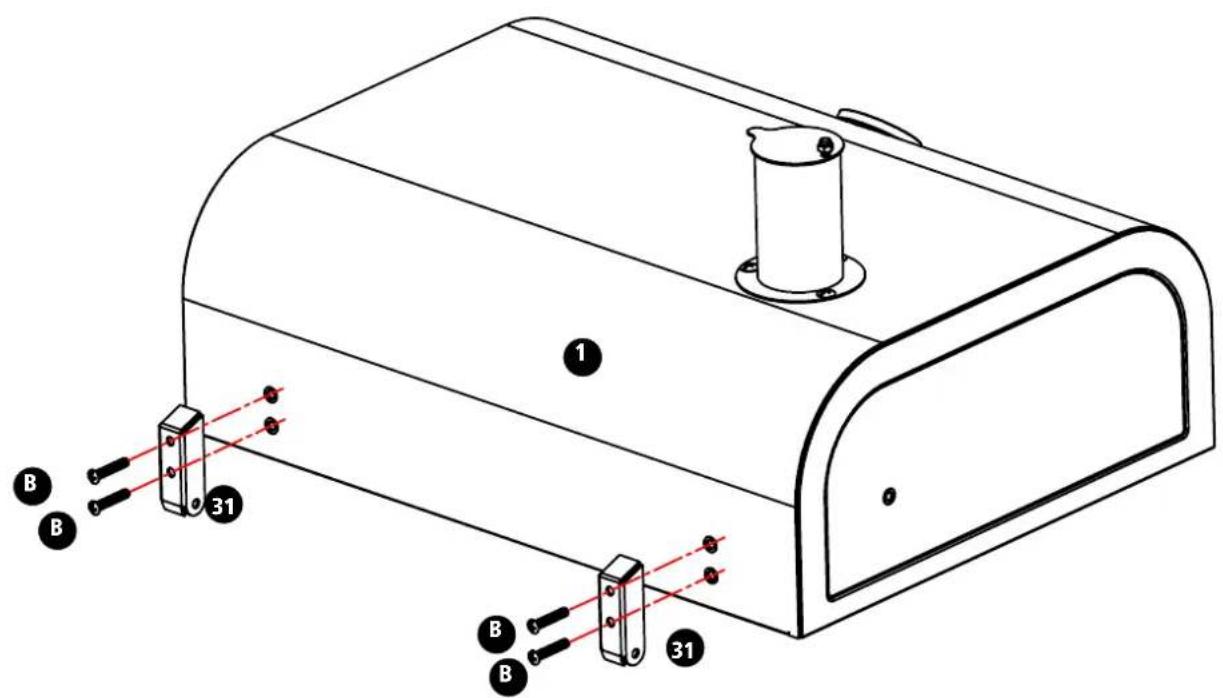
text_image
Technical diagram of a device with labeled components and red dashed lines indicating alignment or assembly points.
not supplied
B x 4
22
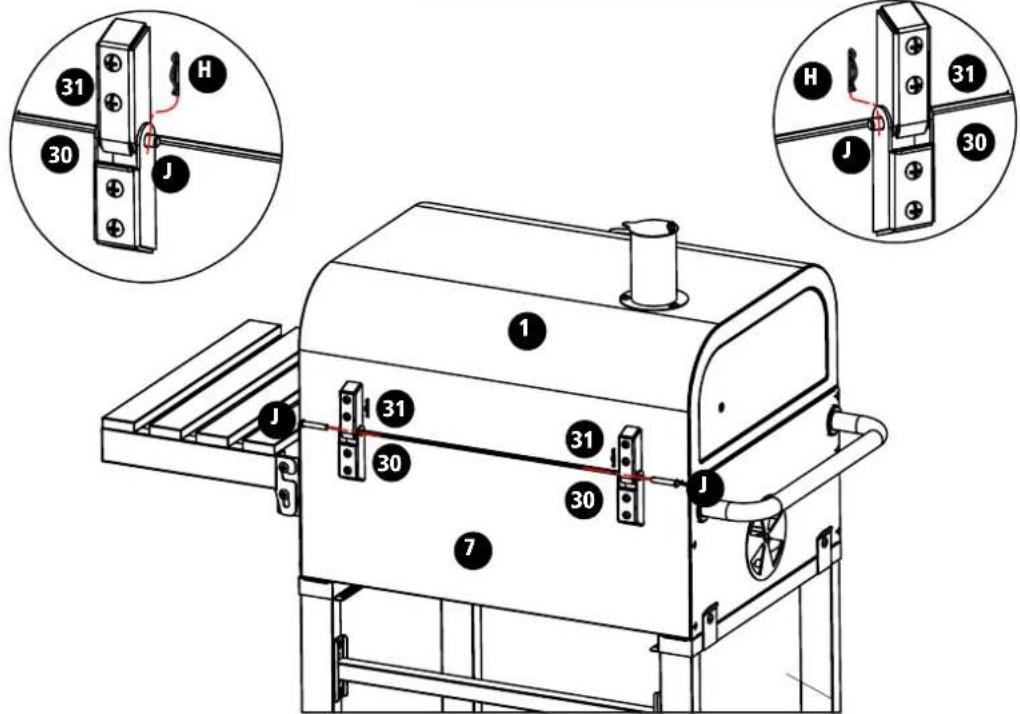
text_image
Technical diagram of a mechanical device with labeled components and close-up insets showing assembly details.J x 2
H x 2
TESCO
American Charcoal Grill
Assembly instructions
23
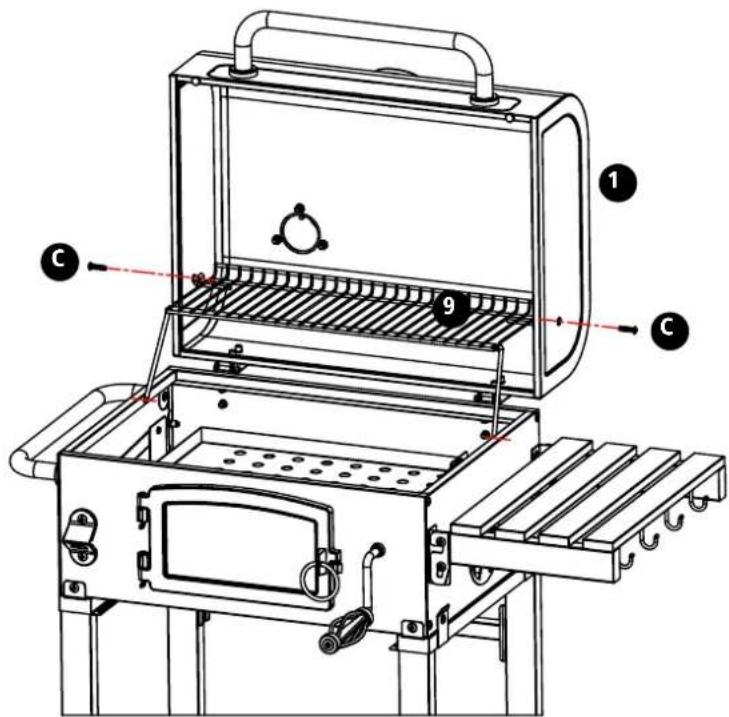
text_image
Technical diagram of a portable electric stove with labeled components and wiring connections
not supplied
C x 2
24
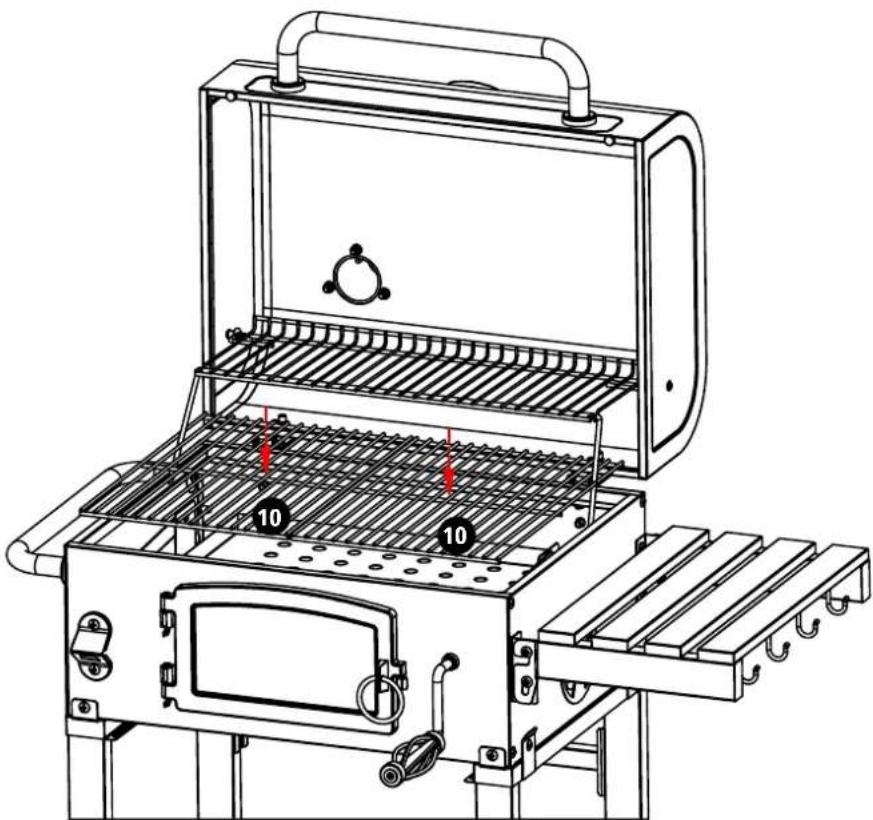
text_image
Technical diagram of a portable grill with labeled components and numbered partsTESCO
American Charcoal Grill
Assembly instructions
25
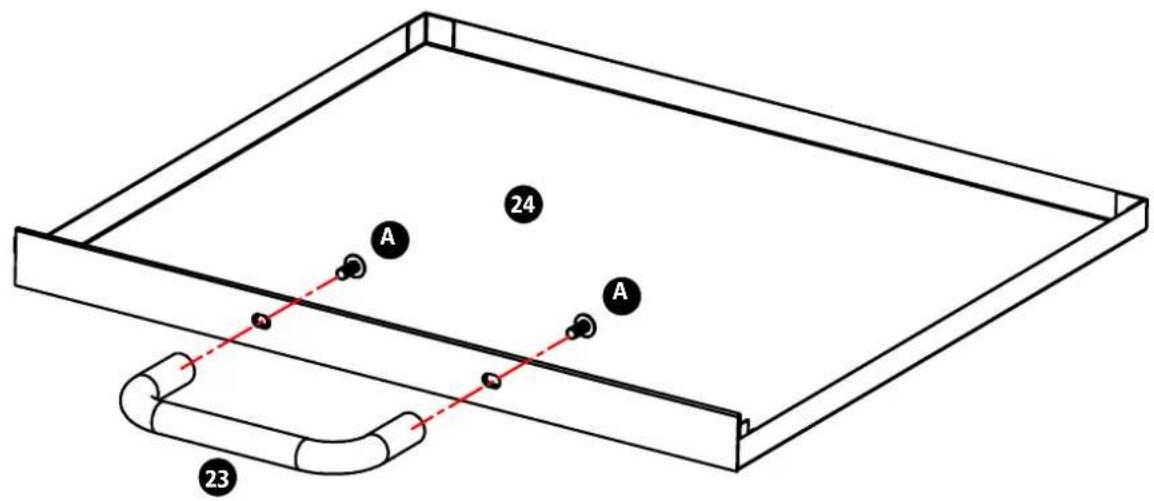
text_image
A 24 A 23
not supplied
A x 2
26
natural_image
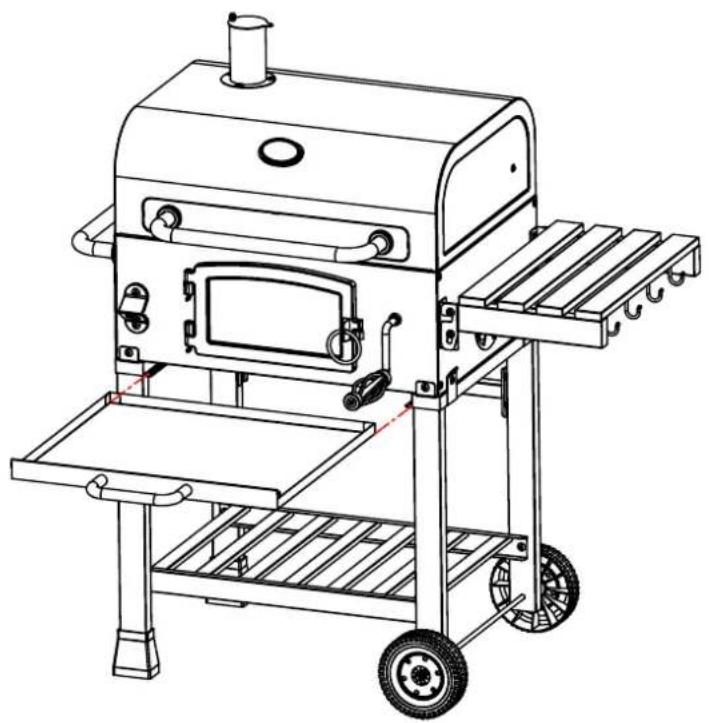
Line drawing of a portable grill with wheels and a side-mounted grater (no text or symbols)TESCO
American Charcoal Grill
Assembly instructions
27