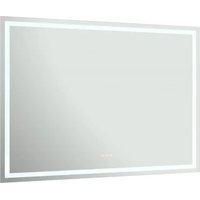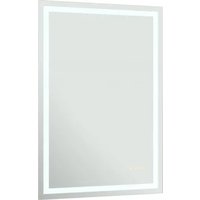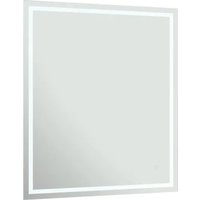
LED3036-RT - Lighted mirror CRAFT + MAIN - Free user manual and instructions
Find the device manual for free LED3036-RT CRAFT + MAIN in PDF.


User questions about LED3036-RT CRAFT + MAIN
0 question about this device. Answer the ones you know or ask your own.
Ask a new question about this device
Download the instructions for your Lighted mirror in PDF format for free! Find your manual LED3036-RT - CRAFT + MAIN and take your electronic device back in hand. On this page are published all the documents necessary for the use of your device. LED3036-RT by CRAFT + MAIN.
USER MANUAL LED3036-RT CRAFT + MAIN
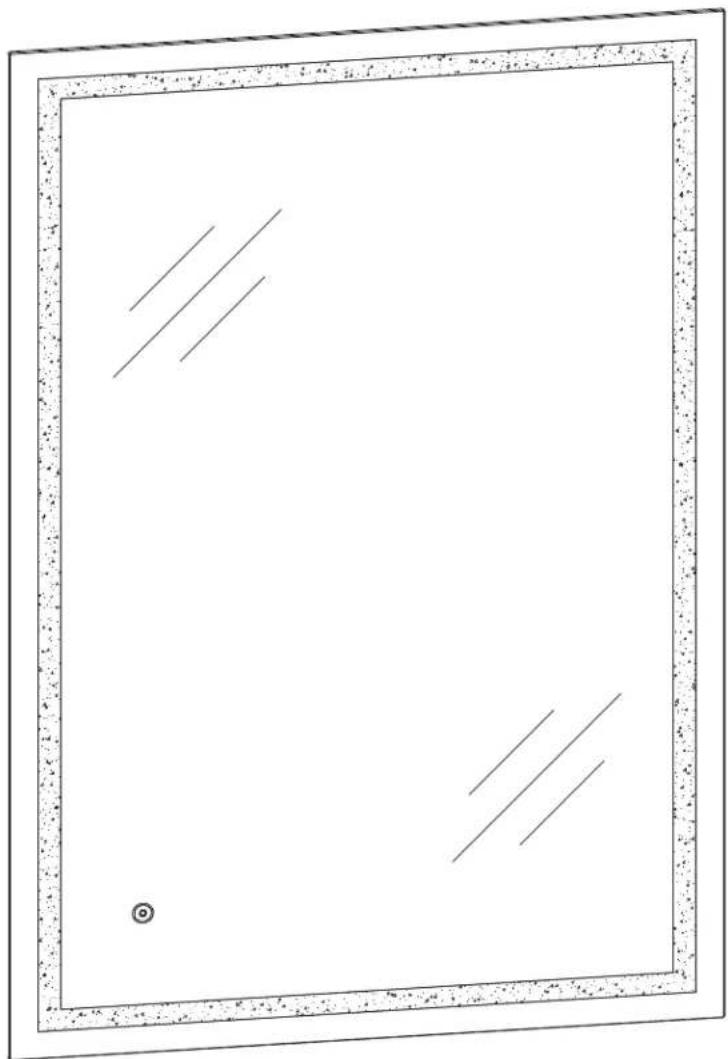
INSTALLATION AND USER GUIDE
Dimmable LED Lighted Mirror with Touch Sensor and Automatic Anti-Fog
LED2430-RT / LED3036-RT
Read all instructions carefully before proceeding.
Record the serial number on the back page and save this guide for future reference.
natural_image
Blank whiteboard with a decorative border and two diagonal lines, no text or symbols present.IMPORTANT SAFETY INSTRUCTIONS SAVE THESE INSTRUCTIONS
Read all instructions before using.
DANGER - To reduce the risk of electric shock:
Once installed, do not remove the mirror from the wall without first turning the power off from the electrical panel.
WARNING - To reduce the risk of burns, fire, injury, or death from electric shock:
-
Close supervision is necessary when this furnishing is used by, or near children, invalids, or disabled persons.
-
Use this furnishing only for its intended use as described in these instructions. Do not use attachments not recommended by the manufacturer.
-
Never operate this furnishing if it is not working properly, if it has been dropped or damaged, or dropped into water. Return the furnishing to a service center for examination and repair.
-
Never drop or insert any object into any opening.
-
Do not use outdoors.
-
Do not operate where aerosol (spray) products are being used or where oxygen is being administered.
-
To disconnect, turn all controls to the off position and turn the power off from the electrical panel.
-
WARNING: Risk of injury or death from electric shock - Connect this furnishing to a properly grounded outlet only. See Grounding Instructions.
SAVE THESE INSTRUCTIONS
GROUNDING INSTRUCTIONS
This product must be connected to a grounded metal, permanent wiring system, or an equipment-grounding conductor must be run with the circuit conductors and connected to the equipment-grounding terminal or lead on the product.
THANK YOU
We can assure you that we have used the best materials and have applied the strictest quality control measures to ensure that each and every unit meets the highest quality standards. This booklet contains general information about the unit as well as step-by-step installation instructions.
BEFORE BEGINNING
- Carefully read the instructions before beginning the installation.
- DANGER! To avoid the risk of electrocution, please turn off the electrical panel before starting the installation.
- It is strongly recommended that this installation be performed by a licensed professional electrician.
- It is recommended that you wear safety glasses at all times during the installation.
- A minimum of two people are needed to perform this installation.
• This product is wall mounted only.
MAINTENANCE
Never use scouring powder pads, abrasive material, strong bleach or sharp instruments on metal components or glass. An occasional wiping down with a mild soap diluted in water is all that is needed to keep the mirror and aluminum parts looking new. Test products on a small inconspicuous surface prior to use.
TOOLS AND MATERIALS REQUIRED
text_image
Yellow triangular warning sign with black exclamation mark symbolWARNING
To avoid the risk of electrocution, please turn off the electrical panel before starting the installation. Due to the nature of the installation, the mirror should be installed by a licensed professional electrician.
MIRROR INSTALLATION
PLACEMENT
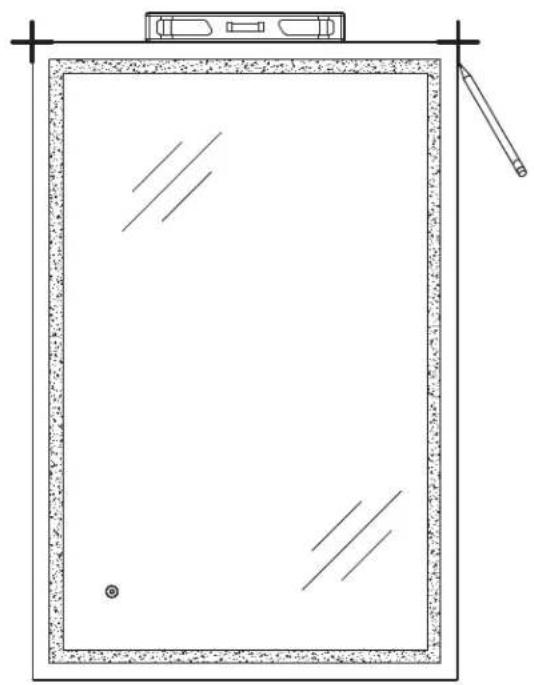
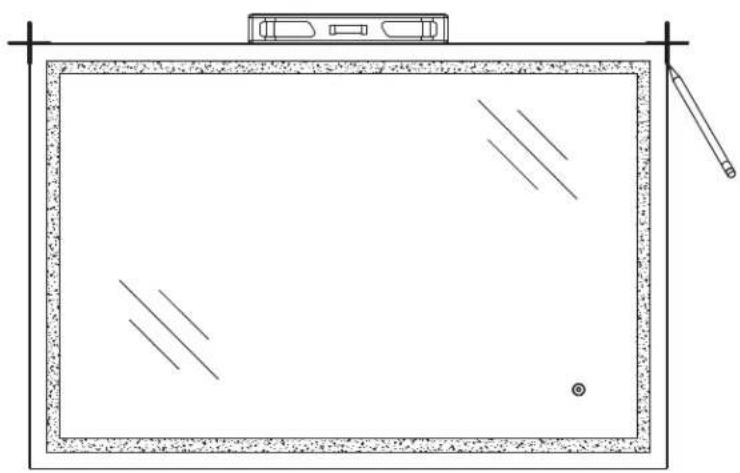
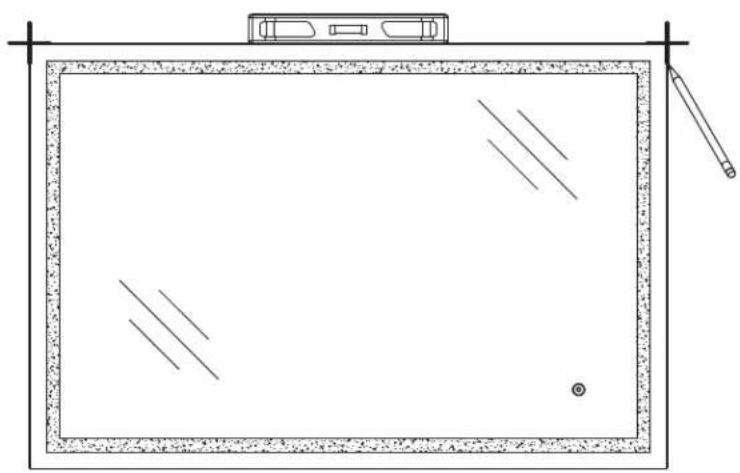
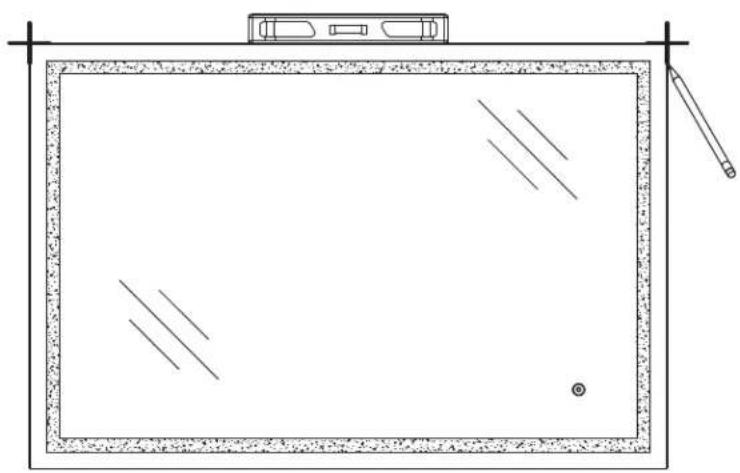
Select the desired position of the mirror. Level and mark the location.
natural_image
Simple line drawing of a blank rectangular frame with diagonal lines and a small pencil on top (no text or symbols)OR
natural_image
Simple line drawing of a blank rectangular frame with diagonal lines and a pencil on top (no text or symbols)MIRROR INSTALLATION
SUPPORT LOCATION
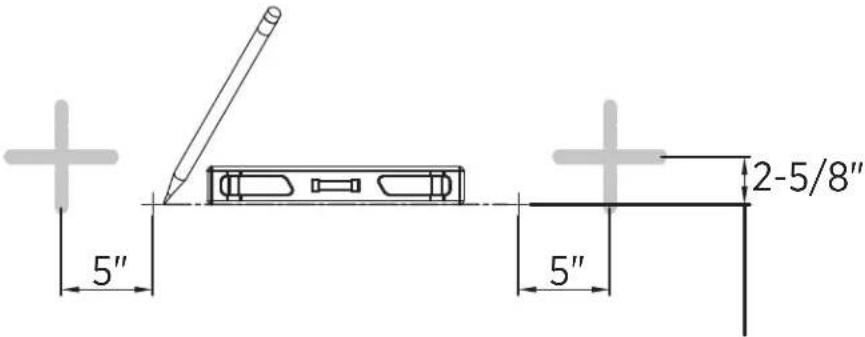
Mark the drill locations based on vertical or horizontal mounting, making sure that the markings are level. When determining the locations, it is recommended that the screw for at least one bracket be drilled into a stud.
text_image
5" 5" 2-5/8"INSTALL MOUNTING BRACKETS
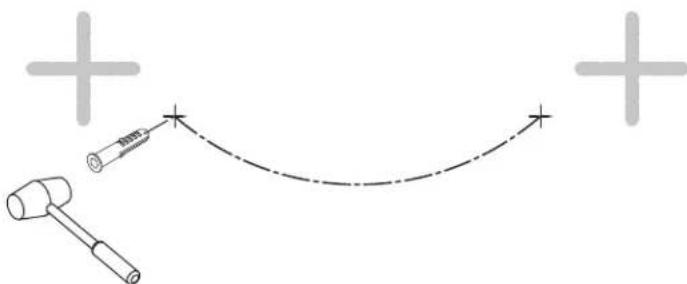
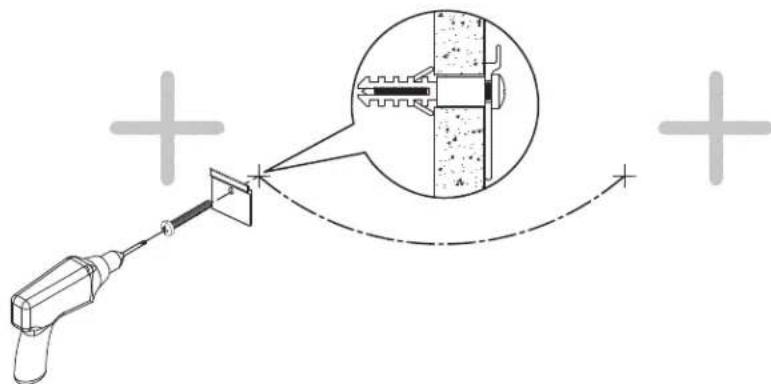
When mounting into sheetrock or hollow walls, make holes with a drill and fill with supplied plugs. Install mounting bracket.
STEP 1
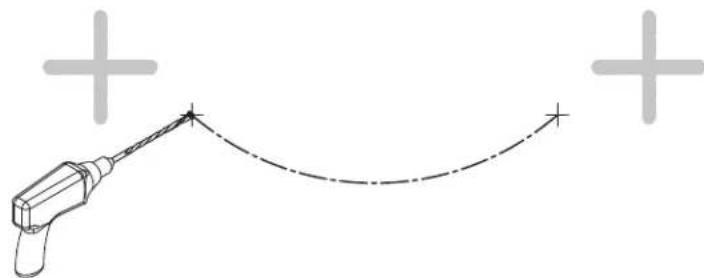
natural_image
Pure diagram of a tool with a curved dashed line and plus signs, no text or symbols presentSTEP 2
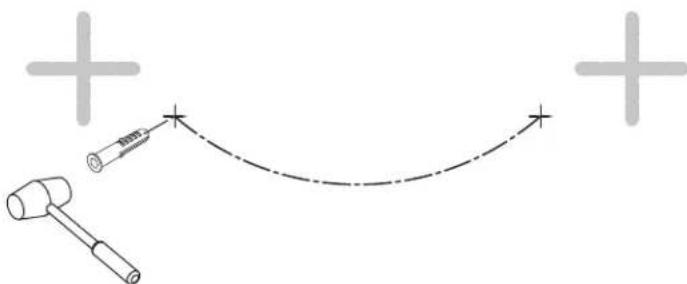
natural_image
Simple line drawing of a hammer and gavel with a curved arrow, no text or symbols presentSTEP 3
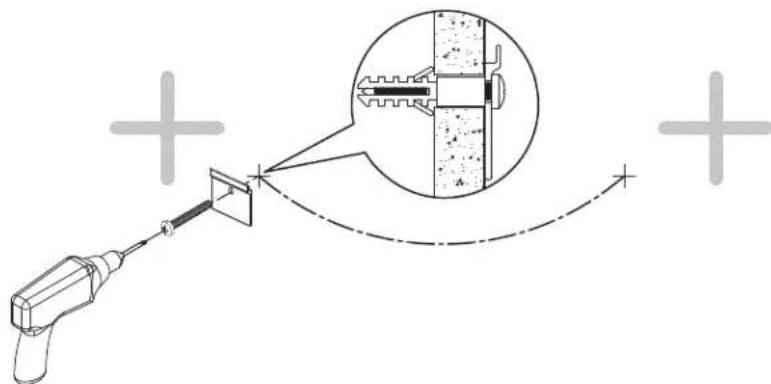
text_image
Diagram illustrating a tool interacting with a wall-mounted device, showing magnified cross-section and curved motion arrows.CAUTION
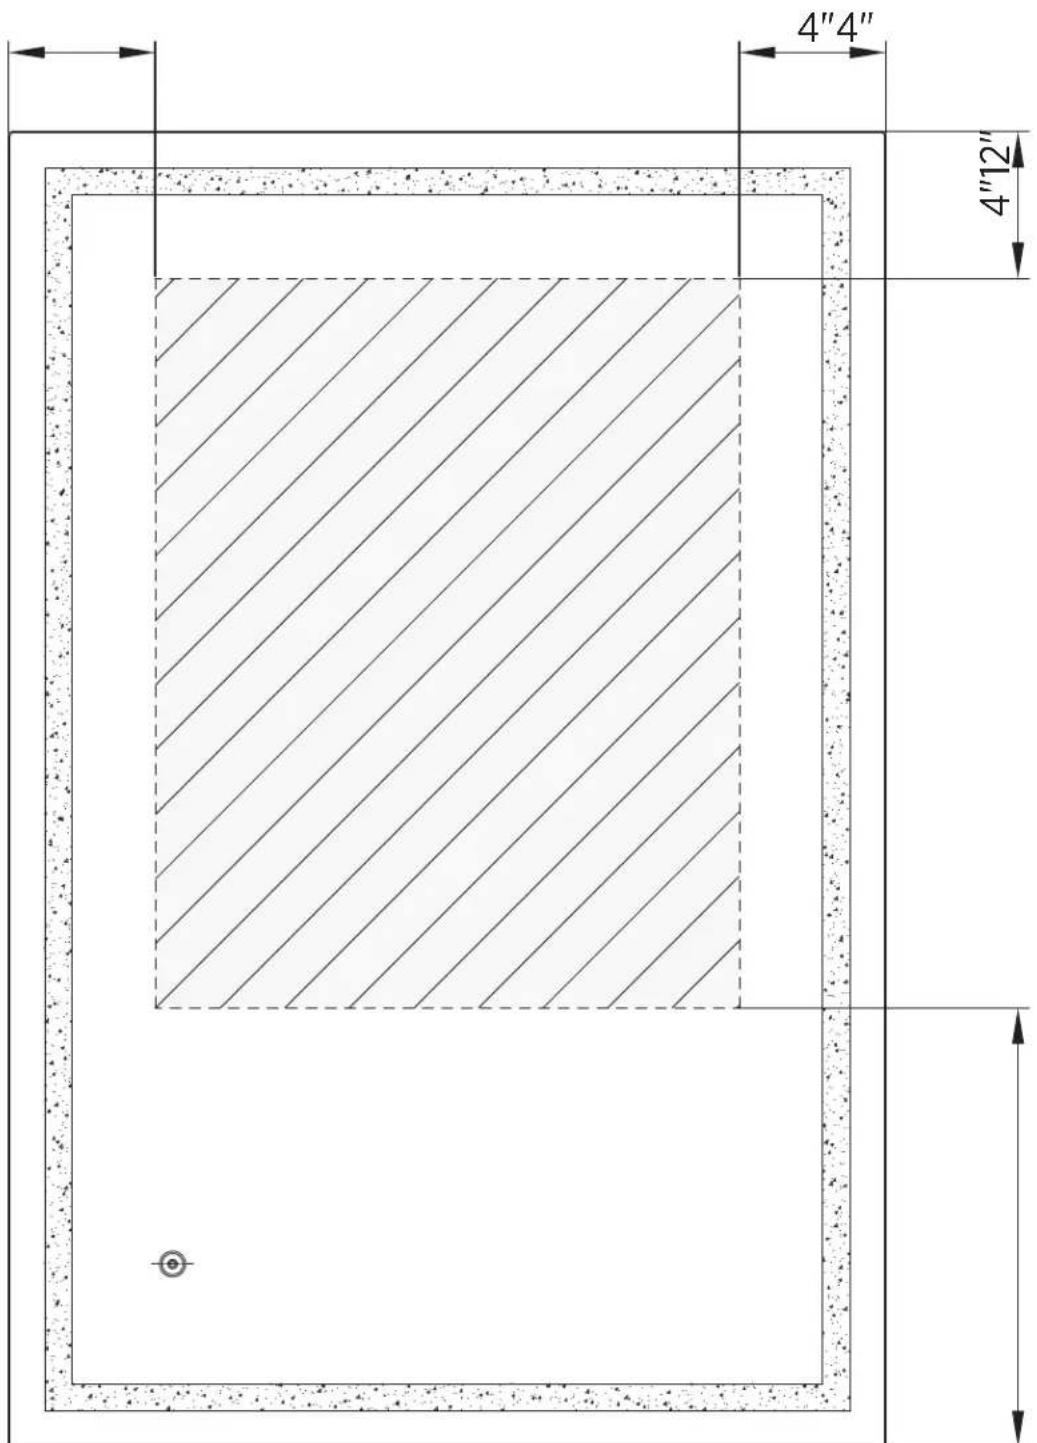
To properly install the mirror while concealing the wires from view, ensure that the house electrical wires come out of the wall from within the shaded area shown below.
text_image
4"4" 4"12"CONNECTING ELECTRICAL WIRING
text_image
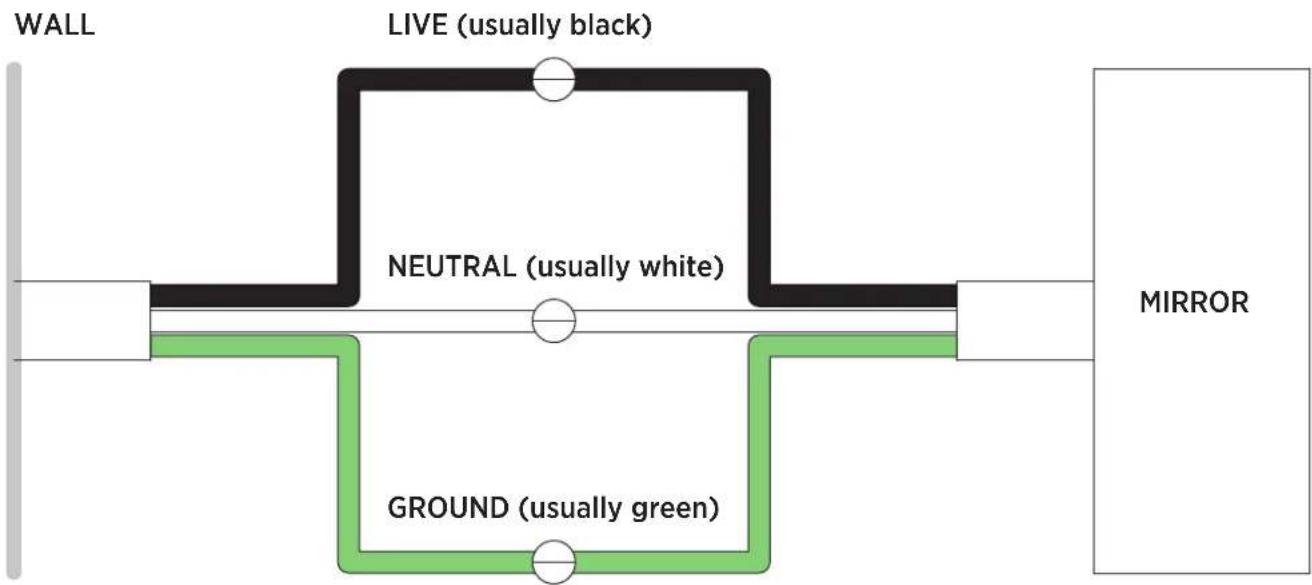
WALL LIVE (usually black) NEUTRAL (usually white) GROUND (usually green) MIRRORCAUTION

text_image
Yellow triangular warning sign with black exclamation mark symbolWARNING
The colors referenced in the diagram above are based on conventional standards and may differ between households. If there is any confusion as to how these should be connected, please seek the help of a licensed professional electrician.
MIRROR INSTALLATION
PLACEMENT
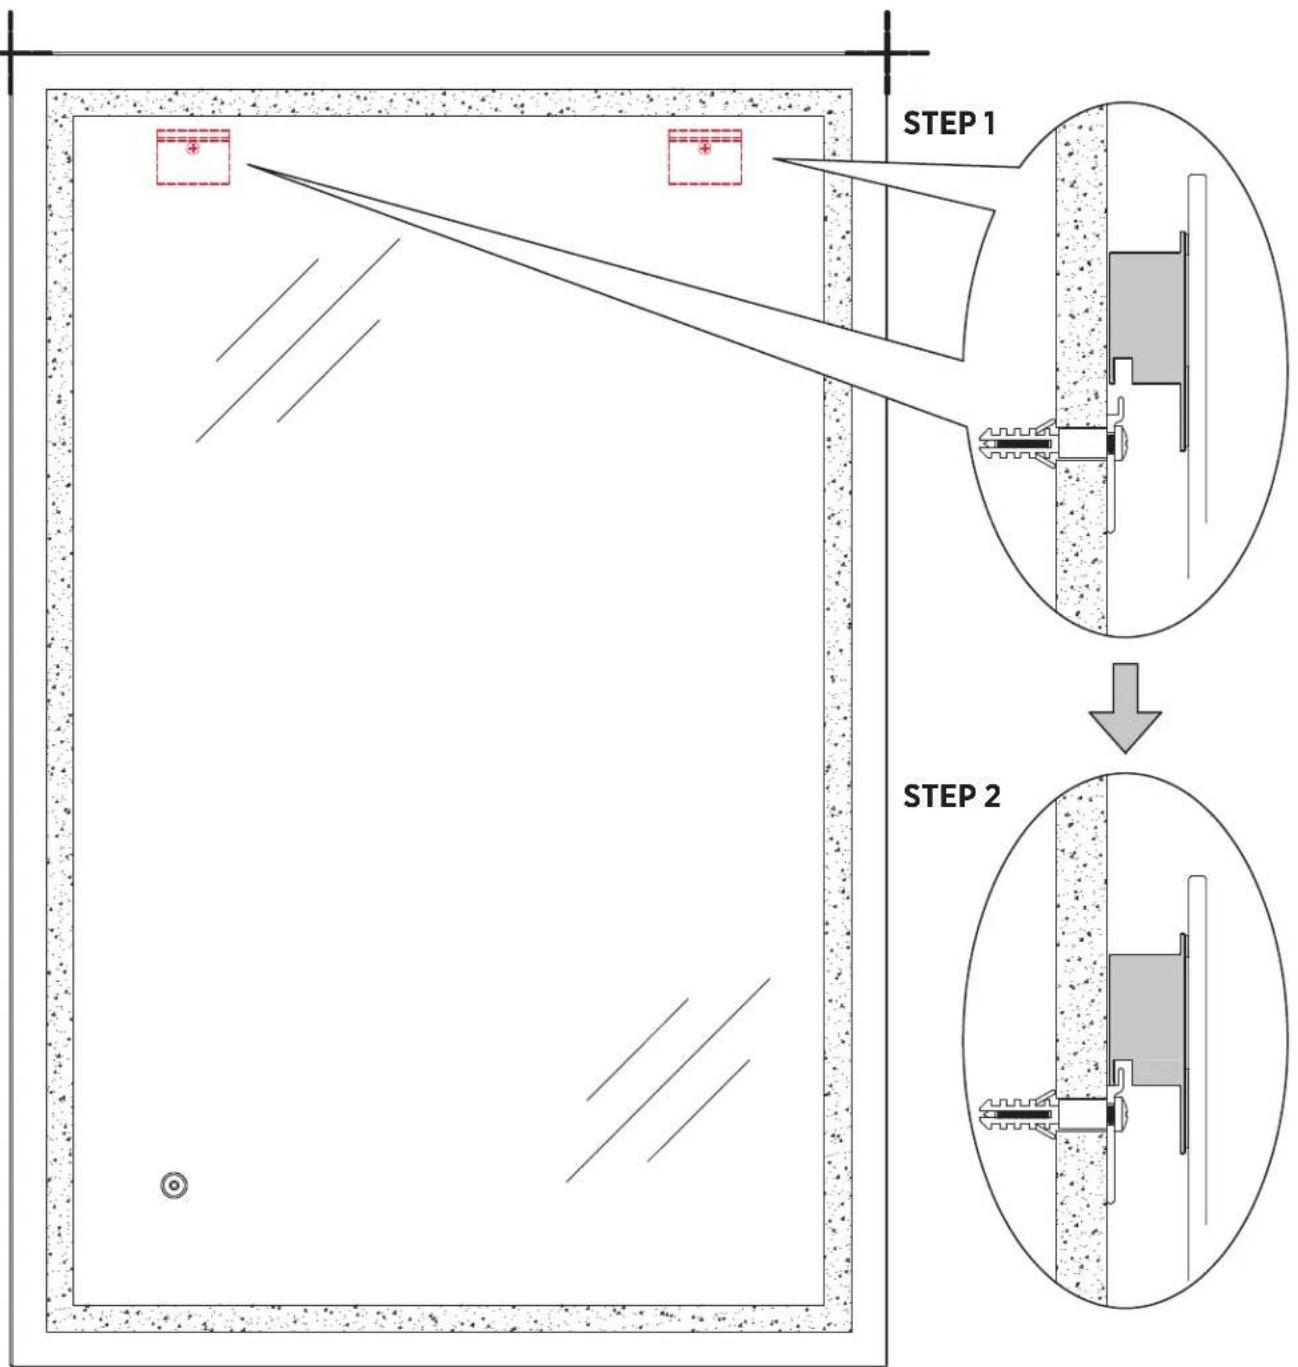
Place the mirror against the wall (Step 1). Slide down (Step 2).
text_image
STEP 1 STEP 2USER GUIDE
POWER AND DIMMER WITH AUTOMATIC ANTI FOG FEATURE
natural_image
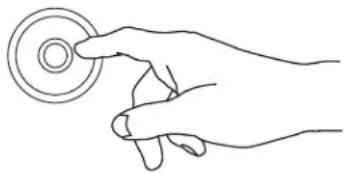
Line drawing of a hand holding a circular object (no text or symbols)Short press the 🔒 touch sensor to turn the light and Anti Fog feature ON. Short press the 🔒 touch sensor again to turn the light and Anti Fog feature OFF.
Long press the Ⓞ touch sensor for 2 or more seconds to adjust the brightness between 5% and 100%.

bar
| Category | Value (%) | |---|---| | Segment 1 | 5 | | Segment 2 | 50 | | Segment 3 | 100 |Our mirror has a memory function which remembers the final status of brightness.
CRAFT + MAIN®
WARRANTY REGISTRATION:
To receive warranty coverage for your purchase, you must complete the warranty registration form found on our website within 30 days of purchase, or provide valid proof of purchase detailing the date and location of your purchase.
U.S. CUSTOMERS: www.craftandmain.com/warranty
CANADIAN CUSTOMERS: www.craftandmain.ca/179-2
CUSTOMER SERVICE:
U.S. CUSTOMERS: 1-888-620-3667
Monday - Friday, 7:00 a.m. - 5:00 p.m., CT
www.craftandmain.com | customerservice.us@fgi-industries.com
CANADIAN CUSTOMERS: 1-888-256-7551
Monday - Friday, 8:00 a.m. - 5:00 p.m., ET
www.craftandmain.ca | customerservice.cdn@fgi-industries.com
LIMITED WARRANTY
CRAFT + MAIN* products are covered by the FGI Industries, Ltd. 1 year limited warranty, which is as follows:
FGI Industries, Ltd. warrants its products to be free from defects in material or workmanship for 1 year from the date of purchase of the product by the original purchaser.
If inspection of this product, within 1 year after its initial purchase, confirms that it is defective in materials or workmanship, FGI Industries, Ltd. will repair or at its option, exchange the product for a similar model. FGI Industries, Ltd. provides no warranties or guarantees beyond those in this limited warranty.
This limited warranty applies only to the original purchaser and installation of these products. All de-installation and re-installation and transportation costs or charges incidental to warranty services are to be borne by the owner. In no event will FGI Industries, Ltd. be liable for the cost of repair or replacement of any installation materials, including but not limited to, tiles, marble etc. FGI Industries, Ltd. will not be responsible for and this warranty does not cover and specifically excludes any liability to the purchaser or any third party for consequential or incidental damages, all of which are hereby expressly disclaimed, or the extension beyond the duration of this warranty of any implied warranties, including those of merchantability or fitness for an intended purpose.
This warranty does not apply to local building code compliance. Since local building codes vary considerably, the purchaser of this product should check with a local building or plumbing contractor to ensure local code compliance before installation.
This warranty is void if the product has been moved from its initial place of installation; if it has been subjected to faulty maintenance, abuse, misuse, accident, or other damages; if it was not installed in accordance with FGI Industries, Ltd. instructions; or if it has been modified in a manner inconsistent with the product as shipped by FGI Industries, Ltd.
This Warranty excludes the following:
- Replacement of discolored or damaged parts as a result of strong cleaning or disinfecting chemicals.
- Damage to, or malfunction of the unit resulting from improper installation, negligence, misuse, abuse or tampering by an unauthorized repair personnel.
- Under no circumstances will FGI Industries, Ltd. be held liable for any loss or damage directly, consequently or incidentally arising out of the misuse of, or inability to use this product.
- Damage or loss resulting from electrical surges, electrical outages, lightning strikes or other acts are not covered by this warranty.
- The owner hereby releases FGI Industries, Ltd. from any or all claims against damages to the property or the product resulting from misuse, improper installation, inadequate maintenance, or exposure to extreme temperature, or strong chemicals.
Note: Some states or provinces do not allow the limitations on an implied warranty, and some states/provinces do not allow exclusions or limitations regarding incidental or consequential damages, so the above limitations may not apply to you. This warranty gives you specific legal rights, and you may have other rights, which vary from state to state or province to province. No person is authorized to change, add to, or create any warranty or obligation other than that set forth herein. This warranty gives the original purchaser of this product specific legal rights, which may vary from state to state or from province to province. In some states or provinces, the exclusion or limitation of incidental or consequential damages is not allowed, so those exclusions may not apply to you.
CRAFT + MAIN®
GUIDE D'INSTALLATION ET D'UTILISATION
natural_image
Blank whiteboard with a decorative border and two diagonal lines, no text or symbols present.CONSIGNES DE SÉCURITÉ IMPORTANTES CONSERVEZ CES CONSIGNES
text_image
Yellow triangular warning sign with black exclamation mark symbolAVERTISSEMENT
natural_image
Simple line drawing of a rectangular frame with diagonal lines and a small pencil on top, no text or symbols present.OU
natural_image
Simple line drawing of a blank rectangular frame with diagonal lines and a pencil on top (no text or symbols)INSTALLATION DU MIROIR
EMPLACEMENT DU SUPPORT
natural_image
Pure diagram of a tool with a curved dashed line and plus signs, no text or symbols presentÉTAPE 2
natural_image
Simple line drawing of a hammer and sprocket connected by a curved dashed line, with plus signs above (no text or symbols)ÉTAPE 3
text_image
Diagram illustrating a tool interacting with a wall-mounted device, showing magnified cross-section and curved motion arrows.ATTENTION
text_image
Yellow triangular warning sign with black exclamation mark symbolAVERTISSEMENT
natural_image
Line drawing of a hand holding a circular object (no text or symbols)www.craftandmain.ca | customerservice.cdn@fgi-industries.com
GARANTIE LIMITÉE
natural_image
Blank whiteboard with decorative border and two diagonal lines, no text or symbols presenttext_image
Yellow triangular warning sign with black exclamation mark symbolADVERTENCIA
natural_image
Simple line drawing of a blank rectangular frame with diagonal lines and a pencil on top, no text or symbols present.0
natural_image
Simple line drawing of a blank rectangular frame with diagonal lines and a pencil on top (no text or symbols)text_image
5" 5" 2-5/8"CÓMO INSTALAR LOS SOPORTES DE MONTAJE
natural_image
Pure diagram of a tool with a curved dashed line and plus signs, no text or symbols presentPASO 2
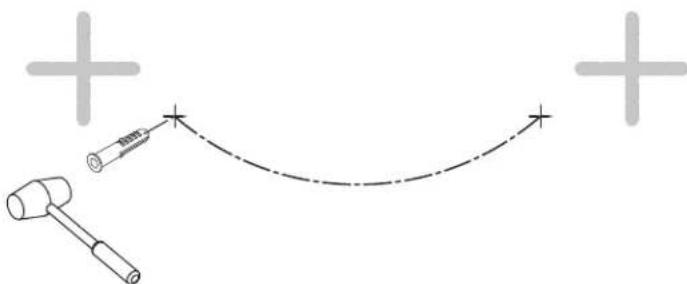
natural_image
Simple line drawing of a hammer and gavel with a curved arrow, no text or symbols presentPASO 3
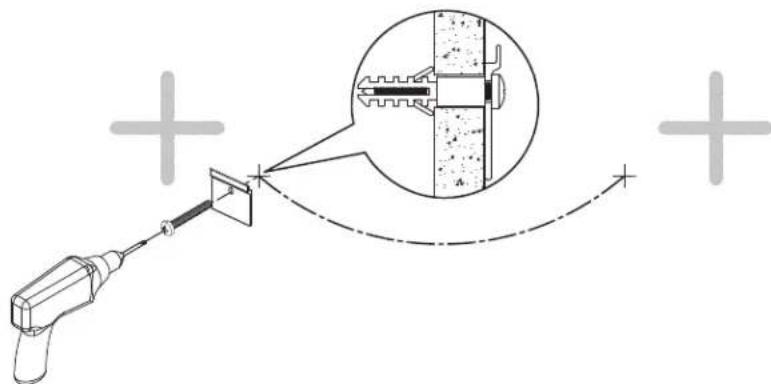
text_image
Diagram illustrating a tool interacting with a wall-mounted device, showing magnified cross-section and curved motion arrows.PRECAUCIÓN
text_image
Yellow triangular warning sign with black exclamation mark symbolADVERTENCIA
text_image
PASO 1 PASO 2GUÍA DEL USUARIO
natural_image
Line drawing of a hand holding a circular object (no text or symbols)De lunes a viernes, de 7:00am a 5:00pm, Hora Central
www.craftandmain.com | customerservice.us@fgi-industries.com