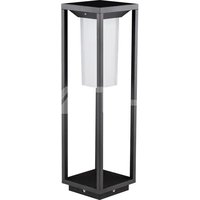
VT-66 - Lamp V-TAC - Free user manual and instructions
Find the device manual for free VT-66 V-TAC in PDF.


| Product Type | LED Solar Light |
| Brand | V-TAC |
| Model | VT-66 |
| Usage | Outdoor, wall mounting |
| Power supply | Solar panel + rechargeable lithium battery |
| Battery type | Replaceable lithium (same specifications as original) |
| Runtime in constant mode | Up to 4 hours (full battery) |
| Recommended charging time | 6 hours of direct sunlight |
| Motion sensor range | < 5 meters |
| Operating modes | Sensor mode (10% constant, 100% on detection) and constant brightness mode (100%) |
| LED power | 5 W (estimated) |
| Protection rating | IP44 (suitable for outdoor) |
| Warranty | 3 years |
| Installation | By certified electrician, cut off power beforehand |
| Maintenance | Clean solar panels regularly |
| Repairability | Replaceable battery after 3 years |
| Safety | Do not immerse or use in damp environment |
| Included accessories | Mounting bracket, screws, hex key |
| Operating temperature | -20°C to 50°C (estimated) |
Frequently Asked Questions - VT-66 V-TAC
User questions about VT-66 V-TAC
0 question about this device. Answer the ones you know or ask your own.
Ask a new question about this device
Download the instructions for your Lamp in PDF format for free! Find your manual VT-66 - V-TAC and take your electronic device back in hand. On this page are published all the documents necessary for the use of your device. VT-66 by V-TAC.
USER MANUAL VT-66 V-TAC
INSTALLATION INSTRUCTION LED SOLAR LIGHT
TECHNICAL SPECIFICATIONS
| MODEL | VT-66 |
| WATTS | 2W |
| LUMENS | 280LM |
| BEAM ANGLE | 120 |
| CRI | >80 |
| IP RATING | IP65 |
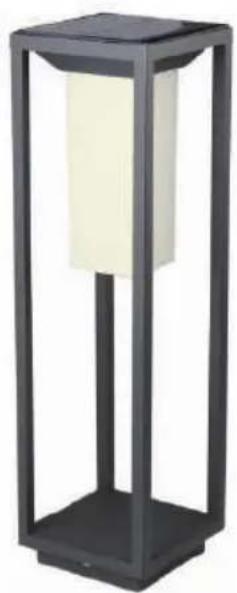
natural_image
Exterior view of a modern black rectangular lamp with a vertical panel (no text or symbols)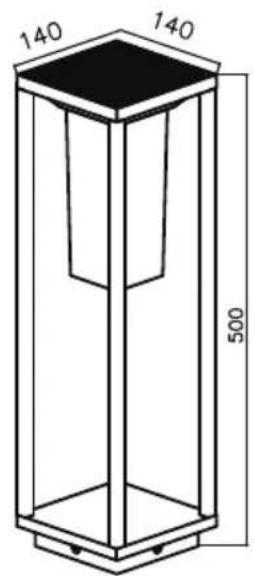
INTRODUCTION & WARRANTY
Thank you for selecting and buying V-TAC product. V-TAC will serve you the best. Please read these instructions carefully before starting the installation and keep this manual handy for future reference. If you have any another query, please contact our dealer or local vendor from whom you have purchased the product. They are trained and ready to serve you at the best. The warranty is valid for 3 years from the date of purchase. The warranty does not apply to damage caused by incorrect installation or abnormal wear and tear. The company gives no warranty against damage to any surface due to incorrect removal and installation of the product.
WARNING!
-
The light source of this luminaire is not replaceable; when the light source reaches its end of life the whole luminaire shall be replaced.
-
Installation should be done by certified electrician.

This marking indicates that this product should not be disposed of with other household wastes



MULTI-LANGUAGE MANUAL QR CODE
Please scan the QR code to access the manual in multiple languages.
INSTALLATION DIAGRAM
natural_image
Diagram of a mechanical device with a base and top component, placed on a textured surface (no text or symbols)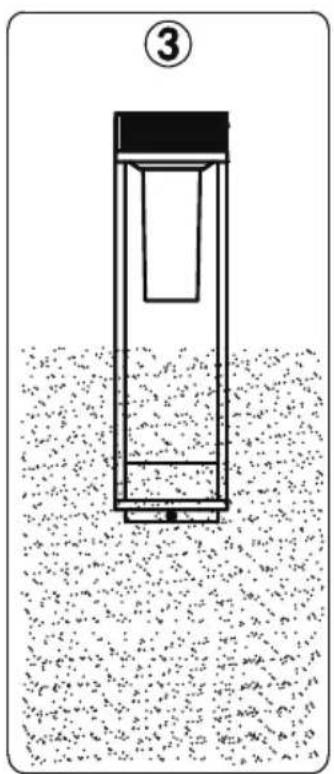

natural_image
Simple line drawing of a sword with a handle and base plate, no text or symbols present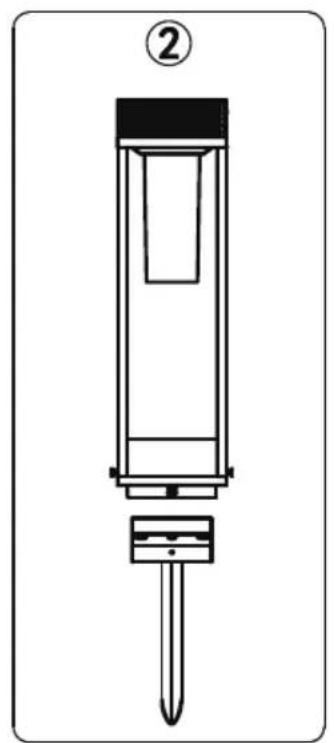
natural_image
Technical line drawing of a mechanical device with a pin inserted, labeled with number 2 (no text or symbols on the diagram itself)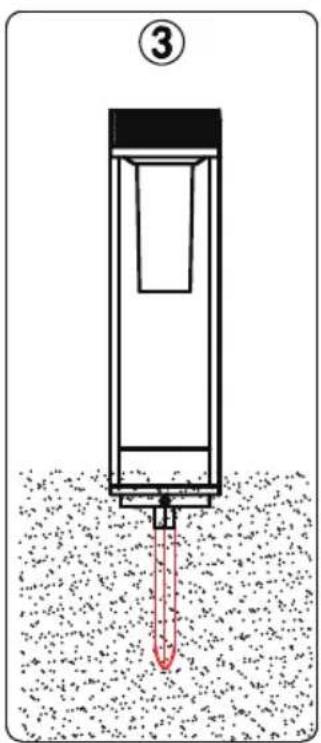
I. Ground installation instructions:
-
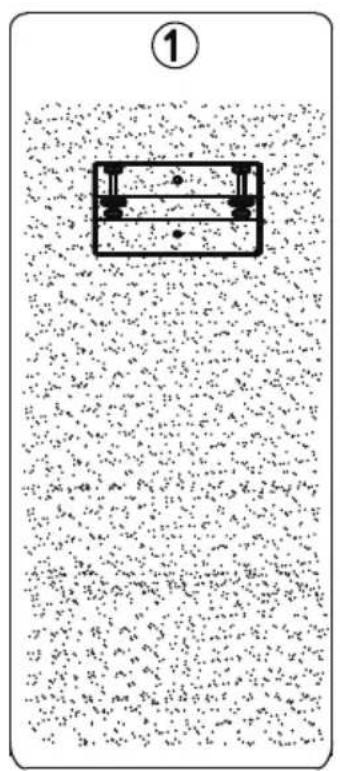
After confirming the installation position, fix the grounding support with screws. As shown in Figure 1.
-
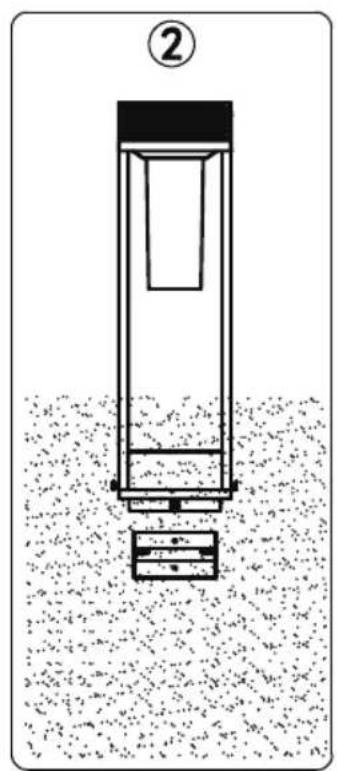
Install the lamp onto the bracket and tighten the
screw with a six-legged wrench. As shown in Figure 2 & 3.
II. Surface mounted installation instructions:
-
Choose the appropriate installation position and fix the installation bracket with screws. Picture 1.
-
Install the lamp on the mounting bracket and tighten the screw by hand with a six-legged wrench.
Switch Function:
- Press and hold the button for 2-3 seconds to switch ON the solar light. Once switched ON it will indicate a blue light.
- When switching on the solar light by default it will be in Mode 1.
- To enter Mode 2, press the button again.
- Pressing the button for the third time the solar light will switch OFF and the blue light will disappear.
Operating Modes: Mode 1: Sensor Mode.
- At dusk, it automatically turns to 10% brightness.
- Turns on to 100% brightness when motion is detected in the range of <5 meters.
- In 30 seconds if no motion is detected the light switches to 10% brightness.
- Turns off at the dawn.
Mode 2: Constant Brightness Mode.
- The sensor will be disabled.
- Automatically turns on at the dusk with 100% brightness and works constantly till the battery capacity goes to Zero. (Upto 4 hours).
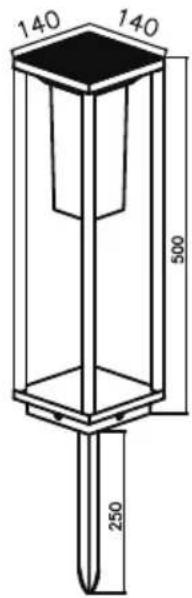
STRUCTURE AND SIZE
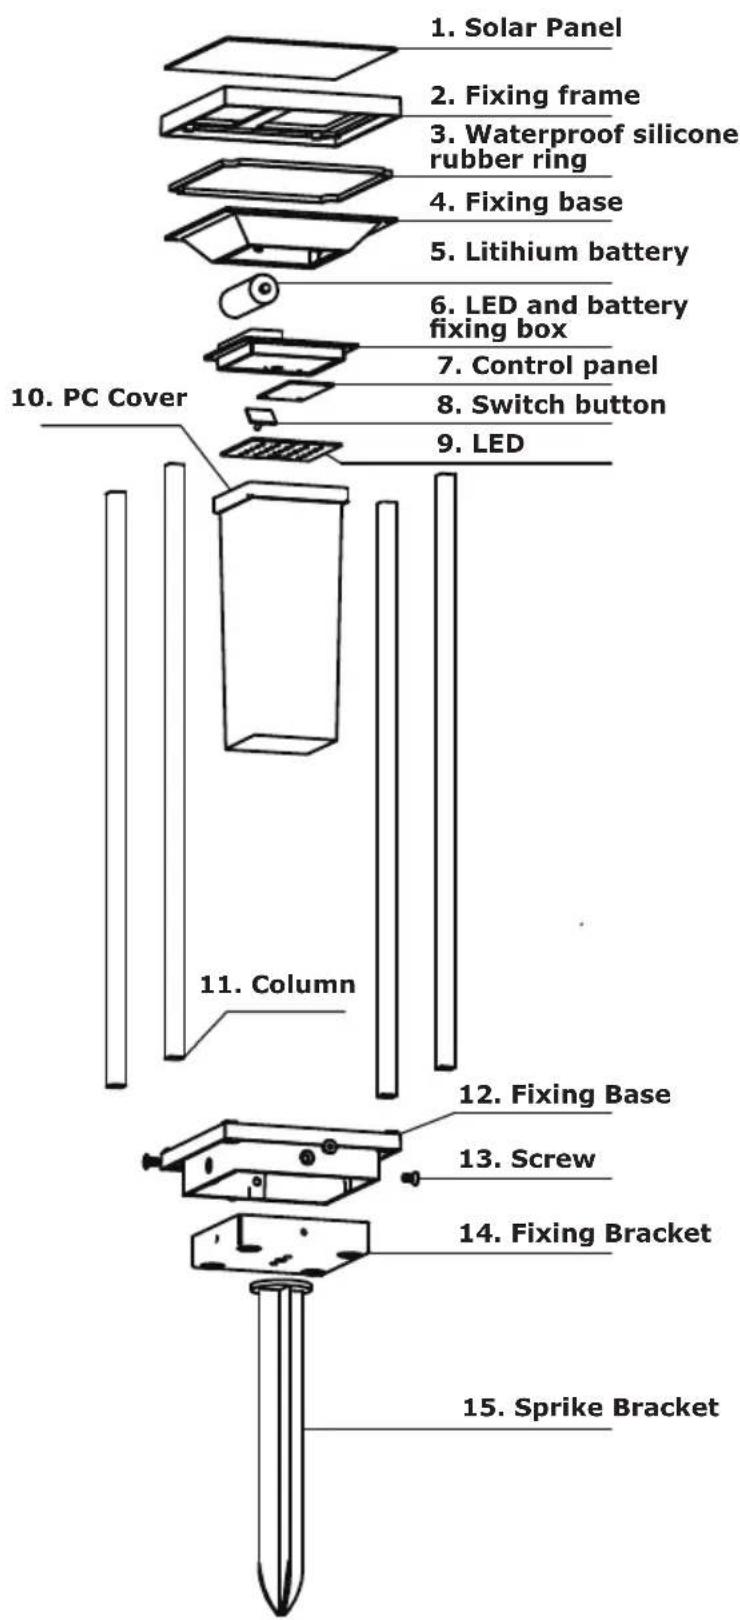
NOTES
- This production is a solar energy product. When installing, the solar panels of the product must be illuminated in the direction of the sun. If not placed in the direction of the sun the lamp will not function properly. Resulting in the lamp to no switch ON or the light is functions for a short period of time only. Solar panel should be placed in the direction of the sunlight. The performance of the light is the best if the illumination time of the sun light is longer than 6 hours resulting in the light to be turned on for its maximum time.
- This product is mainly installed on the wall and is not allowed to be used in damp or immersed places. Otherwise, it will have a breakdown and affect its service life.
- The product can achieve the expected brightness and light-up time when the battery is full of electricity. Such as overcast and rainy days, which will cause insufficient charging and shorten the light-uptime. If the lighting time is not long on sunny days, please check whether the solar panels are exposed to the sun for a long time. Or whether the solar panel is dirty and dusty, ensure to keep the solar panels clean.
- LED Solar light is designed with a replaceable battery. It should be replaced after 3 years of use. After removing the wire connection from the original lithium battery, the battery will be removed and replaced with the new battery of the same specifications.
INTRODUCTION & GARANTIE
INTRODUCERE, GARANTIA
- INSTALLATION INSTRUCTION LED SOLAR LIGHT
- INTRODUCTION & WARRANTY
- WARNING!
- MULTI-LANGUAGE MANUAL QR CODE
- INSTALLATION DIAGRAM
- Ground installation instructions:
- Surface mounted installation instructions:
- Switch Function:
- Operating Modes: Mode 1: Sensor Mode.
- Mode 2: Constant Brightness Mode.
- STRUCTURE AND SIZE
- NOTES
- INTRODUCTION & GARANTIE
- INTRODUCERE, GARANTIA
Brand : V-TAC
Model : VT-66
Category : Lamp