USER MANUAL AQUA 1042DE/2-80 CANDY
HATCH-GATE TYPE 1
1.
2.
3.
1.
2.
3.
4.
1.
3.
4.
5.
6.
1.
2.
3.
4.
5.
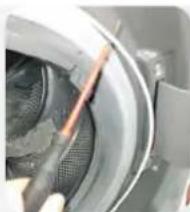
Remove the pin
6.
7.
8.
9.
DOOR LATCH TYPE 1
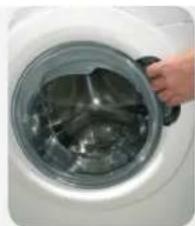
TOOLS: PHILLIPS SCREWDRIVER, PLIERS, FLATHEAD SCREWDRIVER
1.
2.
3.
4.
5.
6.
1.
2.
3.
4.
5.
6.
7.
8.
9.
DOOR SEAL
INSTRUCTIONS
DOOR SEAL
1.
2.
3.
4.
5.
6.
7.
8.
9.
1.
2.
3.
COVER TYPE 1
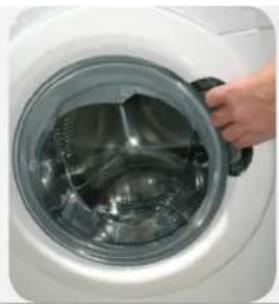
TOOLS: TORX KEY 25
1.
Open the door
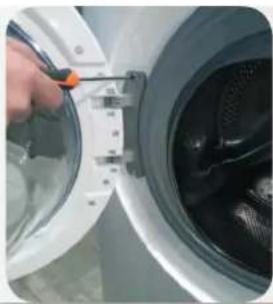
2.
3.
1.
Open the door
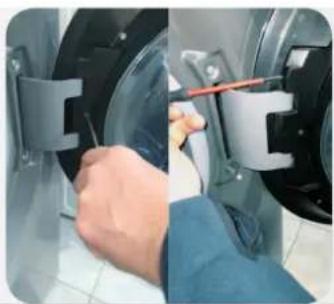
2.
3.
4.
CURTAIN TYPE 1 TOOL: TORX KEY 25
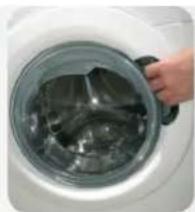
1.
Open the door
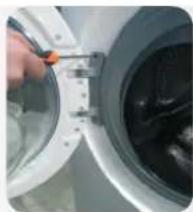
2.
3.
4.
5.
6.
1.
Open the door
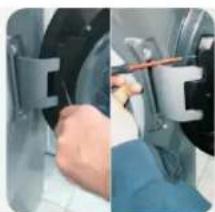
2.
3.
4.
5.
Remove the pin
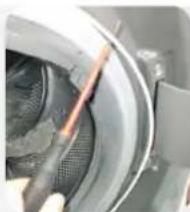
6.
Remove the door clip
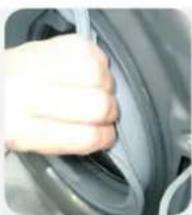
7.
8.
9.
DOOR LOCK TYPE 1
TOOLS: PHILLIPS SCREWDRIVER, PLIERS, FLAT SCREWDRIVER
1.
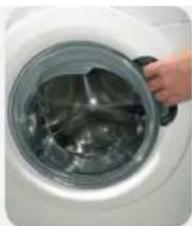
Open the door
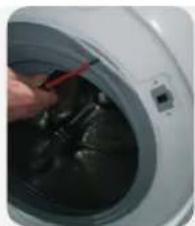
2.
3.
4.
5.
6.
1.
Open the door
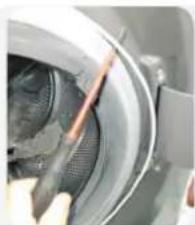
2.
3.
4.
5.
6.
7.
8.
9.
DOOR SEAL
TOOLS: TORX KEY, PLIERS, FLAT SCREWDRIVER, TWO 7 TUBULAR WRENCHES
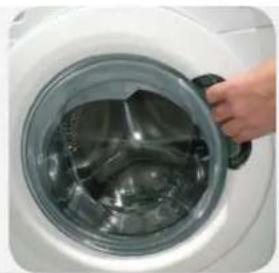
1.
Open the door
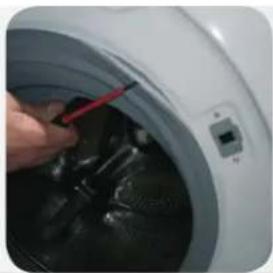
2.
3.
4.
5.
Remove the seal
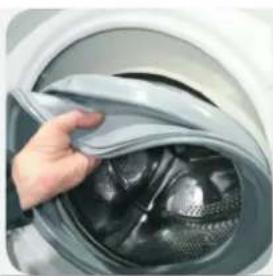
6.
7.
8.
9.
DETERGENT DISPENSER DRAWER
INSTRUCTIONS
DETERGENT DISPENSER
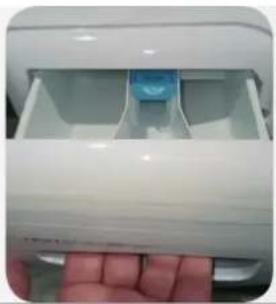
1.
2.
3.
DOOR
INSTRUCTIONS
DOOR TYPE 1
1.
Open the door
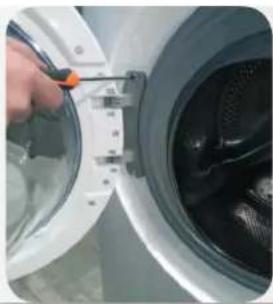
2.
3.
1.
Open the door
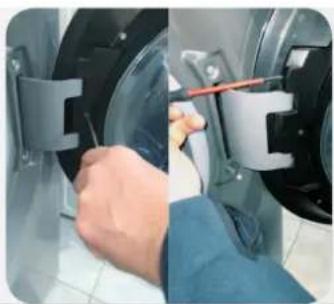
2.
3.
4.
HINGE TYPE 1
1.
Open the door
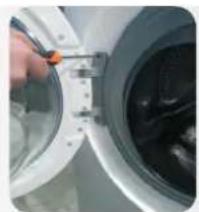
2.
3.
4.
5.
6.
1.
Open the door
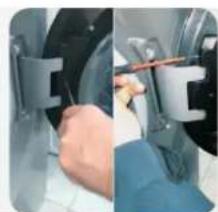
2.
3.
4.
5.
6.
7.
8.
9
DOOR LOCK
INSTRUCTIONS
DOOR LOCK TYPE 1
1.
Open the door
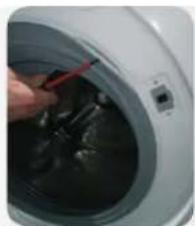
2.
3.
4.
5.
6.
1.
Open the door
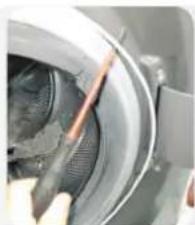
2.
3.
4.
5.
6.
7.
8.
9.
DOOR SEAL
INSTRUCTIONS
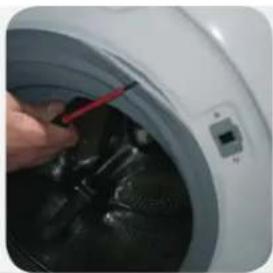
DOOR SEAL
1.
Open the door
2.
3.
4.
5.
6.
7.
8.
9.
DETERGENT DRAWER
INSTRUCTIONS
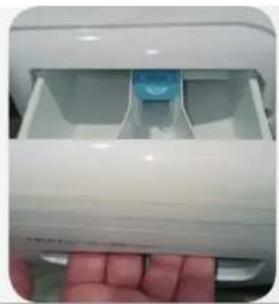
DETERGENT DRAWER
1.
2.
3.
INSTRUCTIONS
1.
2.
3.
1.
2.
3.
4.
MENTESEΣ TYPE 1
1.
3.
4.
5.
6.
1.
2.
3.
4.
5.
Remove the pin
6.
8.
9.
1.
2.
3.
4.
5.
6.
1.
2.
3.
4.
5.
6.
7.
8.
9.
DOOR INTERLOCK
INSTRUCTIONS
DOOR INTERLOCK
1.
2.
3.
4.
5.
6.
7.
8.
9.
1.
2.
3.
PORTHOLE
INSTRUCTIONS
PORTHOLE TYPE 1
TOOLS: 25 TORX WRENCH
1.
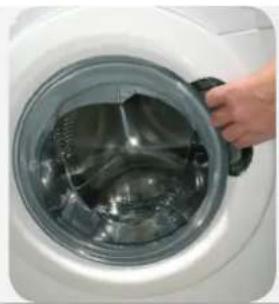
Open the porthole
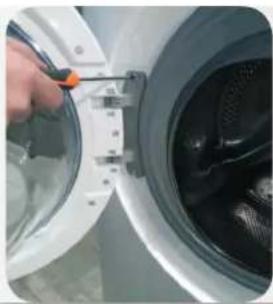
2.
By using the 25 Torx wrench, remove the screws that fix the hinge to the cabinet
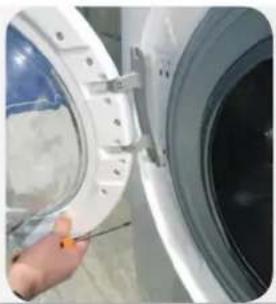
3.
Pull the porthole from the top and remove it.
PORTHOLE TYPE 2
TOOLS: 25 TORX WRENCH, FLEXIBLE 7 PIPE WRENCH
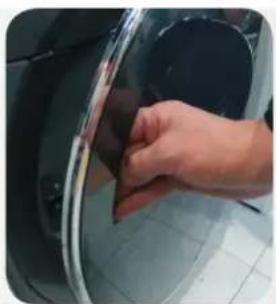
1.
Open the porthole.
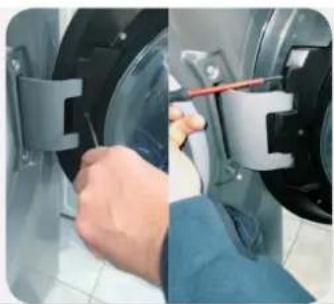
2.
Remove the cover after removing its screw.
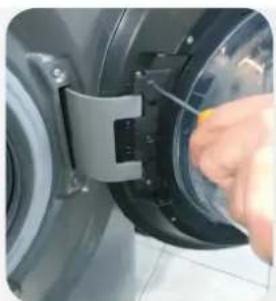
3.
Remove the screws of the plastic hinge.
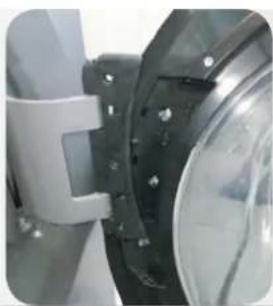
4.
Pull the porthole from the top and remove it.
HINGE
INSTRUCTIONS
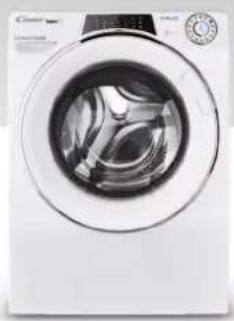
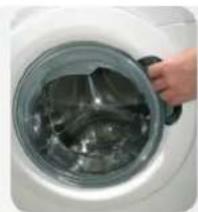
1.
Open the porthole
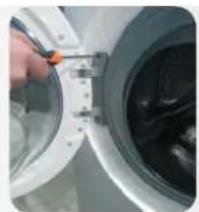
2.
Using the 25 pipe wrench, remove the screws that fix the hinge to the cabinet
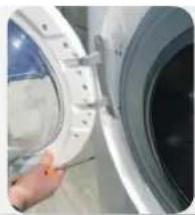
3.
Pull the porthole from the top and remove it
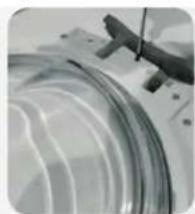
4.
Remove all the screws of the porthole
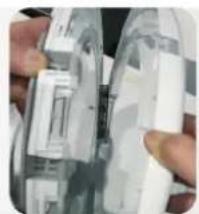
5.
Separate the frame from the counter frame
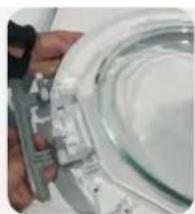
6.
Replace the hinge, taking care not to lose the bushes
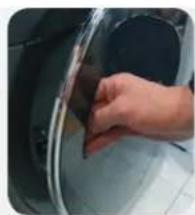
1.
Open the porthole
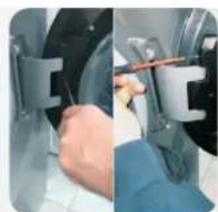
2.
Remove the cover after removing its screw.
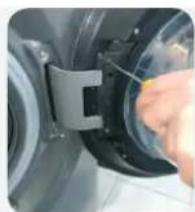
3.
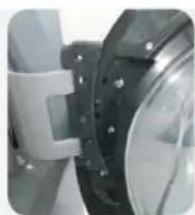
Remove the screws of the plastic hinge.
4.
Pull the porthole from the top and remove it.
5.
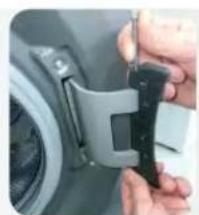
Remove the pin.

6.
Remove the door clip.
7.
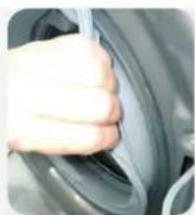
Once the strap is removed, detach the flap from the gasket to allow access to the inside of the product.
8.
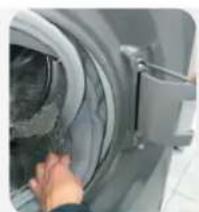
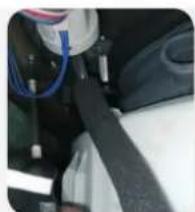
Remove the external screws from the hinge.
9.
Remove the screws inside the cabinet with the 7 pipe wrench. Remove the hinge.
DOOR LOCK
INSTRUCTIONS
DOOR LOCK TYPE 1
1.
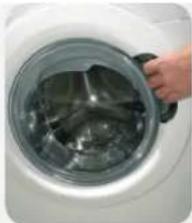
Open the porthole.
2.
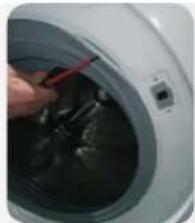
Use the flat screwdriver for leverage, and remove the external clamp.
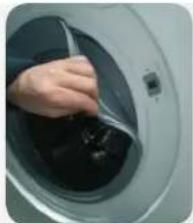
3.
Once the clamp is removed, detach the flap from the gasket, to allow access to the inside of the product.
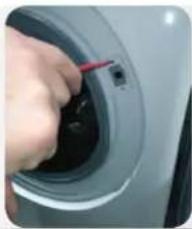
4.
By using Torx wrench, remove the fixing screws of the door lock, and press its buckle.
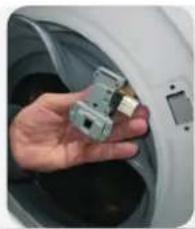
5.
Remove the door lock.
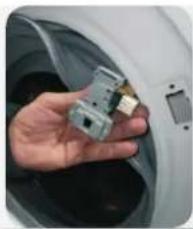
6.
Disconnect the wiring, in case of "faston", pay attention to do not invert the wiring
DOOR LOCK TYPE 2
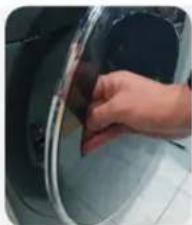
1.
Open the porthole
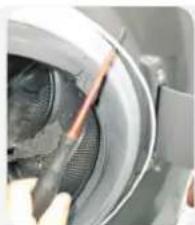
2.
Use the flat screwdriver for leverage, and remove the external clamp
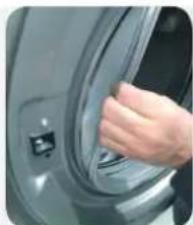
3.
Once the clamp is removed, detach the flap from the gasket, to allow access to the inside of the product
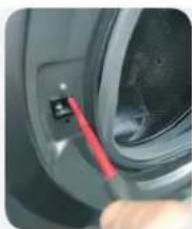
4.
By using Torx wrench, remove the fixing screws of the door lock
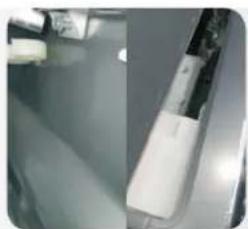
5.
Disassemble the work top and trims
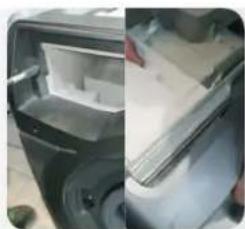
6.
Disassemble the dispenser and bezel
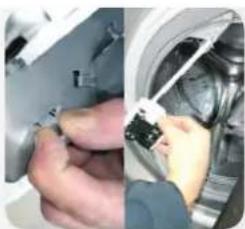
7.
Remove the door lock
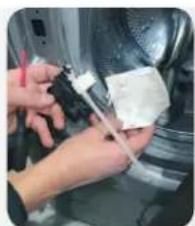
8.
Remove the water protection
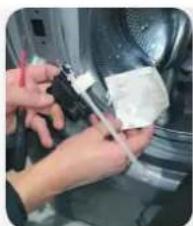
9.
Replace the door lock by paying attention to mechanical linkage of emergency opening and electrical connections
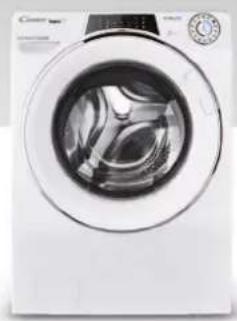
DOOR'S GASKET
INSTRUCTIONS
DOOR'S GASKET
TOOLS: TORX WRENCH, TONG, FLAT SCREWDRIVER, TWO 7 PIPE WRENCHES
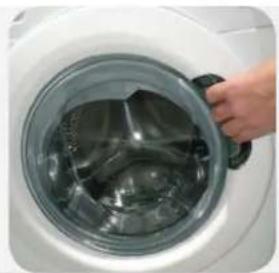
1.
Open the porthole
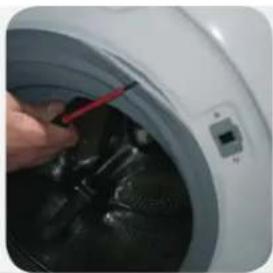
2.
Use the flat screwdriver for leverage, and remove the external clamp
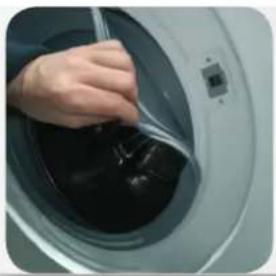
3.
Once the clamp is removed, detach the flap from the gasket, to allow access to the inside of the product
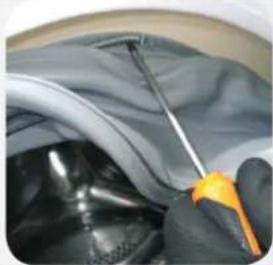
4.
By using a flat screwdriver, remove the clamp on the tube
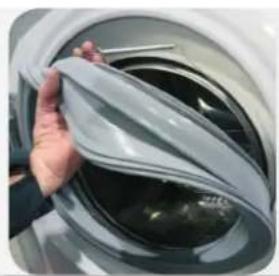
5.
Remove the gasket
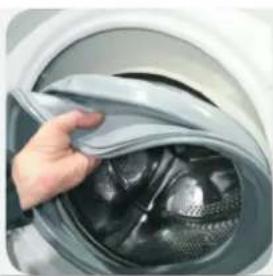
6.
Place the new gasket, paying attention to the positioning notches
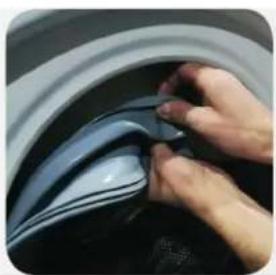
7.
Insert wiring clamp on the tube side
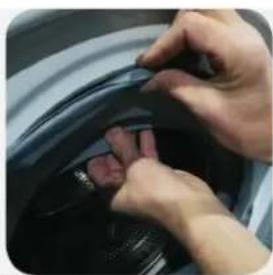
8.
Tighten the clamp flush on the tube by using the tooling
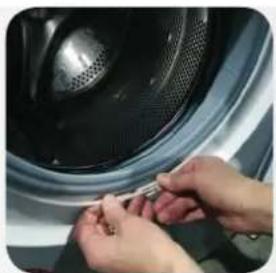
9.
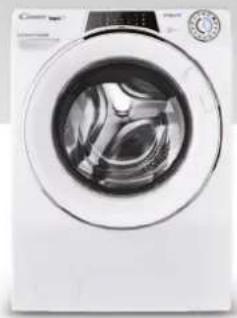
Fit the gasket on the cabinet.
Fix the external clamp and tighten it (if needed with tong)
DETERGENT DRAWER
INSTRUCTIONS
DETERGENT DRAWER
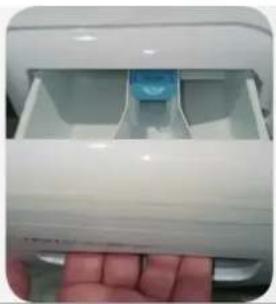
1.
Open the detergent drawer
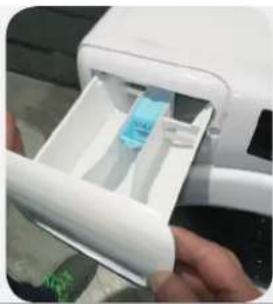
2.
By using two hands, pull it out firmly
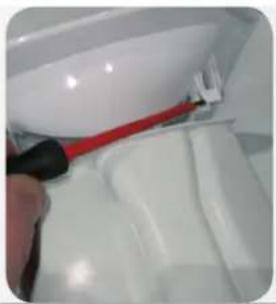
3.
Unhook the mask from the detergent drawer, being careful not to break the hooks
FRONT DOOR
INSTRUCTIONS
1.
2.
3.
1.
2.
3.
4.
1.
2.
3.
4.
5.
6.
1.
2.
3.
4.
5.
Remove the pin
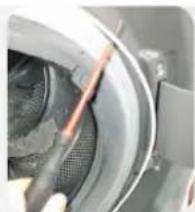
6.
7.
8.
9.
DOOR LOCK
INSTRUCTIONS
1.
2.
3.
4.
5.
6.
1.
2.
3.
4.
5.
6.
7.
8.
9.
1.
2.
3.
4.
5.
Remove the packaging
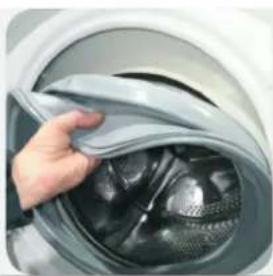
6.
7.
8.
9.
1.
2.
3.
HUBLOT
INSTRUCTIONS
HUBLOT TYPE 1
TOOLS: TORX KEY NO. 25
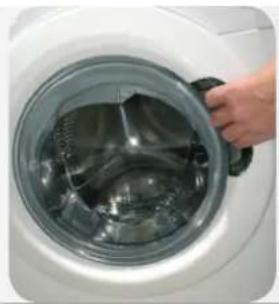
1.
Open the porthole
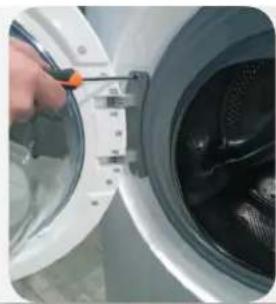
2.
3.
1.
Open the porthole
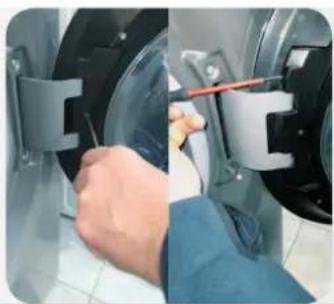
2.
3.
4.
HINGE TYPE 1
TOOLS: TORX WRENCH NO. 25
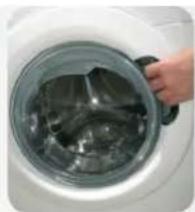
1.
Open the porthole
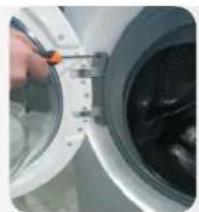
2.
3.
4.
5.
6.
1.
Open the porthole
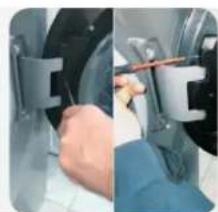
2.
3.
4.
5.
Remove the rod
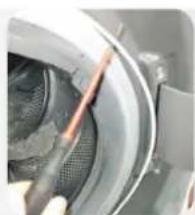
6.
7.
8.
9.
DOOR LOCK TYPE 1
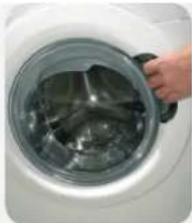
1.
Open the porthole
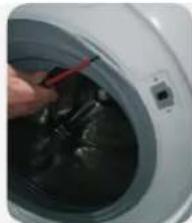
2.
3.
4.
5.
6.
1.
Open the porthole
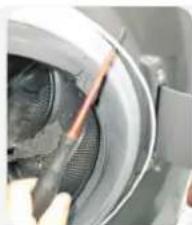
2.
3.
4.
5.
6.
7.
8.
Remove the anti-leak protection
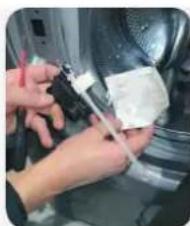
9.
DOOR SEAL
TOOLS: TORX WRENCH, PLIERS, FLAT SCREWDRIVER, TWO ADJUSTABLE WRENCHES NO. 7
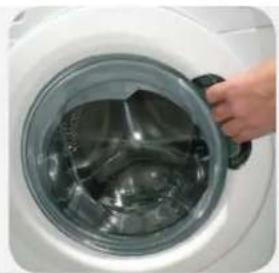
1.
Open the porthole
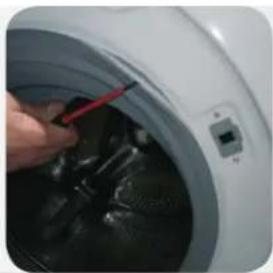
2.
3.
4.
5.
Remove the gasket
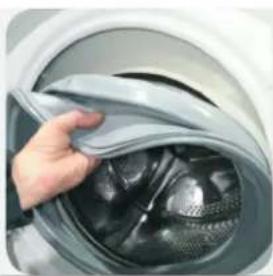
6.
7.
8.
9.
DETERGENT DRAWER
INSTRUCTIONS
DETERGENT DRAWER
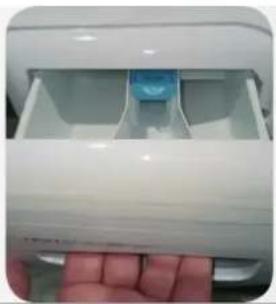
1.
2.
3.
WINDOW
INSTRUCTIONS
WINDOW TYPE 1
TOOLS: TORX KEY 25
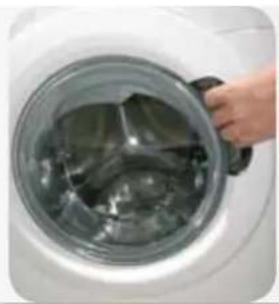
1.
Open the window
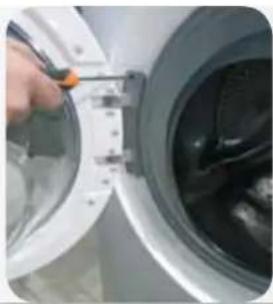
2.
Using the
Torx key 25
remove the screws that
attach the hinge
to the frame
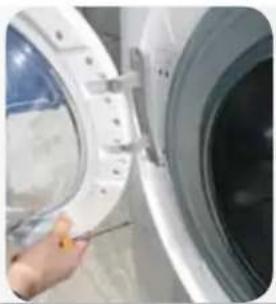
3.
Pull the window
from the top part and
Remove it
WINDOW TYPE 2
TOOLS: TORX KEY 25, FLEXIBLE PIPE WRENCH 7
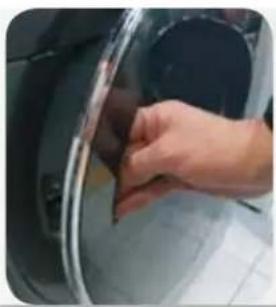
1.
Open the window
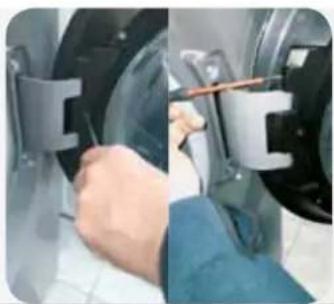
2.
Remove the cover after removing its screw
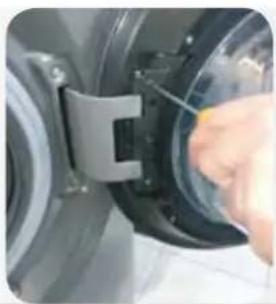
3.
4.
Pull the window from the top and remove it
HINGE
INSTRUCTIONS
HINGE TYPE 1 TOOLS: TORX KEY 25
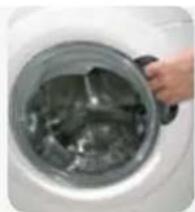
1.
Open the window
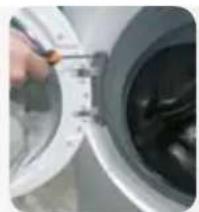
2.
3.
Pull the window from the top and remove it.
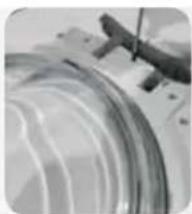
4.
Remove all window screws.
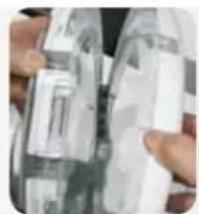
5.
Separate the frame from the subframe.
6.
1.
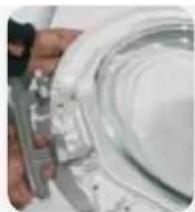
Open the window.
2.
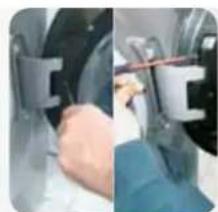
Remove the cover after removing its screw.
3.
4.
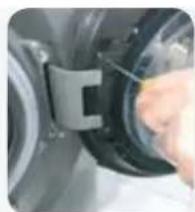
Pull the window from the top and remove it.
5.
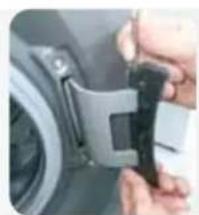
Remove the wedge
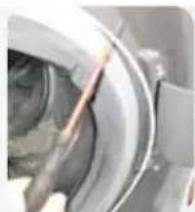
6.
Remove the door latch
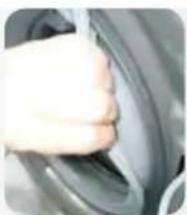
7.
8.
9.
Remove the screws from the inside of the housing using a 7 mm socket wrench. Remove the hinge.
DOOR LOCK
INSTRUCTIONS
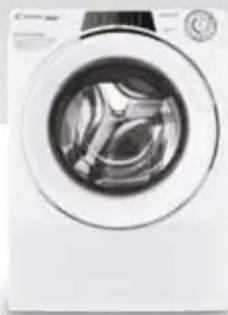
DOOR LOCK TYPE 1
TOOLS: PHILLIPS SCREWDRIVER, PLIERS, FLAT SCREWDRIVER
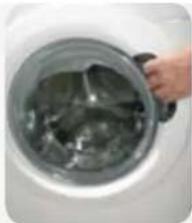
1.
Open the window
2.
3.
4.
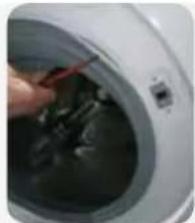
Using a Torx key, remove the door lock retaining screws and press the clip.
5.
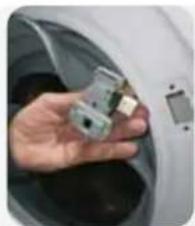
Remove the door lock.
6.
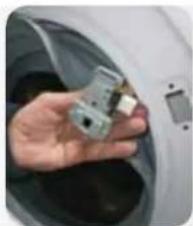
Disconnect the wiring, and in the case of "faston" connectors, be careful not to reverse the wiring.
DOOR LOCK TYPE 2
TOOLS: PHILLIPS SCREWDRIVER, PLIERS, FLAT SCREWDRIVER
1.
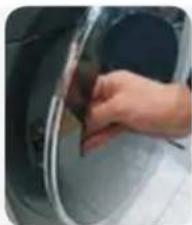
Open the window.
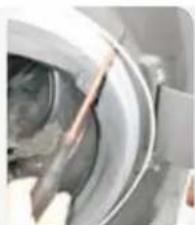
2.
3.
4.
Using a Torx key, remove the door lock retaining screws.
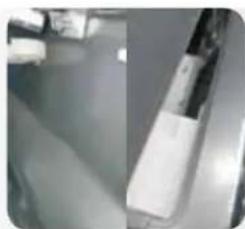
5.
Disassemble the top working part and the trims
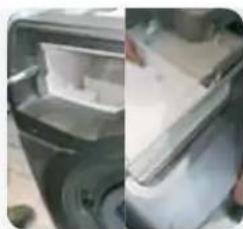
6.
Disassemble the dispenser and the frame
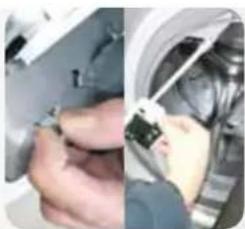
7.
Remove the door lock
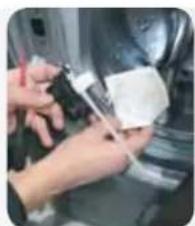
8.
Remove the water guard
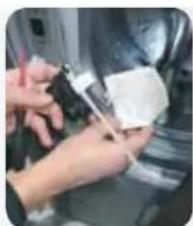
9.
DOOR GASKET
INSTRUCTIONS
DOOR GASKET
TOOLS: TORX WRENCH, PLIERS, SCREWDRIVER, TWO PIPE WRENCHES 7
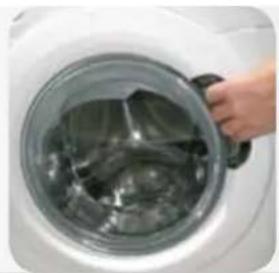
1.
Open the window
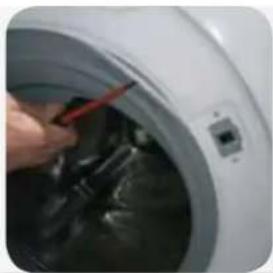
2.
3.
4.
5.
Remove the gasket
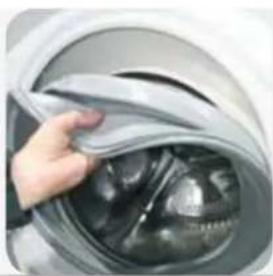
6.
7.
8.
Using the tool, tighten the clamp on the pipe
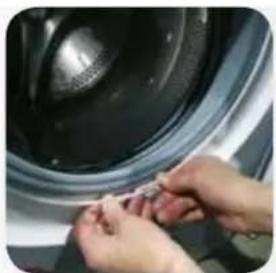
9.
Place the gasket on the housing.
Attach the outer clamp and tighten it (with pliers if necessary)
DETERGENT DRAWER
INSTRUCTIONS
DETERGENT DRAWER
1.
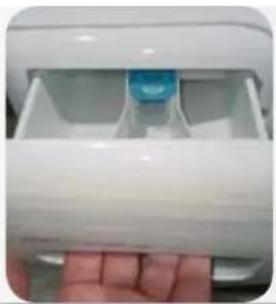
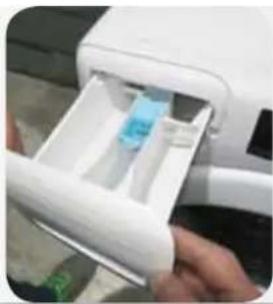
Open the detergent drawer
2.
3.
Unhook the mask from the detergent drawer, being careful not to break the hooks
OBLò
INSTRUCTIONS
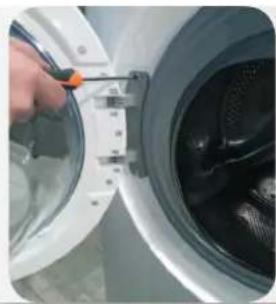
OBLÒ TYPE 1 TOOLS: TORX T25 SCREWDRIVER
1.
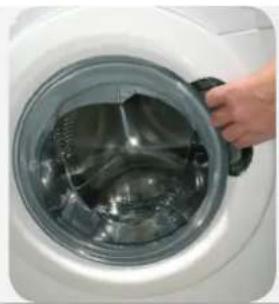
Open the porthole
2.
3.
1.
Open the porthole
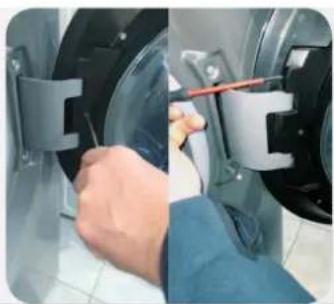
2.
3.
4.
HINGE TYPE 1
TOOLS: TORX T25 SCREWDRIVER
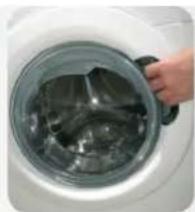
1.
Open the porthole
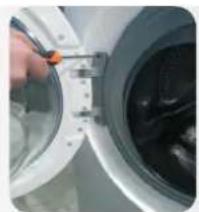
2.
3.
4.
5.
6.
1.
Open the porthole
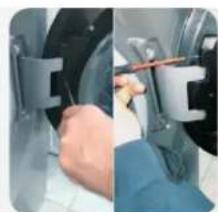
2.
3.
4.
5.
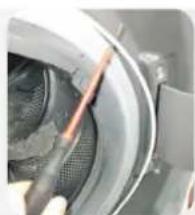
Remove the pin
6.
7.
8.
9.
SAFETY LOCK OF THE DOOR TYPE 1
TOOLS: PHILLIPS SCREWDRIVER, PLIERS, FLAT SCREWDRIVER
1.
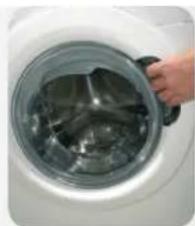
Open the porthole
2.
3.
4.
5.
6.
1.
Open the porthole
2.
3.
4.
5.
6.
7.
8.
9.
DOOR GASKET
INSTRUCTIONS
DOOR GASKET
TOOLS: TORX SCREWDRIVER, PLIERS, FLAT SCREWDRIVER, TWO 7-INCH WRENCHES
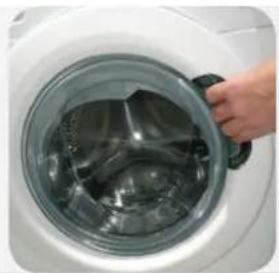
1.
Open the porthole
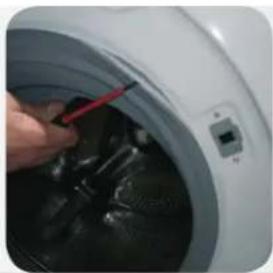
2.
3.
4.
5.
6.
7.
8.
9.
DETERGENT DRAWER
INSTRUCTIONS
DETERGENT DRAWER
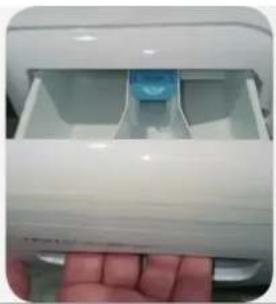
1.
2.
3.
1.
Open the door glass
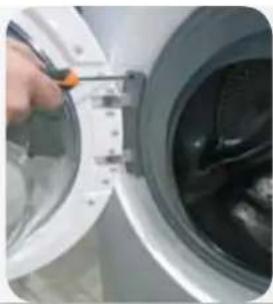
2.
3.
1.
Open the door glass
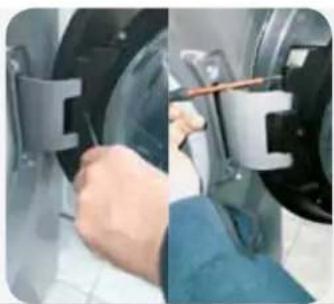
2.
3.
4.
HINGE TYPE 1
1.
Open the door glass
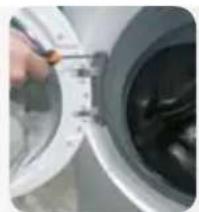
2.
3.
4.
5.
6.
1.
Open the door glass
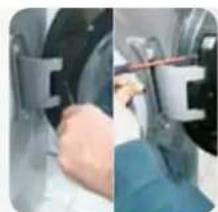
2.
3.
4.
5.
Remove the pin
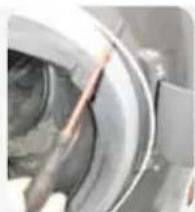
6.
7.
8.
9.
DOOR LOCK
INSTRUCTIONS
DOOR LOCK TYPE 1
TOOLS: PHILLIPS SCREWDRIVER, PLIERS, FLAT SCREWDRIVER
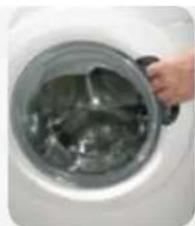
1.
Open the door glass
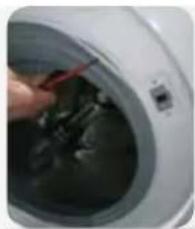
2.
3.
4.
5.
6.
1.
Open the door glass
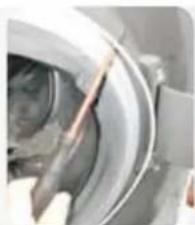
2.
3.
4.
5.
6.
Disassemble the dispenser and the ring
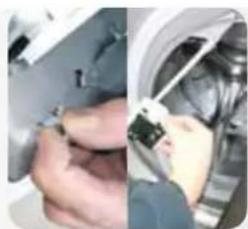
7.
8.
9.
DOOR GASKET
INSTRUCTIONS
DOOR GASKET
TOOLS: TORX SOCKET WRENCH, PLIERS, FLAT SCREWDRIVER, TWO 7MM WRENCHES
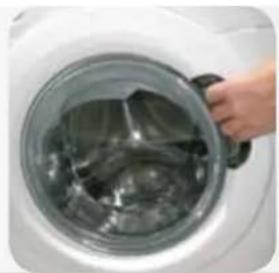
1.
Open the door glass
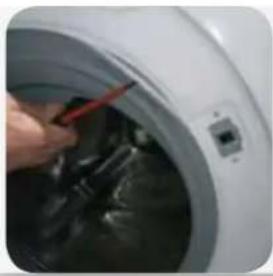
2.
3.
4.
5.
6.
7.
8.
9.
DETERGENT DRAWER
INSTRUCTIONS
DETERGENT DRAWER
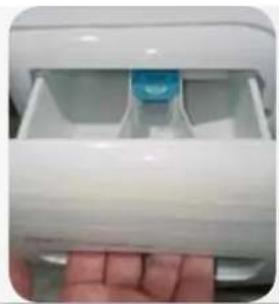
1.
Open the detergent drawer
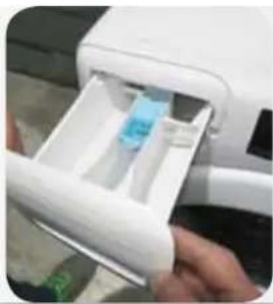
2.
3.
1.
Open the window
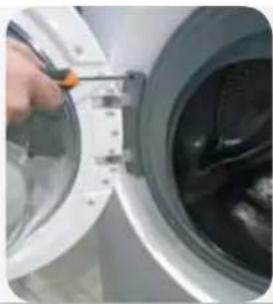
2.
3.
1.
Open the window
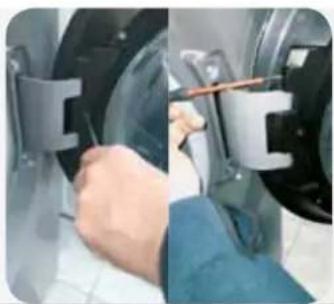
2.
3.
4.
HINGE TYPE 1 TOOLS: TORX KEY 25
1.
Open the window
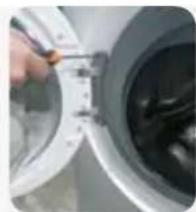
2.
3.
4.
5.
6.
1.
Open the window
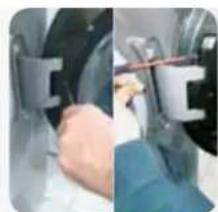
2.
3.
4.
5.
Remove the pin
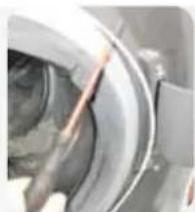
6.
7.
8.
9.
DOOR LOCK TYPE 1
TOOLS: PHILLIPS SCREWDRIVER, PLIERS, FLAT SCREWDRIVER
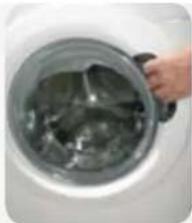
1.
Open the window
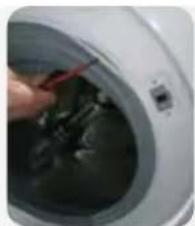
2.
3.
4.
5.
6.
1.
Open the window
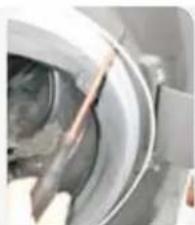
2.
3.
4.
5.
6.
7.
8.
9.
DOOR SEAL
INSTRUCTIONS
DOOR SEAL
TOOLS: TORX KEY, PLIERS, FLAT SCREWDRIVER, TWO PIPE WRENCHES 7
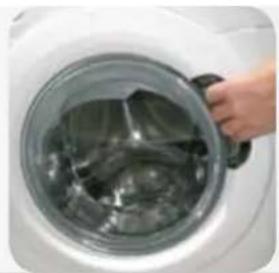
1.
Open the window
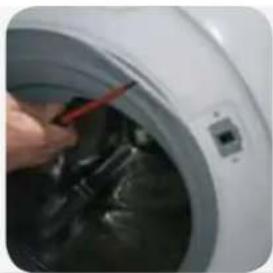
2.
3.
4.
5.
Remove the seal
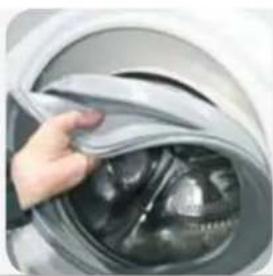
6.
7.
8.
9.
DETERGENT DRAWER
INSTRUCTIONS
DETERGENT DRAWER
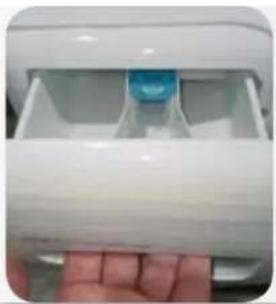
1.
2.
3.
DOOR
INSTRUCTIONS
DOOR TYPE 1
TOOLS: TORQUE WRENCH 25
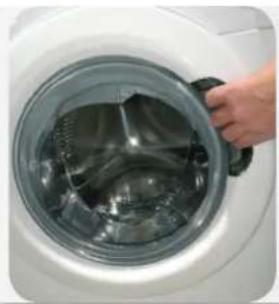
1.
Open the door
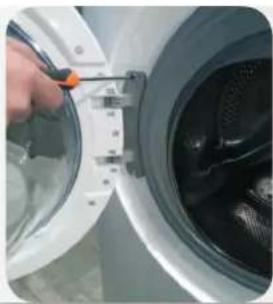
2.
Using the torque wrench 25, remove the screws that fix the hinge to the machine
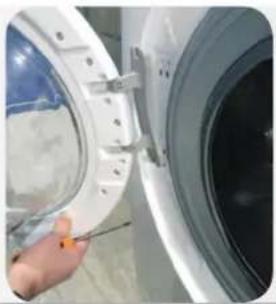
3.
1.
Open the door

2.
3.
4.
HINGE TYPE 1
TOOLS: TORQUE WRENCH 25

1.
Open the door
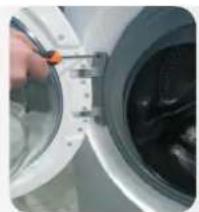
2.
Using the 25 pipe wrench, remove the screws that fix the hinge to the machine
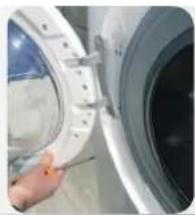
3.
4.
5.
6.
1.
Open the door
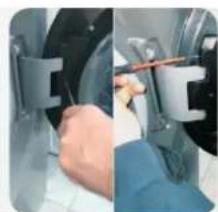
2.
3.
4.
5.
Remove the pin
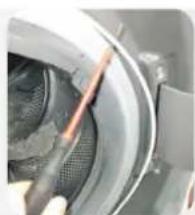
6.
7.
8.
9.
DOOR LATCH
INSTRUCTIONS
DOOR LATCH TYPE 1
TOOLS: PHILLIPS SCREWDRIVER, PLIERS, FLATHEAD SCREWDRIVER
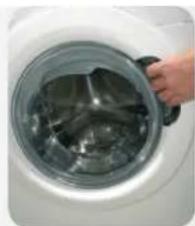
1.
Open the door
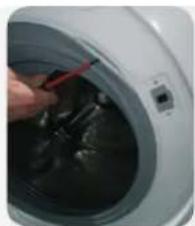
2.
3.
4.
5.
6.
1.
Open the door
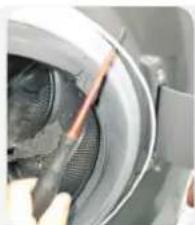
2.
3.
4.
5.
6.
7.
8.
9.
DOOR SEAL
INSTRUCTIONS
DOOR SEAL
TOOLS: TORQUE WRENCH, PLIERS, FLAT-HEAD SCREWDRIVER, TWO PIPE WRENCHES 7
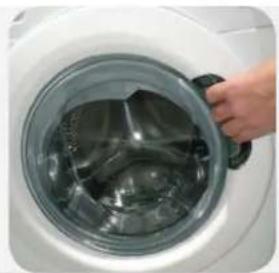
1.
Open the door
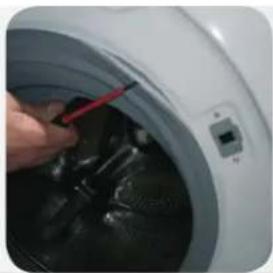
2.
3.
4.
5.
Remove the seal
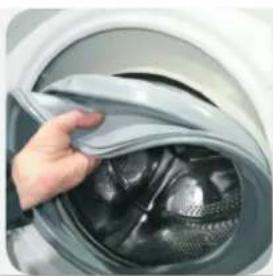
6.
7.
8.
9.
DETERGENT DRAWER
INSTRUCTIONS
DETERGENT DRAWER
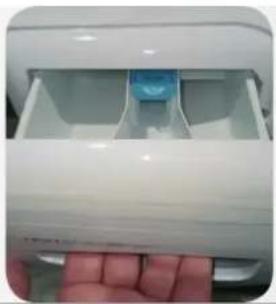
1.
Open the detergent drawer

2.
3.
WINDOW
INSTRUCTIONS
WINDOW TYPE 1 TOOLS: WRENCH No. 25
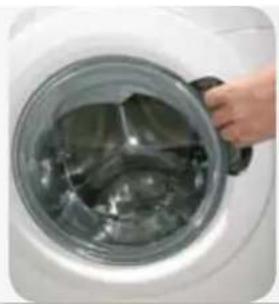
1.
2.
3.
1.
2.
3.
4.
BALAMA TIP 1 INSTRUMENTE: CHEIETORX nr. 25
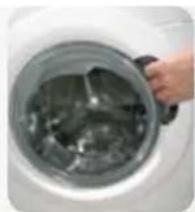
1.
Open the window
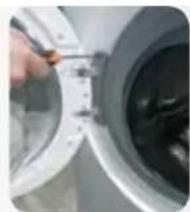
2.
3.
4.
5.
Separate the frame from the counter-frame
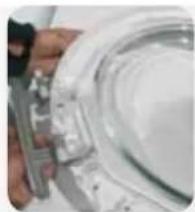
6.
1.
Open the window
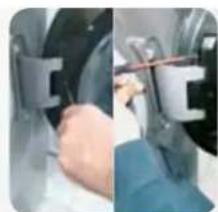
2.
3.
4.
5.
6.
Remove the door hinge
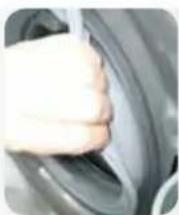
7.
8.
Remove the external hinge screws
9.
DOOR CLOSING SYSTEM
INSTRUCTIONS
DOOR CLOSING SYSTEM TYPE 1
TOOLS: PHILLIPS SCREWDRIVER, PLIERS, FLATHEAD SCREWDRIVER
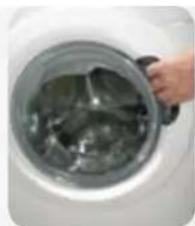
1.
Open the window
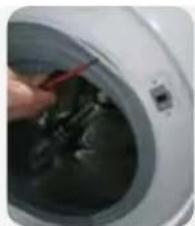
2.
3.
4.
5.
6.
1.
Open the window
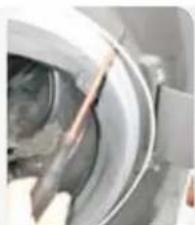
2.
3.
4.
5.
6.
7.
8.
9.
DOOR TRIM
INSTRUCTIONS
DOOR GASKET
TOOLS: WRENCH, PLIERS, FLAT-HEAD SCREWDRIVER, TWO PIPE WRENCHES NO. 7
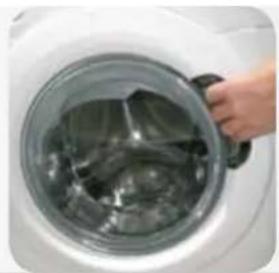
1.
Open the window
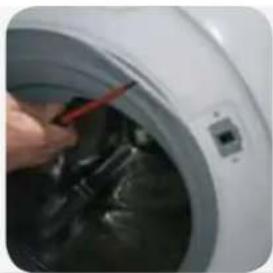
2.
3.
4.
5.
Remove the gasket

6.
7.
8.
9.
DETERGENT DRAWER
INSTRUCTIONS
DETERGENT DRAWER
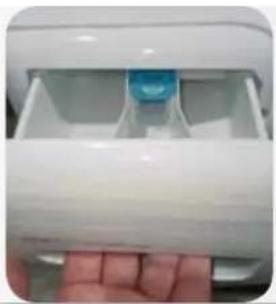
1.
2.
3.
DOOR
INSTRUCTIONS
DOOR TYPE 1
TOOLS: TORX KEY 25
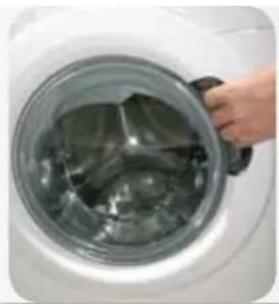
1.
Open the door
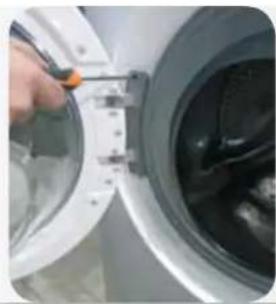
2.
Using the
Torx key 25
remove the screws,
3.
1.
Open the door
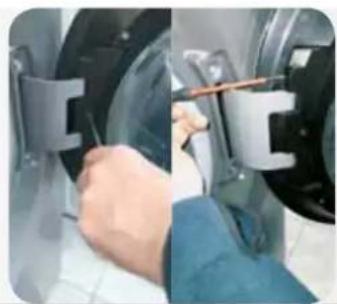
2.
Remove the
cover after
removing its
screws
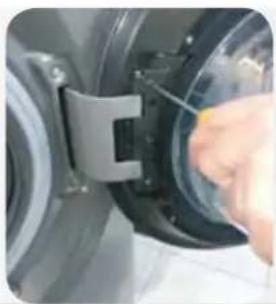
3.
4.
HINGE TYPE 1 TOOLS: TORX KEY 25
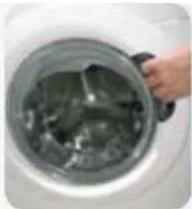
1.
Open the door
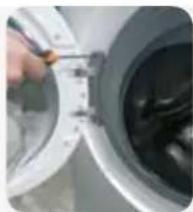
2.
3.
4.
5.
6.
1.
Open the door
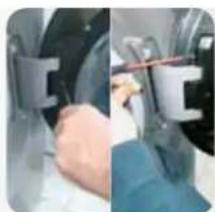
2.
Remove the cover after removing its screws
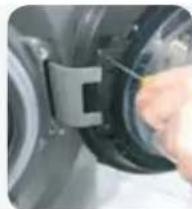
3.
4.
5.
Remove the pin
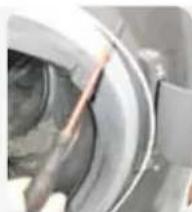
6.
8.
Remove the outer screws from the hinge
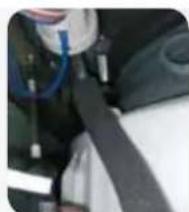
9.
Remove the hinge inside the cabinet with a 7 mm wrench.
DOOR CLOSER
INSTRUCTIONS
DOOR CLOSER TYPE 1
TOOLS: PHILLIPS SCREWDRIVER, PLIERS, FLAT SCREWDRIVER
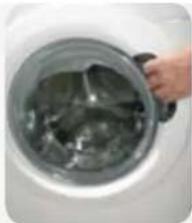
1.
Open the door
2.
3.
4.
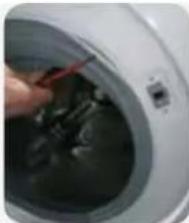
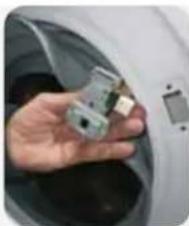
Using a Torx wrench, remove the mounting screws on the door closer and press its latch.
5.
Remove the door closer

6.
1.
Open the door
2.
3.
4.
5.
Disassemble the top part and the covers
6.
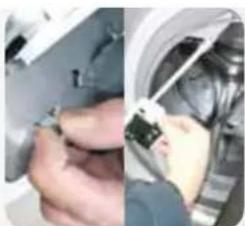
Disassemble the distributor and the frame
7.
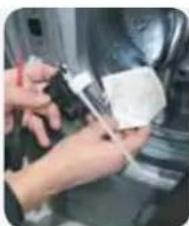
Remove the door lock
8.
9.
DOOR SEAL
INSTRUCTIONS
DOOR SEAL
TOOLS: TORX KEY, PLIERS, FLAT SCREWDRIVER, TWO PIPE WRENCHES 7
1.
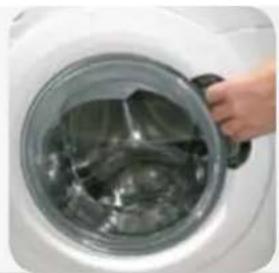
Open the door
2.
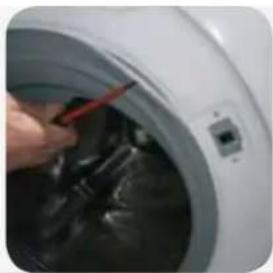
3.
4.
5.
Remove the gasket
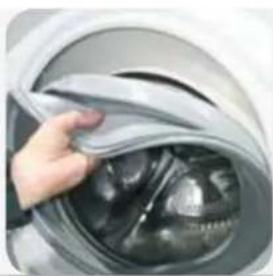
6.
Install the new gasket, being careful with the notches for installation
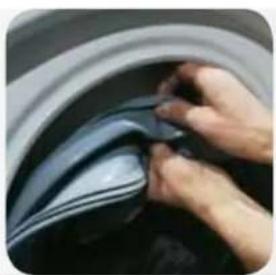
7.
Set the wiring clip on the side of the pipe
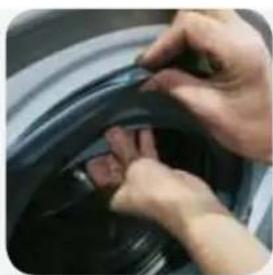
8.
9.
DETERGENT DRAWER
INSTRUCTIONS
DETERGENT DRAWER
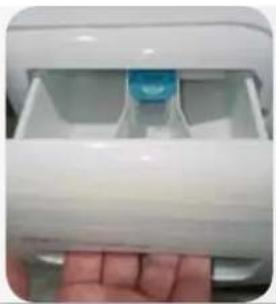
1.
Open the detergent drawer
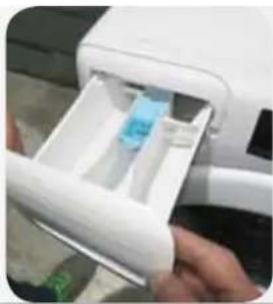
2.
3.
Remove the detergent drawer front panel from the hooks, being careful not to break the hooks
DOORS
INSTRUCTIONS
DOOR TYPE 1
TOOLS: TORX KEY 25
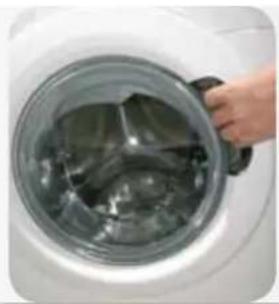
1.
Open the door
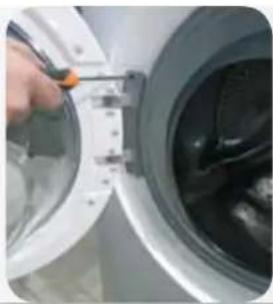
2.
3.
1.
Open the door
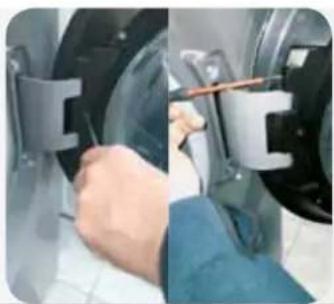
2.
3.
4.
HINGE TYPE 1 TOOL: TORX KEY 25
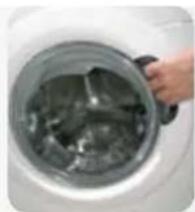
1.
Open the door
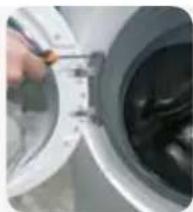
2.
3.
4.
5.
Separate the frame from the holder
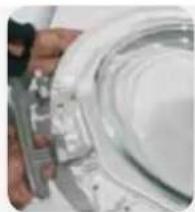
6.
Replace the hinge, being careful not to lose the bushings
DOOR LOCK TYPE 2 TOOLS: TORX 25 KEY, FLEXIBLE, 7 SOCKET WRENCH
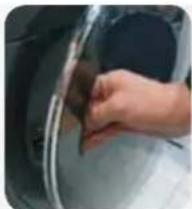
1.
Open the door
2.
3.
4.
5.
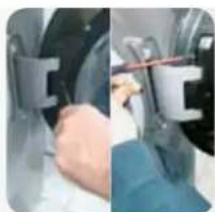
Pull out the pin
6.
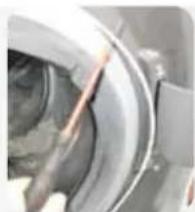
Pull out the door clip
7.
8.
9.
DOOR LOCK TYPE 1
TOOLS: PHILLIPS SCREWDRIVER, PLIERS, FLAT SCREWDRIVER
1.
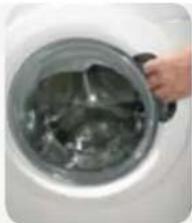
Open the door
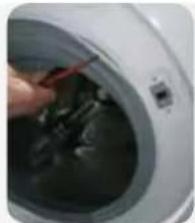
2.
3.
4.
5.
6.
1.
Open the door
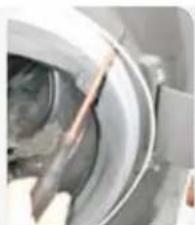
2.
3.
4.
5.
6.
7.
8.
Replace the water seal
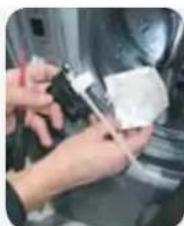
9.
DOOR SEAL
INSTRUCTIONS
DOOR SEAL
TOOLS: TORX KEY, PLIERS, FLAT SCREWDRIVER, TWO 7 TUBULAR WRENCHES
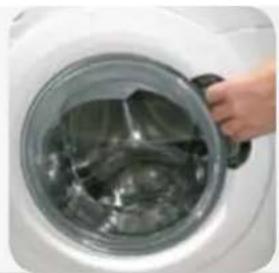
1.
Open the door
2.
3.
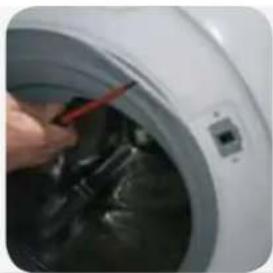
4.
Using a flat screwdriver, remove the clamp on the tube
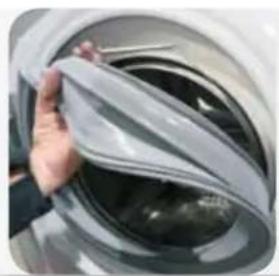
5.
Remove the seal
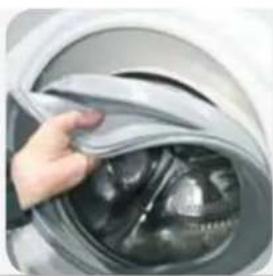
6.
7.
8.
9.
DETERGENT DRAWER
INSTRUCTIONS
DETERGENT DRAWER
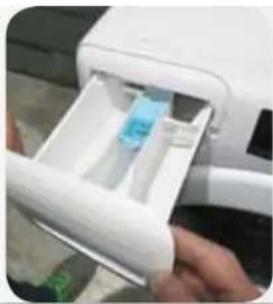
1.
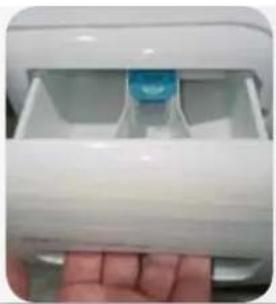
Open the detergent drawer
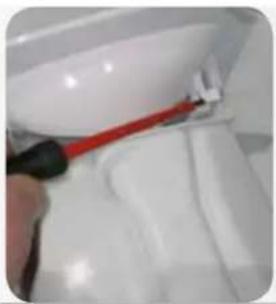
2.
Pull it out firmly with both hands
3.
GLASS DOOR
INSTRUCTIONS
GLASS DOOR TYPE 1
TOOL: 25 ALLEN KEY
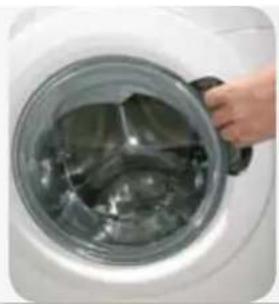
1.
Open the glass doors

2.
3.
Pull the doors from the top and remove them
GLASS DOOR TYPE 2
TOOL: 25 ALLEN KEY, FLEXIBLE PLUMBER'S WRENCH 7
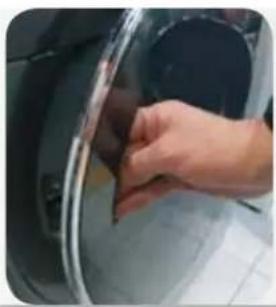
1.
Open the glass doors
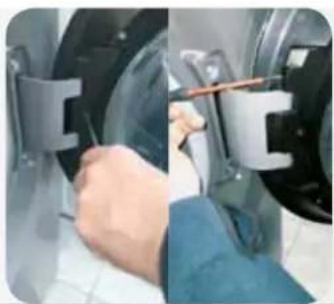
2.
Remove the cover after unscrewing its screw
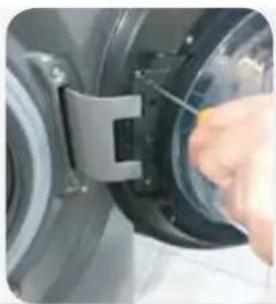
3.
4.
Pull the doors from the top and remove them
HINGE
INSTRUCTIONS
HINGE TYPE 1 TOOL: 25 ALLEN KEY
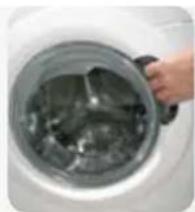
1.
Open the glass door
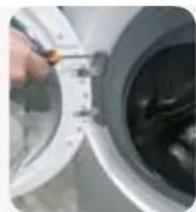
2.
3.
Pull the door from the top and remove it
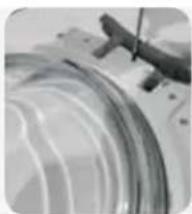
4.
5.
Separate the frame from the counter-frame
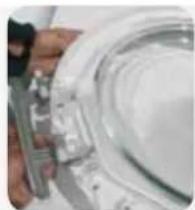
6.
Replace the hinge, being careful not to lose the bushings
HINGE TYPE 2 TOOL: 25 ALLEN KEY, FLEXIBLE PLUMBER'S WRENCH 7
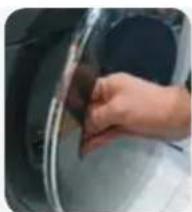
1.
Open the glass door
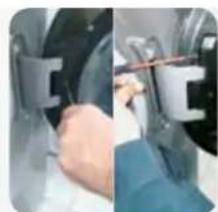
2.
Remove the cover after unscrewing its screw
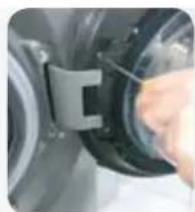
3.
4.
Pull the door from the top and remove it
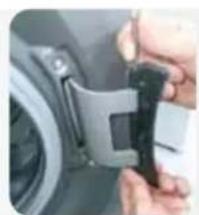
5.
Remove the pin
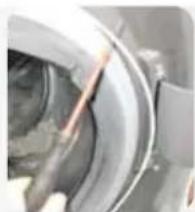
6.
Remove the clip on the door
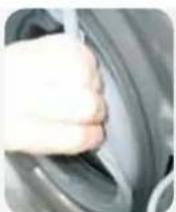
7.
Once the tape is removed, separate the cover from the gasket to allow access to the inside of the product
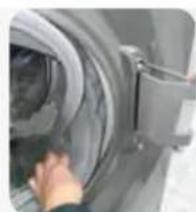
8.
Remove the external screws from the hinge
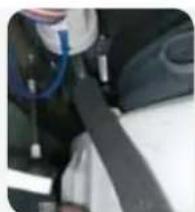
9.
Remove the screws from the inside of the cabinet using a 7 mm wrench. Remove the hinge.
LOCK
INSTRUCTIONS
LOCK TYPE 1 TOOLS: PHILLIPS SCREWDRIVER, PLIERS, FLATHEAD SCREWDRIVER
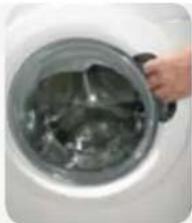
1.
Open the glass door.
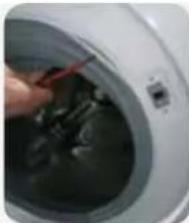
2.
Use a flathead screwdriver as a lever and remove the outer clamp.
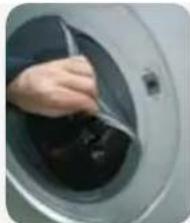
3.
Once the clamp is removed, separate the cover from the gasket to allow access to the interior of the product.
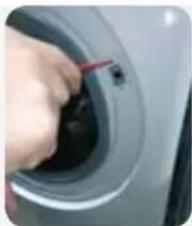
4.
Using an Allen key, remove the lock's mounting screws on the door and press its latch.
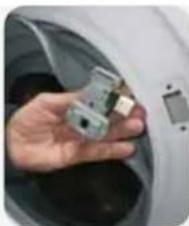
5.
Remove the lock.
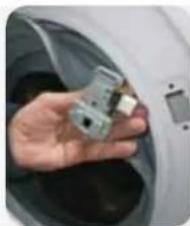
6.
Disconnect the wiring; in the case of a crimp contact, be careful not to reverse the wiring.
LOCK TYPE 2 TOOLS: PHILLIPS SCREWDRIVER, PLIERS, FLAT SCREWDRIVER
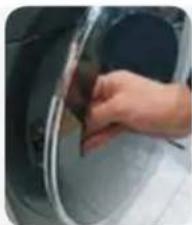
1.
Open the glass door.
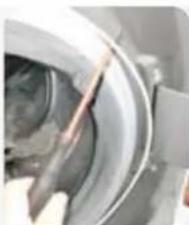
2.
Use a flat screwdriver as a lever and remove the outer clamp.
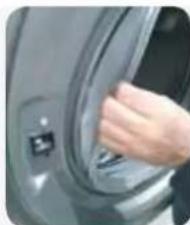
3.
Once the clamp is removed, separate the cover from the gasket to allow access to the interior of the product.
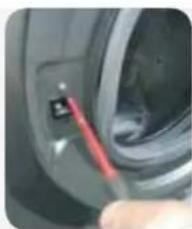
4.
5.
6.
Disassemble the dispenser and frame.
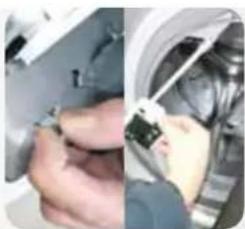
7.
Remove the lock.
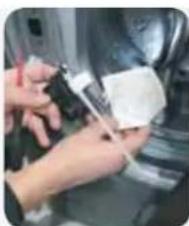
8.
Remove the water protection
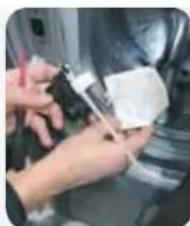
9.
Replace the door lock, paying attention to the mechanical emergency opening link and the electrical connection
DOOR SEAL
INSTRUCTIONS
DOOR SEAL
TOOLS: ALLEN KEY, PLIERS, FLATHEAD SCREWDRIVER, TWO PIPE WRENCHES 7
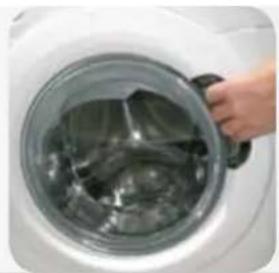
1.
Open the glass door
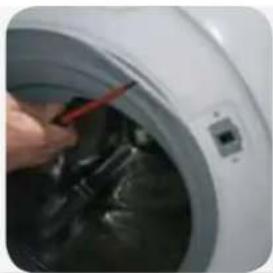
2.
Use a flathead screwdriver as a lever and remove the outer clamp
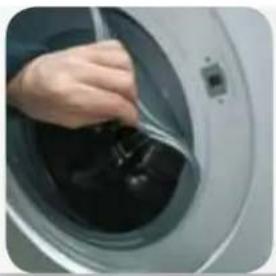
3.
Once the clamp is removed, separate the cover from the seal to allow access to the inside of the product
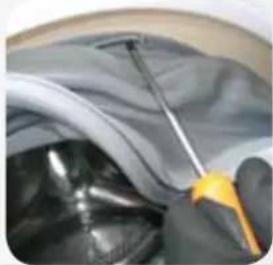
4.
Using a flathead screwdriver, remove the clamp from the pipe
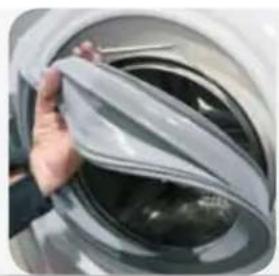
5.
Remove the gasket
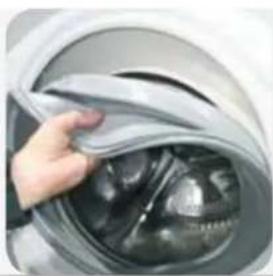
6.
Place the new gasket, paying attention to the positioning notches
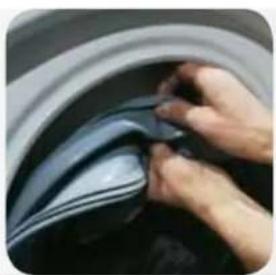
7.
Insert the wiring clamp on the pipe side
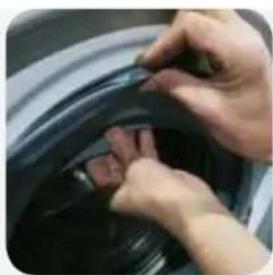
8.
Tighten the clamps on the pipe using a tool
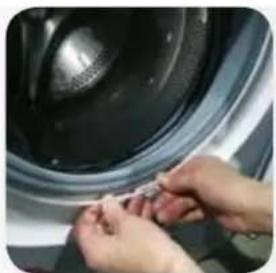
9
Place the gasket on the cabinet. Fix the external clamp and tighten it (with pliers if necessary)
DETERGENT DRAWER
INSTRUCTIONS
DETERGENT DRAWER
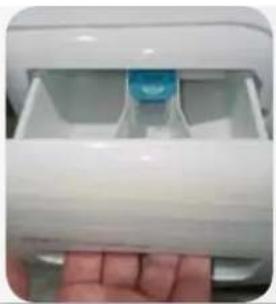
1.
Open the detergent drawer
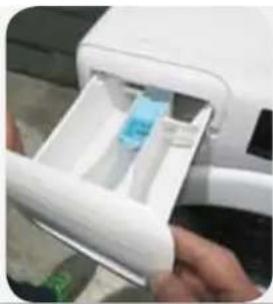
2.
3.
Unhook the detergent drawer mask, being careful not to break the hooks.
DRAIN
INSTRUCTIONS
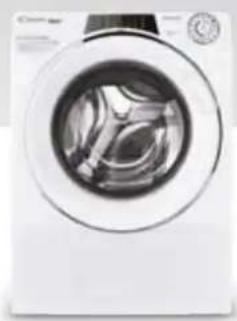
DRAIN TYPE 1
TOOLS: 25 TORX WRENCH
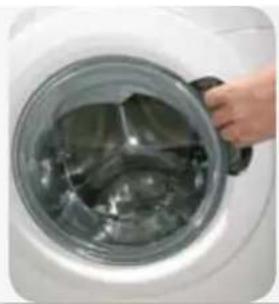
1.
Open the drain
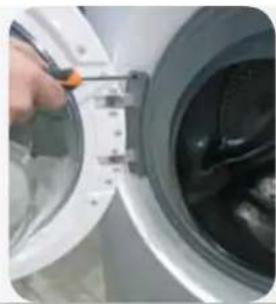
2.
3.
1.
Open the drain
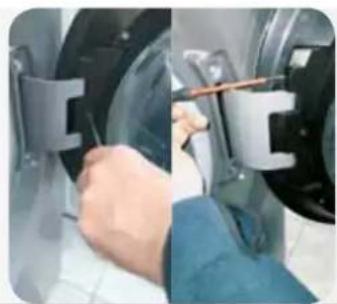
2.
3.
4.
MENTEŞE TÜR 1 ARAÇLAR: 25TORKS ANAHTARI
1.
Mazgali açın
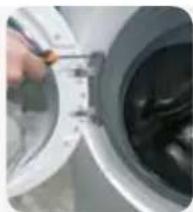
2.
3.
4.
5.
6.
1.
Mazgali açın
2.
3.
4.
5.
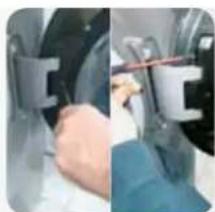
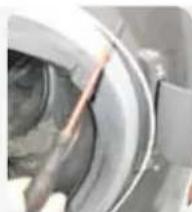
Remove the pin.
6.
7.
8.
9.
DOOR LOCK TYPE 1 VEHICLES: PHILLIPS SCREWDRIVER, PLIERS, FLAT SCREWDRIVER
1.
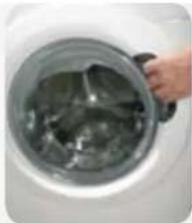
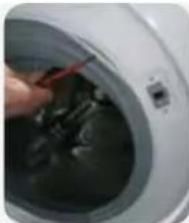
Open the drain.
2.
3.
4.
5.
6.
1.
Open the drain.
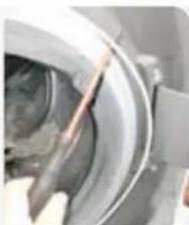
2.
3.
4.
5.
6.
7.
8.
9.
DOOR GASKET
INSTRUCTIONS
DOOR GASKET
TOOLS: TORX WRENCH, PLIERS, FLAT SCREWDRIVER, TWO 7 PIPE WRENCHES
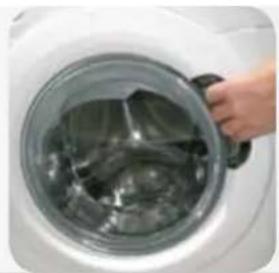
1.
Open the drain
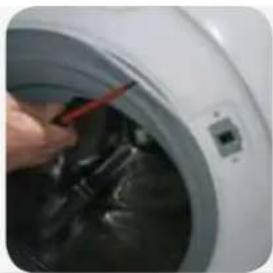
2.
3.
4.
5.
Remove the container
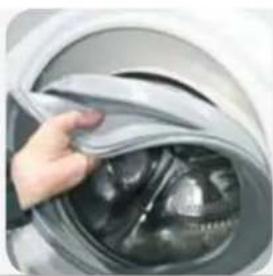
6.
7.
8.
9.
DETERGENT DRAWER
INSTRUCTIONS
DETERGENT DRAWER
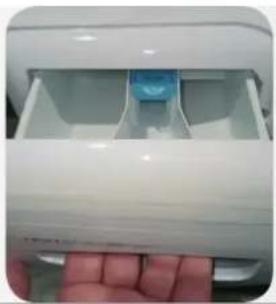
1.
2.
3.