SMM-7A1 - Fridge DANBY - Free user manual and instructions
Find the device manual for free SMM-7A1 DANBY in PDF.
Download the instructions for your Fridge in PDF format for free! Find your manual SMM-7A1 - DANBY and take your electronic device back in hand. On this page are published all the documents necessary for the use of your device. SMM-7A1 by DANBY.
USER MANUAL SMM-7A1 DANBY
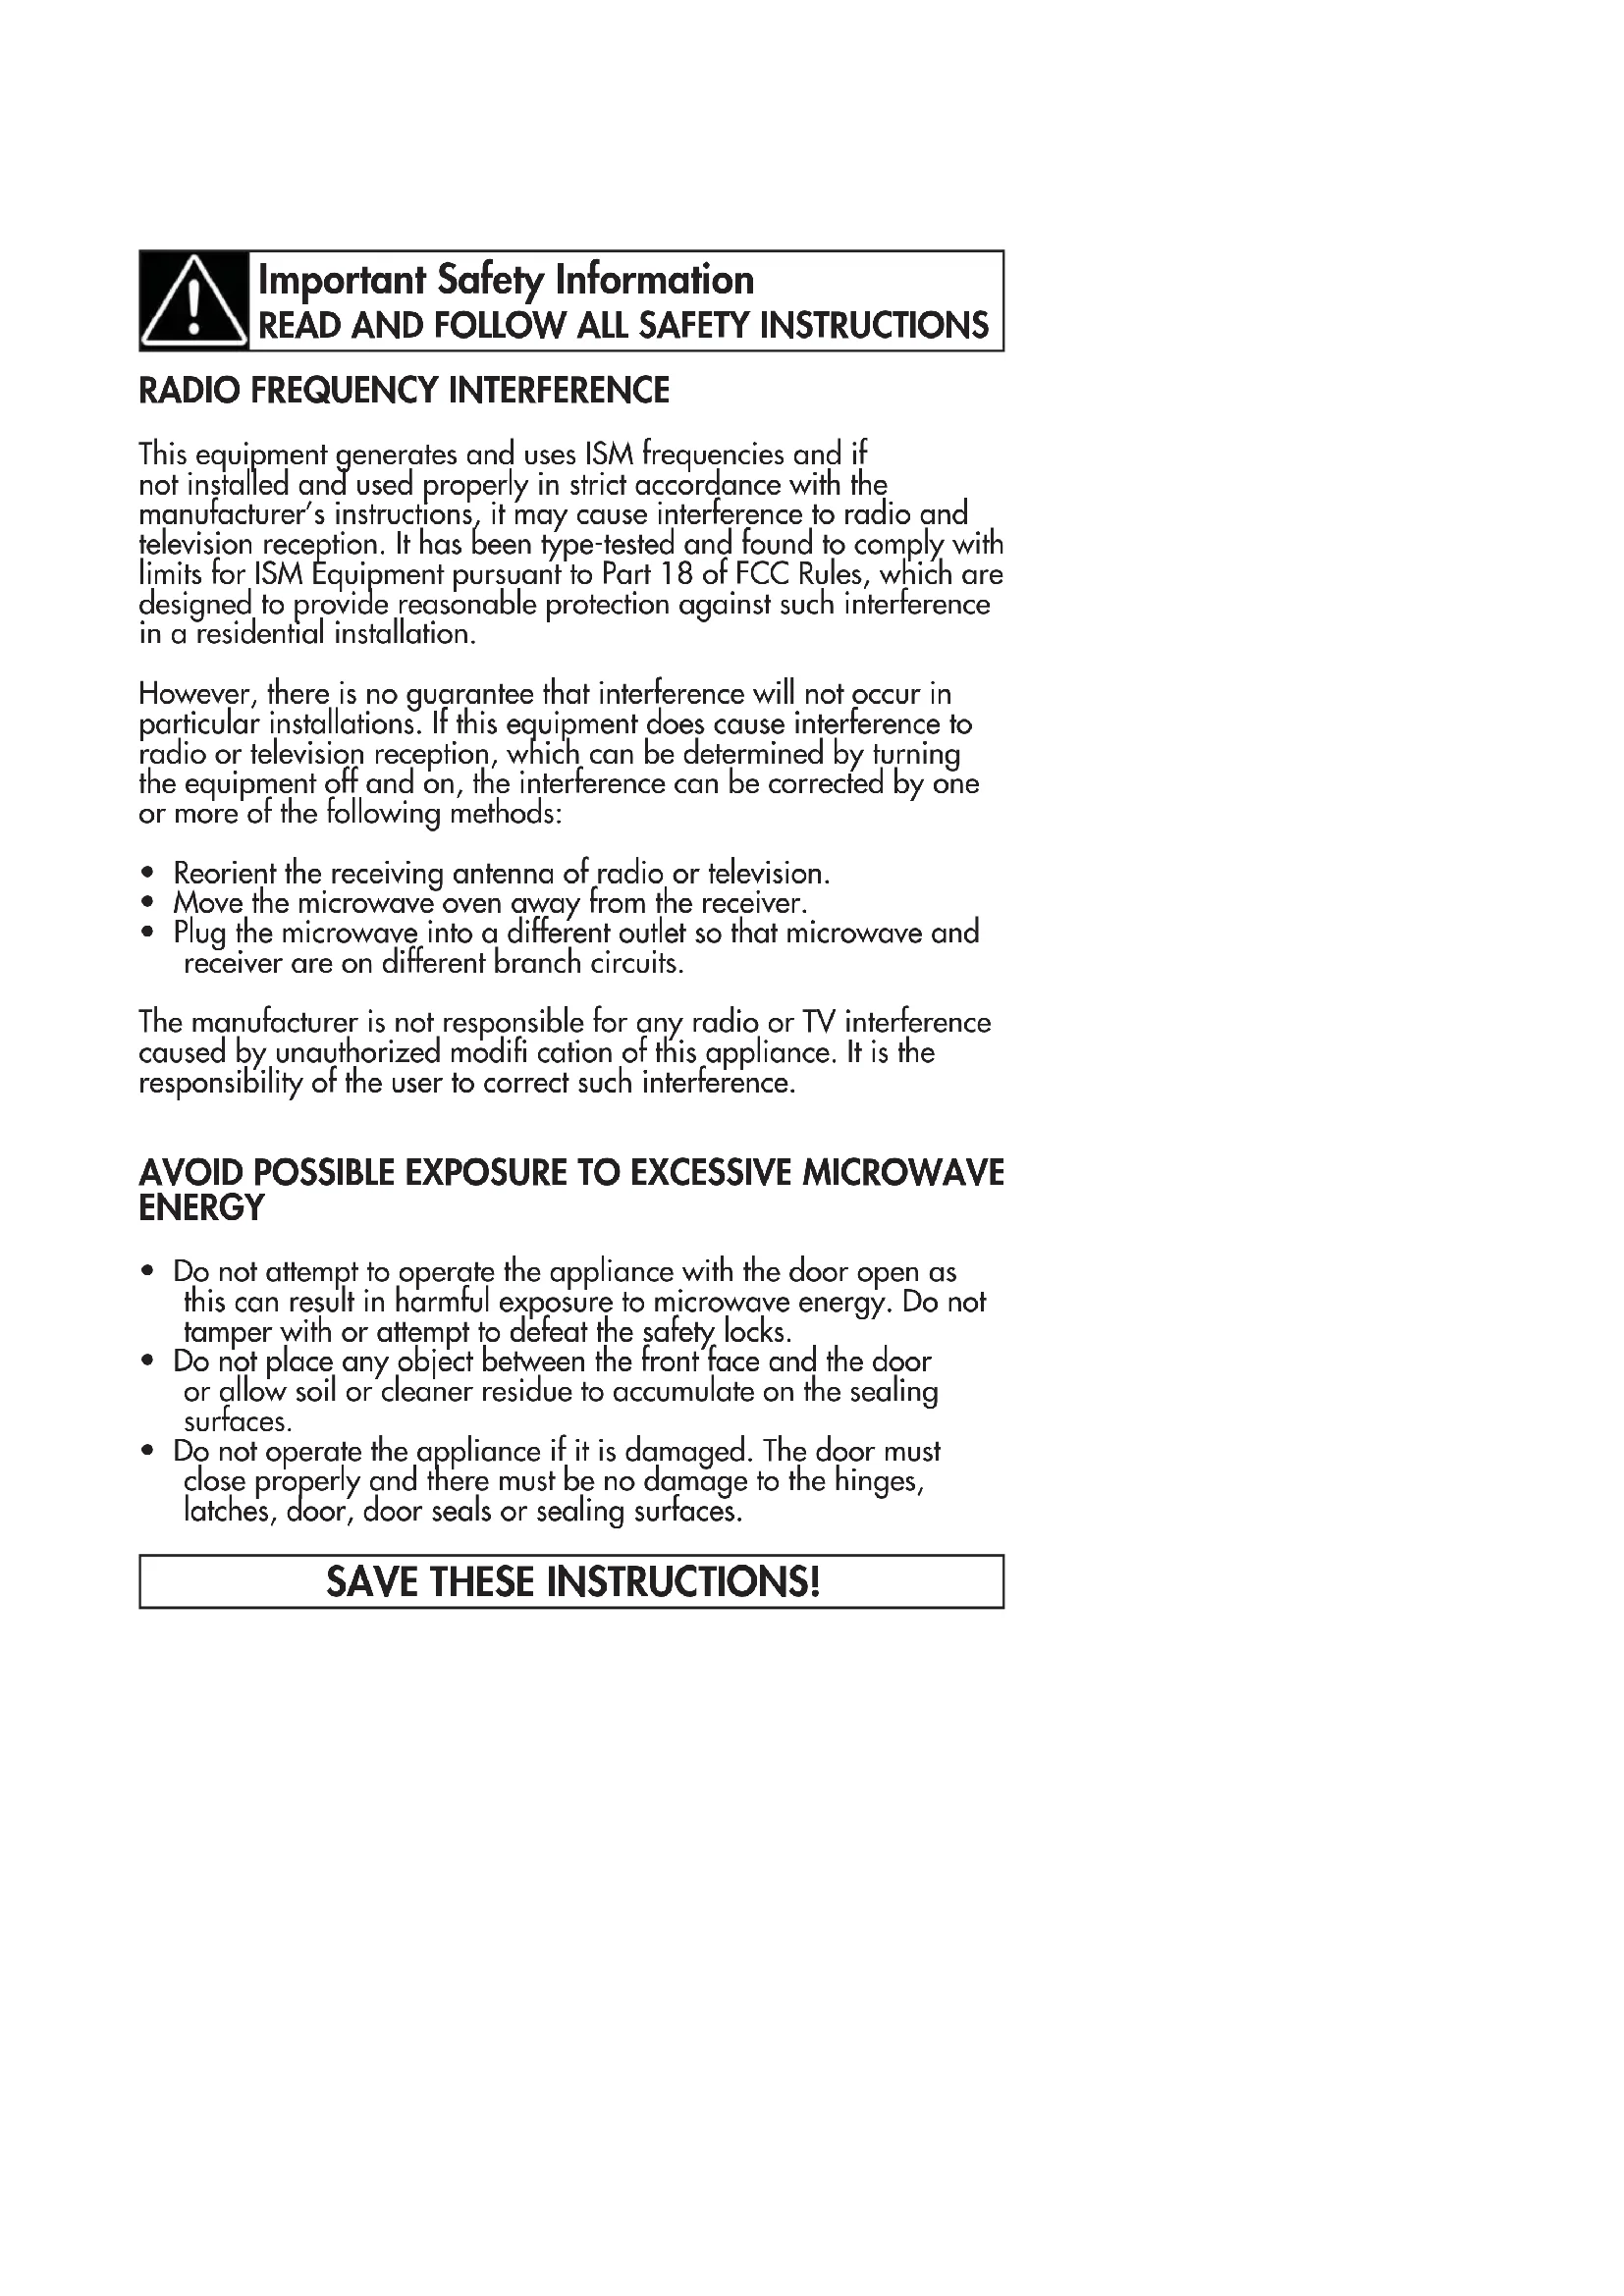
This equipment generates and uses ISM frequencies and if not installed and used properly in strict accordance with the manufacturer’s instructions, it may cause interference to radio and television reception. It has been type-tested and found to comply with limits for ISM Equipment pursuant to Part 18 of FCC Rules, which are designed to provide reasonable protection against such interference in a residential installation. However, there is no guarantee that interference will not occur in particular installations. If this equipment does cause interference to radio or television reception, which can be determined by turning the equipment off and on, the interference can be corrected by one or more of the following methods:
- Reorient the receiving antenna of radio or television.
- Move the microwave oven away from the receiver.
- Plug the microwave into a different outlet so that microwave and receiver are on different branch circuits. The manufacturer is not responsible for any radio or TV interference caused by unauthorized modifi cation of this appliance. It is the responsibility of the user to correct such interference.
- Do not attempt to operate the appliance with the door open as this can result in harmful exposure to microwave energy. Do not tamper with or attempt to defeat the safety locks.
- Do not place any object between the front face and the door or allow soil or cleaner residue to accumulate on the sealing surfaces.
- Do not operate the appliance if it is damaged. The door must close properly and there must be no damage to the hinges, latches, door, door seals or sealing surfaces.
SAVE THESE INSTRUCTIONS!GROUNDING INSTRUCTIONS
This appliance must be grounded. In the event of an electrical short circuit, grounding reduces the risk of electrical shock by providing an escape wire for the electrical current. This appliance is equipped with a cord that has a grounding wire with a grounding plug. The power cord must be plugged into an outlet that is properly grounded. If the outlet is a standard 2-prong wall outlet, it is your responsibility to have it replaced with a properly grounded 3-prong wall outlet. The serial rating plate indicates the voltage and frequency the appliance is designed for. WARNING - Improper use of the grounding plug can result in a risk of electric shock. Consult a qualifi ed electrician or service agent if the grounding instructions are not completely understood, or if doubt exists as to whether the appliance is properly grounded.
DO NOT USE AN EXTENSION CORD
Do not connect your appliance to extension cords or together with another appliance in the same wall outlet. Do not splice the power cord. Do not under any circumstances cut or remove the third ground prong from the power cord. If the power supply cord is damaged, it must be replaced by the manufacturer, its service agent or similar qualifi ed person in order to avoid hazard. Important Safety Information
- Ensure that component parts are replaced with like components and that servicing is done by factory authorized service personnel, to minimize the risk of possible ignition due to incorrect parts or improper service.
- Check the appliance for damage before using. If there is any damage to the appliance, do not use it, return it to its point of purchase or contact consumer care.
- The appliance must be placed on a fl at, stable surface that is able to hold its weight and the heaviest food likely to be placed in the appliance.
- Do not use this appliance where heat, moisture or high humidity are generated.
- Do not clean this appliance with or use near combustible materials.
- Children should be supervised to ensure that they do not play with the appliance.
- Allow 20 cm of space above the appliance, 10 cm at the back of the appliance and 5 cm on both sides for proper air fl ow around the appliance. Do not cover or block any ventilation openings in this appliance.
- This appliance is specifi cally designed to heat, cook or dry food. It is not designed for industrial or laboratory use.
- Do not store or use this appliance outdoors. Do not use this appliance near water.
- Do not overcook food. Carefully watch the appliance when it is in use.
- Remove wire twist-ties before placing items in the appliance.
- Do not use the appliance for storage purposes. Do not leave items inside the appliance when not in use.
- Do not heat oil or fat for deep frying as it is diffi cult to control the temperature of oil in a microwave.
- Some items such as whole eggs or sealed containers have the possibility of exploding when heated and should not be placed in this appliance.
- Do not operate any heating or cooking appliance beneath this appliance.
- Ensure that the glass tray and rollers are in the correct position before use to avoid possible spills.
- Do not operate this appliance when it is empty as this will increase the heat around the magnetron and can damage the appliance or cause a fi re.
- If items inside the appliance should ignite, keep the door closed, turn the appliance off and disconnect the power cord.
- Do not operate the appliance without the glass tray, roller support and shaft in their correct positions.Important Safety Information
Liquids are able to be overheated beyond the boiling point without appearing to be boiling due to the surface tension of the liquid. Visible bubbling will not always be present when the liquid is removed from the appliance. This could result in very hot liquids suddenly boiling over when a utensil or other item such as a tea bag is inserted into the liquid. To reduce the risk of injury:
- Do not overheat liquids. Do not heat any liquid for more than 2 minutes per cup.
- Stir liquids before and halfway through heating.
- Do not use straight-sided containers with narrow necks as this can cause a build up of steam.
- Superheated liquid can begin to spontaneously boil when removed from the microwave. After heating, allow the liquid to stand in the microwave for 30 seconds before removing.
- Use extreme care when inserting a utensil or other item into hot liquids.
- The contents of milk bottles and baby food jars should be stirred or shaken and the temperature checked before serving in order to avoid burns.
- Do not defrost frozen beverages, especially carbonated beverages, in this appliance as they could explode.
- Hot foods and steam can cause burns. Be careful when opening any container that has been heated in the appliance. Direct the opening away from hands and face to avoid burns.
Arcing refers to sparks inside the microwave while it is in operation. Arcing is caused by:
- Metal or foil inside the appliance.
- Recycled paper towels being used inside the appliance, as these can contain small pieces of metal. If arcing is present, stop operation and remove any metal or paper towels from the appliance. 4RECOMMENDED Microwave Browning Dish: Used to brown the exterior of small food items. Follow the directions provided with the browning dish. Microwavable Plastic Wrap: Used to retain steam. Leave a small opening to avoid a build up of steam. Do not place directly on food. Glass and Ceramic Bowls and Dishes: Use for heating or cooking. Paper Plates and Cups: Use for short term heating at low temperatures. Do not use recycled paper as they can contain metal and could ignite. Paper Towels and Napkins: Use for short term heating and covering. Do not use recycled paper towels as they can contain metal and could ignite. Wax Paper: Use as a cover to prevent splattering. Thermometers: Only use those that are labeled “microwave safe” and follow all directions. Note: To check if a dish is safe for use in the microwave, place the empty dish in the appliance and microwave on high for 30 seconds. If the dish becomes very hot, it should not be used.
COOKING UTENSILS GUIDE
LIMITED USE Aluminum Foil: Using too much foil can cause arcing and damage the appliance. Keep a distance of at least 1 inch (2.6 cm) between the foil and the inside of the appliance. Ceramic, Porcelain, Plastic and Stoneware: Only use if they are labeled “microwave safe”. NOT RECOMMENDED Glass Jars and Bottles: Regular glass is too thin to be used in a microwave. It can shatter and cause damage or injury. Paper Bags: These are a fi re hazard and could ignite. The only exception is popcorn bags, which are designed for microwave use. Styrofoam Plates and Cups: These can melt and leave an unhealthy residue on food. Plastic Storage and Food Containers: These can melt and ignite. Metal Utensils: These can cause arcing and damage to the appliance. Remove all metal before operation. 5To achieve the best results when cooking in this appliance, follow the suggestions below. STIRRING Stir foods while cooking to distribute heat evenly. Food at the outside of the dish absorbs more energy and will heat more quickly so stir from the outside of the dish toward the center. ARRANGEMENT Arrange unevenly shaped foods thicker, meatier parts toward the outside of the turntable so they receive more heat. To prevent overcooking, place delicate items toward the center of the turntable. SHIELDING Delicate foods can be shielded with narrow strips of aluminum foil to prevent overcooking. Use only small amounts of foil as this can cause arcing and damage to the appliance. TURNING Turn food over midway through cooking to expose all parts to the microwave energy. This is important with large items and meat. STANDING Foods cooked in a microwave build up internal heat and continue to cook for a few minutes after heating stops. Let foods stand to complete cooking, especially meats and liquids. All liquids should be allowed to stand for a few minutes after cooking and should be shaken or stirred before consuming. ADDING MOISTURE Microwave energy is attracted to water molecules. Food that is uneven in moisture content should be covered and allowed to stand after cooking to allow the heat to disperse evenly. Add a small amount of water to dry food to help it cook. COOKING TECHNIQUES 6OPERATING INSTRUCTIONS
When the appliance is plugged in for the fi rst time, the display will show “ENTER CLOCK TIME”. Use the number pad to enter the current time and then press the clock button to confi rm When setting the cook timer, the appliance will return to standby mode if there is no input within 25 seconds. During operation:
- Press the Start/Stop button to pause the functioning.
- Press the Start/Stop button again to resume functioning.
- Press the Reset button to cancel the cooking program. The appliance will beep four times at the end of a cooking program and “END” will show on the display. The appliance will continue to beep every 2 minutes until a button is pressed or the door is opened.
The clock can only be set as a 12 hour clock. To set the current time:
1. Press the Clock button.
2. Use the number pad to enter the current time.
3. Press the Clock button to confi rm.
During operation, press the Clock button to see the current time. TIMER FUNCTION To set the timer function:
1. Press the Timer button.
2. Use the number pad to enter the desired time to run the
MICROWAVE COOKING To set a cooking power and time:
1. Use the number pad to enter
the desired cook time.
2. Press the Start/Stop button
to begin operation. The program will default to 100% power level. To set a power level other than 100%:
1. Use the number pad to enter
the desired cook time.
2. Press the Power Level button.
3. Use the number pad to enter
the desired power level as per the below chart.
4. Press the Start/Stop button to
begin operation. Number Pad Cooking Power 1,0 100% 9 90% 8 80% 7 70% 6 60% 5 50% 4 40% 3 30% 2 20% 1 10% Two Stage Cooking Some recipes require different stages of cooking at different temperatures. To set a two stage cook program: Set stage one:
1. Use the number pad to enter
the desired cook time.
2. Use the Power Level button to
enter the desired power level. Set stage two:
3. Press the Cook button.
4. Use the number pad to enter
the desired cook time.
5. Use the Power Level button to
enter the desired power level.
POTATO For a 4 - 6 oz. serving of potatoes:
1. Press the Potato button.
2. Use the number pad from 1 - 4 to enter the number of potatoes.
3. Press the Start/Stop button to begin operation.
For a 8 - 10 oz. serving of potatoes:
1. Press the Potato button twice.
2. Use the number pad from 1 - 4 to enter the number of potatoes.
3. Press the Start/Stop button to begin operation.
for a 3.5 oz. bag of popcorn.
2. Press the Start/Stop button to begin operation.
To change the preset time:
1. Press the Popcorn button twice. “ENTER TIME” will appear on the
2. Use the number pad to enter the desired cook time. This new
time setting will be used every time the Popcorn button is pressed. If the appliance looses power, this time will need to be reprogrammed.
3. Press the Start/Stop button to begin operation.
2. Press the Start/Stop button to begin operation.
To heat a whole frozen pizza:
1. Press the Pizza button twice.
2. Use the number pad from 1 - 4 to enter the number of cups.
3. Press the Start/Stop button to begin operation.
For a 9 - 11 oz. serving size:
1. Press the Beverage button twice.
2. Use the number pad from 1 - 4 to enter the number of cups.
3. Press the Start/Stop button to begin operation.
Do not overheat liquids. Do not heat any liquid for more than 2 minutes per cup. After heating, allow the liquid to stand in the microwave for 30 seconds before removing from the appliance. FROZEN DINNER For one or two small 7 - 9 oz. dinners:
3. Press the Start/Stop button to begin operation.
For one or two large 10 - 12 oz. dinners:
1. Press the Frozen Dinner button twice.
3. Press the Start/Stop button to begin operation.
2. Press number 1, 2 or 3 to indicate what type of meat will be
cooked, as per the below chart. Meat must be defrosted and at refrigerated temperature.
3. Use the number pad to enter the weight of the meat that will be
cooked. Weight must be in pounds and ounces.
4. Press the Start/Stop button to confi rm.
During operation the appliance will pause and beep to indicate that the meat should be turned over. Press the Start/Stop button to resume operation. Let meat stand a few minutes before carving.
The defrosting time and power level are adjusted automatically once the weight is entered.
1. Press the Defrost By Weight button.
2. Use the number pad to enter the weight of the food that will be
defrosted. Weight must be in pounds and ounces. Maximum weight is 5 lbs. 16 oz.
3. Press the Start/Stop button to confi rm.
During operation the appliance will pause and beep to indicate that the food should be turned over or stirred. Press the Start/Stop button to resume operation. Code Type Maximum Weight 1 Beef 5 lbs. 16 oz. 2 Mutton 5 lbs. 16 oz. 3 Pork 5 lbs. 4 oz.OPERATING INSTRUCTIONS
2. Use the number pads to enter the desired defrosting time.
3. Press the Start/Stop button to confi rm.
During operation the appliance will pause and beep to indicate that the food should be turned over or stirred. Press the Start/Stop button to resume operation. After setting Speed Defrost, the microwave can be programmed to automatically switch to one or two-stage cooking. For Speed Defrost and one-stage cooking, follow the steps above. Before pressing the Start/Stop button, press the Cook button and enter the time and power level. Press the Start/Stop button to confi rm. For Speed Defrost and two-stage cooking, follow the steps above. Before pressing the Start/Stop button, press the Cook button and enter the two-stage cooking program. Press the Start/Stop button to confi rm.
SETTING THE CHILD LOCK
To set the child lock, while the unit is in standby mode, press and hold the Reset button for 3 seconds. The appliance will beep to indicate that the child lock is activated. While locked, the appliance cannot be used. To cancel the child lock, press and hold the Reset button for 3 seconds. The appliance will beep to indicate that the child lock has been deactivated.CLEANING Turn off and unplug the appliance before performing any cleaning. The inside of the appliance should be cleaned with a warm, damp cloth and mild detergents. Do not allow food splatters to build up on the inside of the appliance as this can affect the effi ciency of the microwave and if suffi ciently dirty, can ignite and cause fi re. The outside of the appliance should be cleaned with a warm, damp cloth. To avoid damage to internal components, do not allow any water to drip into the ventilation openings. Clean the door and window on both sides, the door seals and the adjacent parts frequently with a damp cloth to remove any spills or splatters. Do not use abrasive cleaners. Do not allow the control panel to become wet. If necessary, clean the control panel with a damp cloth and then wipe dry. The glass tray can be removed and cleaned in warm water and mild detergent or can be placed in a dishwasher. The roller ring and oven fl oor should be cleaned regularly to avoid excessive noise or spilling. The roller ring can be cleaned in warm water and mild detergent or can be placed in a dishwasher. Ensure that the roller ring and glass tray are replaced in the proper position to avoid noise or spilling. MAINTENANCE To remove odors from the microwave:
1. Combine a cup of water with
the juice and skin of one lemon in a microwavable bowl.
2. Microwave on full power for
3. Wipe the inside of the
appliance and glass tray and roller ring thoroughly with a warm, damp cloth. MICA SHEET Inside the appliance there is a cardboard mica sheet protecting the magnetron. Do not remove this from the appliance as exposing the magnetron to food splatters can cause arcing or fi re. If it becomes dirty, the mica sheet can be cleaned with a warm cloth. DISPOSAL This product should not be treated as ordinary household waste, it should be transported to the appropriate collection point for the recycling of electrical components. For information on local waste collection points, contact your local waste disposal agency or government offi ce.
by MicroFridge®, a Product of INTIRION
Corporation Microwave Oven Residential Limited Warranty INTIRION a division of Danby Limited, is please to provide a comprehensive warranty on these products. INTIRION takes pride in its product and manufacturing standards and warrants its products and parts against defects in materials or workmanship to the original purchaser. All requests for service should be directed to Customer Service at INTIRION by calling 1-800-637-7567 if you are in the U.S. and 1-800-263-2629 if you are located in Canada. INTIRION offers a quick response customer service program. Customer Service will diagnose the problem and either promptly replace or repair the unit, at the discretion of INTIRION. MicroFridge® with Safe Plug® warranty services are performed by INTIRION authorized service providers. INTIRION expects prompt, courteous and effi cient service. INTIRION further expects that all authorized service providers will make every reasonable effort to enhance the image and reputation of INTIRION and its products. Inadequate service or customer dissatisfaction should be promptly reported to INTIRION. Damage initiated by spark fi red caused by inappropriate material inside the microwave oven is specifi cally excluded from this warranty. INTIRION assumes no liability and does not guarantee or warrant any repairs and/or replacement parts not supplied or performed by an authorized service provider, nor any 50/60 cycle or 60/50 cycle conversions, damage caused by failure to follow the owner’s manual as to adjustments and/or maintenance, customer adjustments that are not covered in the instruction booklet, broken or marred cabinet, misuse, neglect, accident, fi re, fl ood or other acts of nature. THIS WARRANTY WILL BECOME INVALID IF ANY SERIAL NUMBER ON THE PRODUCT IS ALTERED, REPLACED, DEFACED OR MISSING. THIS WARRANTY IS FOR INTIRION PRODUCTS PURCHASED AND USED IN THE UNITED STATES AND CANADA EXCEPT FOR UNITED STATES POSSESSIONS AND/OR DOMINIONS OF THE UNITED STATES. This is the entire INTIRION warranty and it may not be changed or amended by any person, agency, distributor, dealer or company. INTIRION assumes no liability and indeed specifi cally denies responsibility for any consequential damages beyond the repair or replacement of the product or its components. The warranty period behins on the date of sale and proof of that date (evidenced by an original sales slip or bill of sale) will be necessary to initiate a warranty claim. DANBY ONEPLUG