GPF3RACK - Dishwasher GE - Free user manual and instructions
Find the device manual for free GPF3RACK GE in PDF.
Download the instructions for your Dishwasher in PDF format for free! Find your manual GPF3RACK - GE and take your electronic device back in hand. On this page are published all the documents necessary for the use of your device. GPF3RACK by GE.
USER MANUAL GPF3RACK GE
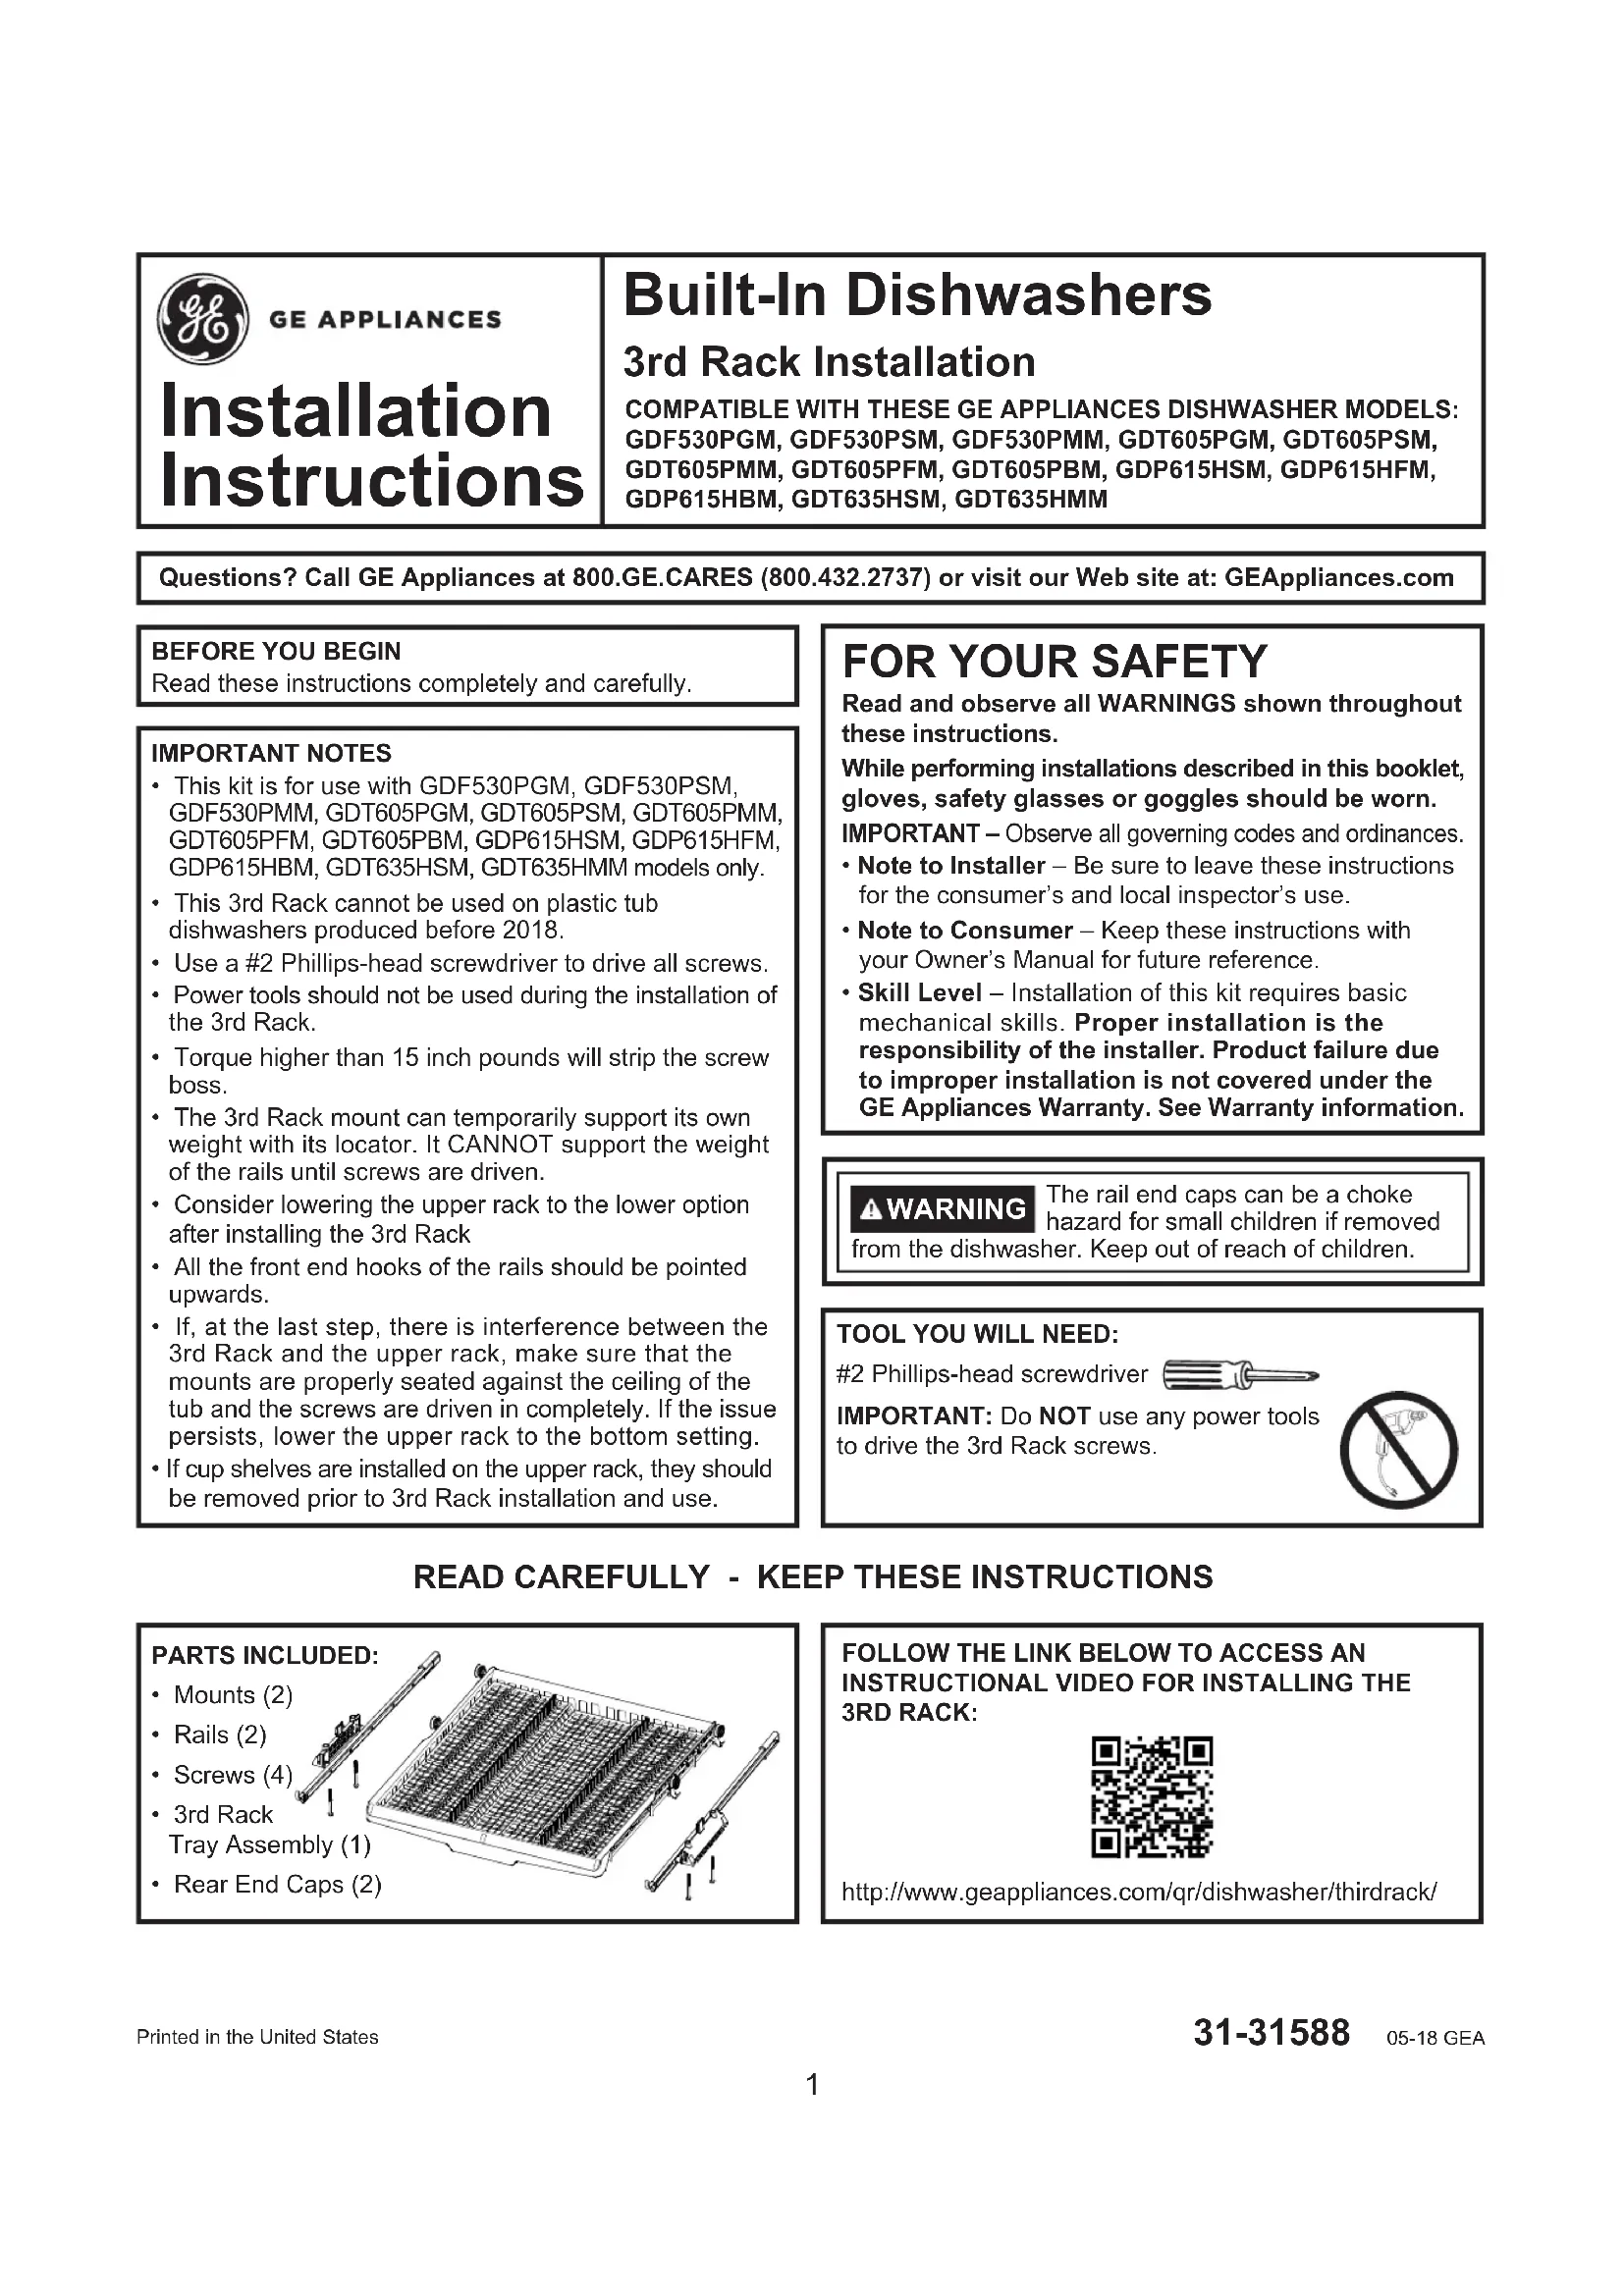
COMPATIBLE WITH THESE GE APPLIANCES DISHWASHER MODELS:GDF530PGM, GDF530PSM, GDF530PMM, GDT605PGM, GDT605PSM, GDT605PMM, GDT605PFM, GDT605PBM, GDP615HSM, GDP615HFM, GDP615HBM, GDT635HSM, GDT635HMM Built-In Dishwashers Installation Instructions 3rd Rack Installation BEFORE YOU BEGINRead these instructions completely and carefully.
Read and observe all WARNINGS shown throughout these instructions. While performing installations described in this booklet, gloves, safety glasses or goggles should be worn.IMPORTANT – Observe all governing codes and ordinances.• Note to Installer – Be sure to leave these instructions for the consumer’s and local inspector’s use.• Note to Consumer – Keep these instructions with your Owner’s Manual for future reference.• Skill Level – Installation of this kit requires basic mechanical skills. Proper installation is the responsibility of the installer. Product failure due to improper installation is not covered under the GE Appliances Warranty. See Warranty information.IMPORTANT NOTES• This kit is for use with GDF530PGM, GDF530PSM, GDF530PMM, GDT605PGM, GDT605PSM, GDT605PMM, GDT605PFM, GDT605PBM, GDP615HSM, GDP615HFM, GDP615HBM, GDT635HSM, GDT635HMM models only.• This 3rd Rack cannot be used on plastic tub dishwashers produced before 2018.• Use a #2 Phillips-head screwdriver to drive all screws.• Power tools should not be used during the installation of the 3rd Rack.• Torque higher than 15 inch pounds will strip the screw boss.• The 3rd Rack mount can temporarily support its own weight with its locator. It CANNOT support the weight of the rails until screws are driven.• Consider lowering the upper rack to the lower option after installing the 3rd Rack• All the front end hooks of the rails should be pointed upwards.• If, at the last step, there is interference between the 3rd Rack and the upper rack, make sure that the mounts are properly seated against the ceiling of the tub and the screws are driven in completely. If the issue persists, lower the upper rack to the bottom setting.
- If cup shelves are installed on the upper rack, they should be removed prior to 3rd Rack installation and use.TOOL YOU WILL NEED:#2 Phillips-head screwdriverIMPORTANT: Do NOT use any power tools to drive the 3rd Rack screws.PARTS INCLUDED:• Mounts (2)• Rails (2)• Screws (4)• 3rd Rack Tray Assembly (1)• Rear End Caps (2)Printed in the United StatesREAD CAREFULLY - KEEP THESE INSTRUCTIONSThe rail end caps can be a choke hazard for small children if removed from the dishwasher. Keep out of reach of children. WARNING2 Installation Instructions
- Pull the upper rack out to full extension.
- Lift the rack so the front wheels clear the front end hooks on each side rail.
- Pull the rack out until the rear wheels contact the front end hooks on each side rail.
- Lift the rack off the rails.
- The upper rack spray arm should be drained of water by tilting the rack backwards while holding it over the sink or over towels.
- Pull one upper rack rail out most of the way.
- Remove the rear end cap from the rail by lifting its center tab and pulling the cap back and off.
- Pull the rail off the roller mounts.
- Repeat on the opposite side.
- Install the rail by sliding it onto both rack mount rollers.
- 3rd Rack rails are right and left side specific. To ensure proper assembly, all front end hooks must point upwards.
- Attach the rear end cap by snapping it onto the back of the rail.
- Ensure rear end cap is properly assembled by listening for a definite “click” sound and giving a gentle outward pull on the rail to verify retention.
- Repeat on the opposite side. Pull out, lift up, and remove Pull out rail Remove rear end cap Tab
- Insert the locating tab of the 3rd Rack mount into the tub slot and fully seat against the ceiling of the tub.
- Be sure the tub mount is flush with the side wall of the tub.
- Part will temporarily retain itself in the tub until screws are installed.
- Align the screw holes and use a Phillips screwdriver to drive one of the provided screws into each screw hole. DO NOT USE POWER TOOLS OR OVERTIGHTEN.
- Repeat on the opposite side. Slide rail onto rollers Replace rear end cap3 Installation Instructions
(IF REMOVED IN STEP 2)
- Slide the rails back onto their mounts so that both wheels are within the rail.
- Make sure the front end hook is facing up.
- Attach the rear end caps to the end of the rails.
- Ensure rear end cap is properly assembled by listening for a definite “click” sound and giving a gentle outward pull on the rail to verify retention.
- Repeat on the opposite side.
- Fully extend the upper rack rails.
- Tilt upwards the front of the upper rack and place the rear rack rollers over the front end hooks.
- Push the upper rack along the rails until the front rack rollers clear the front end hooks.
- Lower the upper rack onto the rails and slide into the tub.
- Check that the upper rack is properly engaged by rolling it in and out several times.
- Make sure there is no interference between the 3rd Rack and upper rack.
- If interference is present, remove the upper rack and inspect the 3rd Rack mounts and screws to ensure they are fully seated. If the issue persists after re-installing the upper rack, consider lowering the upper rack to the bottom position. Slide rail onto rollers Replace rear end cap Place rack wheels over front end hooks and slide in
- Fully extend both 3rd Rack rails.
- Tilt the front of the 3rd Rack tray assembly upwards and place its rear wheels just behind the front end hooks.
- Slide the 3rd Rack onto the rails until the front wheels clear the front end hooks.
- Lower the 3rd Rack and push it into the tub.
- Check that the 3rd Rack is properly engaged by rolling it in and out several times. When properly assembled, the 3rd Rack tray should extend fully outward past the front edge of the dishwasher tub. Push rack in Tilt front