PROF24FSEXV - Oven BERTAZZONI - Free user manual and instructions
Find the device manual for free PROF24FSEXV BERTAZZONI in PDF.
Download the instructions for your Oven in PDF format for free! Find your manual PROF24FSEXV - BERTAZZONI and take your electronic device back in hand. On this page are published all the documents necessary for the use of your device. PROF24FSEXV by BERTAZZONI.
USER MANUAL PROF24FSEXV BERTAZZONI
EN2 / From the desk of the President From the desk of the President Dear new owner of a Bertazzoni, I want to thank you for choosing one of our beautiful products for your home. My family started manufacturing kitchen appliances in Italy in 1882, building a reputation for quality of engineering and passion for good food. Today, our products stand out because of their unique blend of authentic Italian design and superior appliance technology. It is our mission to make products that function perfectly and bring joy to their owners. This manual will help you learn to use and care for your Bertazzoni appliance in the safest and most eective way, so that it can give you the highest satisfaction for years to come. Enjoy! Paolo Bertazzoni President3 / Table of contents
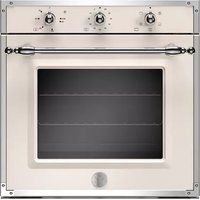
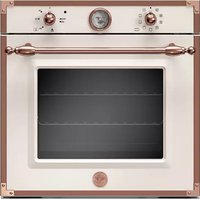
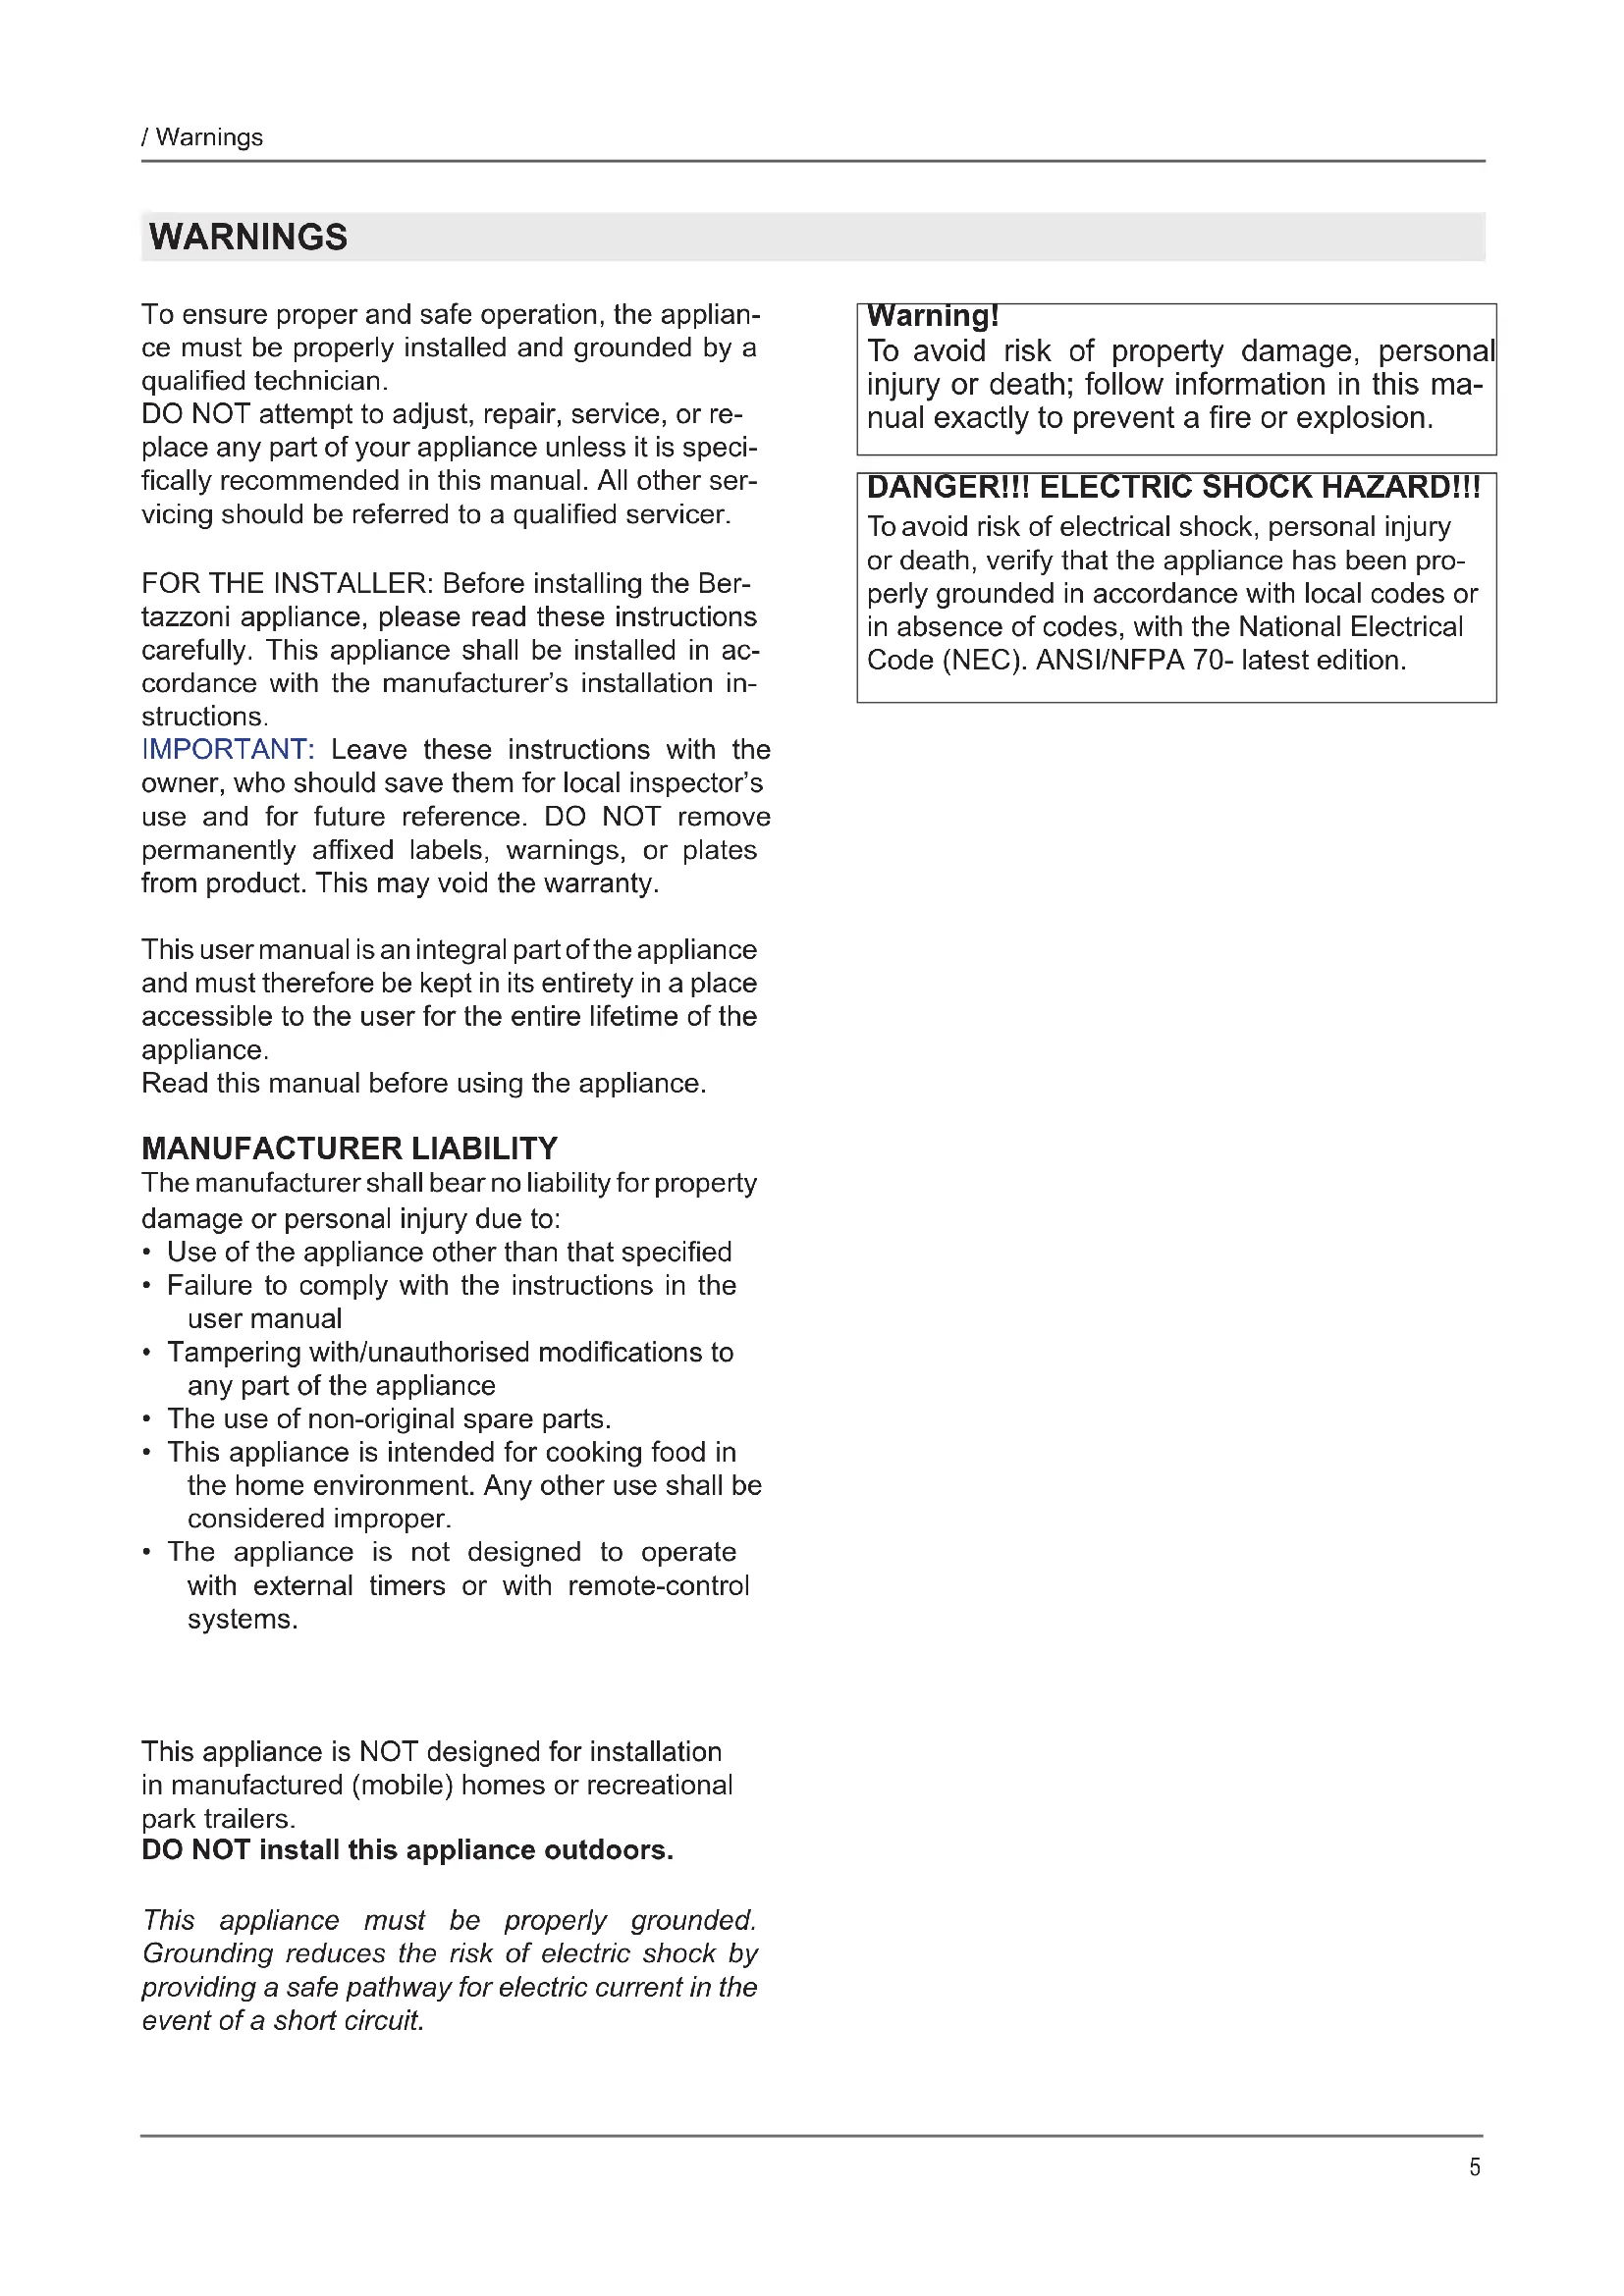
/ Models Models PROF24FSEXV Models5 / Warnings WARNINGS To ensure proper and safe operation, the applian- ce must be properly installed and grounded by a qualied technician. DO NOT attempt to adjust, repair, service, or re- place any part of your appliance unless it is speci- cally recommended in this manual. All other ser- vicing should be referred to a qualied servicer. FOR THE INSTALLER: Before installing the Ber- tazzoni appliance, please read these instructions carefully. This appliance shall be installed in ac- cordance with the manufacturer’s installation in- structions. IMPORTANT: Leave these instructions with the owner, who should save them for local inspector’s use and for future reference. DO NOT remove permanently axed labels, warnings, or plates from product. This may void the warranty. This user manual is an integral part of the appliance and must therefore be kept in its entirety in a place accessible to the user for the entire lifetime of the appliance. Read this manual before using the appliance. MANUFACTURER LIABILITY The manufacturer shall bear no liability for property damage or personal injury due to:
- Use of the appliance other than that specied
- Failure to comply with the instructions in the user manual
- Tampering with/unauthorised modications to any part of the appliance
- The use of non-original spare parts.
- This appliance is intended for cooking food in the home environment. Any other use shall be considered improper.
- The appliance is not designed to operate with external timers or with remote-control systems. This appliance is NOT designed for installation in manufactured (mobile) homes or recreational park trailers. DO NOT install this appliance outdoors. This appliance must be properly grounded. Grounding reduces the risk of electric shock by providing a safe pathway for electric current in the event of a short circuit. Warning! To avoid risk of property damage, personal injury or death; follow information in this ma- nual exactly to prevent a re or explosion. DANGER!!! ELECTRIC SHOCK HAZARD!!! To avoid risk of electrical shock, personal injury or death, verify that the appliance has been pro- perly grounded in accordance with local codes or in absence of codes, with the National Electrical Code (NEC). ANSI/NFPA 70- latest edition.6 / Warnings/ Data rating label DO NOT lift the applince by the oven door’s hand- le, as this may damage the door hinges and cause the door to t incorrectly. DO NOT lift the appliance by the appliance’s con- trol panel. The unit is heavy and should be handled accor- dingly. Proper safety equipment such as gloves and adequate manpower of at least two people must be used in moving the appliance to avoid injury and to avoid damage to the unit or the oor. Rings, watches, and any other loose items that may damage the unit or otherwise might become entangled with the unit should be removed. Hidden surfaces may have sharp edges. Use cau- tion when reaching behind or under appliance. DO NOT use a hand truck or appliance dolly on the back or front of the unit. Handle from the side only. Warning! Disconnect the electrical supply prior to servicing or cleaning.
Cancer and Reproductiv Harm- www.P65Warnings.ca.gov. The data rating label shows the model and serial number of the range. It is located under the con- trol panel and in the last page of this manual
/ Before installation
- This appliance shall only be installed by an authorized professional. If the installation requires alterations to the dome- stic electrical system, call a qualied electrician. The electrician should also check that the socket cable section is suitable for the electricity drawn by the oven.
- This appliance shall be installed in accordance with the manufacturer’s installation instructions.
- This appliance must be installed in accordance with the norms & standards of the country where it will be installed.
- The installation of this appliance must conform to local codes and ordinances. In the absence of local codes, Installations must conforms to American National Standards.
- Avoid any damage to oven vents. The vents need to be unobstructed and open to provide proper airow for optimal oven performance. All opening and holes in the wall and oor, back and under the appliance shall be sealed before installation of the appliance. The installation, adjustments, transformations and maintenance listed in this section must only be performed by qualied technicians (in accordance with applicable legislation). Incorrect installation can cause property damage and injury to people or pets; the manufacturer shall not be held liable in this event. The appliance’s automatic regulation or safety devices may only be modied by the manufacturer or a duly authorised technician during the appliance’s lifetime. Ensure all necessary PPE is used when carrying out the installation ROOM VENTILATION An exhaust fan may be used with the appliance; in each case it shall be installed in conformity with the appropriate national and local standards. Exhaust hood operation may aect other vented appliances; in each case it shall be installed in conformity with the appropriate national and local standards. Do not use aerosol sprays in the vicinity of this appliance while it is in operation. CABINET REQUIREMENT To prevent possible damage to cabinets and ca- binet nishes, use only materials and nishes that will not discolor or delaminate and will withstand temperatures up to 195°F (90°C). Heat resistant adhesive must be used if the product is to be in- stalled in laminated cabinetry. Check with your builder or cabinet supplier to make sure that the materials meet these requirements. Installation of the appliance must be performed in accordance with the provisions of applicable legislation.
- BE SURE that support for this appliance is perpendicular to the front facing of the wall or cabinet before you perform the installation. The cabinet base must be at and capable of supporting the weight of the oven when in use. Minimum Suggested Load on Cabinet Base Board weight lb weight kg
Ensure that the oven is fully present and undamaged after removing all loose parts from their inner and outer packaging. In the event of any uncertainty, do not use the appliance and contact technical support.Check that the kitchen unit is suitable for installation of the oven, referring to the dimensions given in this guide. IMPORTANT INFORMATION Some environmental factors and cooking habits can cause condensation in and around the oven during use. To protect surrounding cabinetry from possible damage caused by frequent or excessive condensation, we recommend moisture-proong the oven cavity./ Ventilation preparation / Specications SPECIFICATIONS SIDE VIEW WEIVPOTWEIVTNORF 23 1/32"
APPLIANCE HOUSING The oven can be installed in a standard or ush application. Finish the edges of the opening because they may be visible when the door is open. The clearance between the oven and the kitchen units must be enough to ensure sucient ventilation and air discharge. Standard installation BEFORE INSTALLATION SIDE VIEW FRONT VIEW TOP VIEW 4" x 4"(102 x 102)CUT OUT SLOTFOR POWER CORD22 2/32"56023 1/32"58523 1/32"585DEPTH10 / Before installation Flush installation (b) Visible Area
/ Before installation
INSTALLATION UNDERNEATH A BUILT-IN
HOB The oven can be installed in a standard or ush application. Finish the edges of the opening because they may be visible when the door is open. The clearance between the oven and the kitchen units or other installed appliances must be enough to ensure sucient ventilation and air discharge. Standard installation If installed under a hob, space must be left between the bottom of the hob and the top of the oven to allow for ventilation of the entire compartment. Any ventilation openings required for the hob are to be added to those required by the oven. See the design guide for the combination between the Bertazzoni Oven and Bertazzoni Hob. The manufacturer shall bear no liability in the event of the oven being installed in combination with a hob from another manufacturer. BEFORE INSTALLATION SIDE VIEW FRONT VIEW TOP VIEW 36"91423 1/16"58522 2/32"56023 1/32"585FLUSH INSETDEPTH12 / Before installation Flush installation SIDE VIEW FRONT VIEW TOP VIEW (b) Visible Area
Match finish to outside cabinet panels
3/8" 3/4" 22 2/32"56023 1/32"585FLUSH INSETDEPTH2 3/8"
/ Installation requirements / Electrical connection ELECTRICAL A properly-grounded horizontally- mounted electri-cal receptacle should be installed no higher than 3” (7.6 cm) above the oor, no less than 2” (5 cm) and no more than 8” (20,3 cm) from the left side (facing product). Check all local code requirements.Verify that power is disconnected from the electri-cal box before proceeding.If the electrical supply is located in the opening, electrical connection must be made prior to pla-cing the oven in the opening. If the electrical sup-ply is in an adjacent cabinet, the electrical con-nection can be made after placing the oven in the opening.The installation must comply with all applicable electrical codes.Locate the electrical supply ush with the back wall and within the shaded area shown in the il-lustrations on the following pages. For ease of in-stallation, the electrical supply for the oven can be placed in an adjacent cabinet within reach of the conduit.● A circuit breaker is recommended.The electrical junction box may be located above,below to the left or right of the unit within reach of the power cord.Placement within the opening may be require ad-ditional cabinet depth. Warrning! ELECTRICAL SHOCK HAZARDDisconnect electrical power at the circuit bre-aker box or fuse box before installing the ap-pliance.Provide appropriate ground for the appliance.Use copper conductors only.Failure to follow these instructions could re-sult in serious injury or death. Warning! Electrical grounding This appliance is equipped with a 4 ft (1.2 m) exi-ble metal cable with 4 wires ready for connection to a dedicated 3 pole, 4 wires grounded power supply. Caution Label all wires prior to disconnecting when servicing controls. Wiring errors can cause improper and dangerous operation.Verify proper operation after servicing.The appliance shall be connected to an electric line rated at 120/208Vac or 120/240Vac and 60Hz frequency.
FOUR-WIRE CONN.RECEPTACLE NEMA 14-50R
Check your local code for which of the options be- low should be used in grounding the receptacle power supply connections. FOUR Wires connection: -Connect the L1 receptacle terminal to the inco- ming BLACK electrical supply wire (L1-hot wire) -Connect the L2 receptacle terminal to the inco- ming RED electrical supply wire (L2-hot wire) -Connect the NEUTRAL receptacle terminal to the incoming NEUTRAL (WHITE) electrical sup- ply wire -Connect the GROUND receptacle terminal to the incoming GROUND (GREEN) electrical supply wire Power supply Junction box Black wires UL-listed wire connectors Red wires UL or CSA listed connector Green wires Flexible metal conduit from oven White wires15 / Wiring diagram WIRING DIAGRAM The electric wiring diagrams and schematics are attached behind the oven, and should not be removed except by a service technician, then replaced after service. Simb. DescriptionBk Black (line)Wh White (neutral)Gv Green (GND)R RedOr Orangev VioletBn BrownGr GreyB Blue COLORS Simb. DescriptionCOM SwitchCR Ceramic ResisitanceT ThermostatGE Energy Regulator GriddleK Thermal switchKM Thermal switch+Manual resetLF Oven lampM Terminal BlockMV Cavity fan motorMVT Cooling fan motorPE Electronic TimerRC Circular elementRC+RG Upper/grill elementRGR Griddle ElementRP Lower elementS Signal lightsLEGENDA
TSS Gv-3 Gv-3 Gv-3 Gv-3 B-2 B-2 R-2 Wh-1 Bk-2Bk-2 Bk-2Bk-2 Wh-1 Wh-1 Wh-1 Bk-1 Wh-1 R-3 Gv-3 V-2 B-2 Bk-1 Wh-1 Bk-1 R-2 R-2 R-2 Or-1 Or-2 Or-1 Or-1 Wh-1 Wh-1 Wh-1 R-2 Or-2 Or-2 Bk-2 R-1 R-1 V-2 Wh-2 Wh-2 Bk-2 Or-1 Or-1 Bk-1 B-2 Or-2 Gr-2 Gr-2 B-2 Bk-2 Gv-3 Gr-2 Gr-216 / Installation APPLIANCE INSTALLATION Unpacking the oven To avoid risk of severe personal injury and da- mage to the unit and ooring; this appliance requires two or more personnel while handling and moving. Possible use of appliance dollies moving devices is recommended
- Remove all packing materials from the shipping pallet but leave the adhesive-backed foam layer over brushed-metal surfaces to protect it from scratches until the range is installed in its nal position.
- Examine the appliance after unpacking it. In the event of transport damage, do not plug it in. Take pictures of the damage and report it immediately to the freight forwarder.
- If the power supply cable is damaged, it must be replaced by the manufacturer, its service agent or similarly qualied person in order to avoid a safety hazard.
- Remove the oven door(s). This will reduce the weight of the appliance.
- The oven racks should be removed to facilitate handling.
- Before moving the appliance, protect the oor to prevent damage.
- Use an appliance dolly to move the oven near the opening. Place the appliance dolly on the side to prevent damage, do not use on front or rear.
- Place the oven in the opening and slide into position. To ensure adequate depth for proper installation, the conduit must t into the recessed area along the rear edge of the oven.
- Lift the oven by the handle installed on the side panel.
- Shield the edge of the cabinet with a tape before insert the oven.
- Check that the oven is correctly aligned with the units.
- Locate the mounting hole in each side trim, and install screws, ensuring that the oven remains centered.
- Cover the screws with the caps.
- Remove and recycle packing materials including the white protective material behind each rack guide mounting location. The misuse of the oven door ( placing heavy objects on the oven doo, hanging o the handle, stepping or hiting on the door) can result in dama- ge to the product and /or injuries. DO NOT remove permanently axed labels, war- nings, or plates from product. This may void the warranty.
- DO NOT install two or more wall ovens single or double side-by-side or stacked on top of the other. To prevent possible damage to cabinets and ca- binet nishes, use only materials and nishes that will not discolor or delaminate and will withstand temperatures up to 195°F (90°C). Heat resistant adhesive must be used if the product is to be in- stalled in laminated cabinetry. Check with your builder or cabinet supplier to make sure that the materials meet these requirements. INSTALLATION17 / Installation
REMOVING THE OVEN DOOR
Prepare the door for removal. Flip up the locking clamps on each door hinge. Slowly shut the door until the protruding clamps stop the movement.
- Fully open the oven door.
- Fully open the blocking levers for both hinges.
- Slowly close the door until it blocks, checking that the levers have blocked the door.
- Repeat the operations above in reverse to reassemble the door. If the hinges are not correctly blocked and the internal glass is removed, the door can close by itself.18
INSTALLATION CHECKLIST FINAL PREPARATION
A qualied installer should carry out the following checks: Make sure the clearance to cabinet surfaces cur- responds to manufacturers guidelines. Make sure the oven is level and securely tted to the cabinet. Check that lower trim is undamaged. Open the (lower) oven door slowly until it is fully open and check for adequate clearance between the bottom of the door and the lower trim. Make sure any internal packaging has been re- moved from the oven cavity. Make sure all oven vents and openings are clear and free of any obstruction or damage. Turn the power to the oven on. The display will ash. Set the clock following the instructions. Turn the oven function to CONVECTION BAKE. The oven should start heating at 300°F tempera- ture. After ve minutes, open the oven door: the air inside should feel warm and the convection fan should turn. Turn the oven function dial back to OFF. Have you demonstrated the basic operation to the customer?
- Before using the oven, remove any protective wrap from the stainless steel.
- All stainless steel parts should be wiped with hot, soapy water and with a liquid stainless steel cleanser.
- If buildup occurs, do not use steel wool, abrasive cloths, cleaners, or powders!
- If it is necessary to scrape stainless steel to remove encrusted materials, soak with hot, wet cloths to loosen the material, then use a wood or nylon scraper.
- Do not use a metal knife, spatula, or any other metal tool to scrape stainless steel! Scratches are almost impossible to remove.
- Before using the oven for food preparation, wash the cavity thoroughly with warm soap and water solution to remove lm residue and any dust or debris from installation, then rinse and wipe dry. WARNING When using the oven for the rst time it should be operated for 15-30 minutes at a tem- perature of about 500°F/260°C (main oven) or 440°F/227°C(auxiliary oven) without cooking anything inside in order to eliminate any moi- sture and odours from the internal insulation. / Installation checklist / nal preparation19
FINAL PREPARATION BERTAZZONI SERVICE
Bertazzoni is committed to providing the best cu- stomer and product service. We have a dedicated team of trained professionals to answer your ne- eds. If you own a Bertazzoni appliance and need ser- vice in the US or Canada please use the following contact information: Telephone - Monday through Friday, 7.30am to 7.30pm EST (except US public holidays). If located in the USA:
https://us.bertazzoni.com/more/support If located in CANADA:
Match finish to outside cabinet panels
3/8" 3/4" 22 2/32"56023 1/32"585FLUSH INSETDEPTH2 3/8"