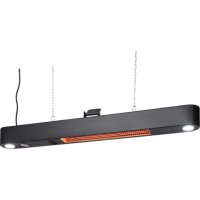
Heatbell Ceiling Smart - Heating Blumfeldt - Free user manual and instructions
Find the device manual for free Heatbell Ceiling Smart Blumfeldt in PDF.
Download the instructions for your Heating in PDF format for free! Find your manual Heatbell Ceiling Smart - Blumfeldt and take your electronic device back in hand. On this page are published all the documents necessary for the use of your device. Heatbell Ceiling Smart by Blumfeldt.
USER MANUAL Heatbell Ceiling Smart Blumfeldt
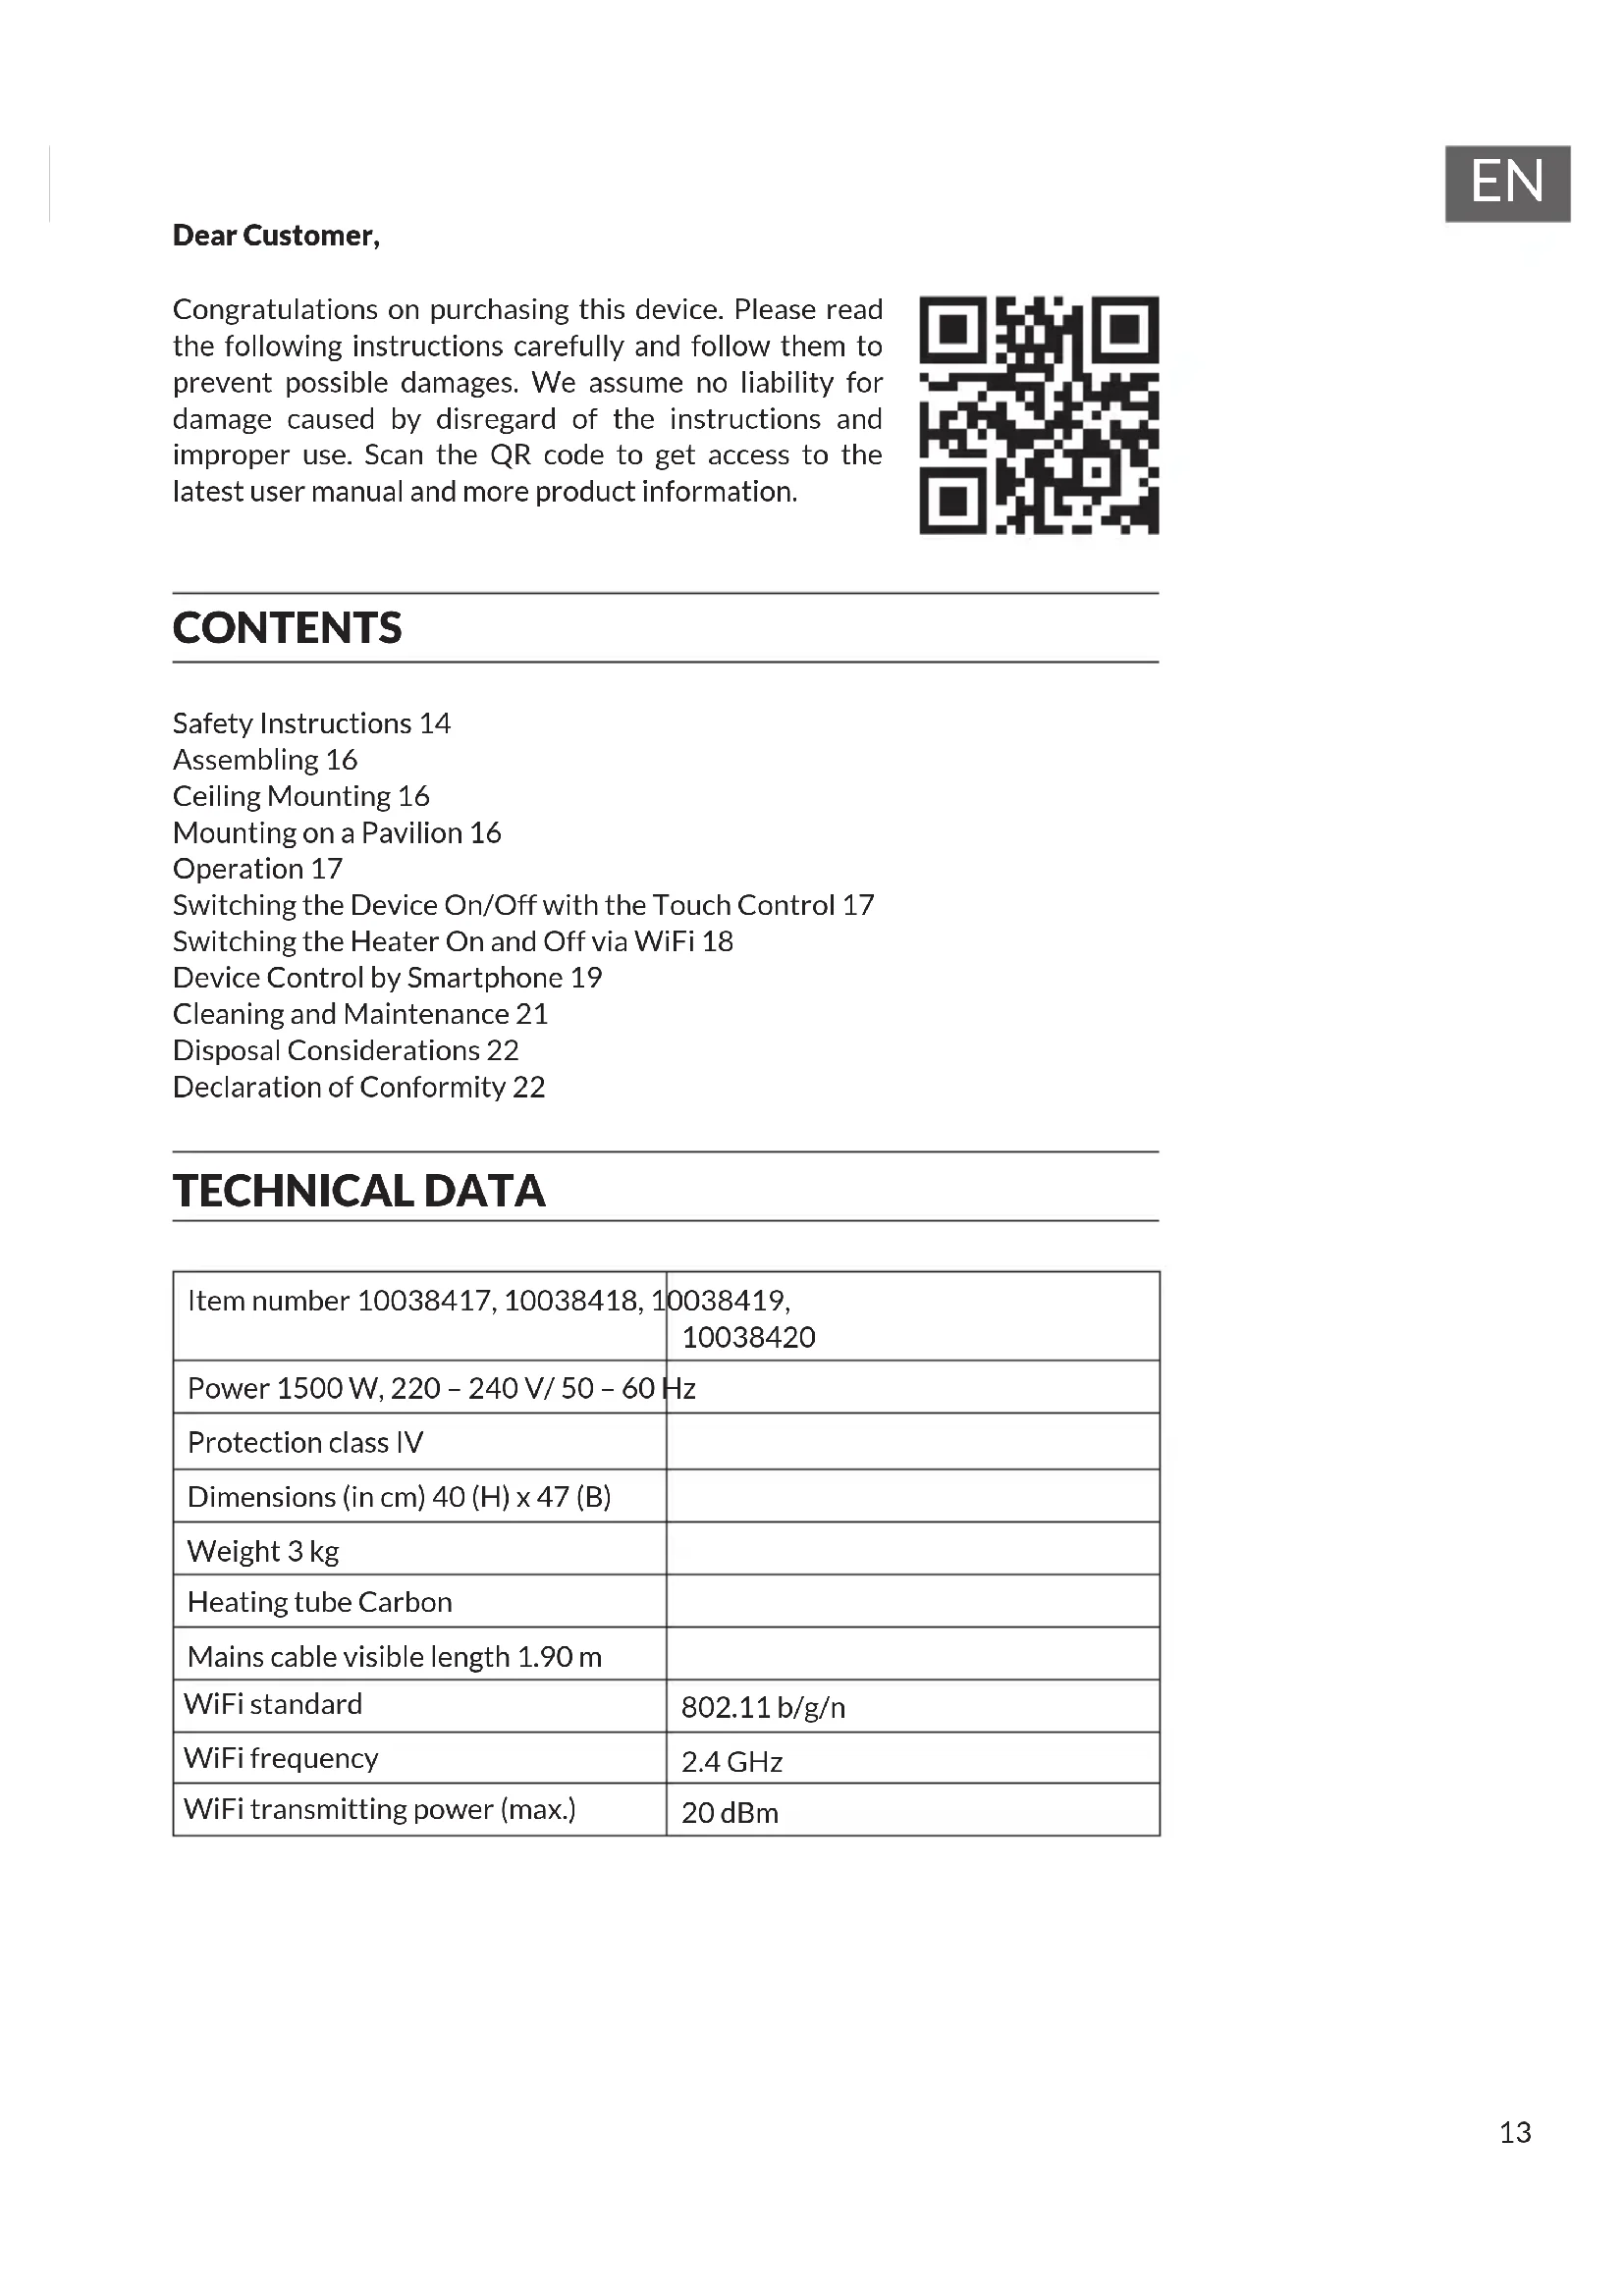
Dear Customer, Congratulations on purchasing this device. Please read the following instructions carefully and follow them to prevent possible damages. We assume no liability for damage caused by disregard of the instructions and improper use. Scan the QR code to get access to the latest user manual and more product information. CONTENTS Safety Instructions 14 Assembling 16 Ceiling Mounting 16 Mounting on a Pavilion 16 Operation 17 Switching the Device On/Off with the Touch Control 17 Switching the Heater On and Off via WiFi 18 Device Control by Smartphone 19 Cleaning and Maintenance 21 Disposal Considerations 22 Declaration of Conformity 22 TECHNICAL DATA Item number 10038417, 10038418, 10038419,
- Do not leave this unit unattended when in use.
- This heater will get hot when in use. Do not touch hot surfaces. CAUTION Risk of burns! Some parts of this product can become very hot and cause burns. Particular attention has to be given when children and vulnerable people are present.
- Do not move the unit when in use. Wait until the heater is completely cool before moving and check that it has been unplugged from the power supply.
- Position the unit at least 1.5 m away from highly combustible materials such as furniture, trees, leaves, dry grass and bushes.
- The heater must not face with the heating element pointing upwards towards a ceiling. The heater element must be facing the area it is to heat. Note: In order to avoid overheating do not cover the heater. It is not for drying clothes.
- Keep children and pets at a safe distance from the unit.
- This device may be only used by children 8 years old or older and persons with limited physical, sensory and mental capabilities and / or lack of experience and knowledge, provided that they have been instructed in use of the device by a responsible person who understands the associated risks.
- Children shall not play with the appliance. Cleaning and user maintenance shall not be made by children without supervision.
- Do not operate the heater if any signs of damage or malfunction manifest themselves.
- Do not attempt to repair or adjust any electrical or mechanical functions on this unit. The unit does not contain any user serviceable parts. Only a quali ed electrician should perform servicing or repairs.
- If the power cable is damaged, it must be replaced by the manufacturer, its service agent or similarly quali ed persons in order to avoid a hazard.
- Do not handle the element with bare hands. If it is inadvertently touched, remove nger marks with a soft cloth and methylated spirits or alcohol, otherwise the marks will burn into the element causing premature heater failure.15
- Do not replace or attempt to replace the element in this product.
- Do not use this heater in the immediate surroundings of a bath, shower or swimming pool.
- This product must not be left outdoors exposed to the elements for long periods of time.
- Do not touch the plug with wet or damp hands.
- Do not run the power cable under carpeting. Do not cover the power cable with rugs, runner, or similar coverings. Arrange the power cable away from foot trafc and where it will not be tripped over.
- Do not wind the power cable around the unit.
- Do not insert or allow foreign objects to enter any ventilation or opening on the heater, as this may result in electric shock, re, or damage to the heater.
- To prevent a possible re, do not block the air vents.
- A heater has hot and arcing or sparking parts inside. Do not use in areas where petrol, paint, explosive and/or ammable liquids are used or stored. Keep unit away from heated surfaces and open ames.
- Where possible, avoid the use of an extension cable as this may overheat and cause a re. However, if you have to use an extension cable, ensure it is suitable for the purpose, has been tested for outdoor use and preferably has an RCD device tted or attached.
- Always ensure the heater is plugged into a suitable socket, one that is tested for outdoor use.
- Always unplug the unit and ensure the unit is completely cold before moving, cleaning or storing.
- This heater is intended for domestic use only and should not be used commercially for contract purposes. Any alternative use, not recommended by the manufacturer, may result in re, electric shock, or injury to persons.
- The use of attachments on the heater is not recommended.
- Do not use this heater with a programmer, timer, separate remote control system or any other device that switches the heater on automatically, since a re risk exists if the heater is covered or positioned incorrectly. Important note on transport safety Transport safeguards made of foam are located between the grids of the heater. Completely remove the transport safeguards before operating the device, otherwise there will be a risk of re.16
- When unpacking the heater, check that the scope of delivery is complete and ensure that no device components remain in the packaging and that it is free of packaging materials.
- Do not insert the power plug of the device into the socket until the device has been completely assembled.
- Do not connect the heater to the power supply under any circumstances if the components or the power cord are damaged.
- In case of doubt, contact the manufacturer, customer service or a similarly qualied person. CEILING MOUNTING
1. Drill a 10 mm diameter hole in the ceiling.
2. Press the self-adhesive hook into the drilled hole.
3. Tighten the hook properly.
4. Hang the heater on the hook with a chain. Make sure that the distance
between the ceiling and the heater is at least 3 cm. The minimum distance between the oor and the heater is 1.80 meters.
5. Lay the power cable along the chain to the socket. The mains cable must
be xed to the chain with a strap. Make sure that the power cable does not touch the top 3 links of the chain. The power cord must never come into contact with the heater. The heater must never be hung up on the power cable. Note: During use, the heater must be facing down. After xing to a wall or ceiling direction of radiation cannot be changed without the aid of a tool.
MOUNTING ON A PAVILION
Make sure the tent frame is strong enough to support the weight of the heater.
1. Connect the chain to the heater.
2. Wrap the chain around the tent frame several times and attach the second
end, as well as the rst, to the heater as well. Make sure that the minimum distance between the suspension point and the heater is 30 cm. The minimum distance between the oor and the heater is 1.80 meters.
3. Make sure that the heater is hanging securely.17
- Check the device, power cord and accessories for visible damage before each use. If you nd any damage, do not use the device under any circumstances and contact the manufacturer, customer service or a similarly quali ed person.
- Never use the device for drying laundry or heating a sauna.
- Never use the device to heat areas where animals are kept.
- Keep a safe distance of at least 1 meter from furniture, pillows, bedding, paper, clothing and curtains and keep them away from the sides, top and back of the unit. Do not place towels or other objects on the heater - re hazard!
- There are hot and sparking parts inside the device. Never use the heater in areas where gasoline, paint, explosive or highly ammable liquids are used or stored. Fire hazard! CAUTION Risk of electric shock! Do not open the device under any circumstances and do not attempt to repair it yourself. SWITCHING THE DEVICE ON/OFF WITH THE TOUCH CONTROL
- Insert the power plug into the power outlet.
- Set the power switch of the device to the “ON” position.
- Press the POWER SETTING button to adjust the heating power.
- If the unit will not be used for a long period of time, set the power switch to the “OFF” position and disconnect the power plug from the power outlet.18
Using the remote control
- Insert the power plug into the power outlet.
- Set the power switch of the unit to the “ON” position.
- To use the heater, press the ON/OFF button on the remote control. Press the MAX, MED or MIN buttons to adjust the heater power.
- To turn the unit off, press the ON/OFF button on the remote control again. If the unit will not be used for a long period of time, set the power switch to the “OFF” position and unplug the power cord from the wall outlet. SWITCHING THE HEATER ON AND OFF VIA WIFI
- Make sure that the WLAN is available at the installation site of the device.
- Insert the power plug into the power outlet.
- Press and hold the POWER SETTING button until the LED light ashes quickly.
- Open the WiFi app on your smartphone to connect the heater. Once the heater is connected, you will hear a tone and the LED will stay on.
- The heater can now be controlled from your smartphone.19
If you integrate the device into your home WiFi, you can conveniently operate it via the associated Blumfeldt app. The app not only allows you to remotely control the device via your smartphone, but also gives you access to recipes and additional information. Follow these steps to connect your smartphone to your Blumfeldt device:
1. Download the Blumfeldt app rst by scanning the QR code with your
smartphone (see below), or download it directly from App Store or Google Play.
2. Make sure your smartphone is connected to the same WiFi network that
your Blumfeldt device is to be connected to.
3. Open the Blumfeldt app.
4. Sign in to your account. If you do not have an account, sign up in the
5. Follow the instructions from the app.
App Download Use the scan function of your smartphone to scan the QR code and save the app on your smartphone. Note: The app provides further information on how to use the app and help on how to connect to your device as soon as you open it for the rst time. iOS Android20
Troubleshooting connection problems If your Blumfeldt device cannot be found in the WLAN, check the following:
1. The device is not plugged in. Make sure that your device is plugged into an
2. The device is not in pairing mode. Make sure that the WiFi indicator (LED)
on the smart device control panel is blinking as described in the ‘Reset WiFi settings‘ instruction of your smart device (instructions are usually available on device connection process).
3. The WiFi access point does not operate on 2.4 GHz. Make sure that your
access point operates on 2.4 GHz band and you have a separate SSID on
2.4 GHz band. If you are not sure about the operating band of your access
point, please contact your internet provider company. Important: please note that if your WiFi router is dual band - operating on both 2.4 GHz and 5 GHz band - you need to separate the SSIDs for each band and use the 2.4 GHz SSID for connection.
4. Firewall settings of your WiFi network; the rewall setting of your WiFi
network may not allow the Blumfeldt app to congure the WiFi settings on your smart device. Please make sure that you are not using a public WiFi network, e.g. airports, dormitories, companies, etc.
5. Different credentials used in smartphone and the app. Make sure that the
WiFi credentials entered in the Blumfeldt app are the same as the ones that your smartphone is connected to. Following the above mentioned points, if your smart device still fails to connect to the app, please contact us via email for support: appsupport@go-bbg.com21
CLEANING AND MAINTENANCE
- Unplug the power cord from the wall outlet and allow the unit to cool completely.
- Keep the device clean. The outer surfaces can be cleaned with a soft and damp cloth. If necessary, a mild detergent can be used. After cleaning, dry the device completely with a dry, soft cloth.
- Do not use alcohol, benzine, scouring powder, furniture polish or steel brushes to clean the device. Otherwise, the surface of the device may be damaged.
- Never immerse the unit under water and make sure that it does not get wet.
- Wait until the heater is completely dry before using it.
- Any repair or maintenance work involving the replacement of a heating tube should only be carried out by the customer service department or an electrician qualied for this purpose.
- When not in use for an extended period of time, cover the heater to protect it from rain and dust.22
DISPOSAL CONSIDERATIONS If there is a legal regulation for the disposal of electrical and electronic devices in your country, this symbol on the product or on the packaging indicates that this product must not be disposed of with household waste. Instead, it must be taken to a collection point for the recycling of electrical and electronic equipment. By disposing of it in accordance with the rules, you are protecting the environment and the health of your fellow human beings from negative consequences. For information about the recycling and disposal of this product, please contact your local authority or your household waste disposal service. This product contains batteries. If there is a legal regulation for the disposal of batteries in your country, the batteries must not be disposed of with household waste. Find out about local regulations for disposing of batteries. By disposing of them in accordance with the rules, you are protecting the environment and the health of your fellow human beings from negative consequences.
DECLARATION OF CONFORMITY
Manufacturer: Chal-Tec GmbH, Wallstrasse 16, 10179 Berlin, Germany. Importer for Great Britain: Chal-Tec UK limited Unit 6 Riverside Business Centre Brighton Road Shoreham-by-Sea BN43 6RE United Kingdom The complete declaration of conformity of the manufacturer can be found at the following link: use.berlin/1003842023