
10032907 - Vacuum Cleaner Klarstein - Free user manual and instructions
Find the device manual for free 10032907 Klarstein in PDF.
| Brand | Klarstein |
| Model | 10032907 |
| Product type | Bagless vacuum cleaner |
| Power supply | 220-240 V~, 50/60 Hz |
| Nominal power | 800 W |
| Filtration | HEPA filter, washable sponge filter, motor protection filter |
| Dust container capacity | Approx. 2 L (estimate) |
| Cable length | Approx. 6 m (estimate) |
| Noise level | Approx. 75 dB (estimate) |
| Weight | Approx. 5 kg (estimate) |
| Dimensions | Approx. 40 x 30 x 30 cm (estimate) |
| Functions | Electronic power regulation, remote control on handle, full container indicator, ionizer, automatic safety shut-off |
| Included accessories | Flexible hose, telescopic suction tube, combined floor/carpet nozzle, crevice tool |
| Remote control power | 2 LR03 (AAA) batteries not included |
| Safety | Safety circuit breaker, fuse, overheating protection |
| Maintenance | Clean sponge filter every 6 months, empty dust container |
| Recycling | Compliant with WEEE (2012/19/EU) and battery directive (2006/66/EC) |
Frequently Asked Questions - 10032907 Klarstein
User questions about 10032907 Klarstein
0 question about this device. Answer the ones you know or ask your own.
Ask a new question about this device
Download the instructions for your Vacuum Cleaner in PDF format for free! Find your manual 10032907 - Klarstein and take your electronic device back in hand. On this page are published all the documents necessary for the use of your device. 10032907 by Klarstein.
USER MANUAL 10032907 Klarstein
natural_image
Line drawing of a vacuum cleaner device with a blue arrow pointing to the side (no text or symbols present)natural_image
Close-up of a handheld electronic device with a black handle and control panel (no visible text or symbols)
natural_image
Close-up of a black handheld device with a circular button and control buttons (no visible text or symbols)INBETIEBNAHME
natural_image
Line drawing of a vintage-style camera with a mounted device (no text or symbols)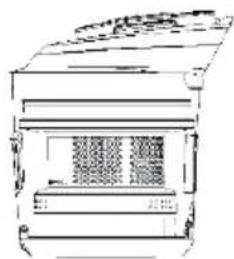
natural_image
Line drawing of a mechanical device with no visible text or symbols
natural_image
Line drawing of a simple electrical cabinet or enclosure unit with no visible text or symbolsnatural_image
Line drawing of a mechanical or architectural component with no visible text, numbers, or symbols.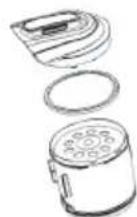
b) Dualfilter
natural_image
Technical line drawings of various electronic devices including a camera, display case, and fan (no text or labels)c) Luftauslassfilter
natural_image
Technical line drawing of a mechanical component with internal parts and a grid-patterned panel (no text or symbols)natural_image
Symbol of a trash bin with no text or labels, featuring a crossed-out wheel and diagonal lines (no readable text or numbers)Congratulations on purchasing this equipment. Please read this manual carefully and take care of the following hints to avoid damages. Any failure caused by ignoring the items and cautions mentioned in the instruction manual are not covered by our warranty and any liability. Scan the QR code to get access to the latest user manual and other information about the product.

CONTENTS
Technical Data 15
Safety Instructions 16
Device Description 17
Assembling Vacuum Cleaner 18
Operation 19
Removing Dust and Cleaning Filters 20
Declaration Conformity 22
TECHNICAL DATA
| Item number 10032907 1003 | 2908 |
| Power supply 220-240 V~ 50/60 Hz | |
| Power input 800 W | |
SAFETY INSTRUCTIONS
When using your vacuum, basic safety precautions should always be observed, including the following.
- Do not leave vacuum cleaner unattended when it is plugged in. Unplug from outlet when not in use and before pulling filters out.
• To reduce the risk of electric shock-do not use outdoors or on wet surfaces.
- Do not allow children to use as a toy. Close attention is necessary when used near children.
- Use only as described in this manual. Use only manufacturer's recommended attachments.
- Do not use with damaged cord or plug. Do not use vacuum cleaner if it has been dropped, damaged, left outdoors, or dropped into water. Return appliance to the appliance customer service for examination repair or adjustment.
- Do not pull or carry by cord. Do not use cord as a handle. Do not close a door on cord, or pull cord around sharp edges or corners. Do not run appliance over cord. Keep cord away from heated surfaces.
- Do not unplug by pulling on cord. To unplug, grasp the plug, not the cord.
- Do not handle plug or vacuum cleaner with wet hands. Dot not use outdoors or on wet surfaces.
- Do not put any objects into openings. Do not use with any openings blocked and do not restrict airflow. Keep all opening free of dust, lint, hair, and anything that may reduce airflow.
- Keep hair, loose clothing, fingers, and all parts of body away from openings and moving parts.
- Do not vacuum hard or sharp objects such as glass nails, screws, coins, etc.
- Do not vacuum hot coals, cigarette, matches or any hot, smoking, or burning objects.
- Do not use without filters in place.
- Turn off all controls before plugging or unplugging vacuum cleaner.
- Use extra care when vacuuming on stairs.
- Do not vacuum flammable or combustible materials (lighter fluid, gasoline, etc.) or use in the presence of explosive liquids or vapor.
- Do not vacuum toxic material (chlorine bleach, ammonia, drain cleaner, etc.)
- Do not use in an enclosed space filled with vapors given off by oil based paints, paint thinner, moth proofing, flammable dust, or other explosive or toxic vapors.
- Always unplug this appliance before connecting or disconnecting vacuum hose. Do not allow plug to whip when rewinding.
• Use only on dry, indoor surfaces.
- Do not use for any purpose other than described in this user's guide.
• Store your appliance indoors in a cool, dry area.
- Keep your work area well dry.
- Do not immerse the hand vacuum into water or other liquids.
- Keep end of hose, wands and other openings away from your face and body.
- Do not use the cleaner to clean your pets or any animal.
- Keep the head (eyes, ear, mouth, etc.) away from the openings, when the cleaner is working or plugged in.
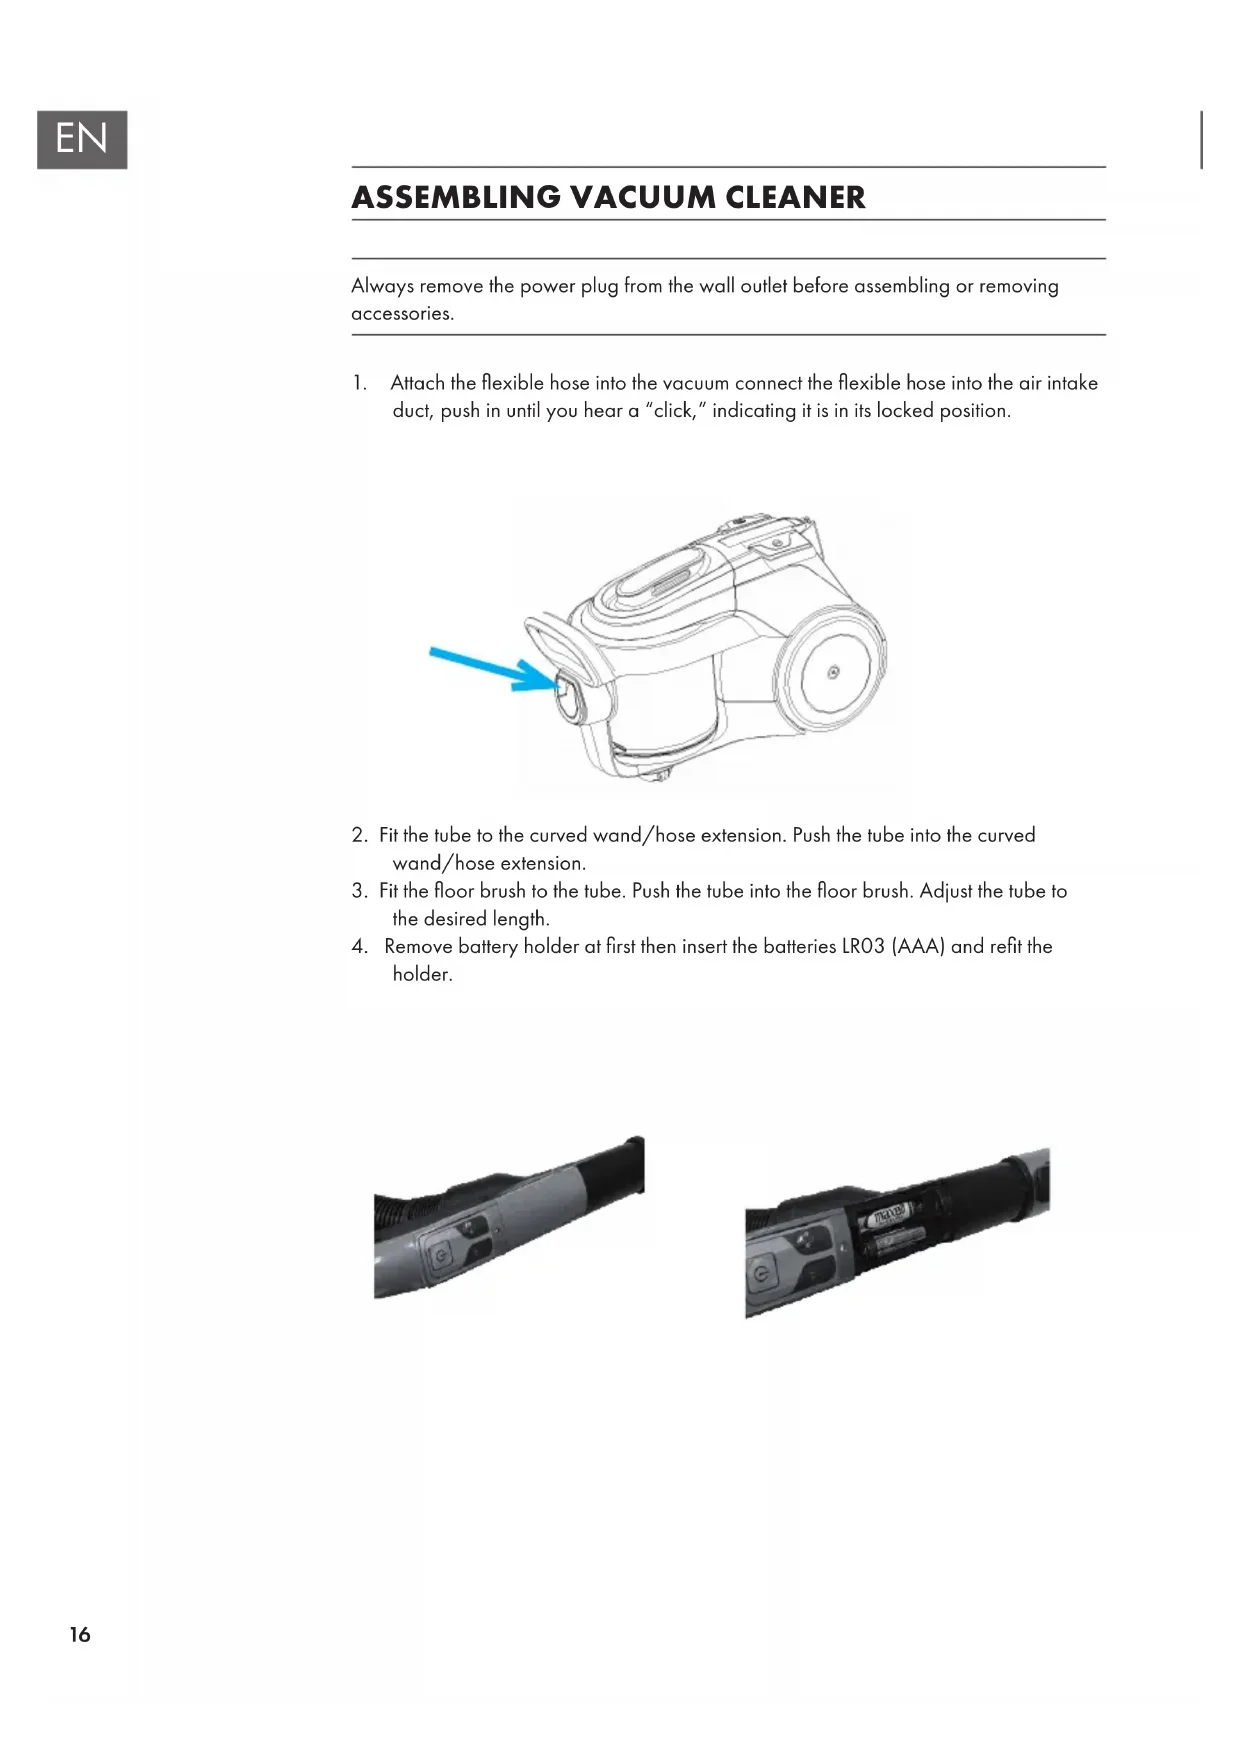
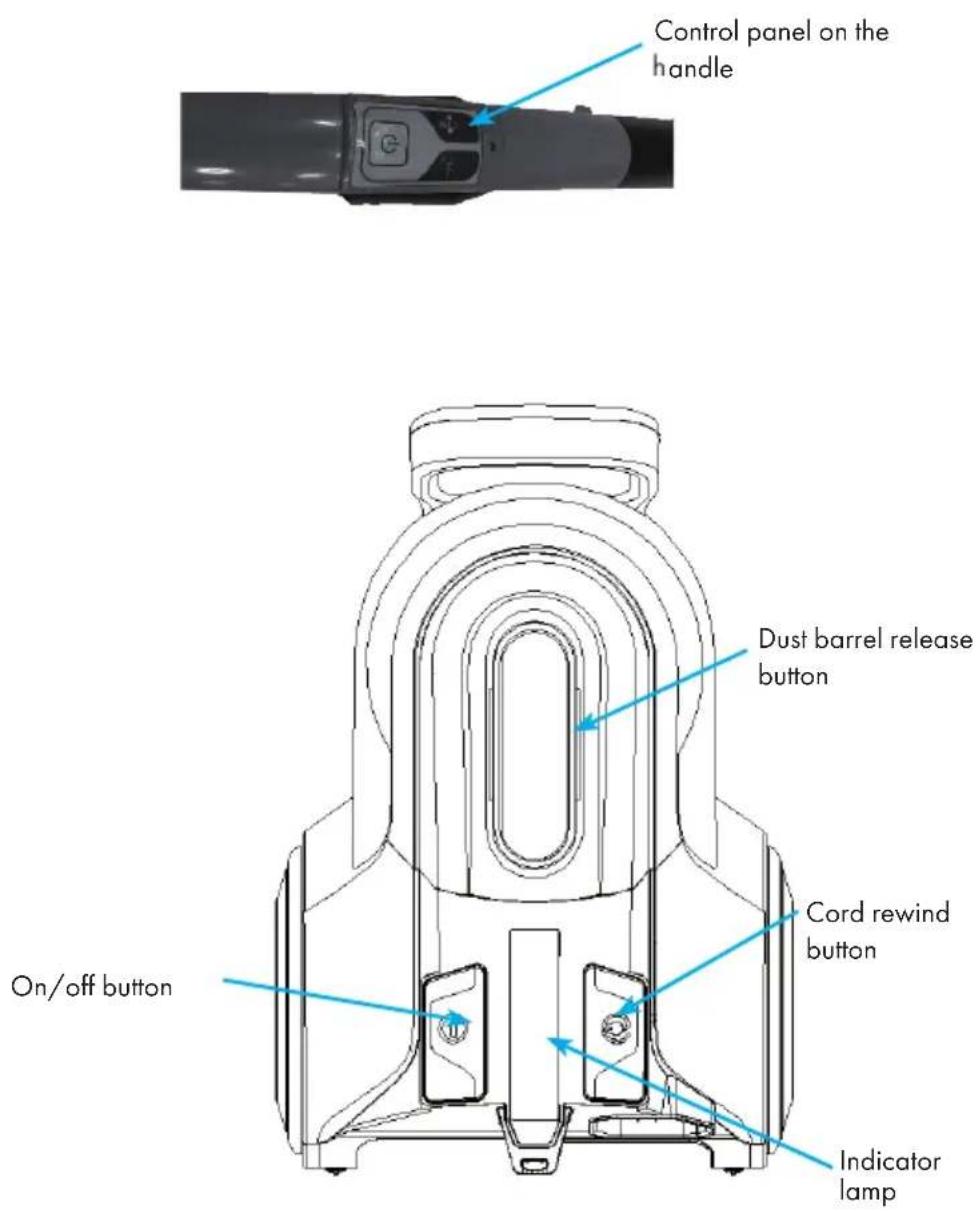
DEVICE DESCRIPTION
ASSEMBLING VACUUM CLEANER
Always remove the power plug from the wall outlet before assembling or removing accessories.
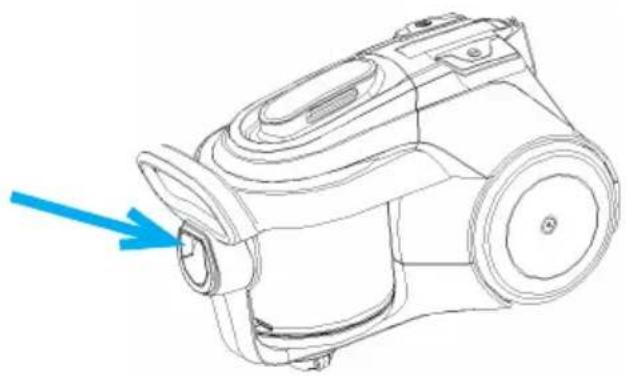
- Attach the flexible hose into the vacuum connect the flexible hose into the air intake duct, push in until you hear a "click," indicating it is in its locked position.
natural_image
Line drawing of a vacuum cleaner with a blue arrow pointing to the side (no text or symbols)-
Fit the tube to the curved wand/hose extension. Push the tube into the curved wand/hose extension.
-
Fit the floor brush to the tube. Push the tube into the floor brush. Adjust the tube to the desired length.
-
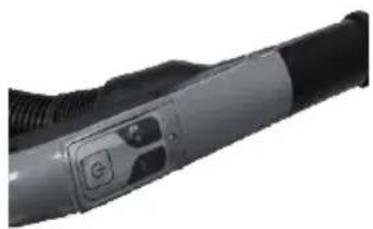
Remove battery holder at first then insert the batteries LR03 (AAA) and refit the holder.
natural_image
Close-up of a handheld device with a black handle and control panel (no visible text or symbols)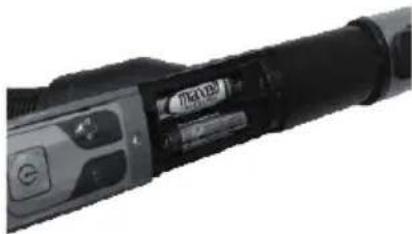
natural_image
Close-up of a black cylindrical device with a circular button and indicator lights (no visible text or symbols)OPERATION
Once all attachments are in place, unwind a sufficient length of cable and insert the plug into the wall outlet. A yellow mark on the power cord shows the ideal cable length. Do not pull the power cord beyond the red mark.
- Insert the power plug into the wall outlet.
- Press the power on/off button located the unit to turn the vacuum cleaner "on" or press the key on the remote control handle.
- To rewind the power cord, press the cord rewind button with one hand and guide the power cord with the other hand to ensure that it does not whip causing damage or injury.
- Touch the speed remote control on the handle to control the suction power of the vacuum cleaner.
Please note:
- If the "on" indicator is flashing once at power-on, that means the vacuum cleaner is in standby mode.
- You can choose to press the pedal on the vacuum cleaner body to start working or press the key on the remote control handle.
- The power will be at maximum and the negative ion function will work when you start the vacuum cleaner for the first time. You can adjust the power using the control handle and choose from high to low power levels. The negative ion function can also be turned off on the handle.
- If you turn off the vacuum cleaner using the on/off pedal, it will return to the default settings when you next turn it on: maximum power, negative ion function. However, if you turn on or off using the key on the remote control handle, it will remember the settings from the previous time.
- The vacuum cleaner features an indicator that flashes when the dust bin is full.
- The sponge filter material in the vacuum cleaner will become dusty over time. This is normal and will not affect the performance of the filter. If the sponge filter is so dusty that suction does not return to 100%, then we suggest that the filter be removed then rinsed under the faucet and allowed to air-dry far away from fire or other high-temperature objects before refitting into the vacuum. This should be done once every six months or when suction appears to be noticeably reduced.
- Please note that there is a safety switch inside the vacuum to prevent the unit from being run at too high of a suction rate. If the suction rate is too high, the safety fuse will be turned on. In this case, it can reduce the suction rate and protect the motor from being broken.
- The suction hole must be open and free of any obstructions at all times. Otherwise, the motor will overheat and could become damaged.
- All filters should be checked regularly for signs of damage, preferably after each cleaning task. The filters must be replaced immediately if they become damaged. Always disconnect the vacuum from the electrical outlet when checking the filters.
REMOVING DUST AND CLEANING FILTERS
Clean the dust barrel
- Press the knob on the dust cup arm.
- Lift dust barrel up.
- Press knob on low end of dust barrel to open the dust barrel cover.
natural_image
Technical line drawings of three different camera modules (no text or symbols present)This cleaner has a special feature for handle, there is a handle in front.
Warning: Danger of electric shock
Always unplug the unit from electrical outlet before getting out the dust barrel.
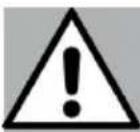
Removing & cleaning pre-motor filter, centric Hepa filter, and air outlet filter.
a) Pre-motor filter
- Press the knob on the dust cup arm.
- Lift dust barrel up.
- Take out the pre-motor filter for cleaning and changing.
natural_image
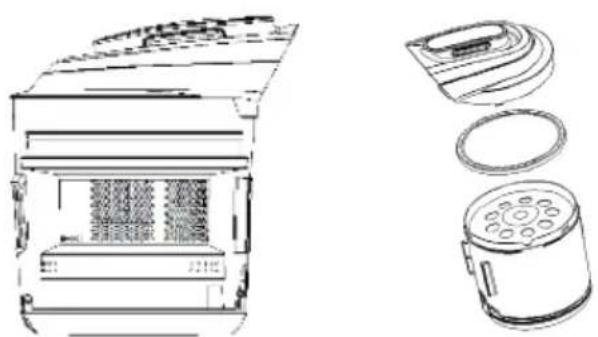
Technical line drawing of a device interior with external components and exploded view (no text or symbols)b) Dual filter
- Press the knob on the dust cup arm.
- Disassemble the dust container as shown in the picture below.
- Clean the dual filter.
- Assemble the dust container following the above steps.
natural_image
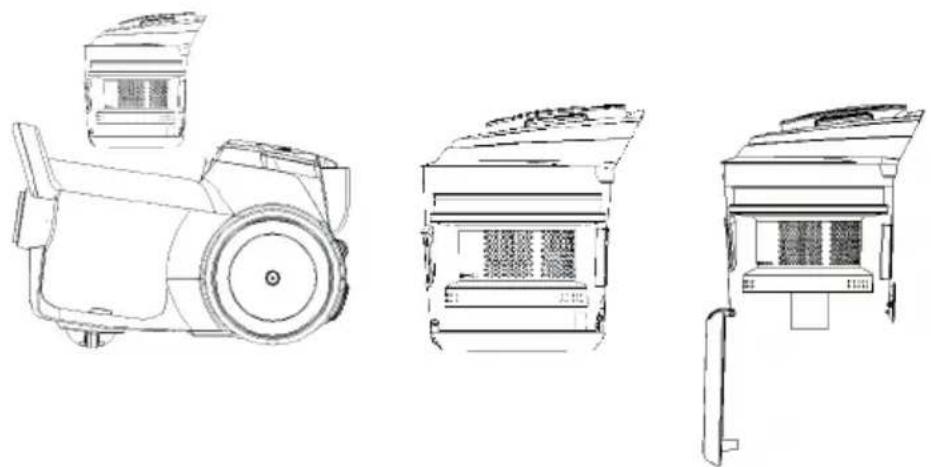
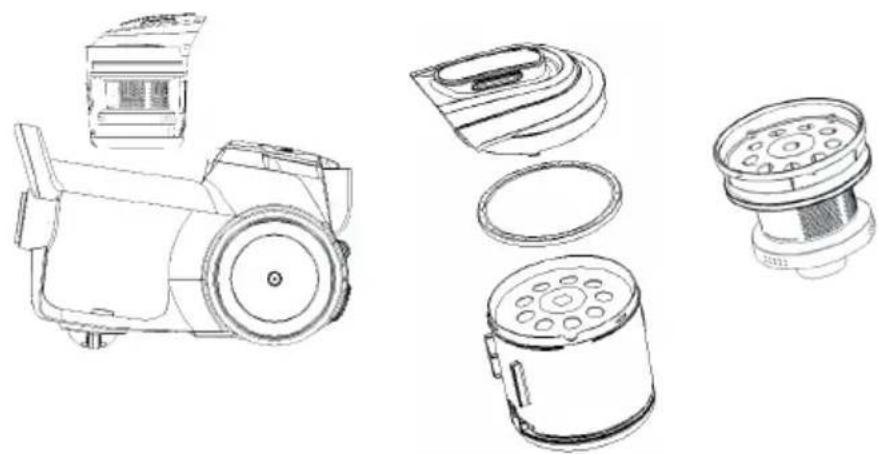
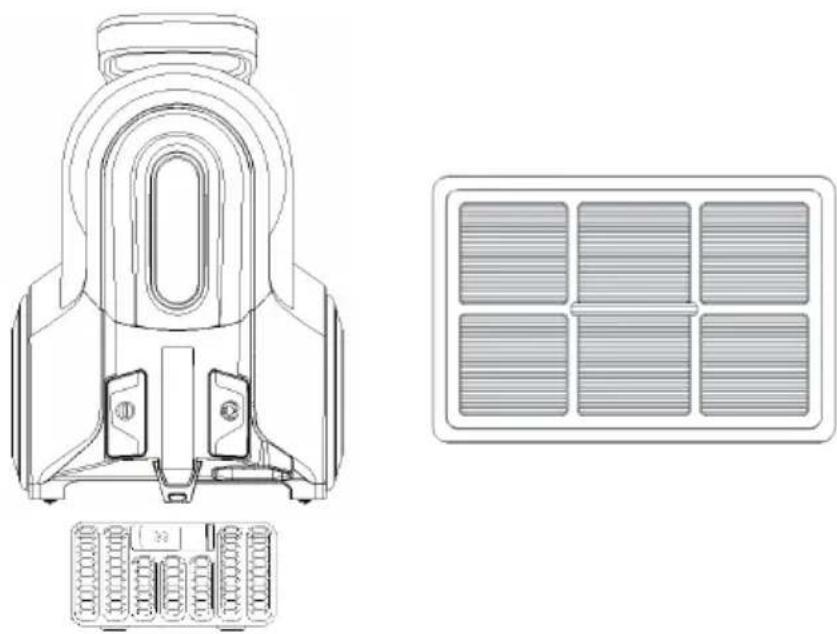
Line drawings of various electronic devices including a camera, display case, and power button (no text or symbols)c) Air outlet filter
- Press the air outlet grid knob to open.
- Take out the air outlet filter to clean or change.
natural_image
Technical line drawing of a mechanical component with internal parts and a grid-like panel (no text or symbols)DISPOSAL CONSIDERATIONS
natural_image
Symbol of a trash bin with crossed lines indicating no waste, and a solid black rectangle below (no text or labels)According to the European waste regulation 2012/19/EU this symbol on the product or on its packaging indicates that this product may not be treated as household waste. Instead it should be taken to the appropriate collection point for the recycling of electrical and electronic equipment. By ensuring this product is disposed of correctly, you will help prevent potential negative consequences for the environment and human health, which could otherwise be caused by inappropriate waste handling of this product. For more detailed information about recycling of this product, please contact your local council or your household waste disposal service.
Your product contains batteries covered by the European Directive. 2006/66/EC, which cannot be disposed of with normal household waste. Please check local rules on separate collection of batteries. The correct disposal of batteries helps prevent potentially negative consequences on the environment and human health.
Declaration of Conformity

Producer: Chal-Tec GmbH, Wallstraße 16, 10179 Berlin, Germany
This product is conform to the following European Directives
2009/125/EC (ErP)
2011/65/EU (RoHS)
2014/30/EU (EMV)
2014/35/EU (LVD)
Chère cliente, cher client,
SOMMAIRE
Fiche technique 22
natural_image
Line drawing of a vacuum cleaner device with a blue arrow pointing to the component (no text or symbols present)natural_image
Close-up of a handheld electronic device with a black handle and control buttons (no visible text or symbols)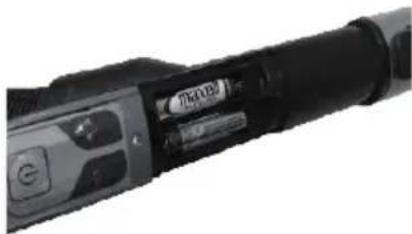
natural_image
Close-up of a black cylindrical device with a 'Maser' label, no visible text or symbols on the body itself.MISE EN MARCHE
natural_image
Technical line drawings of three different mechanical devices, showing front, top, and side views (no text or symbols present)natural_image
Line drawing of a microwave oven with internal compartments and a separate cylindrical device (no text or symbols)b) Double filtre
natural_image
Line drawing of a vintage-style mechanical device with a cylindrical body and front panel (no text or symbols)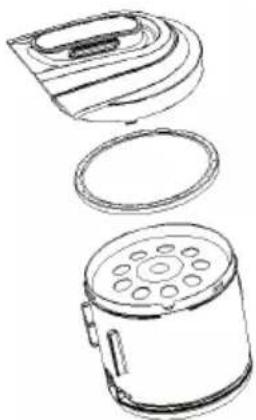
natural_image
Line drawings of three different household appliances: a microwave oven, a cylindrical fan with circular ports, and a flat-screen appliance (no text or symbols)
natural_image
Technical line drawing of a mechanical component with symmetrical arch and mounting base (no text or symbols)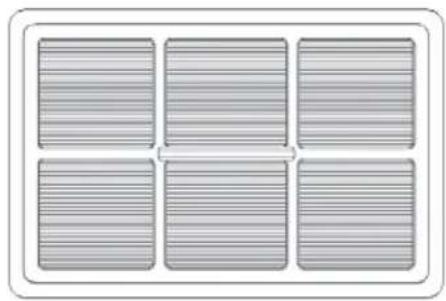
natural_image
Six identical gray rectangular panels arranged in a 2x2 grid, no text or symbols visible.
INFORMATIONS SUR LE RECYCLAGE

natural_image
Symbol of a trash bin with no text or labels, featuring a crossed-out wheel and a solid rectangle below (no readable text or symbols)ÍNDICE
Datos técnicos 32
natural_image
Line drawing of a vacuum cleaner with a blue arrow pointing to the side (no text or symbols)natural_image
Close-up of a handheld electronic device with a black handle and control panel (no visible text or symbols)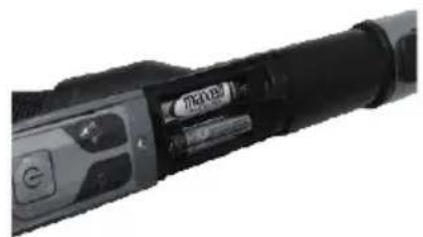
natural_image
Close-up of a black cylindrical device with a visible internal component and control buttons (no readable text or symbols)natural_image
Technical line drawings of three different electronic devices with no visible text or symbolsnatural_image
Technical line drawing of a microwave oven and its internal components (no text or symbols)b) Filtro doble
natural_image
Line drawing of a vintage-style mechanical device with a cylindrical body and front panel (no text or symbols)
natural_image
Line drawings of three different household appliances: a microwave oven, a cylindrical fan with circular ports, and a flat-screen appliance (no text or symbols)
natural_image
Technical line drawing of a mechanical component with symmetrical arch and mounting features (no text or symbols)
natural_image
Six identical gray rectangular panels arranged in a 2x2 grid, no text or symbols visible.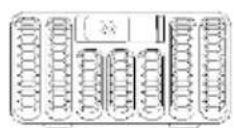
INDICACIONES SOBRE LA RETIRADA DEL APARATO

natural_image
Symbol of a trash bin with no text or labels, including a crossed-out box and a solid rectangle below (no readable text or symbols)INDICE
Dati tecnici 42
natural_image
Line drawing of a vacuum cleaner with a blue arrow pointing to the side (no text or symbols)natural_image
Close-up of a handheld electronic device with a black handle and control buttons (no visible text or symbols)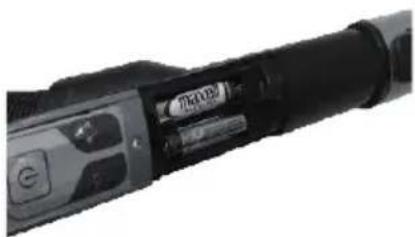
natural_image
Close-up of a black handheld device with a circular button and control buttons (no visible text or symbols)MESSA IN FUNZIONE
natural_image
Technical line drawings of three different electronic devices (no text or symbols present)natural_image
Technical line drawing of a microwave oven and its internal components (no text or symbols)b) Filtro doppio
natural_image
Technical line drawings of various electronic devices including a camera, display case, and fan (no text or labels)natural_image
Technical line drawing of a mechanical component with internal parts and a grid-patterned panel (no text or symbols)SMALTIMENTO
natural_image
Symbol of a trash bin with crossed x- and y-axes, no text or labels presentbar
| Category | Value | |---|---| | Category 1 | 100 | | Category 2 | 100 | | Category 3 | 100 | | Category 4 | 100 | | Category 5 | 100 | | Category 6 | 100 | | Category 7 | 100 | | Category 8 | 100 | | Category 9 | 100 | | Category 10 | 100 | | Category 11 | 100 | | Category 12 | 100 | | Category 13 | 100 | | Category 14 | 100 | | Category 15 | 100 | | Category 16 | 100 | | Category 17 | 100 | | Category 18 | 100 | | Category 19 | 100 | | Category 20 | 100 | | Category 21 | 100 | | Category 22 | 100 | | Category 23 | 100 | | Category 24 | 100 | | Category 25 | 100 | | Category 26 | 100 | | Category 27 | 100 | | Category 28 | 100 | | Category 29 | 100 | | Category 30 | 100 | | Category 31 | 100 | | Category 32 | 100 | | Category 33 | 100 | | Category 34 | 100 | | Category 35 | 100 | | Category 36 | 100 | | Category 37 | 100 | | Category 38 | 100 | | Category 39 | 100 | | Category 40 | 100 | | Category 41 | 100 | | Category 42 | 100 | | Category 43 | 100 | | Category 44 | 100 | | Category 45 | 100 | | Category 46 | 100 | | Category 47 | 100 | | Category 48 | 100 | | Category 49 | 100 | | Category 50 | 100 | | Category 51 | 100 | | Category 52 | 100 | | Category 53 | 100 | | Category 54 | 100 | | Category 55 | 100 | | Category 56 | 100 | | Category 57 | 100 | | Category 58 | 100 | | Category 59 | 100 | | Category 60 | 100 | | Category 61 | 100 | | Category 62 | 100 | | Category 63 | 100 | | Category 64 | 100 | | Category 65 | 100 | | Category 66 | 100 | | Category 67 | 100 | | Category 68 | 100 | | Category 69 | 100 | | Category 70 | 100 | | Category 71 | 100 | | Category 72 | 100 | | Category 73 | 100 | | Category 74 | 100 | | Category 75 | 100 | | Category 76 | 100 | | Category 77 | 100 | | Category 78 | 100 | | Category 79 | 100 | | Category 80 | 100 | | Category 81 | 100 | | Category 82 | 100 | | Category 83 | 100 | | Category 84 | 100 | | Category 85 | 100 | | Category 86 | 100 | | Category 87 | 100 | | Category 88 | 100 | | Category 89 | 100 | | Category 90 | 100 | | Category 91 | 100 | | Category 92 | 100 | | Category 93 | 100 | | Category 94 | 100 | | Category 95 | 100 | | Category 96 | 100 | | Category 97 | 100 | | Category 98 | 100 | | Category 99 | 100 | | Total (Total) = [sum of two separate bars] * [sum of the bars] * [values from the 'bar' in the 'box' table] * [values from the 'box' table] * [values from the 'box' table] * [values from the 'box' table] * [values from the 'box' table] * [values from the 'box' table]. The sum of the bars is calculated by subtracting the sum of the bars from the 'box' table. Note: The total bar length is based on the sum of the bars. The sum of the bars is calculated as the sum of the bars. The sum of the bars is derived from adding the sum of the bars to the total bar length. The sum of the bars is derived from adding the sum of the bars to the total bar length. The sum of the bars is derived from adding the sum of the bars to the total bar length. The sum of the bars is derived from adding the sum of the bars to the total bar length. The sum of the bars is derived from adding the sum of the bars to the total bar length. The sum of the bars is derived from adding the sum of the bars to the total bar lengths. The sum of the bars is derived from adding the sum of the bars to the total bar lengths. The sum of the bars is derived from adding the sum of the bars to the total bar lengths.KLARSTEIN NIESTELK TEIN NIESTELK KLAR KLARSTEIN NIESTELK TEIN NIESTELK KLAR KLARSTEIN NIESTELK TEIN NIESTELK KLAR KLARSTEIN NIESTELK

- INBETIEBNAHME
- b) Dualfilter
- c) Luftauslassfilter
- CONTENTS
- TECHNICAL DATA
- SAFETY INSTRUCTIONS
- DEVICE DESCRIPTION
- ASSEMBLING VACUUM CLEANER
- OPERATION
- Please note:
- REMOVING DUST AND CLEANING FILTERS
- Clean the dust barrel
- Warning: Danger of electric shock
- a) Pre-motor filter
- b) Dual filter
- c) Air outlet filter
- DISPOSAL CONSIDERATIONS
- Declaration of Conformity
- Chère cliente, cher client,
- SOMMAIRE
- MISE EN MARCHE
- b) Double filtre
- INFORMATIONS SUR LE RECYCLAGE
- ÍNDICE
- b) Filtro doble
- INDICACIONES SOBRE LA RETIRADA DEL APARATO
- INDICE
- MESSA IN FUNZIONE
- b) Filtro doppio
- SMALTIMENTO
Brand : Klarstein
Model : 10032907
Category : Vacuum Cleaner