
Freeway - Stroller Silver Cross - Free user manual and instructions
Find the device manual for free Freeway Silver Cross in PDF.
| Product Type | Stroller |
| Brand | Silver Cross |
| Model | Freeway |
| Recommended age | From birth to 15 kg |
| Safety standard | BS EN1888:2012 |
| Basket capacity | 5 kg |
| Restraint system | 5-point harness with D-rings |
| Bumper bar | Included, recommended for use |
| Brake | Parking brake |
| Seat recline | Multiple positions, reclinable for newborns |
| Use | Walking, not for jogging or rollerblading |
| Compatible accessories | Carrycots, Silver Cross car seats |
| Chassis maintenance | Clean with dry cloth, lubricate moving parts |
| Textile care | Warm soapy water, rinse, air dry |
| Recommended washing | Do not machine wash, do not tumble dry, do not iron, do not use bleach |
| Warranty | 12 months against manufacturing defects |
| Max child weight | 15 kg |
Frequently Asked Questions - Freeway Silver Cross
User questions about Freeway Silver Cross
0 question about this device. Answer the ones you know or ask your own.
Ask a new question about this device
Download the instructions for your Stroller in PDF format for free! Find your manual Freeway - Silver Cross and take your electronic device back in hand. On this page are published all the documents necessary for the use of your device. Freeway by Silver Cross.
USER MANUAL Freeway Silver Cross
THE BEST START IN LIFE
Freeway
natural_image
Line drawing of a stroller with two wheels and a back cover (no text or symbols)
natural_image
Decorative border pattern with repeating star and circle motifs (no text or symbols)IMPORTANT: KEEP THESE INSTRUCTIONS FOR FUTURE REFERENCE
natural_image
Line drawing of two car seats, one front view and one side view, with no text or symbols present.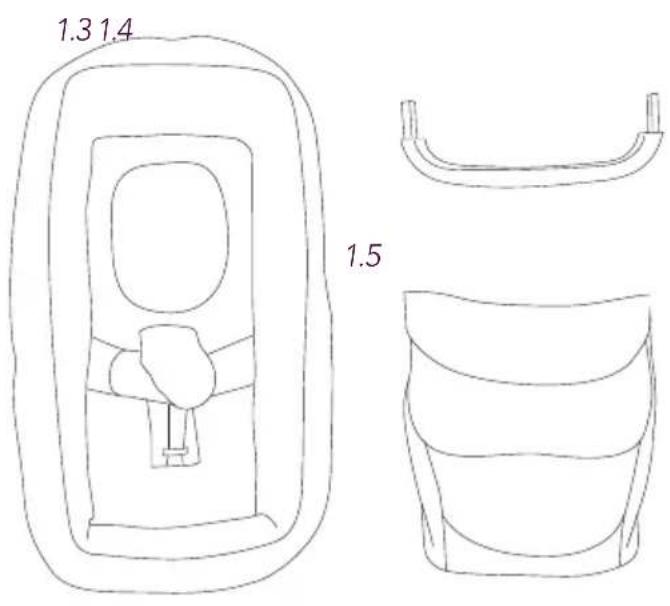
natural_image
Line drawing of an insect head and its back panel (no text or symbols)These instructions are important.
Read these instructions before use and keep them for future reference. Your child's safety may be affected if you do not follow these instructions.
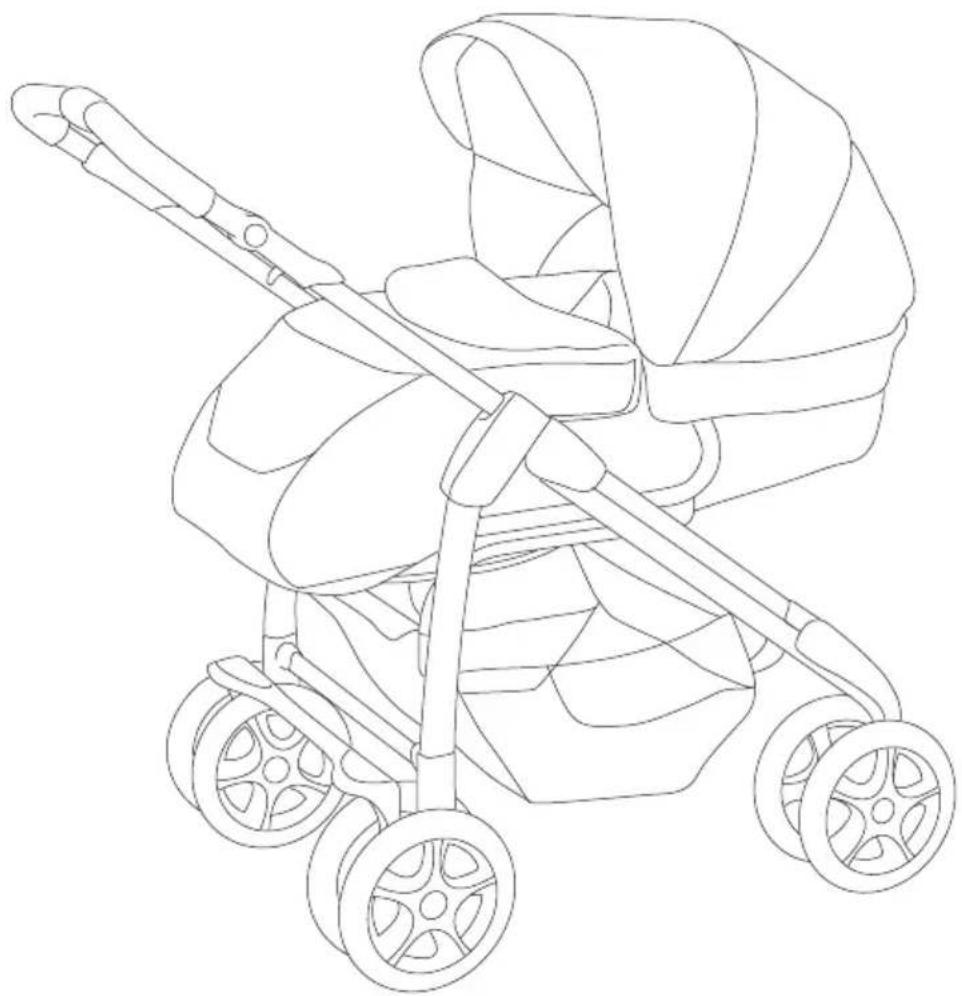
Your Freeway Pushchair is a high quality Silver Cross product. It meets current British and European safety standards and care and regular light maintenance will ensure long service.
This pushchair is suitable from birth to 15 kgs.
If somebody unfamiliar is using your pushchair, always ensure that they read these instructions carefully so that they understand how the product works best.
The Freeway body is designed and tested to be used with the Silver Cross Linear, Linear Compact, Classic and Elegance Chassis.
Always read all the instructions provided carefully and remember, the safety of your child is your responsibility.
Contents
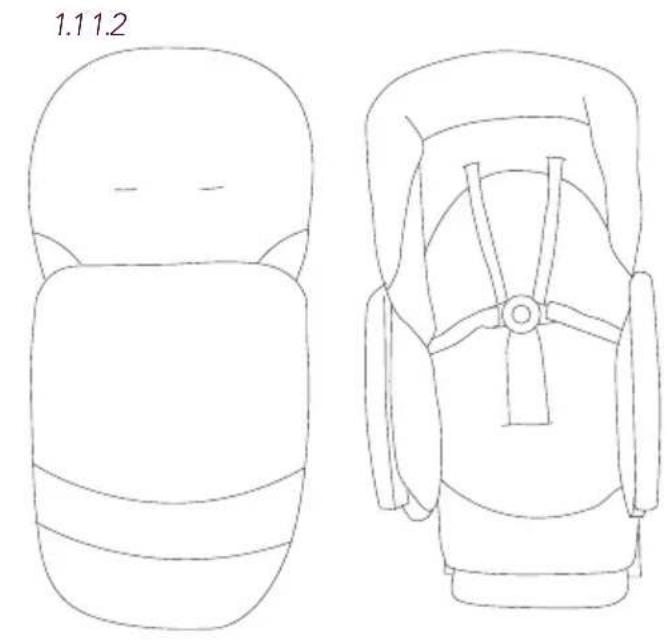
First check all your parts have been supplied. Your Freeway package should include:
1.1 Footmuff
1.2 Freeway body
1.3 Freeway Liner
1.4 Bumper bar
1.5 Apron
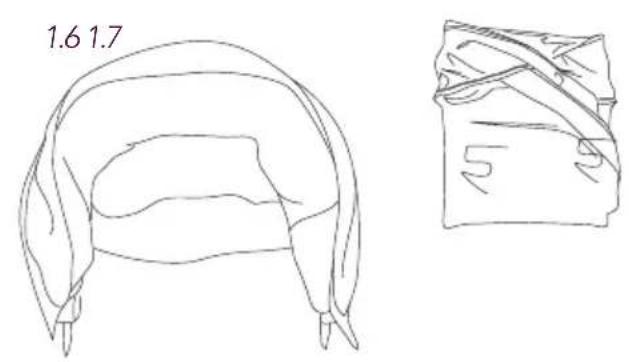
1.6 Freeway hood
1.7 Rain cover
Using your harness
WARNING: Always use the crotch strap in combination with the waist belt
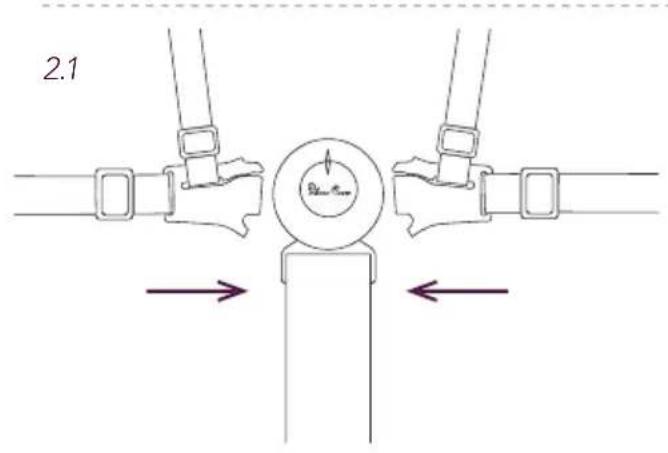
2.1 To fasten the harness insert both buckle clips into each side of the buckle. Listen for the 'click'.
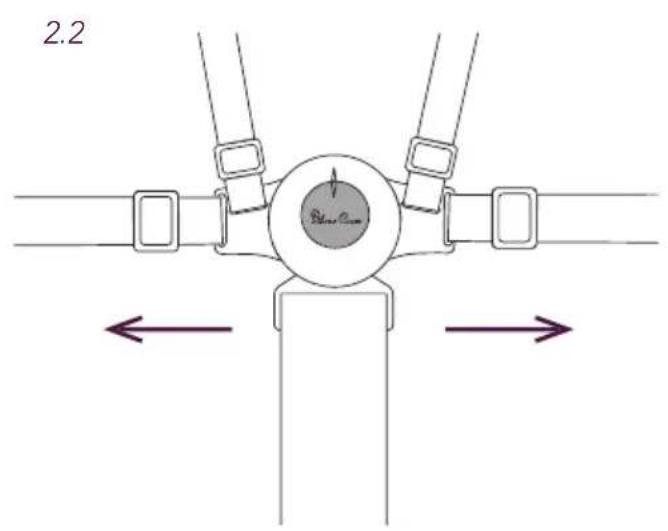
2.2 To release the harness press the centre and pull apart. The shoulder straps can be unhooked from the buckle if required.
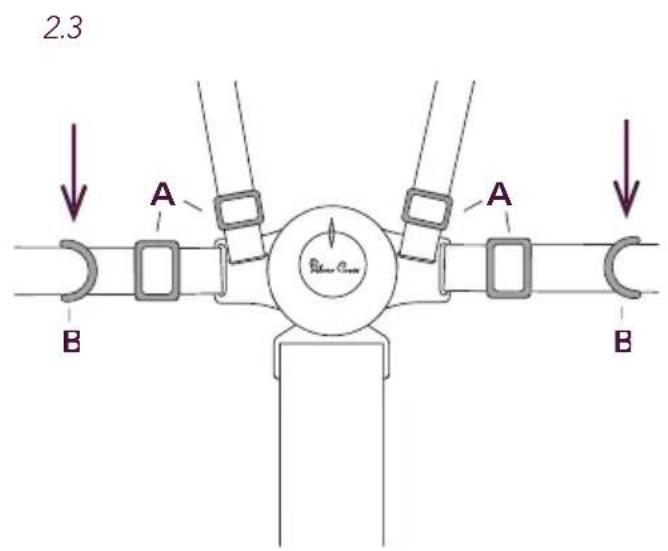
2.3 Your harness is fully adjustable by moving the slides (A), to make fi tting easy. 'D'rings are provided for fi tting a separate harness if required (B). Any additional harness must comply with BS 6684. Your child should always be harnessed in and should never be left unattended, even for short periods of time.
WARNING: Always use the restraint system.
3.1
natural_image
Line drawing of a person adjusting a seatbelt (no text or symbols)3.2
natural_image
Line drawing of a person wearing a seatbelt, showing mechanical components without any text or symbolsAttaching the body to the chassis
3.1 To attach your Freeway body onto your chassis, position the body centrally over the chassis.
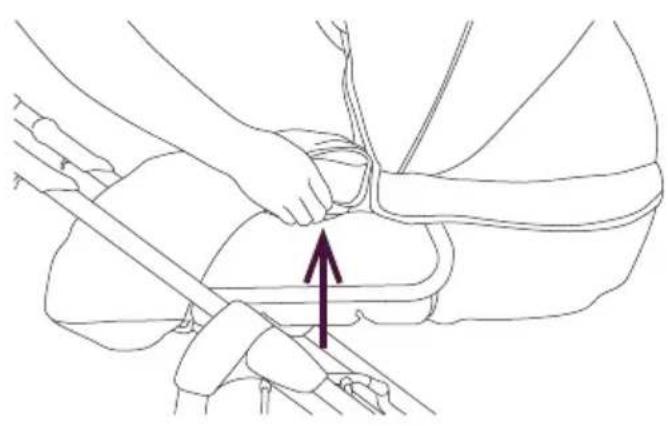
3.2 Under the body there are four locking points, lower the body so that these locate on the chassis mounting bars. Push the body downwards so that all four locks 'click' and engage. Give the body a gentle lift to check that all four points are securely fastened.
WARNING: Always pick your Freeway body up by the handles below the side arms, never by hood or bumper bar.
natural_image
Line drawing of a car interior showing seatbelt and dashboard (no text or symbols)Detaching the body from the chassis
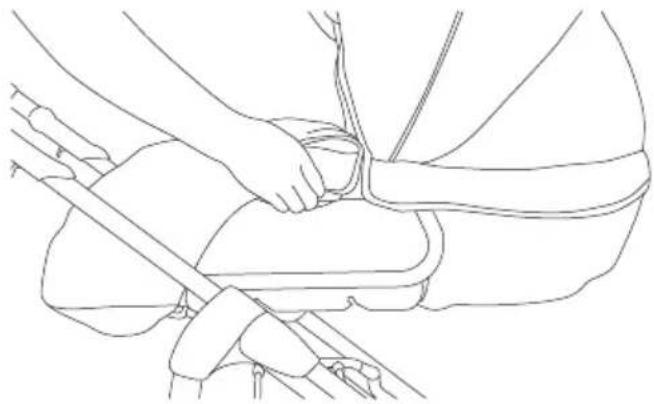
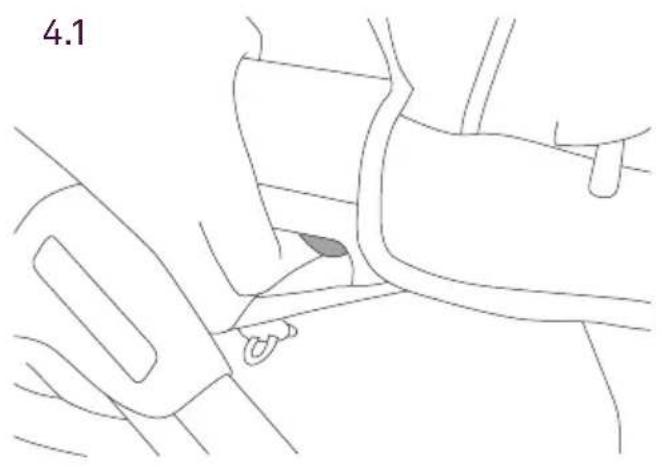
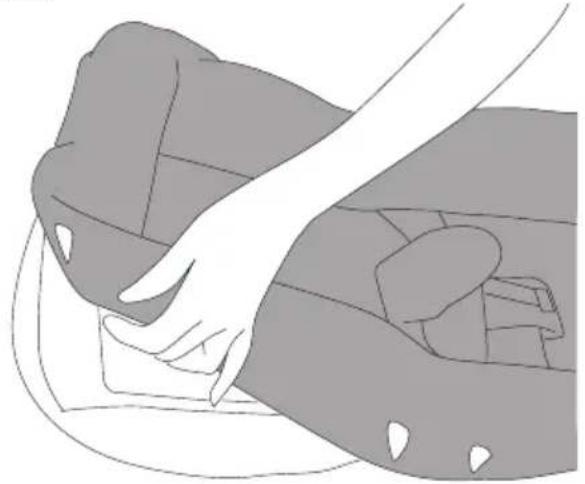
4.1 Place your hands in the elasticated side pockets of the Freeway body.
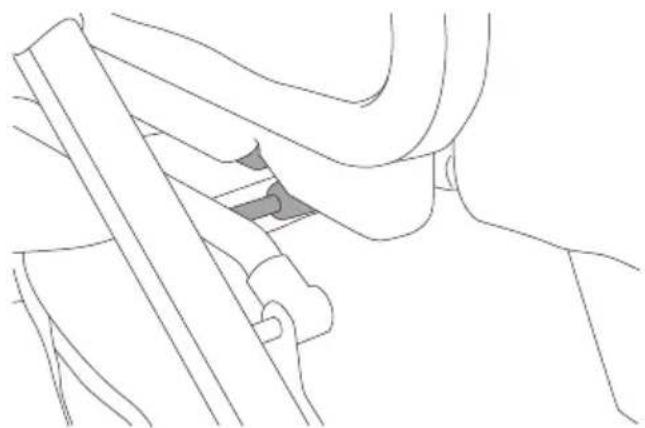
4.2 Gently grip the inner release catch, and slide the release handle towards the foot end of the Freeway body. Squeeze to release the body catches. The body will now lift clear of the chassis.
4.2
natural_image
Line drawing of a person adjusting a seatbelt with a hand and arrow indicating motion (no text or symbols)5.3
natural_image
Illustration of a hand pressing down on a car's side panel (no text or symbols)6.1
natural_image
Line drawing of a bicycle seatbelt mechanism (no text or symbols)6.2
natural_image
Line drawing of a hand holding a small object near the lower body, with no visible text or symbolsUsing your Freeway as a Pram
5.1 Recline the seat to the lie flat position by releasing the mechanism at the back of the seat (see 6.1-6.2)
5.2 Ensure the footrest is out and the calf rest is horizontal (see 7.1)
5.3 With the hood detached, place the liner in the seat unit with the toe end of the liner fitting around the bumper bar and calf rest.
5.4 Attach the hood (see 9). Slide the apron over the toe end of the liner and attach to the side arms with the press studs.
Your Freeway pram is now ready for use.
Adjusting the seat position
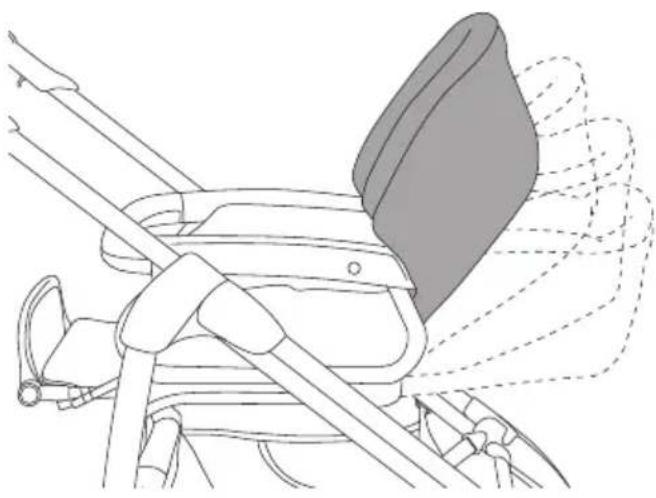
6.1 The Freeway body has four seat positions, from lie flat to upright.
6.2 To adjust the seat, place the palm of your hand on the hand rest at the back of the body. Grip and release the catch, then either lift or lower to the desired position.
natural_image
Line drawing of a bicycle seat assembly with a belt and seatbelt, showing no text or symbols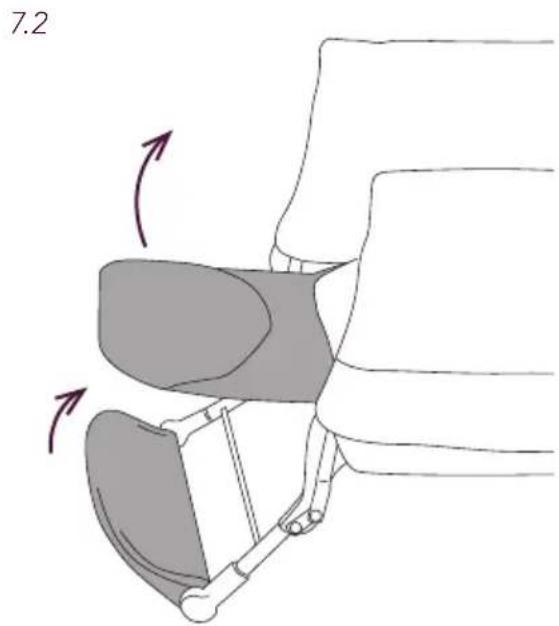
natural_image
Diagram of a mechanical or robotic device with directional arrows indicating motion (no text or symbols)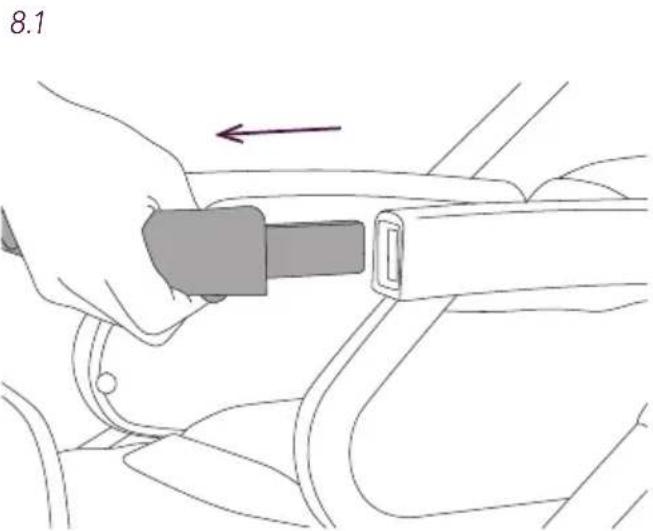
natural_image
Line drawing of a hand adjusting a car seatbelt with an arrow indicating direction (no text or symbols)Operating the footrest
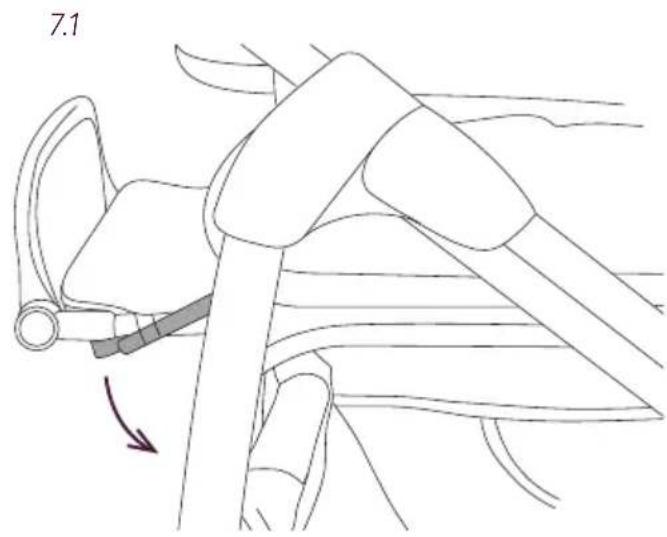
7.1 To lower the footrest, reach underneath the footrest and locate the flattened strip. Pull this down to lower the foot rest.
7.2 The footrest will also fold away to give more leg room for toddlers.
Operating the bumper bar
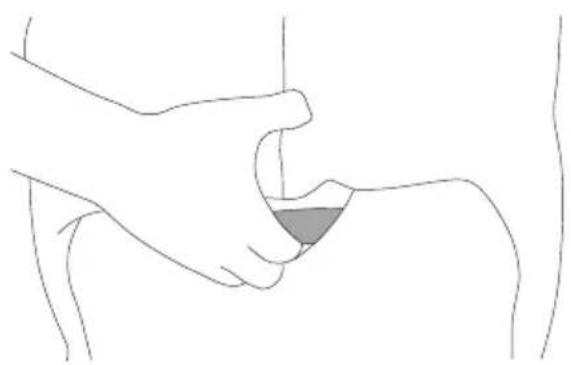
8.1 The bumper bar on the Freeway body can be removed for easier access. Press the button on either side of the bumper bar and pull the bumper bar out from the body arms.
natural_image
Line drawing of a hand using a tool to lift a component, with no text or symbols presentOperating the hood
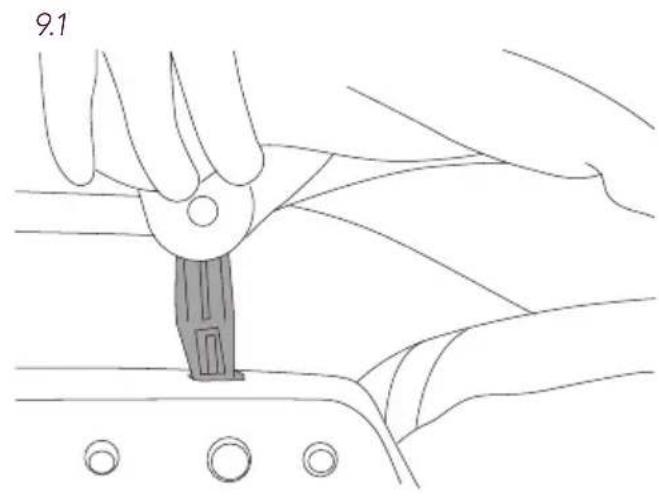
9.1 To attach the hood locate the mounting holes on the Freeway body arms.
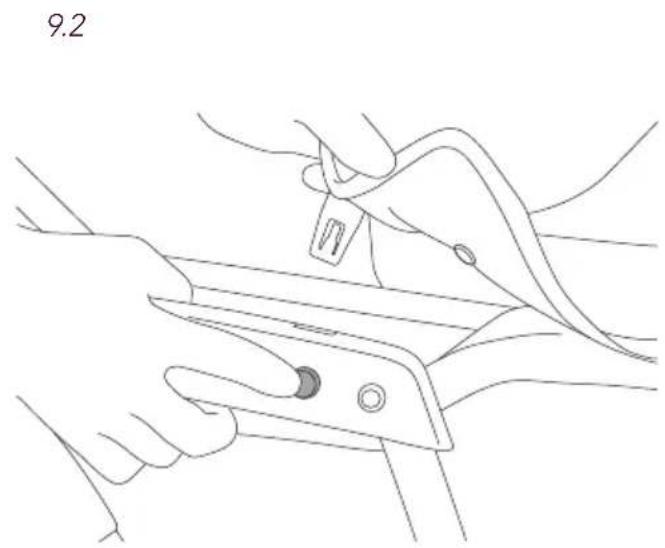
9.2 To remove the hood press the button on the Freeway body arms and lift the hood out.
9.3 Your Freeway hood has a ventilation panel for use in pram mode. To open this ensure the body is in reclined position, and unzip the panel. This then folds down to reveal the ventilation mesh.
natural_image
Line drawing of hands using a tool to adjust or install a component, no text or symbols present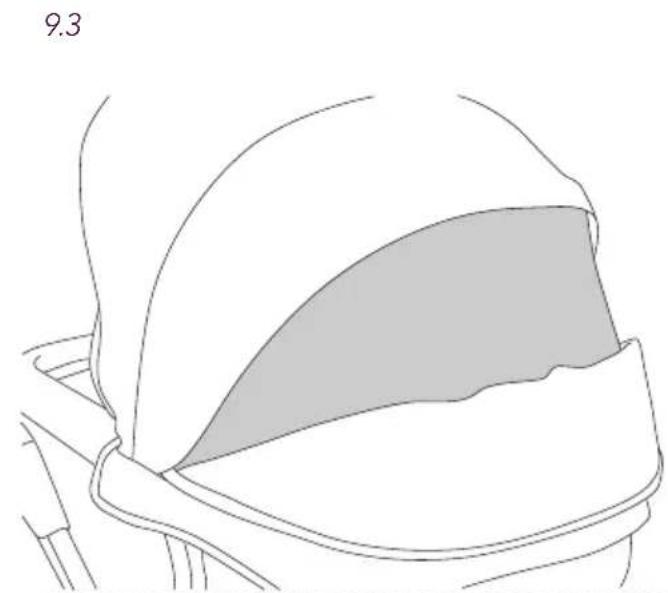
natural_image
Diagram of a helmet with a shaded interior area, no text or symbols present10.1
natural_image
Line drawing of a person wearing a baby stroller seatbelt, no text or symbols present10.2
natural_image
Diagram of a mechanical device with a curved arrow indicating motion or force direction (no text or symbols)Accessories
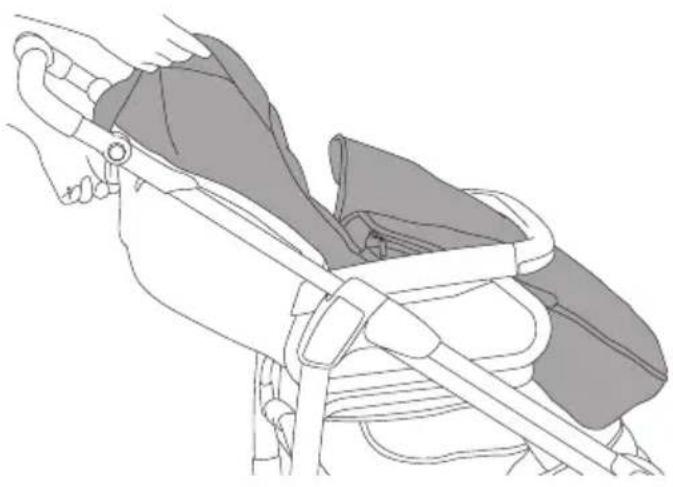
10.1 Your Freeway is supplied with a high quality footmuff. Before fitting, unfasten the harness, then feed the shoulder and crotch strap through the button holes on the footmuff.
The top of the back section will fit over the top of the seat back, and the hood press studs will attach through to hold it in place.
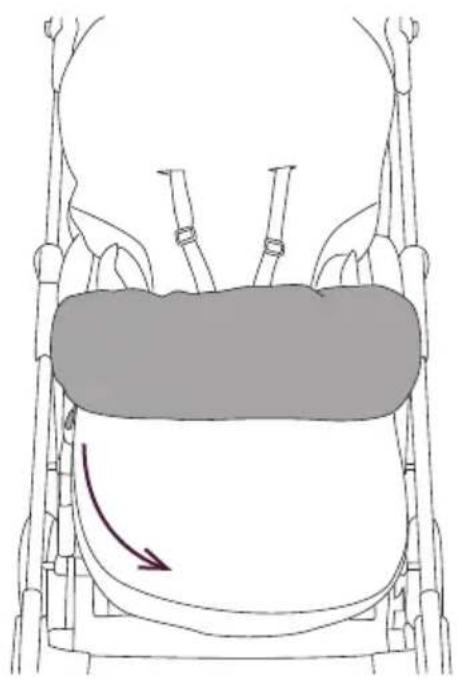
10.2 The front section of the footmuff has two fitting operations. The front panel can be either fully removed using the large lower zip, or partly rolled down on either side and secured with the toggles.
Safety Notes
Your Freeway body is a high quality Silver Cross product. It complies with BS EN1888:2012 and with correct use and maintenance will give good service. If however you should have any problems with your pushchair, please contact your Silver Cross retailer who will take appropriate action.
This product is suitable from birth to 15Kg
WARNING: Do not carry more than one child in this pushchair.
WARNING: This product is not suitable for running or skating
WARNING: The child should be clear of moving parts while making adjustments.
WARNING: Never leave your child in the pushchair with the rain cover fully fitted other than in normal outside use.
WARNING: A baby's safety is your responsibility.
WARNING: Check that the pram body or seat unit or car seat attachment devices are correctly engaged before use.
WARNING: Never leave your child unattended.
WARNING: Ensure that all locking devices are engaged before use.
WARNING: To avoid injury ensure that your child is kept away when unfolding and folding this product.
WARNING: Do not let your child play with this product.
WARNING: Always use the restraint system.
The child should always wear a safety harness complying with BS6684. "D" rings are provided for the attachment of an additional harness. These are located on the existing harness close to where it is attached to the seat frame. Always hold the seat when making adjustments. Be sure that the parking device is on. If you have any difficulty in folding or unfolding the pushchair do not force as this will cause damage. Read the "To fold or unfold" instructions carefully. It may be unsafe to fit accessories or spare parts other than those supplied or recommended by Silver Cross. If anyone other than the owner is going to use the Freeway (e.g. grandparent, child minder), please show them how to use it correctly.
Silver Cross recommends the use of the most reclined position for new born babies.
Any load attached to the handle and/or backrest and/or sides of the vehicle will affect stability of the vehicle. A baby's safety is your responsibility.
Parking device should be engaged when placing and removing the children.
Shopping basket: Maximum load = 5Kg
Only accessories and replacement parts approved by Silver Cross should be used.
This car seat does not replace a cot or bed. Should your child need to sleep then it should be placed in a suitable pram body or cot.
Care and Maintenance
Chassis
Always check your pushchair for signs of wear. Regularly lubricate all moving parts. Check for freedom of movement of all locking devices. Polish metal work with a clean, dry cloth.
Fabric items and seat unit
To clean, sponge area with warm soapy water. Rinse well with clean water to avoid staining. Allow to dry naturally, away from direct heat and strong sunlight. A certain degree of fading may occur over time through everyday use. Never machine wash, tumble dry, iron or bleach.
Guarantee
All Silver Cross products are guaranteed for a period of 12 months against faulty workmanship, when the product is used correctly according to the instruction manual.
Please read these instructions carefully before using your new Freeway body and keep for future reference.


- Freeway
- IMPORTANT: KEEP THESE INSTRUCTIONS FOR FUTURE REFERENCE
- These instructions are important.
- Contents
- Using your harness
- WARNING: Always use the crotch strap in combination with the waist belt
- Attaching the body to the chassis
- Detaching the body from the chassis
- Using your Freeway as a Pram
- Adjusting the seat position
- Operating the footrest
- Operating the bumper bar
- Operating the hood
- Accessories
- Safety Notes
- This product is suitable from birth to 15Kg
- Care and Maintenance
- Chassis
- Fabric items and seat unit
- Guarantee
Brand : Silver Cross
Model : Freeway
Category : Stroller