
RC61CN - Rice cooker Rival - Free user manual and instructions
Find the device manual for free RC61CN Rival in PDF.
| Product type | Rice cooker |
| Brand | Rival |
| Model | RC61CN |
| Power supply voltage | 120 V ~ 60 Hz |
| Power | Approximately 600 W |
| Maximum raw rice capacity | 3 cups (180 ml/cup) or approximately 6 cups of cooked rice |
| Inner pot material | Non-stick coating |
| Cooking modes | Cook and Keep Warm |
| Steam function | Yes, with included steam tray |
| Included accessories | Rice measuring cup (180 ml), rice paddle, steam tray |
| Cleaning | Inner pot, lid, and accessories washable with soapy water; base wiped with a damp cloth |
| Safety | Polarized plug; do not immerse base; do not use without lid |
| Automatic shut-off | Yes, switches to Keep Warm mode after cooking |
| Noise level | Low (possible crackling if pot is wet) |
| Use | Household use only |
| Spare parts and repairability | No user-serviceable parts; do not attempt to repair |
| Warranty | 1 year limited |
| Approximate dimensions | 25 x 25 x 20 cm |
| Approximate weight | 1.5 kg |
Frequently Asked Questions - RC61CN Rival
User questions about RC61CN Rival
0 question about this device. Answer the ones you know or ask your own.
Ask a new question about this device
Download the instructions for your Rice cooker in PDF format for free! Find your manual RC61CN - Rival and take your electronic device back in hand. On this page are published all the documents necessary for the use of your device. RC61CN by Rival.
USER MANUAL RC61CN Rival
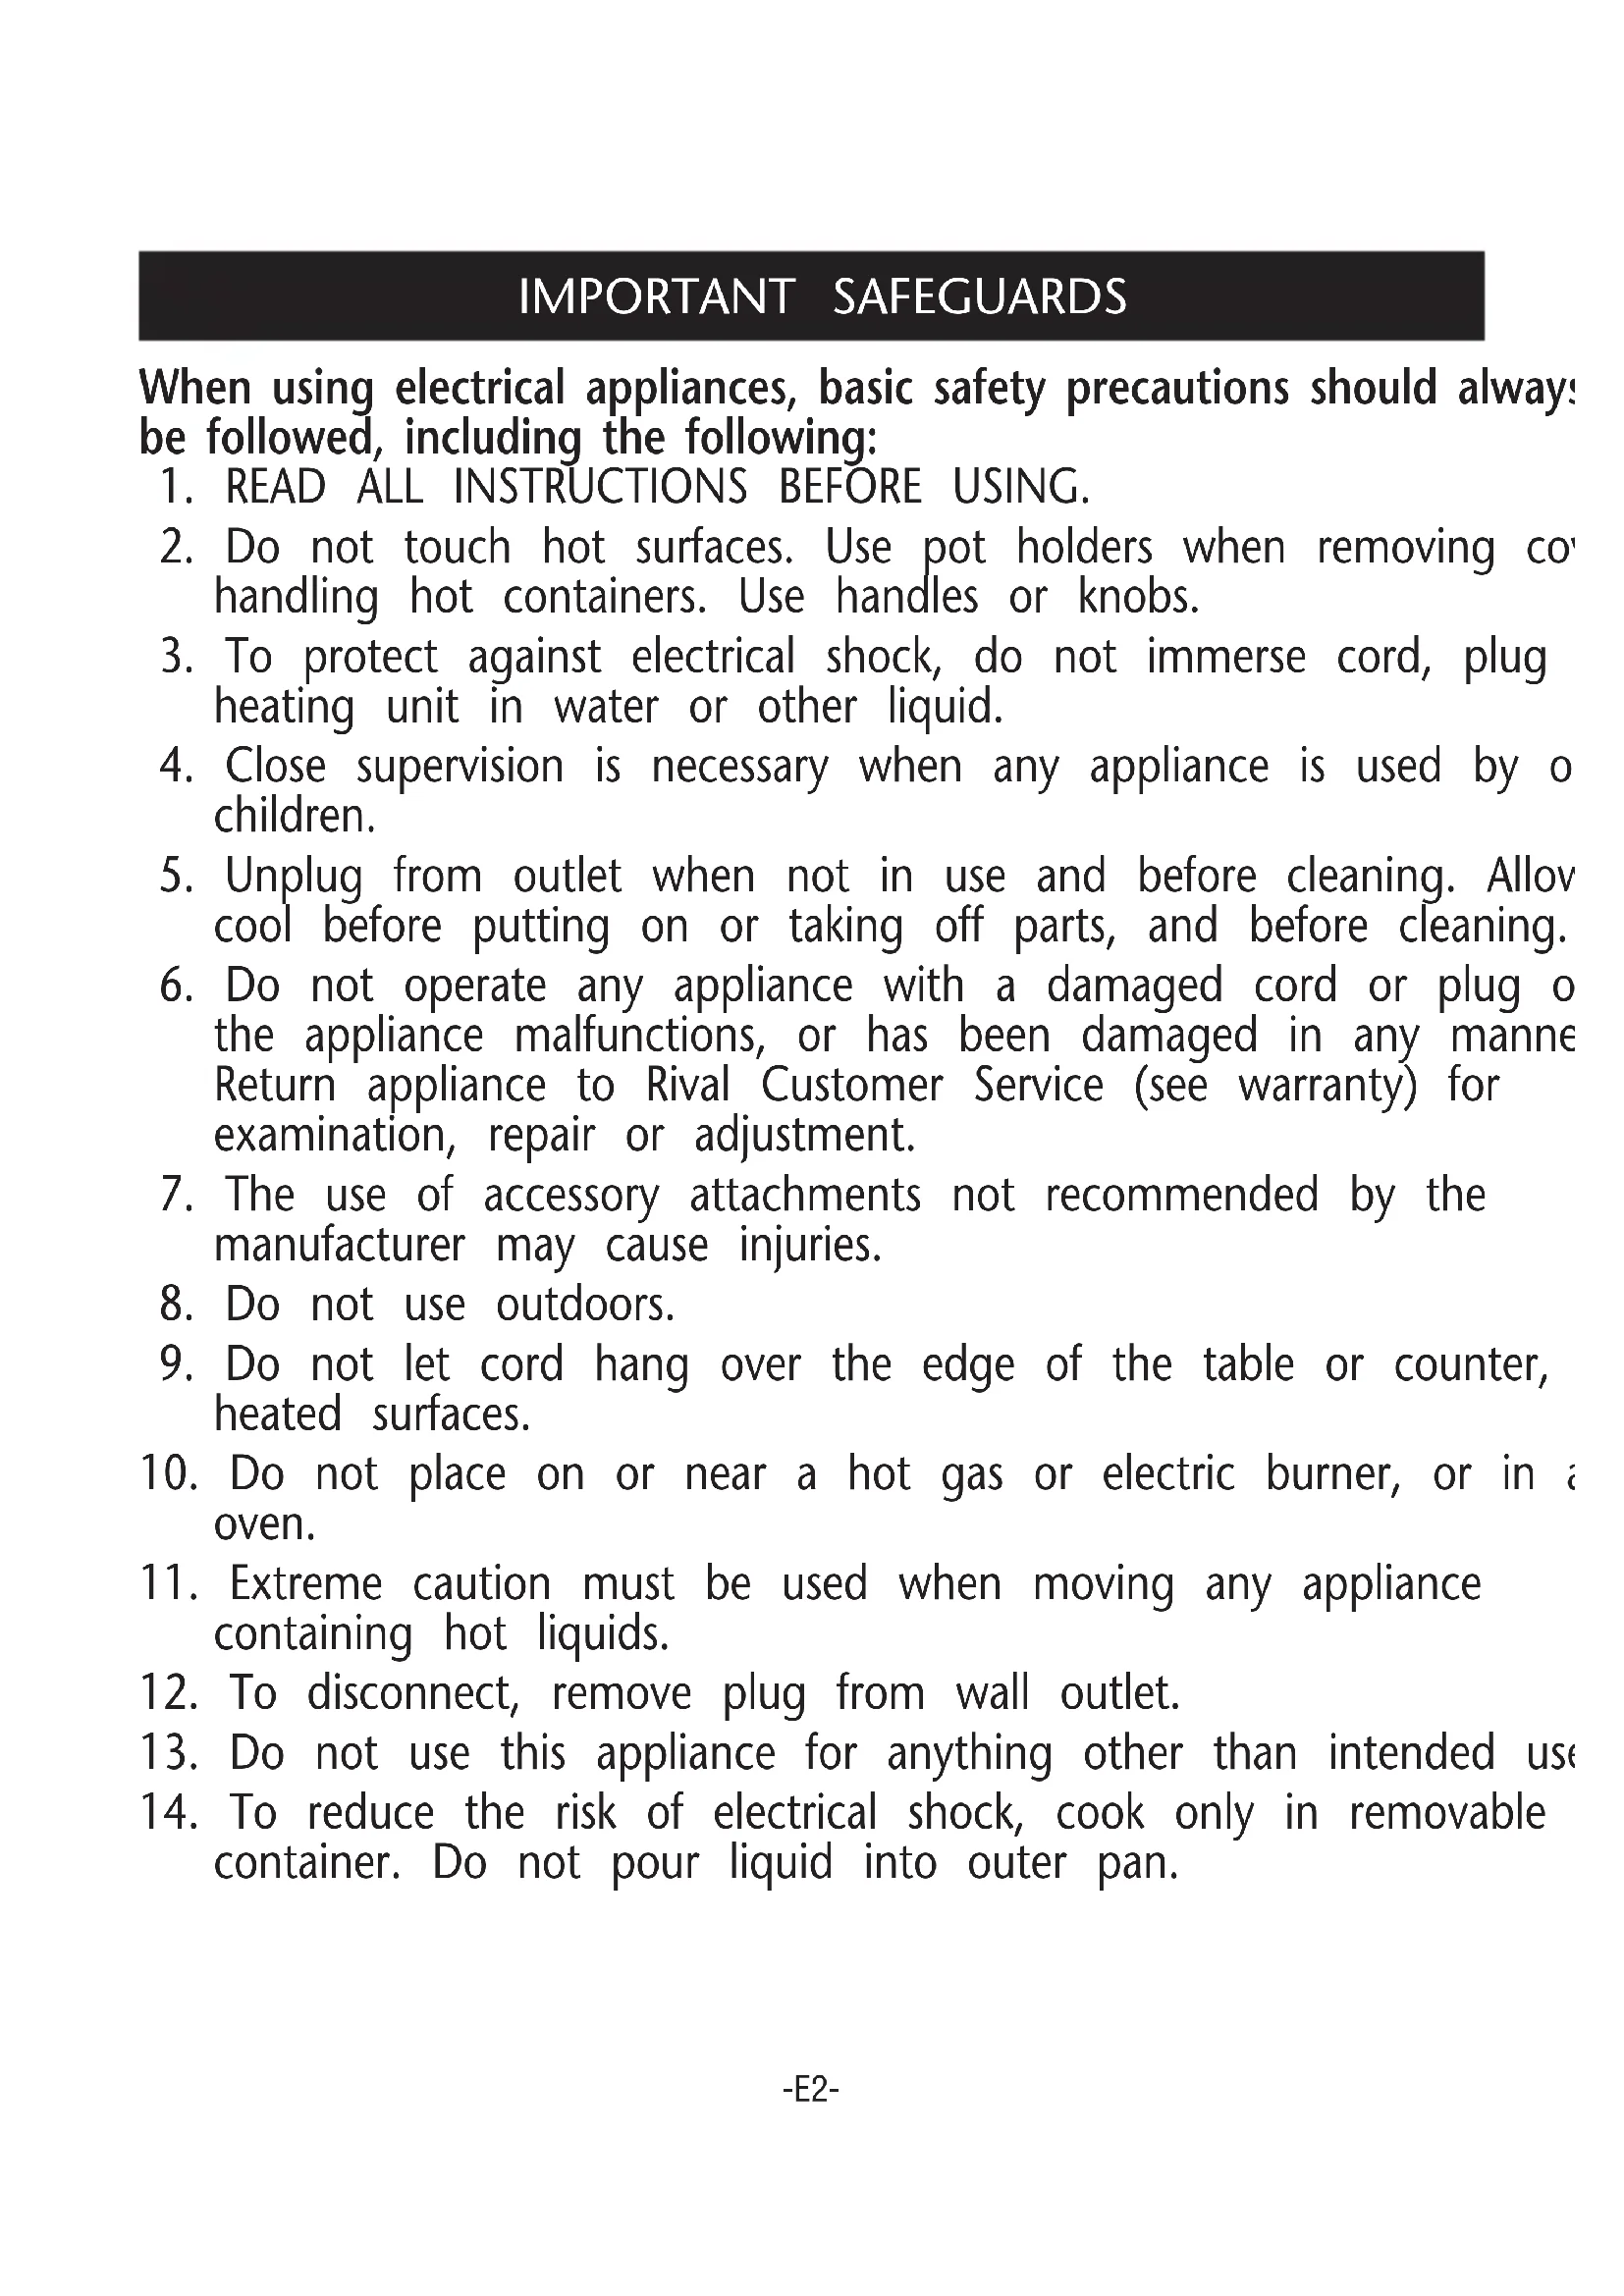
When using electrical appliances, basic safety precautions should always be followed, including the following:
- READ ALL INSTRUCTIONS BEFORE USING.
- Do not touch hot surfaces. Use pot holders when removing cot handling hot containers. Use handles or knobs.
- To protect against electrical shock, do not immerse cord, plug heating unit in water or other liquid.
- Close supervision is necessary when any appliance is used by o children.
- Unplug from outlet when not in use and before cleaning. Allow cool before putting on or taking off parts, and before cleaning.
- Do not operate any appliance with a damaged cord or plug of the appliance malfunctions, or has been damaged in any manne Return appliance to Rival Customer Service (see warranty) for examination, repair or adjustment.
- The use of accessory attachments not recommended by the manufacturer may cause injuries.
- Do not use outdoors.
- Do not let cord hang over the edge of the table or counter, heated surfaces.
- Do not place on or near a hot gas or electric burner, or in a oven.
- Extreme caution must be used when moving any appliance containing hot liquids.
- To disconnect, remove plug from wall outlet.
- Do not use this appliance for anything other than intended use
- To reduce the risk of electrical shock, cook only in removable container. Do not pour liquid into outer pan.
SAVE THESE INSTRUCTIONS
This appliance is for HOUSEHOLD USE ONLY. No user-serviceable pain inside. Power Unit never needs lubrication. Do not attempt to service product. A short power supply cord is provided to reduce the risk resulting from becoming entangled in or tripping over a longer core extension cord may be used if care is exercised in its use. If an e cord is used the marked electrical rating of the extension cord shows at least as great as the electrical rating of the RICE COOKER. The should be arranged so that it will not drape over the countertop of top where it can be pulled on by children or tripped over unintended base in water or other Niquidity can be accepted for any damage caused by non-compliance with these instrucr or any other improper use or mishandling.

POLARIZED PLUG
This appliance has a polarized plug (one blade is wider the other). To reduce the risk of electric shock, this is intended to fit into a polarized outlet only one w If the plug does not fit fully into the outlet, reverse plug. If it still does not fit, contact a qualified electric
Do not attempt to modify the plug in any way. If the plug fits lo the AC outlet or if the AC outlet feels warm do not use that outlet
Congratulations on the purchase of your new RICE COOKER! You a now the proud owner of an extremely versatile appliance.
You can expect perfect rice every time as well as prepare great so stews, steam vegetables and even bake a cake!
Be sure to visit the Rival web site at www.rivalproducts.com for more about your RICE COOKER and the many different ways you can use
ADDITIONAL IMPORTANT SAFEGUARDS
- CAUTION: This appliance generates heat and escaping steam during use. Proper precautions must be taken to prevent risk of burns, or other damage to persons or property.
- The cord of this appliance should be plugged into a 120 volt electrical outlet only.
- When using this appliance, provide adequate air space above an all sides for air circulation. Do not allow this appliance to touch curtains, wall coverings, clothing, dishtowels or other flammable materials during use.
- Do not leave appliance unattended during use.
- This appliance generates steam. Do not operate uncovered.
- If this appliance begins to malfunction during use, immediately unplug the cord. Do not use or attempt to repair the malfunction appliance. Do not use the INNER POT or LID if cracked or chi
- This appliance is for household use only.
- Unplug the RICE COOKER when not in use.
- Use the RICE COOKER on a hard, flat surface. Do not place no an open flame or on a soft surface (such as carpeting). Avoid it where it may tip over during use. Dropping the RICE COOKER cause it to malfunction.
- To avoid burns, stay clear of the steam vent during cooking. A wait for the RICE COOKER to cool down completely before touch or cleaning the LID, INNER POT or HEATING PLATE inside the HEATING BASE.
- Never use the INNER POT on a gas or electric cooktop or an flame.
- Do not leave the RICE LADLE or MEASURING CUP in the INNE while unit is on and in use.
- Please use the MEASURING CUP that was provided in the RICE COOKER. A standard measuring cup SHOULD NOT BE USED.

KNOW YOUR RICE COOKER
PREPARING YOUR RICE COOKER FOR USE
Clean the LID, INNER POT, RICE LADLE, STEAMING BASKET and MEASURING CUP, following the user maintenance instructions. DO NOT IMMERSE THE HEATING BASE OF YOUR RICE COOKER IN WATER OR OTHER LIQUID.
HOW TO USE YOUR RICE COOKER
Measuring your rice is of extreme importance. Please do not discard MEASURING CUP that is provided with this Rice Cooker. The MEASURING CUP included is the standard unit of measurement for product. When this manual instructs you to add 3 cups of rice and the corresponding amount of water to the "3" marking on the INN BOWL, the instructions are referring to the MEASURING CUP that is included, not a standard kitchen measuring cup.
- Measure the amount of rice you would like 1/4 cup (180 ml) MEASURING CUP is included with your Rice Cooker. The MEASL CUP included makes approximately 1/4 cups of cooked rice.
NOTE: The Rice Cooker is capable of cooking up to 3 full MEA/CUPS of uncooked rice. This equals 6 cups of cooked rice. Many varieties of rice can be used, including basmati, wild rice, black Arborio, risotto, saffron rice, short and long grain. Do not use rice with this Rice Cooker. Whole grains such as barley can also be prepared with the Rice Cooker.
- Wash the measured rice in a separate bowl until water is clear.
- Place rice in the INNER POT and add the corresponding amount of For example, if you are making 3 MEASURING CUPS of uncooked r add water to the "3" mark on the INNER BOWL.
NOTE: Brown rice will take longer to cook than white rice.
- Set the INNER POT into the Rice Cooker Heating Base.
Make sure that the INNER POT is in direct contact with the H PLATE inside the HEATING BASE by turning it slightly from left right until it properly fits onto the HEATING PLATE.
NOTE: If the outside of the INNER POT is wet when placed in Rice Cooker, this may cause a crackling noise until the unit overheats. Also, this may damage the inner working of the appliance, so a wipe the outside of the pot completely before use.
- Cover with the LID.
WARNING: Do not operate this appliance uncovered - steam is generated during use that could cause burns or other serious in
HOW TO USE YOUR RICE COOKER (CONTINUED)
- Plug the cord into a 120-volt AC electrical outlet. Switch the R to "COOK" Mode by pushing the POWER SWITCH down. Make the COOK INDICATOR LIGHT is illuminated. Steaming will begin
- The POWER SWITCH will pop up and the KEEP WARM INDICATOR LIGHT will come on when all the water in the Rice Cooker has evaporated. When the KEEP WARM INDICATOR LIGHT is illuminated, the Rice Cooker is in the "KEEP WARM" Mode.
NOTE: You may need to add more water and set the Rice Coc "COOK" more than once depending on your own personal taste
- It is important to let the rice stand for 10-15 minutes of steam without removing the LID. Carefully open the LID, taking care to avoid escaping steam. Use the RICE LADLE, or other long handl utensil, to mix the rice well to allow steam to escape. CAUTIO Steam will escape. Do not touch the INNER POT or HEATING I in the HEATING BASE until they have cooled.
- Allow the appliance to cool completely before cleaning.
- Disconnect the plug from the wall outlet when not in use.
HINTS FOR COOKING RICE
- Rinse rice - Bran gives an unpleasant smell to cooked rice. Be rinse rice thoroughly. Rinsing with water effectively removes bran quickly and thoroughly. NOTE: Some rice suppliers suggest not rinsing rice because vitamins may be lost.
-
After every use, wash the INNER POT and LID in warm, soapy Rinse thoroughly and dry.
DO NOT keep the Rice Cooker in operation: When there is only a small amount of rice left in the INNER When RICE LADLE is inside the Rice Cooker. To warm up cold rice. -
DO NOT let rice in the INNER POT boil dry.
HOW TO USE YOUR STEAMING BASKET
- Clean and prepare your food or vegetables.
- Place the INNER POT in the Rice Cooker. The length of steamed time is subject to your own personal tastes: depending if you prefer al dente (crunchy) or more well done steamed vegetables
- Add water to the "2" mark on the INNER POT.
NOTE: You are able to steam rice and vegetables/food at the same time, follow the instructions in HOW TO USE YOUR STEAMING BASKET WHILE COOKING RICE.
- Place the STEAMING BASKET on the rim of the INNER POT.
- Add vegetables or food and put the LID onto the appliance. Switch the Rice Cooker to "COOK" Mode by pressing the POWI SWITCH down. Make sure the COOK INDICATOR LIGHT is illuminated. Steaming will begin shortly. Allow food or vegetables to cook for the appropriate time as shown in the STEAMING TIME Guide. Once appropriate time has expired, unplug the Rice Cooker.
- Please unplug this appliance after use and allow the appliance cool completely before cleaning.
NOTE: The rice cooker doesn't automatically turn to warm settin when steaming is done, watch time and manually stop cooking cycle.
HOW TO USE YOUR STEAMING BASKET WHILE COO
- Follow steps 1-4 under the HOW TO USE YOUR RICE COOKER.
- Place the STEAMING BASKET on the rim of the INNER POT.
- Add food to the STEAMING BASKET and put the LID on the appliance. Switch the Rice Cooker to "COOK" Mode by pressing the POWER SWITCH down. Make sure the COOK INDICATOR LIGHT is illuminated. Steaming will begin shortly. Allow vegetables to cook for the appropriate time as shown in the chart. NOTE: Use the STEAMING TIME Guide to determine when to add food to the STEAMING BASKET. Cooking 6 cups of finished rice takes approximately 30 minutes. Most vegetables can be added about 10 minutes before rice has finished cooking. Rice cooking times can vary depending on the type of rice being cooked and preferred rice texture. Adjust steaming time as desired.
- Please unplug this appliance after use and allow the appliance to cool completely before cleaning.
STEAMING TIME
The steaming times in this chart are a guide and should be adjusted to suit the different quantities or thickness of food and to suit your own taste.
| VEGETABLE | COOKING TIME |
| Asparagus 8 - 10 min | |
| Bean Sprouts 3 - 4 min | |
| Beans: Green, wax, french cut 8 - 10 | min |
| Broccoli 11 -13 min | |
| Brussels Sprouts 11 -13 min | |
| Cabbage, Shredded 6 - 8 min | |
| Cabbage, Wedges 14 - 16 min | |
| Carrots 8 - 10 min | |
| Cauliflower 11 -13 min | |
| Celery 8 - 12 min | |
| Collard Greens, Spinach | 6 - 11 min |
| Mushrooms (fresh, sliced) | 3 - 4 min |
| Pea Pods | 4 - 6 min |
| Squash (Acorn, butternut) | 13 - 16 min |
| Zucchini | 10 - 12 min |
*Altitude affects the temperature at which water boils and thus the cooking time. It's especially true at high altitudes where longer coo times are necessary. We have outlined a general guide to follow. T desired consistency when cooking times indicated have been reached you cook with this appliance, adapt times and measurements to yo own personal tastes.
HINTS FOR STEAMING
- The ingredients must be of superior quality.
- Select lean cuts of meat that will result in tender food and require less cooking time.
HINTS FOR STEAMING (CONT.)
- Make sure that the LID is secured on the rice cooker to prevent escaping steam and requires longer cooking time.
- DO NOT let food touch the water, or the food will boil not ste
- Always maintain the water level for continuous cooking.
- Continue cooking foods that haven't been cooked through or not cooked to your liking.
HOW TO CLEAN YOUR RICE COOKER
This appliance should be cleaned after every use.
Allow the rice cooker to cool completely prior to cleaning.
1 Unplug the Rice Cooker when not in use and before cleaning. immerse HEATING BASE, cord or plug in water or any other lid Allow the RICE COOKER to cool completely before cleaning.
NOTE: Use the RICE LADLE or wooden utensil to stir and remove food from the INNER POT. DO NOT use any metal utensils.
2 To clean the HEATING BASE, lightly wipe the exterior with a dry cloth or sponge. Dry thoroughly with a soft cloth.
3 The INNER POT is coated with a non-stick coating to make cle easier. To clean, remove the INNER POT from the Rice Cooker with hot water from the tap. Let it sit for a while and then v hot soapy water. Rinse thoroughly and dry.
4 The MEASURING CUP, RICE LADLE, STEAMER BASKET and LID be washed in warm, soapy water. They are not dishwasher safe
5 Make sure that the grains of rice do not stick to the HEATING in the bottom of the HEATING BASE. If this occurs, remove iml If grains of rice are stuck onto the HEATING PLATE, a non-abra pad can be used to remove it. Polish the area for good contact between the HEATING PLATE, and the bottom of the INNER PC
NOTE: Do not use abrasive cleaners, scouring pads or steel wool clean the Rice Cooker.
6 Do not use bleach, vinegar or other harsh chemicals to clean t Cooker.
RECIPES
SPINACH AND CHICKEN RISOTTO
1 tbsp. extra virgin olive oil 3 cups of water or chicken broth
Kosher salt and pepper 1/4 cup grated Parmesan cheese
1 lb. boneless, skinless chicken breasts, cut into 1 cup superfino Arborio medium grain rice, 1- inch pieces uncooked
4 cups spinach washed well and dried with paper towels to remove excess water
1. Heat sauté pan with olive oil.
2. Saute chicken on all sides, until no longer pink in center. Remove from heat and set aside.
3. Add spinach, rice and liquid to the INNER POT and switch to the Cooker to "COOK" Mode.
4. When unit switches to the "KEEP WARM" Mode, stir in chicken a cheese.
5. Replace LID and let rice steam for another 5 minutes in the "KE WARM" Mode.
6. Season to taste with kosher salt and freshly ground black pepper.
RISOTTO WITH BUTTERNUT SQUASH
A nutritious and delicious "must" for fall and winter.
2 tbsp. extra virgin olive oil 2 tbsp. unsalted butter
^2/^3 cup Vidalia onion,chopped 3 cups chicken broth
1 cup plus 2 tbsp. medium grain risotto 1 12 cups butternut squash, peeled, seeded, rice such as superfino Arborio and cut into 1 inch cubes
2 tsp. butter 2 tbsp. fresh basil, chopped
14 cup Parmesan cheese, grated (Pecorino Salt and Pepper to taste Romano, if possible), plus extra for sprinkling on top
1. In skillet, over medium heat, add oil and butter, and sauté until approximately 6-8 minutes.
2. Once butter melts, add onion and cook stirring frequently, until 1
RECIPES
SPICY SPANISH SAFFRON RICE
A lively vegetarian medley of vegetables and spices.
3 tbsp. olive oil 2 jalapenosseeded and diced fine
2 small red Spanish onion 2 green pepper, cored, seeded and diced
4 cloves garlic 2 tsp. fresh oregano, chopped
2 tsp. fresh thyme 2 small yellow summer squash, diced
2 red pepper, cored, seeded and diced 1 can (28 oz.) plum tomatoes, juice strained and
3 cups risotto rice such as superfino Arborio chopped
3^1 / 2 cups chicken broth 1 / 2 tsp. saffron dissolved in 1 tbsp. milk
1 cup frozen peas Salt and pepper
- Sauté onion and jalapéños in olive oil until softened, about 10 minutes on Cook Cycle of Rice Cooker.
- Stir in garlic, herbs, yellow squash, red pepper and tomatoes and cook with on for 10 minutes. Add rice, broth and saffron milk and stir to combine.
- Place LID on the Rice Cooker and cook until cycle is complete. Stir in peas and pepper and leave on "KEEP WARM" Mode until peas are thoroughly washed throughout.
RECIPES
HEARTY CHILI
Easy, quick, satisfying, and very versatile.
1 tbsp. extra virgin olive oil 1 small onion, peeled and chopped
1/2 tsp. garlic powder 1 tsp. dried marjoram
1 tsp. ground cumin Pinch of Cayenne
1/2 tsp. paprika 3/4 lb. lean ground beef, chicken or turkey
1 bay leaf Salt and pepper to taste
1 can (14 oz) diced tomatoes, with juices 1 12 cups beef broth
4 oz. tomato sauce 1 can (15 oz) beans, white or black or combination
Garnishes include: chopped red or green onions, chopped fresh cilantro, grated Cheddar or Monterey Jack cheeses, and sour cream.
- In skillet, add olive oil and sauté onions over medium heat until Mix in garlic powder, marjoram, cumin, cayenne, and paprika. Set mixture aside in small bowl. In same skillet, add ground beef, chor turkey and cook, stirring frequently until meat is cooked through Mix in bay leaf, salt and pepper to taste, tomatoes, broth and t sauce.
- Transfer mixture to INNER POT, cover and set to "COOK" Mode. When unit switches to "KEEP WARM" Mode, after about 1 hour, beans, using enclosed RICE LADLE ladle or a wooden spoon.
- Return LID to Rice Cooker and cook for about 30 additional min
- Serve chili hot with desired garnishes.
RECIPES
SALMON WITH CITRUS MARINADE WITH COCONUT RICE
For a special dinner, the fish and rice are cooked together simultaneously.
1 14 cups jasmine rice 1 can unsweetened coconut milk
2 tbsp. water pinch salt
Cooking spray 2 salmon steaks, approximately 6 ozs.
1/2 orange, zested and juiced 1/2 lemon, zested and juiced
2 inch fresh ginger root, peeled and grated 1 tbsp. soy sauce
salt to taste
- Place rice, coconut milk, water and rice into INNER POT. Spray STEAMER BASKET with cooking spray and arrange salmon.
- In a separate bowl, combine orange zest and juice, lemon zest a juice, ginger, and soy sauce. Brush both sides of salmon. Place L Rice Cooker. Turn Rice Cooker to "COOK" Mode.
- Every 5 minutes, baste top of fish with marinade. At end of cyc rice and cut into salmon to see if opaque.
WARM CINNAMON APPLESAUCE
This is a wonderful recipe for fall. Great for adults and kids!
4 large apples, peeled, cored and chopped
3 tbsp. sugar
1 12 tbsp. unsalted butter
1 / 4 cup cider
3/4 tsp. cinnamon
- Add all ingredients to the INNER POT. Place LID on Rice Cooker set on the "COOK" Mode.
- When cycle is complete, check to see if apples are tender. Add additional cook time if needed.
- Puree with hand blender or food processor.
NOTES
NOTES
SERVICEINSTRUCTIONS
- Do NOT attempt to repair or adjust any electrical or mechanical functions on this unit. Doing so will void the Warranty.
- If you need to exchange the unit, please return it in its original carton, with a sales receipt, to the store where you purchased it. If you are returning the unit more than 30 days after the date of purchase, please see the enclosed Warranty.
- If you have any questions or comments regarding this unit's operation or believe any repair is necessary, please write to our Consumer Service Department or visit our website at www.rivalproducts.com.
RIVAL
JCS/THG, LLC
CONSUMER SERVICE DEPARTMENT
303 NELSON AVENUE
NEOSHO, MO 64850
ONE (1) YEAR LIMITED WARRANTY SAVE THIS WARRANTY INFORMATION
A. This Warranty applies only to the original purchaser of this product.
B. This Warranty applies ONLY to repair or replacement of any supplied or manufactured parts of this product upon inspection by JCS/THG, LLC authorized personnel, is shown to have failed in normal use due to defective material or workmanship. JCS/THG, LLC will determine whether to repair or replace the unit. This Warranty does not apply to installation expenses.
C. Operating this unit under conditions other than those recommended or at voltages other than the voltage indicated on the unit, or attempting to service or modify the unit, will render this WARRANTY void.
D. Unless otherwise proscribed by law, JCS/THG, LLC shall not be liable for any personal injury, property or any incidental or consequential damage of any kind resulting from malfunctions, defects, misuse, improper installation or alteration of this product.
E. All parts of this product are guaranteed for a period of 1 year as follows:
- Within the first 30 days from date of purchase, the store from which you purchased your product should replace this product if it is defective in material or workmanship (provided the store has in-stock replacement.) * If you intend to assert any claim in connection with the product, please follow the instructions in paragraph F.
- Within the first twelve months from date of purchase, JCS/THG, LLC will repair or replace the product if it is defective in material or workmanship, subject to the conditions in paragraph G.
F. If you have any other problem or claim in connection with this product, please write to our Consumer Service Department.
G. IMPORTANT RETURN INSTRUCTIONS. Your Warranty depends on your following these instructions if you are returning the unit to JCS/THG, LLC:
- Carefully pack the item in its original carton or other suitable box to avoid damage in shipping.
- Before packing your unit for return, be sure to enclose:
a) Your name, full address with zip code and telephone number,
b) A dated sales receipt or PROOF OF PURCHASE,
c) Your $10.00 (USD) check for return prepaid shipping and handling, and
d) The model number of the unit and the problem you are having. (Enclose in an envelope and tape on the unit before the box is sealed.)
- JCS/THG, LLC recommends you ship the package U.P.S ground service for tracking purposes.
- All shipping charges must be prepaid by you.
- Mark the outside of your package:
RIVAL
JCS/THG, LLC
303 NELSON AVENUE
NEOSHO, MO 64850
SHIPPING AND HANDLING CHARGES: $10.00 (USD)
This Warranty gives you specific legal rights, and you may have other rights which vary by jurisdiction. The provisions of this Warranty are in addition to, and not a modification of, or subtraction from, the statutory warranties and other rights and remedies contained in any applicable legislation. To the extent that any provision of this Warranty is inconsistent with any applicable law, such provision shall be deemed voided or amended, as necessary, to comply with such law. ©2006 JCS/THG, LLC
Rival and the Rival Logare trademarks of JCS/THG, LLC.
RIVAL.
Cuit-riz
RC61-CN

Notice d'emploi
LISEZETGARDEZCESINSTRUCTIONS
CONSIGNES IMPORTANTES
INSTRUCTIONSDESERVICE

- When using electrical appliances, basic safety precautions should always be followed, including the following:
- SAVE THESE INSTRUCTIONS
- POLARIZED PLUG
- ADDITIONAL IMPORTANT SAFEGUARDS
- PREPARING YOUR RICE COOKER FOR USE
- HOW TO USE YOUR RICE COOKER
- HOW TO USE YOUR RICE COOKER (CONTINUED)
- HINTS FOR COOKING RICE
- HOW TO USE YOUR STEAMING BASKET
- HOW TO USE YOUR STEAMING BASKET WHILE COO
- STEAMING TIME
- HINTS FOR STEAMING
- HINTS FOR STEAMING (CONT.)
- HOW TO CLEAN YOUR RICE COOKER
- RECIPES
- SPINACH AND CHICKEN RISOTTO
- RISOTTO WITH BUTTERNUT SQUASH
- SPICY SPANISH SAFFRON RICE
- HEARTY CHILI
- SALMON WITH CITRUS MARINADE WITH COCONUT RICE
- WARM CINNAMON APPLESAUCE
- NOTES
- SERVICEINSTRUCTIONS
- ONE (1) YEAR LIMITED WARRANTY SAVE THIS WARRANTY INFORMATION
- RIVAL.
- Cuit-riz
- Notice d'emploi
- LISEZETGARDEZCESINSTRUCTIONS
- CONSIGNES IMPORTANTES
- INSTRUCTIONSDESERVICE
Brand : Rival
Model : RC61CN
Category : Rice cooker