40729 - Machine à café HAMILTON BEACH - Free user manual and instructions
Find the device manual for free 40729 HAMILTON BEACH in PDF.
Download the instructions for your Machine à café in PDF format for free! Find your manual 40729 - HAMILTON BEACH and take your electronic device back in hand. On this page are published all the documents necessary for the use of your device. 40729 by HAMILTON BEACH.
USER MANUAL 40729 HAMILTON BEACH
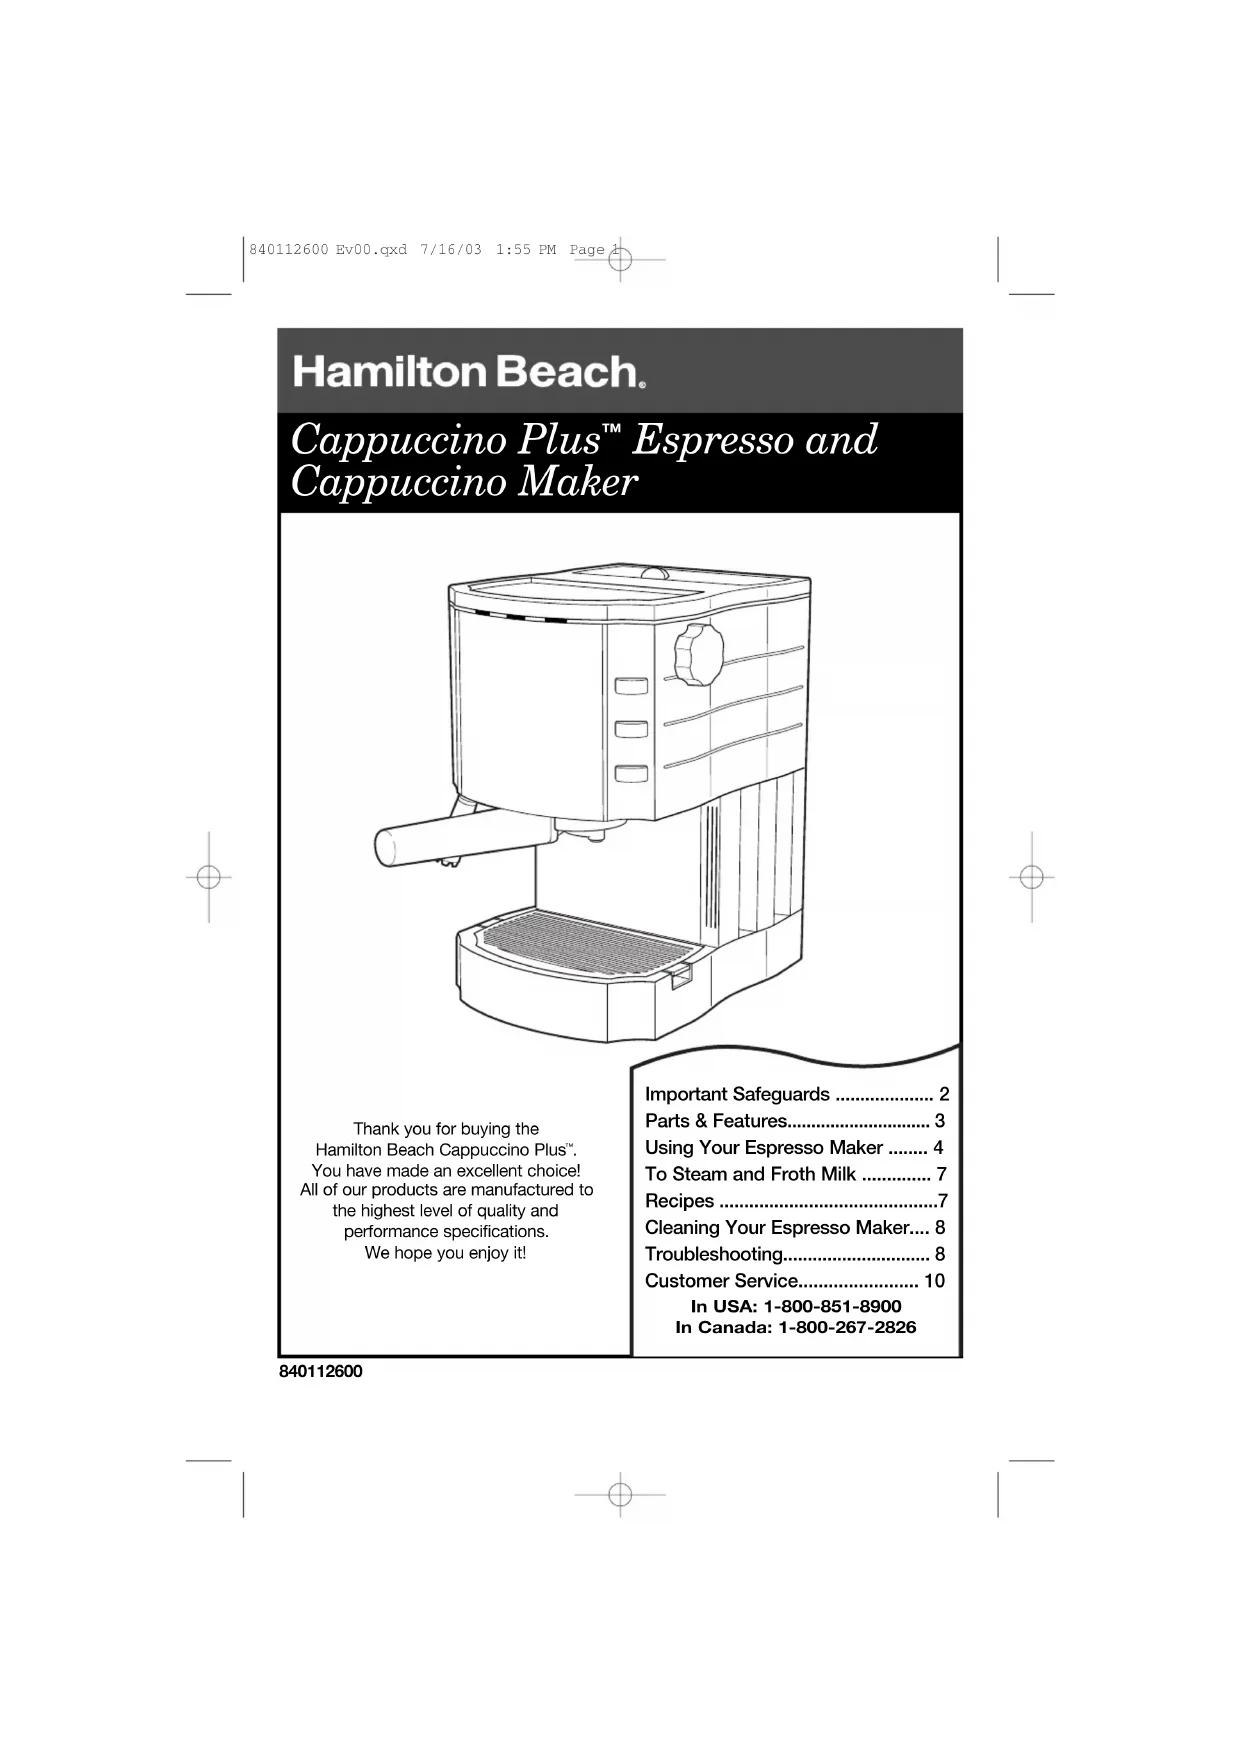
To Steam and Froth Milk 7
Thank you for buying the
You have made an excellent choice!
All of our products are manufactured to
the highest level of quality and
performance specifications.
We hope you enjoy it!
840112600 Ev00.qxd 7/16/03 1:55 PM Page 12
IMPORTANT SAFEGUARDS SAVE THESE INSTRUCTIONS!
When using electrical appliances, basic
safety precautions should always be
followed to reduce the risk of fire, electric
shock, and/or injury to persons, including
1. Read all instructions.
2. Do not touch hot surfaces. Use handles
or knobs. Care must be taken, as burns
can occur from touching hot parts or
from spilled, hot liquid.
3. To protect against electric shock, do
not place cord, plug or appliance in
water or other liquid.
4. Close supervision is necessary when any
appliance is used by or near children.
5. Unplug from outlet when the espresso
maker is not in use and before cleaning.
Unplug and allow to cool before putting
on or taking off parts and before clean-
6. Appliance must be operated on a flat
surface away from the edge of counter
to prevent accidental tipping.
7. Do not operate any appliance with a
damaged cord or plug, or after the
appliance malfunctions or is dropped
or damaged in any manner. Call our
toll-free customer service number for
information on examination, repair,
Consumer Safety Information
8. The use of accessory attachments
not recommended by Hamilton
Beach/Proctor-Silex, Inc. may result in
fire, electrical shock or personal injury.
9. Do not use outdoors.
10. Do not let cord hang over edge of
table or counter or touch hot surfaces,
11. Be certain filter holder is securely in
place when brewing espresso.
12. Do not place appliance on or near
a hot gas or electric burner or in a
13. Always plug cord into the wall outlet
before turning on any controls. To
disconnect appliance, turn controls to
OFF, then remove plug from wall outlet.
14. WARNING: To reduce the risk of fire or
electric shock, do not remove the bot-
tom cover. No user serviceable parts
are inside. Repair should be done by
authorized service personnel only.
15. Do not use appliance for other than
This appliance is intended for household
This appliance is equipped with a polarized
plug. This type of plug has one blade wider
than the other. The plug will fit into an
electrical outlet only one way. This is a
safety feature intended to help reduce the
risk of electrical shock. If you are unable to
insert the plug into the outlet, try reversing
the plug. If the plug should still fail to fit,
contact a qualified electrician to replace the
obsolete outlet. Do not attempt to defeat
the safety purpose of the polarized plug by
modifying the plug in any way.
The length of the cord used on this appli-
ance was selected to reduce the hazards
of becoming tangled in, or tripping over a
longer cord. If a longer cord is necessary
an approved extension cord may be used.
The electrical rating of the extension cord
must be equal to or greater than the rating
of the espresso maker. Care must be taken
to arrange the extension cord so that it will
not drape over the countertop or tabletop
where it can be pulled on by children or
accidentally tripped over.
To avoid an electrical circuit overload, do not
use another high wattage appliance on the
same circuit with your espresso maker.
840112600 Ev00.qxd 7/16/03 1:55 PM Page 2Parts and Features
1. Measuring Spoon with Tamping
3. Frothing Nozzle Cover
9. Removable Water Reservoir
14. Measuring Spoon with Tamping Tool
15. Red Temperature/Ready Light
16. Green ON/OFF Light
17. Green Steam Light
NOTE: A pump-type espresso/cap-
puccino maker operates differently
than a steam-type model. A video has
been provided to help explain how to
use a pump-type unit.
840112600 Ev00.qxd 7/16/03 1:55 PM Page 34
Using Your Espresso Maker
1. Wash all removable parts in warm,
soapy water. Do not wash these
parts in a dishwasher.
2. Make sure all three buttons are in
the OFF (up) position and the steam
control dial is in the closed/OFF
postion. Turn the steam control
dial clockwise to close.
3. Plug in the unit.
4. Fill water reservoir with cold water.
5. Depress the ON/OFF button. The
ON/OFF light will glow green and
the Temperature/Ready light will
glow red indicating the water is
heating. The Temperature/Ready
light will go out when the water is
6. Place a shallow container under the
spouts. Make sure the container is
wide enough to catch the water
7. After the Temperature/Ready light
has gone out, press the espresso
button to begin the brewing cycle.
Press the espresso button to turn
the water off several seconds
BEFORE the container is full. This
extra time is necessary to avoid
over-filling the container.
NOTE: The first time the unit is
used it will take a little longer for the
machine to pump the water.
8. Empty the container and replace to
run another cycle of water until
water level in the water reservoir
is at “MIN”. NEVER run until the
CAUTION: Pumping dry will perma-
nently damage the appliance. After
each brewing, the Temperature/
Ready light will cycle on for a few
seconds to reheat for the next cup.
9. Place an empty container under the
frothing nozzle. Ensure that the
frothing nozzle is entirely inside the
container and the steam button is
off. Turn the steam control dial
Press the espresso button to pump
water out of the frothing nozzle for
10. After cleaning, empty any remaining
water from the reservoir. Dry all
840112600 Ev00.qxd 7/16/03 1:55 PM Page 45
• For best results, use fresh-ground,
dark, espresso roast coffee.
• If espresso preground coffee is used,
store the unused portion in an airtight
container and keep in a cool, dark
area for up to one week.
• The grind of the coffee will affect the
taste of the coffee and how the appli-
ance works. If the grind is too coarse,
water will flow too fast through the
coffee and result in a weaker flavor.
If the grind is too fine, the flavor may
be too strong or bitter, and the
grounds may clog the filter.
• For hotter espresso, preheat the filter
holder, the ground espresso filter, and
the pod filter by first brewing water
into the cups for a few seconds, then
empty the brewed water.
CAUTION: The filter holder, ground
espresso filter, and pod filter are hot.
• Espresso beans may be ground in a
coffee grinder. For best results, use
the Hamilton Beach Custom Grind
coffee grinder on the espresso setting.
If grinding espresso in a store or using
a burr mill, then use a setting that is
one to two notches coarser than the
• Grind your espresso so that it looks
gritty, like salt or sand. It is too fine if it
looks like powder and feels like flour. If
the coffee is ground too fine, then the
water will not flow through the coffee.
• Espresso pods make it even easier to
brew a great cup of espresso and
cleanup is as easy as throwing out the
used pod. Pods can be purchased at
many local coffee houses and special-
ty housewares stores. A web search
for “coffee pods” will also connect you
with many coffee pod suppliers.
• If you have time to warm the cappuc-
cino maker for 5 to 10 minutes before
brewing, you can invert 1 to 2 cups on
the cup warming tray. The tray will
gently warm the cups and keep your
beverage warmer after brewing.
• Always use cold water to make cof-
fee. Warm water or other liquids
could cause damage to the appli-
Tips for Making Good Espresso
Preparing to Make Espresso
1. Make sure all three buttons are in
the OFF position and the steam
control dial is in the closed/OFF
3. Remove water reservoir and fill with
desired amount of cold water.
4. Replace water reservoir. Make sure
it is fully inserted.
5. Press the ON/OFF button once.
The ON/OFF light will glow green
and the Temperature/Ready light
will glow red indicating the water is
heating. The Temperature/Ready
light will go out when the water is at
brewing temperature.
840112600 Ev00.qxd 7/16/03 1:55 PM Page 56
1. Insert ground espresso filter into fil
ter holder. (To use a pre-made
espresso pod filter packet, place
the pod filter in the filter holder
then the pre-made espresso pod
in the pod filter. Proceed with
Step 3.) When using pods, only one
pod for one serving may be used at
a time. Pod coffee packet manufac-
turers vary and you may want to try
different brands in your espresso
2. Add one level measuring scoop for
each cup of espresso. (Make up
to two cups at a time.) Use the
tamping tool to firmly tamp down
coffee grounds to the 1 or 2 serving
markings so that they are flattened
down and smooth on top. Ensure
no grounds are on the rim of the fil-
ter. A good seal is important to the
3. Insert filter holder into the espresso
4. Turn the filter holder to the right until
5. Place cup under the filter holder
For two servings, place two cups
6. After the red heating light has gone
out, press the Espresso button to
begin brewing cycle. Make sure
the steam button and steam light
are OFF. Espresso will gradually
look lighter in color as it is brews.
One serving of espresso is 1 to 1
ounces of coffee. Press the espres-
• The red heating light will come
on for a few seconds to reheat
the unit for the next brew cycle.
• When brewing multiple cycles of
espresso, periodically check water
reservoir and refill as necessary.
7. Wait 10 seconds before removing
WARNING: To reduce the risk of
burns to hands and fingers:
• Do not remove the filter holder
when the espresso button is on.
• Do not remove the filter holder
immediately after operation, as
some pressure may still remain.
• Remove filter holder carefully as
hot water may still be in filter.
• The filter and filter holder are hot.
8. Empty and rinse away the used
9. Follow steps 1 through 6 to repeat
For making cappuccinos, lattes, and
1. Ensure that there is water in the
water reservoir and that the
frothing nozzle is rotated to the
2. Turn the steam control dial to the
lowest setting (clockwise until fully
stopped). Ensure that the espresso
button is OFF and the power
(On/Off) button is ON.
3. Depress the steam button once.
The steam indicator light will
glow green and the Temperature/
Ready light will glow red. When the
Temperature/Ready light turns off,
the water is hot enough to steam or
with cold milk. Skim milk and a
stainless steel cup are
Insert the nozzle into the cup,
between the nozzle and the bottom
of the cup. The milk is steamed
when the cup becomes warm to
A cold cup is recommended. Insert
nozzle into cup to cover only
⁄3 of the nozzle. Rotate the steam
control dial counterclockwise
a full turn. Hold cup under frothing
nozzle until desired consistency is
reached. Froth should be stiff and
stick to the spoon when scooped.
WARNING: To reduce risk of per-
• Use caution when dispensing hot
• Care must be taken after each
use because frothing nozzle, filter
holder, ground espresso filter or
pod filter, and brew head will be
5. Turn the steam control dial OFF
(clockwise). Remove cup from
6. Always clean the frothing nozzle
after each use to prevent buildup.
See “Cleaning” instructions below.
7. Press the steam button once to
turn steam off. Press ON/OFF
button once to turn unit off.
NOTE: During this operation, a
small quantity of water or steam
may come out from the filter holder
or the frothing nozzle; this is normal
due to evaporation to reach the
right temperature to make a creamy
CAUTION: Vapor and water
emitted from frothing nozzle are
To Steam and Froth Milk
Brew one or two cups at a time following directions.
⁄3 frothed milk. Top
with ground nutmeg, ground cinnamon, powdered choco-
late or vanilla to taste.
⁄2 steamed milk. Top with ground
nutmeg, ground cinnamon, powdered chocolate or
Mix beverage as described above, then pour over ice.
Mix 1 ounce thick chocolate syrup with
Fill with frothed or steamed milk.
840112600 Ev00.qxd 7/16/03 1:55 PM Page 78
Cleaning Your Espresso Maker
To clean your new espresso maker for the first time, see the instructions in the
“Before First Use” section on page 4. Clean the espresso maker after each use.
NOTE: Do not place removable parts in a dishwasher.
1. Turn on steam into an empty cup to
release steam and dislodge any
remaining milk from the steam
NOTE: If not cleaned regularly, then
it may be necessary to use a pin to
clear the steam outlet.
2. Wash frothing nozzle cover, measur-
ing spoon, filter holder, and filters in
warm, soapy water then dry.
NOTE: To remove the frothing
3. Wipe the exterior of the frothing
nozzle with a damp cloth or sponge
to remove milk residue.
4. Pull up on side tabs to remove drip
tray. Separate grid and drip pan.
Wash both parts in warm, soapy
5. Remove and empty any remaining
water from the water reservoir. Wipe
the body of the espresso maker with
6. Wipe the brew head with a damp
cloth to remove excess espresso
CAUTION: Do not touch brew head
immediately after brewing. Brew head
of the filter holder
• Make sure that the Temperature/Ready light is off
• Pre-warm the filter holder by running hot water through it
• Pre-warm cup by rinsing with hot water or using cup
• Use coffee grounds that are at room temperature
• Make sure the water reservoir is not empty
• Do not tamp grounds too firmly
• Make sure that the filter holder is fitted into the
espresso maker properly
• Clean coffee grounds off the edge of the filter before
inserting the filter holder into espresso maker
• Clean the brew head, filter, and filter holder
840112600 Ev00.qxd 7/16/03 1:55 PM Page 89
PROBLEM Espresso will not
too strong or bitter
• Is the water reservoir empty?
• Is the water reservoir properly fitted into position?
• Make sure that the coffee grounds are not overpacked
• Is filter holder properly fitted into the espresso maker?
• Clean the filter, filter holder, and brew head
• Is the water reservoir empty?
• Is the water reservoir properly fitted into position?
• Is the filter holder properly fitted into position?
• Always use fresh espresso ground coffee
• Tamp the ground coffee down firmly
• The longer the brew time, the weaker the espresso
• Be sure there is sufficient ground coffee in the filter
• Coffee grounds are too coarse
• Try a different brand or roast of coffee
• Ensure steam button is OFF. If the steam button was
left on, the water may have been too hot. Rotate steam
control dial counterclockwise to release steam into a
frothing cup or pitcher and allow appliance to cool.
Then repeat steps in the section “To make espresso”
• Too much espresso ground was used
• Grounds were too fine
• Brew longer before pressing espresso button to OFF
• Try different a different brand or roast of coffee
• Always use fresh, cold milk (skim milk is recommended)
• Use a cold, stainless steel cup
• Clean the frothing nozzle
• Move the cup slightly up and down while frothing
• Make sure that the Steam button is depressed and that
the Temperature/Ready light is off
840112600 Ev00.qxd 7/16/03 1:55 PM Page 910
If you have a question about your espresso maker, call our toll-free customer
service number. Before calling, please note the model, type, and series numbers
and fill in that information below. These numbers can be found on the bottom of
your espresso maker. This information will help us answer your question much
MODEL: ______________ TYPE: _______________ SERIES: ________________ hamiltonbeach.com 7/03 840112600 HAMILTON BEACH PROCTOR-SILEX,INC.
P ROCTOR-SILEX CANADA,INC. 263 Yadkin Road, Southern Pines, NC 28387Picton, Ontario K0K 2T0
LIMITED WARRANTY This product is warranted to be free from defects in material and workmanship for a period
of two (2) years for Hamilton Beach Portfolio products or one (1) year for Hamilton Beach
products from the date of original purchase, except as noted below. During this period, we
will repair or replace this product, at our option, at no cost. THE FOREGOING WARRANTY IS IN LIEU OF ANY OTHER WARRANTY, WHETHER EXPRESS OR IMPLIED, WRITTEN OR ORAL INCLUDING ANY WARRANTY OF MERCHANTABILITY OR FITNESS FOR A PARTICULAR PURPOSE. ANY LIABILITY IS EXPRESSLY LIMITED TO AN AMOUNT EQUAL TO THE PURCHASE PRICE PAID, AND ALL CLAIMS FOR SPECIAL, INCIDENTAL AND CONSEQUENTIAL DAMAGES ARE HEREBY EXCLUDED. There is no warranty with
respect to the following, which may be supplied with this product: glass parts, glass
containers, cutter/strainer, blades, and/or agitators. This warranty extends only to the
original consumer purchaser and does not cover a defect resulting from abuse, misuse,
neglect, use for commercial purposes, or any use not in conformity with the printed
directions. This warranty gives you specific legal rights, and you may also have other legal
rights which vary from state to state, or province to province. Some states or provinces do
not allow limitations on implied warranties or special, incidental or consequential damages,
so the foregoing limitations may not apply to you.
If you have a claim under this warranty, DO NOT RETURN THE APPLIANCE TO THE STORE! Please call our CUSTOMER SERVICE NUMBER. (For faster service please have
model, series, and type numbers ready for operator to assist you.)
CUSTOMER SERVICE NUMBERS In the U.S. 1-800-851-8900
In Canada 1-800-267-2826
KEEP THESE NUMBERS FOR FUTURE REFERENCE!