VKP1-MYQ - Security System myQ - Free user manual and instructions
Find the device manual for free VKP1-MYQ myQ in PDF.


User questions about VKP1-MYQ myQ
0 question about this device. Answer the ones you know or ask your own.
Ask a new question about this device
Download the instructions for your Security System in PDF format for free! Find your manual VKP1-MYQ - myQ and take your electronic device back in hand. On this page are published all the documents necessary for the use of your device. VKP1-MYQ by myQ.
USER MANUAL VKP1-MYQ myQ
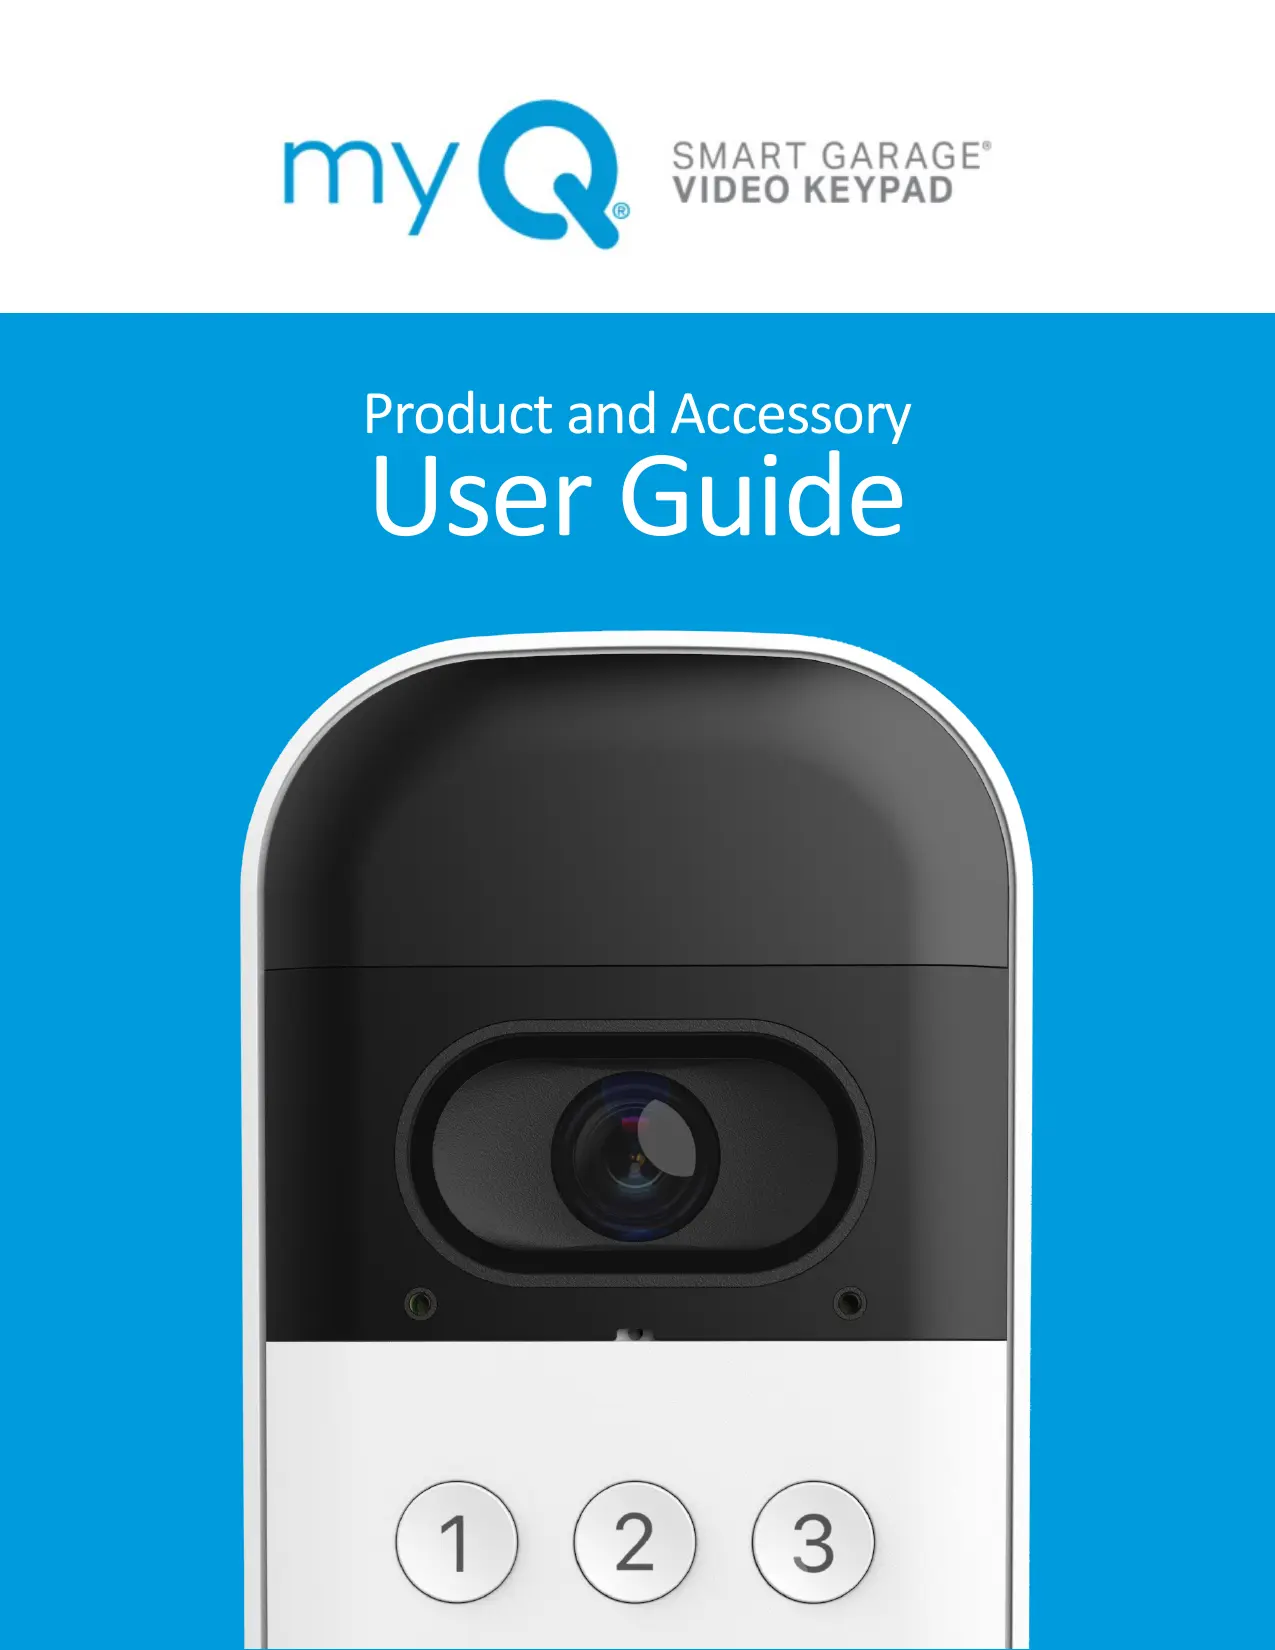
Product and Accessory
User Guide
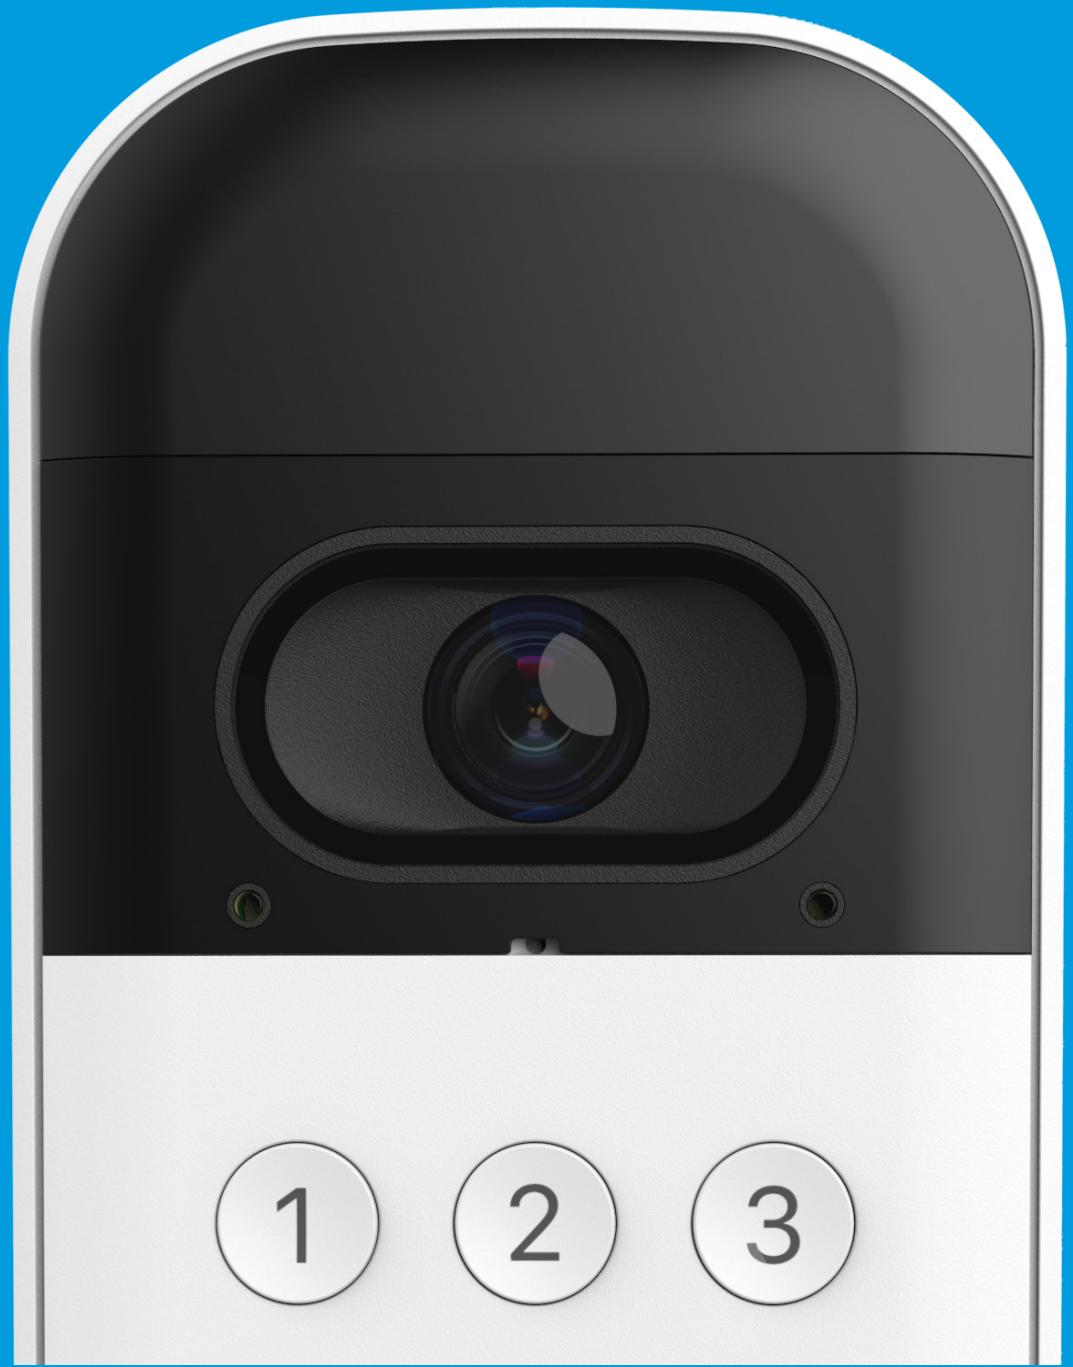
Overview
What's in the Box
Specifications
Set Up Your Video Keypad
Video Storage Plan
Additional Resources
Overview
What's in the Box (VKP1-MYQ | VKP1-LM | VKP1-RJO)
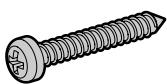
1" Mounting Screw (Qty. 2)
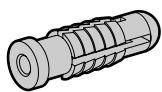
Wall Anchors (Qty. 2)

5/16" Security Screw (Qty. 1)
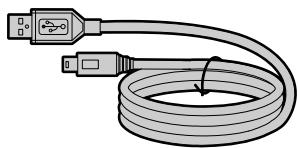
Charging Cable (Qty. 1)
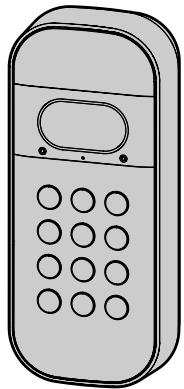
Video Keypad with Battery (Qty. 1)

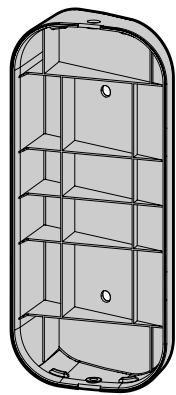
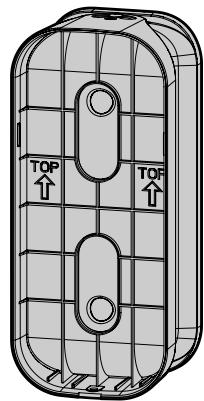
OR
Video Keypad Accessories:
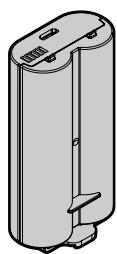
VKP1-MYQ-BT1
Battery and Charging Cord Kit
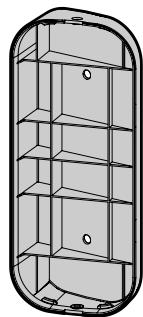
VKP1-MYQ-SMW
Swivel Mounting Bracket and Hardware Kit
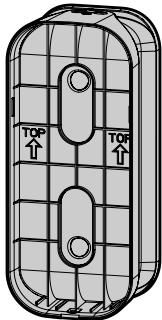
VKP1-MYQ-20DEG
20^ Mounting Bracket and Hardware Kit
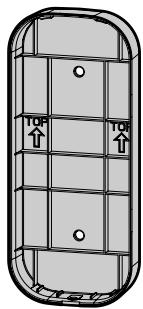
VKP1-MYQ-0DEG
0^ Mounting Bracket and Hardware Kit
Specifications
For use with residential garage door openers manufactured after January 1, 1993. Make sure your garage door opener has a working light bulb because it is a programming indicator.
Overview
Set Up Your Video Keypad
Charge the Battery
Download the myQ App
Get Connected
Install Mounting Bracket
Secure Mounting Bracket
Your Video Keypad Is Ready To Use
Video Storage Plan
Additional Resources
Set Up Your Video Keypad
Charge the Battery
Detach the back cover from your Video Keypad, remove the battery, and peel back the protective film.
Plug the battery into a USB power source using the cable provided. Please fully charge the battery before setting up your Video Keypad, which can take up to 10 hours. Once the LED light on the battery changes from red to green, it's ready to use.
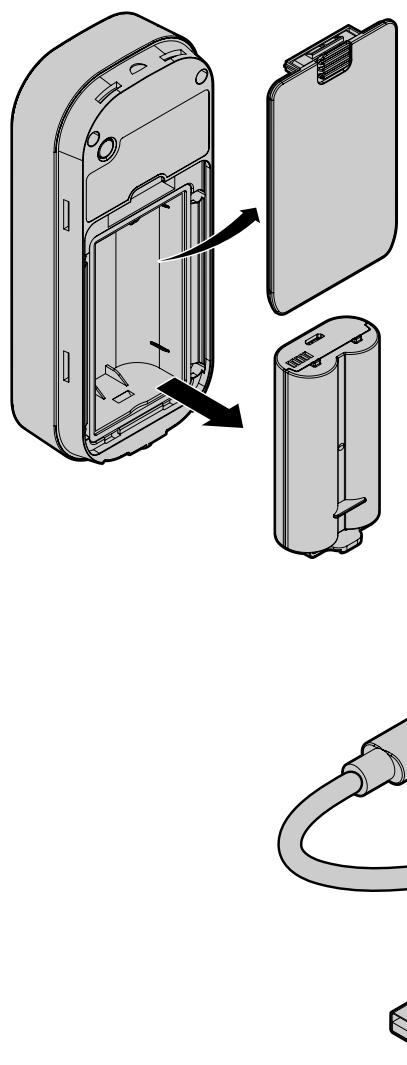
Re-insert the battery and attach the back cover. The cover will click into place once secure. Your device will begin to power on and the Video Keypad LED will be solid white before flashing blue.
Overview
Set Up Your Video Keypad
Charge the Battery
Download the myQ App
Get Connected
Install Mounting Bracket
Secure Mounting Bracket
Your Video Keypad Is Ready To Use
Video Storage Plan
Additional Resources
Set Up Your Video Keypad
Download the myQ App
The myQ mobile app will guide you through programming your Video Keypad.
With your smart phone, download myQ by either:
- Scanning the second QR code on the packaging insert
- Searching for "myQ" in your phone's app store
- Visiting myQ.com/app on your phone's browser
Have your Wi-Fi password available before proceeding.
Get Connected
To program your Video Keypad, stay near your installed garage door opener. Do not mount the keypad until a later step.
In the myQ app, select the "+" icon from the home screen and select Device.
When prompted, select Video Solution, followed by Video Keypad, and follow the in-app instructions.
After setup, enter the PIN you've created and press the home button to ensure the keypad is connected to your opener and able to operate your door.
Overview
Set Up Your Video Keypad
Charge the Battery
Download the myQ App
Get Connected
Install Mounting Bracket
Secure Mounting Bracket
Your Video Keypad Is Ready To Use
Video Storage Plan
Additional Resources
Set Up Your Video Keypad
Install Mounting Bracket
Select a location to mount your Video Keypad at a minimum height of 5 feet (1.5 m) out of reach of children. Begin by using the included mounting bracket as a template to mark the position of the bracket's mounting holes. Please note, the location of the holes may differ from your existing keypad (if applicable).
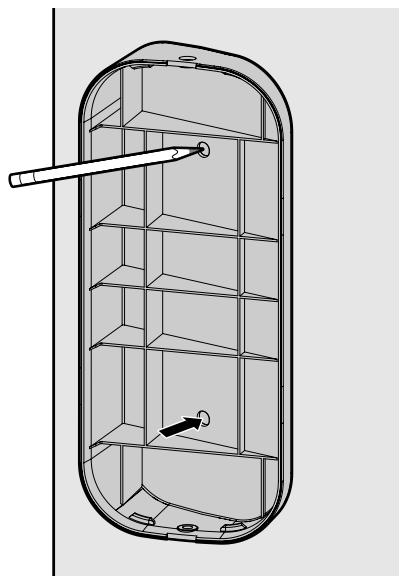
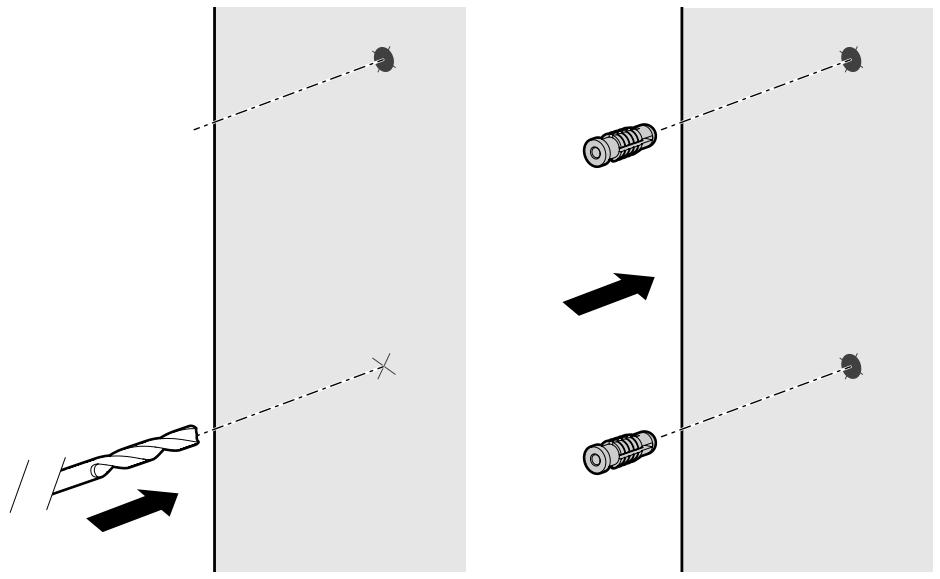
If installing your Video Keypad on stucco, brick, or concrete:
Drill holes in your wall with a 1 / 4'' masonry bit, then insert the included wall anchors by pushing them into place or lightly tapping with a hammer. If installing on wood or vinyl siding the wall anchors are not needed, and you can skip this step.
Overview
Set Up Your Video Keypad
Charge the Battery
Download the myQ App
Get Connected
Install Mounting Bracket
Secure Mounting Bracket
Your Video Keypad Is Ready To Use
Video Storage Plan
Additional Resources
Set Up Your Video Keypad
Install Mounting Bracket
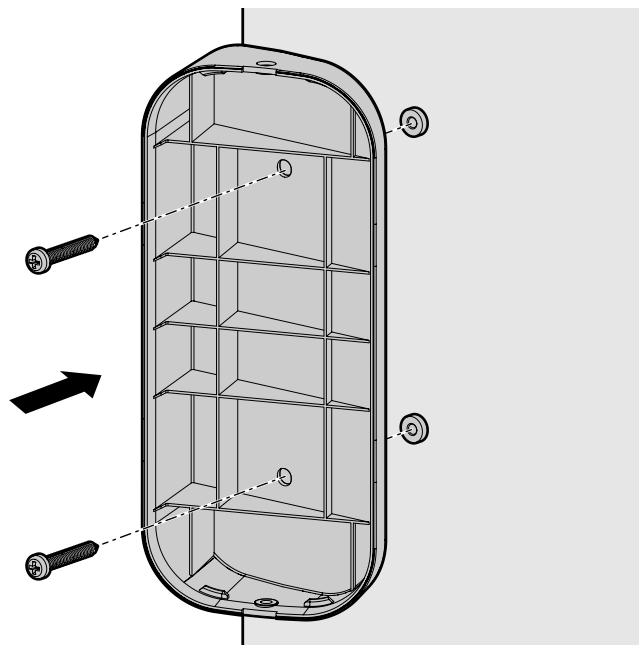
Position the mounting bracket so that the Video Keypad is at your preferred orientation. The included 20-degree mounting bracket can be flipped to adjust the angle depending on your surroundings. We recommend positioning the keypad to be angled toward your driveway.
Using the two Mounting Screws and a Philips head screwdriver, secure the bracket by driving the screws into the wall (or anchors, if installed) through the mounting holes until flush with the bracket.
Secure to Mounting Bracket
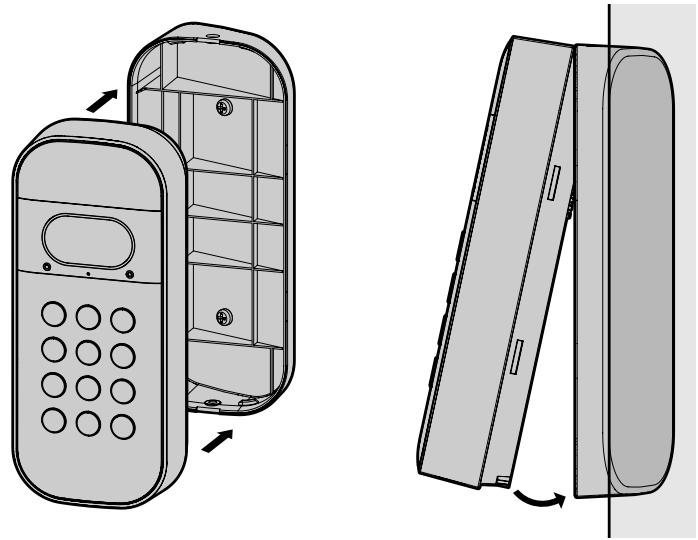
If using the 20^ or 0^ mounting bracket, slide the top of the Video Keypad into the ridges at the top of the bracket, then push the bottom of the keypad into the bracket.
If using the swivel mount, push the Video Keypad directly into the mount to snap it into place with the ridges on the sides of the bracket.
Overview
Set Up Your Video Keypad
Charge the Battery
Download the myQ App
Get Connected
Install Mounting Bracket
Secure Mounting Bracket
Your Video Keypad Is Ready To Use
Video Storage Plan
Additional Resources
Set Up Your Video Keypad
Secure to Mounting Bracket
Once your Video Keypad is attached to the mounting bracket, drive the included short security screw into the bottom of your device using a Philips head screwdriver to secure it into place.
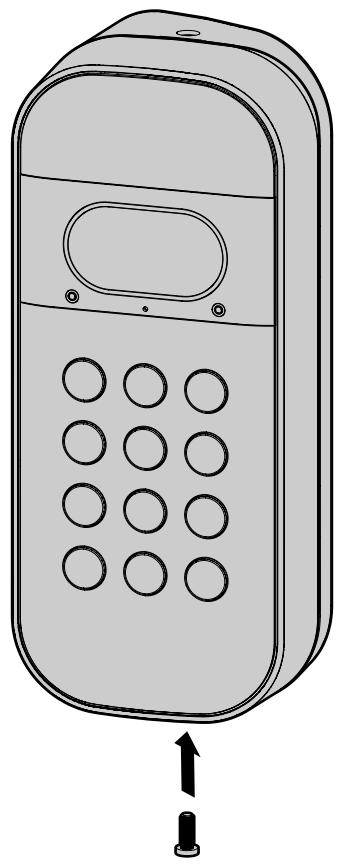
DO NOT USE any screw other than the included short security screw to secure your Video Keypad. Using the wrong screw could damage the device.
Your Video Keypad Is Ready To Use
Use the home
button to close your garage door when open.
- Use the call button
to contact the myQ account owner.
- Assign up to 16 unique PIN codes for family, friends and guests to open the garage door.
Live stream HD video 24/7 with night vision and two-way audio.
Overview
Set Up Your Video Keypad
Video Storage Plan
What Is a myQ Video Storage Plan?
Additional Resources
Contact Us
One Year Limited Warranty
Video Storage Plan
What Is a myQ Video Storage Plan?
When you want to see what is happening in and around your garage, myQ Video Storage allows you to record and view videos for up to 30-days. Whether you're securing your garage, checking on the people who matter most or capturing a fleeting moment - a Video Storage plan lets you see the whole picture. Enhanced features such as People Detection and Rich Notifications enable more meaningful and actionable insights.
Starting at only (3 USD per month, you can easily subscribe to a myQ Video Storage Plan in the account settings of your app. Your new device automatically comes with a free 30-day trial. Click HERE for additional information.
Additional Resources
Contact Us
For additional information or assistance, please visit:
support.chamberlaingroup.com
Or give us a call:
+1 (800) 528-5880
One Year Limited Warranty
The Chamberlain Group LLC warrants to the first consumer purchaser of this product that it is free from defect in materials and/or worksmanship for a period of 1 year from the date of purchase.
Please refer to the label on the battery to properly recycle and dispose of the battery.
© 2023 myQ All Rights Reserved. Your opening and use constitutes acceptance of, and is subject to, License Agreement and Terms of Use available at myQ.com/agreement.
To prevent possible SERIOUS INJURY or DEATH from a moving gate or garage door:
- Install Keyless Entry Control within sight of garage door, out of reach of small children at a minimum height of 5 feet (1.5 m) above floors, landings, steps or any other adjacent walking surface, and away from ALL moving parts of door.
- ALWAYS keep remote controls out of reach of children. NEVER permit children to operate or play with remote controls.
- Activate gate or door ONLY when it can be seen clearly, is properly adjusted, and there are no obstructions to door travel.
- ALWAYS keep gate or garage door in sight until completely closed. NEVER permit anyone to cross path of moving gate or door.

WARNING: This product can expose you to chemicals including lead, which are known to the State of California to cause cancer or birth defects or other reproductive harm. For more information go to www.P65Warnings.ca.gov.
NOTICE: This device complies with Part 15 of the FCC rules and Industry Canada's license-exempt RSSs. Operation is subject to the following two conditions: (1) this device may not cause harmful interference, and (2) this device must accept any interference received, including interference that may cause undesired operation.
Any changes or modifications not expressly approved by the party responsible for compliance could void the user's authority to operate the equipment.
This device must be installed to ensure a minimum 20 cm (8 in.) distance is maintained between users/bystanders and device.
This device has been tested and found to comply with the limits for a Class B digital device, pursuant to part 15 of the FCC rules and Industry Canada ICES standard. These limits are designed to provide reasonable protection against harmful interference in a residential installation. This equipment generates, uses and can radiate radio frequency energy and, if not installed and used in accordance with the instructions, may cause harmful interference to radio communications. However, there is no guarantee that interference will not occur in a particular installation. If this equipment does cause harmful interference to radio or television reception, which can be determined by turning the equipment off and on, the user is encouraged to try to correct the interference by one or more of the following measures:
Reorient or relocate the receiving antenna.
Increase the separation between the equipment and receiver.
Connect the equipment into an outlet on a circuit different from that to which the receiver is connected.
Consult the dealer or an experienced radio/TV technician for help.
Batterie rechargeable (Qte :1)
support.chamberlaingroup.com
Ouappelez-nous:
+1 (800) 528-5880