
RH 108 K - Electric heater PROLINE - Free user manual and instructions
Find the device manual for free RH 108 K PROLINE in PDF.
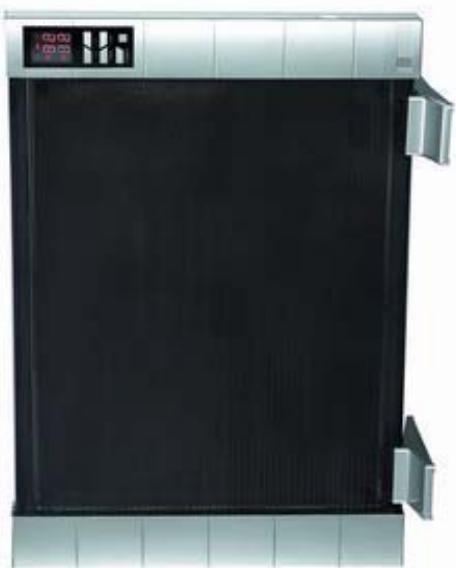
| Brand | PROLINE |
| Model | RH 108 K |
| Type | Mica electric heater |
| Maximum power | 1800 W |
| Adjustable power levels | 600 W (LO), 1200 W (MED), 1800 W (HI) |
| Power supply | 220-240 V ~ 50/60 Hz |
| Adjustable thermostat | 5 °C to 35 °C |
| Programmable timer | Yes: delayed start and stop |
| Remote control | Included |
| Overheat protection | Automatic shut-off via electronic control |
| Wall mounting | Possible with supplied kit |
| Use | Indoor household use only |
| Maintenance | Clean with a soft cloth or vacuum; do not use water |
| Included accessories | Remote control, wall mounting kit |
| Power cord | Detachable (pull the plug, not the cable) |
Frequently Asked Questions - RH 108 K PROLINE
User questions about RH 108 K PROLINE
0 question about this device. Answer the ones you know or ask your own.
Ask a new question about this device
Download the instructions for your Electric heater in PDF format for free! Find your manual RH 108 K - PROLINE and take your electronic device back in hand. On this page are published all the documents necessary for the use of your device. RH 108 K by PROLINE.
USER MANUAL RH 108 K PROLINE
Read these instructions carefully before use and save them for future reference ELECTRICAL CONNECTION (UK ONLY)
For your safety please read the following information
Warning: This appliance must be earthed.
The appliance must be connected to a 220-240 volts 50 cycle AC supply by means of a three pin socket, suitably earthed and should be protected by a 13 amp fuse in the plug or a15 amp fuse in the consumer unit.
The appliance is supplied with a rewireable 13 amp 3 pin plug fitted with a 13 amp fuse. Should the fuse require replacement, it must be replaced with a fuse rated at 13 amp and approved to BS1362.
If the mains plug is unsuitable for the socket outlet in your home or is removed for any other reason, then the cut off plug should be disposed of safely to prevent the hazard of electric shock.
There is a danger of electric shock if the cut off plug is inserted into any 13- amp socket
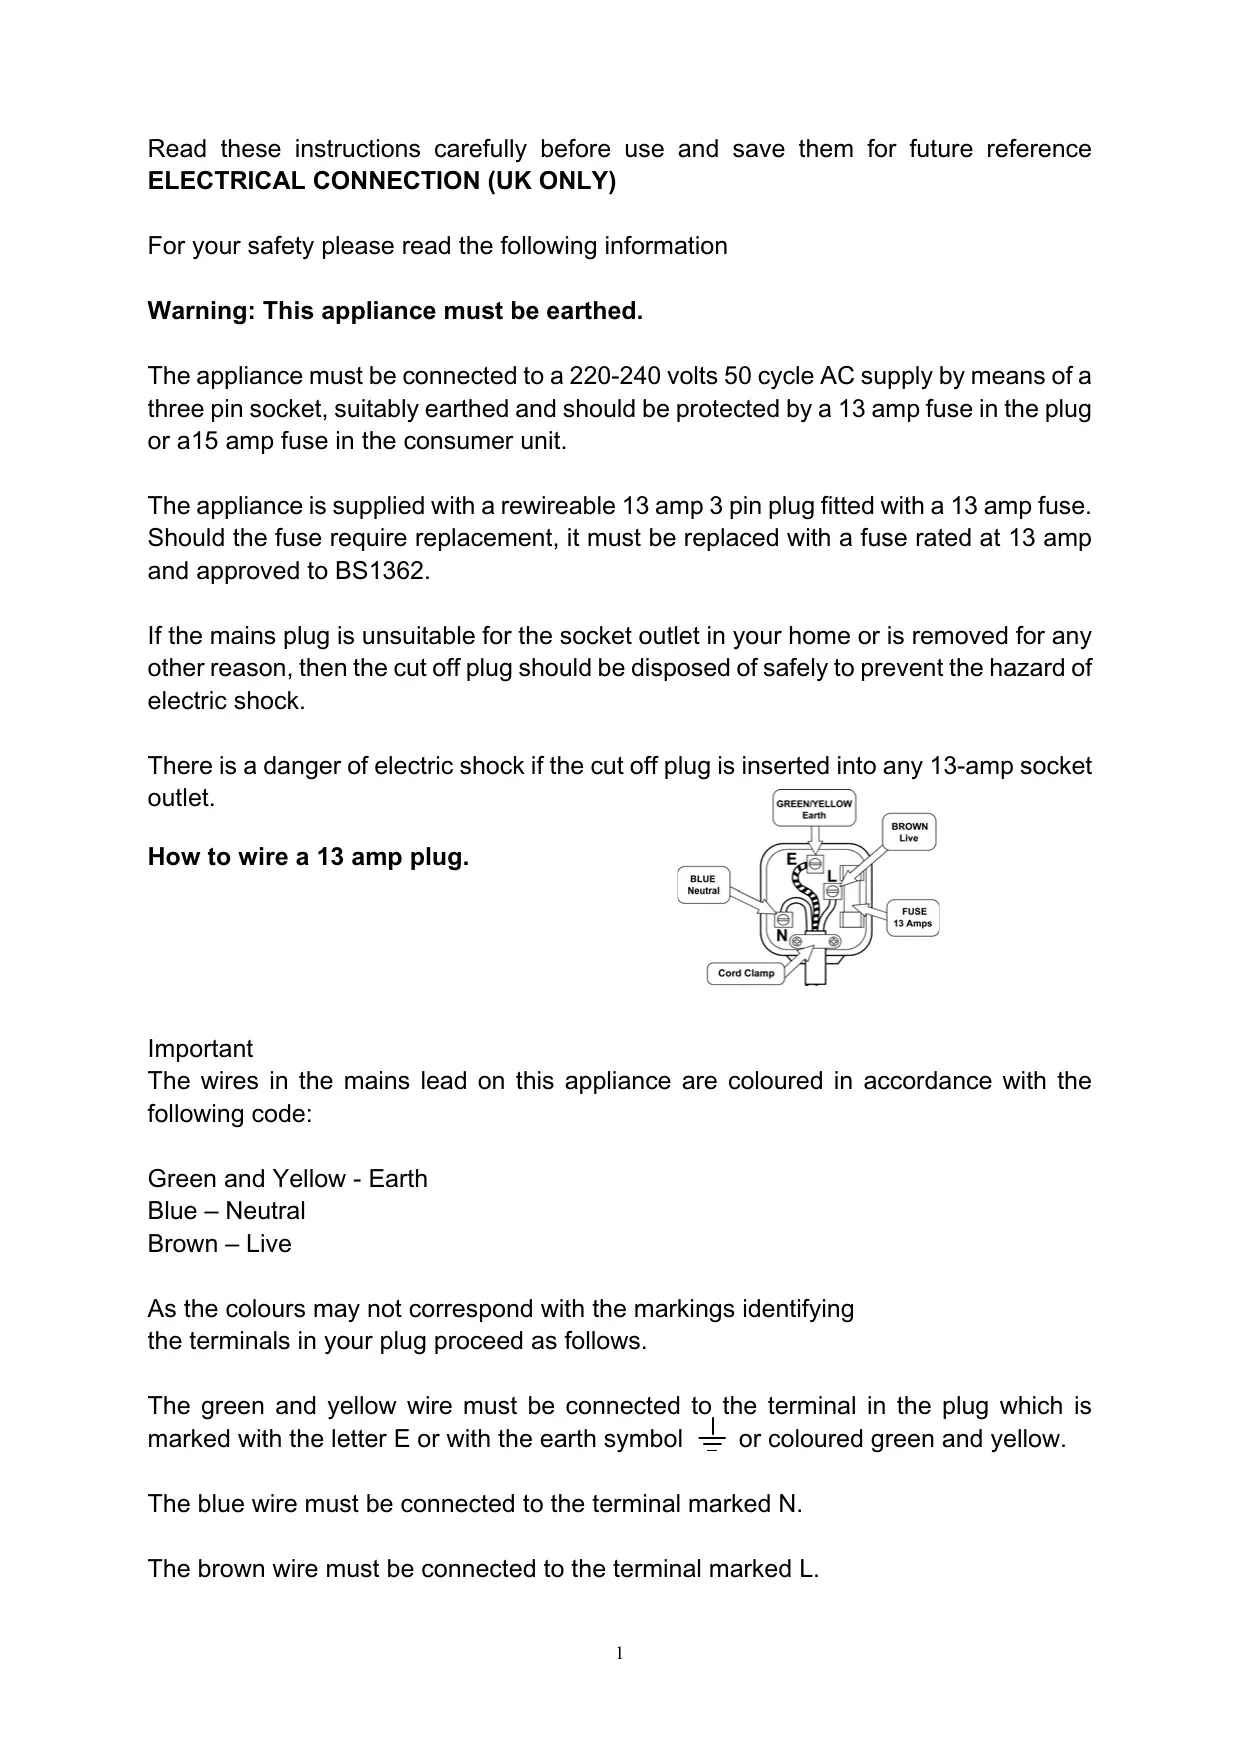
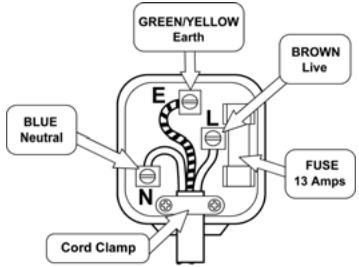
How to wire a 13 amp plug.
Important
The wires in the mains lead on this appliance are coloured in accordance with the following code:
Green and Yellow - Earth
Blue – Neutral
Brown - Live
As the colours may not correspond with the markings identifying the terminals in your plug proceed as follows.
The green and yellow wire must be connected to the terminal in the plug which is marked with the letter E or with the earth symbol 1 or coloured green and yellow.
The blue wire must be connected to the terminal marked N.
The brown wire must be connected to the terminal marked L.
IMPORTANT SAFEGUARDS
When using any electrical appliance, basic safety precautions should always be followed, including the following:
- To ensure familiarity with the controls, safety features, and operation of your heater - Read all instructions before using.
- To reduce hazard of injury due to electric shock
2.1 Danger of shock exists even when the appliance is switched off. ALWAYS unplug when not in use.
2.2 A heater should never be used under conditions where it may be immersed, or come in contact with water. Similarly do not plug in your heater if its surfaces are damp.
2.3 Do not insert foreign objects through the intake or discharge grilles.
2.4 Do not operate the heater with a damaged mains cord, or if it has been dropped, or damaged in any manner. Return it to an Authorised Service facility for repair.
2.5 Close supervision is required when this appliance is used by or near children.
2.6 Disconnect the cord from the outlet and allow to cool before cleaning.
2.7 Unplug heater by grasping plug and pulling it from the outlet, do not pull the cord.
2.8 When storing your heater, keep it in a cool, dry place.
- To reduce hazard of injury or property damage due to heat, fire, or explosion:
3.1 Position your heater away from furniture or loose hanging materials. Do not drape clothing on towels, etc. over the heater to dry.
3.2 Keep the rear grille out from walls or drapes so as not to block the air intake.
3.3 If the supply cord is damaged, the manufacturer or its service agent or a similarly qualified person must replace it in order to avoid a hazard. Do not use an extension cord as this poses a tripping hazard and might be dangerous.
3.4 Do not use in the presence of explosive or flammable vapor.
3.5 Do not run in locations when the heater will be left unattended for long periods of time. (For example - several weeks in an unoccupied summer cottage).
3.6 Use the heater on flat, dry surfaces only.
3.7 Loose connections between the heater plug and the electrical outlet may cause the plug to overheat. Replace any worn electrical receptacles promptly.
3.8 Do not use this appliance outdoors.
3.9 Do not use the appliance on the same socket or electric circuit with other electrical appliances so as to prevent the circuit from being overloaded, which may cause fire. Do not use a movable socket outlet.
3.10 Route the cord so that it will not be walked on, or pinched by furniture.
Warning:
In order to avoid overheating. Do not cover the heater.
Do not use this heater in the surroundings of a bath, a shower or a swimming pool.
The heater must not be located immediately below a socket-outlet.
This product is intended for domestic household indoor use only. Any other use may invalidate the warranty.
OPERATING INSTRUCTIONS
Plug into the wall socket and turn on with the main switch located on the left side of the heater.
Your heater is equipped with three heat settings.
LO
600 WATTS
MED
1200 WATTS
HI
1800 WATTS
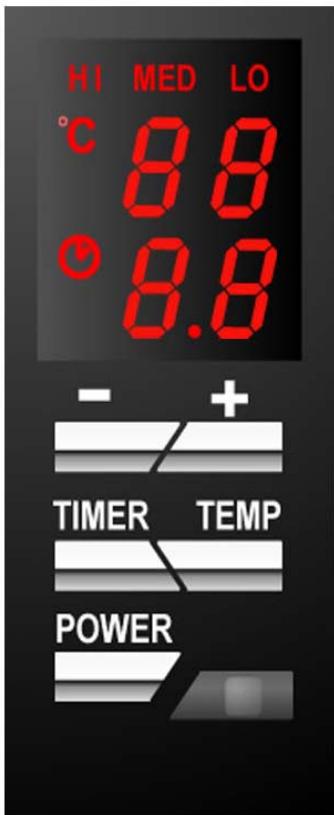
The working temperature needs to be set every time you switch on, (see "Power and temperature selection"). The default temperature is 18^ .
The “POWER” button works on a loop sequence “WAIT-HI-MED-LOW”, in the wait mode, the display shows the room temperature and the pre-set on / off time ( if set ).
Set the heater to the "HI" setting, The heater will repeat a work cycle of 1800 Watts for roughly 8 minutes and 1200 watts for roughly 20minutes, switching automatically until the temperature pre-set is reached. The display will flash the room temperature five times when this is achieved.
NOTE:
The heater will work for 2 minutes every time it is switched on, irrespective of room temperature, after 2 minutes. If the room temperature is higher than the pre-set working temperature, the heater will turn off and the display will flash the room temperature 5 times.
The "MED" and "LO" settings are 1200 and 600 Watts constant heat respectively.
Once the room is Comfortable, select a slightly lower temperature setting to reduce electricity used and to prevent the room from becoming too warm.
Press the temperature or timer button to set that option, then: Change / set the values by pressing the "+" and "- " buttons.
Power Selection
The heater gives out a beep when turned on, and the display shows
the room temperature. Press the "Power" button, the heater gives out another beep, each press of the power button will cycle through the power settings "HI-MED-LOW" and the related indicator will light accordingly.
Power can be preset under any operating status.
Temperature Setting
Press the "TEMP" button, the display will flash the current temperature setting (5°C to 35°C), whilst the display is flashing, use the "+" and "-" buttons to set the pre-set (cut off) temperature.
The display will return to the room temperature after a few seconds.
Timer functions
In "WAIT" mode, press the "TIMER" button and the hour digit opposite the clock symbol will flash.
Use the "+" and "-" buttons to set the ON time (E.g. 2), then wait for the display to stop flashing.
Press the "POWER" button, the heater turns ON.
Use the "+" and "-" buttons to set the OFF time (E.g. 4), then wait for the display to stop flashing.
Press the "POWER" button repeatedly until the heater is in "WAIT" mode.
The timer is now set to come on in 2 Hours time and run for 4 Hours then turn OFF.
In “wait” mode, the time preset is the preset “ON” time, the appliance will operate at 1800W (HI) mode, when the heater is “on” the time preset is the “OFF” time.
You can cancel the preset times by setting the preset time to "0" (operating mode keeps the same as before); OR below to operations (operating mode changed):
- To completely shut the appliance off, MECHANICAL POWER SWITCH on the left side of the heater must be placed in the OFF position.
Remote control:
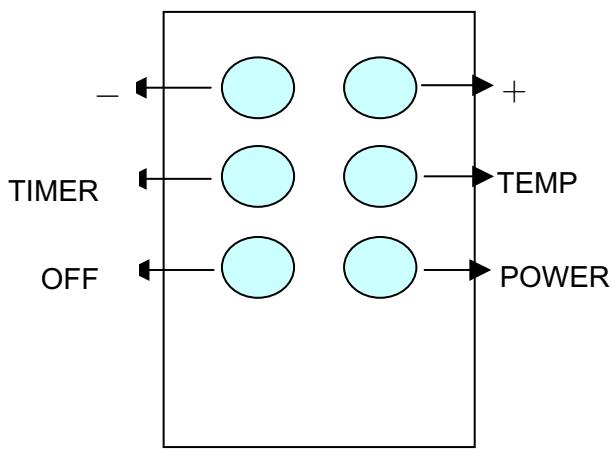
The remote control allows you to carry out all the operations listed above using the same buttons on the remote as on the heater.
Note:
The "POWER" key of remote control only turns the heater OFF ( there is no ON function.)
The maximum distance from the remote to the heater should not be more than 5m and the angle should be less than 45^ .
SAFETY DEVICE:
Your heater is fitted with a safety device that shuts off the heater by electronic control in the event of overheating or malfunction. If the room temperature higher than 50^ , the heater will stop heating and the heater will shut down after the display shows "FF" and flash 75s.
Note:
During the display is showing in 75s, the heater can not be turned on, and no buttons work. If overheating or a malfunction continues, return the heater to a qualified Service Agent for examination.
The most common cause of overheating is deposits of dust or fluff entering the heater, Ensure these deposits are removed regularly by unplugging the unit and clean the air vents and front grille with a vacuum cleaner.
MAINTENANCE
- Always disconnect the cord from the electrical outlet when cleaning your heater.
- Light accumulated dust may be removed from the heater with a soft cloth or vacuum cleaner. Interior dust can often be removed by using a vacuum cleaner in its blower mode with a crevice tool attachment.
- Wipe the exterior surfaces of the heater occasionally with a cloth moistened (not wet) with a solution of mild detergent and water. Dry the case thoroughly with a soft dry cloth before operating the heater.
Wall Mounting
There is a wall mounting kit supplied with this heater, to mount it mark two points on the wall at the required height exactly 415mm apart. Make sure the two points are level. These points represent the center position of the large brackets. Using the screws provided attach the brackets to the wall and hang the heater on the two brackets.

Then hook the two small brackets into the slots on the rear bottom of the heater and mark the screw position through the hole in the bracket, repeat for the other side, again using the screws supplied attach the brackets to the wall.
CAUTION: Do not allow water to run into the interior of the heater as this could create a fire on electric shock hazard.
If service is required, send your heater to the nearest authorised service depot.
Store the heater in a clean dry place when not in use.
REMEMBER - portable electric heaters are designed for spot heating, or as a supplementary heat source. They are not intended to be main sources of heat during the normal heating season.
Note: There may be trace of odor when unit is first operated. Do not be alarmed. This indicates that deposits fell on the heating element during the manufacturing process. they will quickly evaporate and should not re-occur.
Disposal
Waste electrical and electronic products must not be disposed of with household waste. Please refer to the retailer from whom you purchased this item for disposal instructions. Batteries and packaging materials should be recycled using local facilities.
If something doesn't seem to work
If there is something about your appliance which you do not understand and you live in the UK you can phone our help line during normal office hours on: 0113 2793520 Calls are charged at standard rates.
We apologise for any inconvenience caused by minor inconsistencies in these instructions, which may occur as a result of product improvement and development.
MANUEL D'INSTRUCTIONS
Modèle: RH180K

- Read these instructions carefully before use and save them for future reference ELECTRICAL CONNECTION (UK ONLY)
- Warning: This appliance must be earthed.
- How to wire a 13 amp plug.
- Important
- IMPORTANT SAFEGUARDS
- Warning:
- OPERATING INSTRUCTIONS
- NOTE:
- Power Selection
- Temperature Setting
- Timer functions
- Remote control:
- SAFETY DEVICE:
- MAINTENANCE
- Wall Mounting
- Disposal
- If something doesn't seem to work
- MANUEL D'INSTRUCTIONS
- Modèle: RH180K
Brand : PROLINE
Model : RH 108 K
Category : Electric heater