DFC6.41 ODACIO3BLANC - Robot de cuisine MOULINEX - Free user manual and instructions
Find the device manual for free DFC6.41 ODACIO3BLANC MOULINEX in PDF.
Download the instructions for your Robot de cuisine in PDF format for free! Find your manual DFC6.41 ODACIO3BLANC - MOULINEX and take your electronic device back in hand. On this page are published all the documents necessary for the use of your device. DFC6.41 ODACIO3BLANC by MOULINEX.
USER MANUAL DFC6.41 ODACIO3BLANC MOULINEX
Thank you for choosing a product from the Moulinex range. This product is intended exclusively for preparing food.
J5 K K1 K2 L L1 L2 M M1 M2
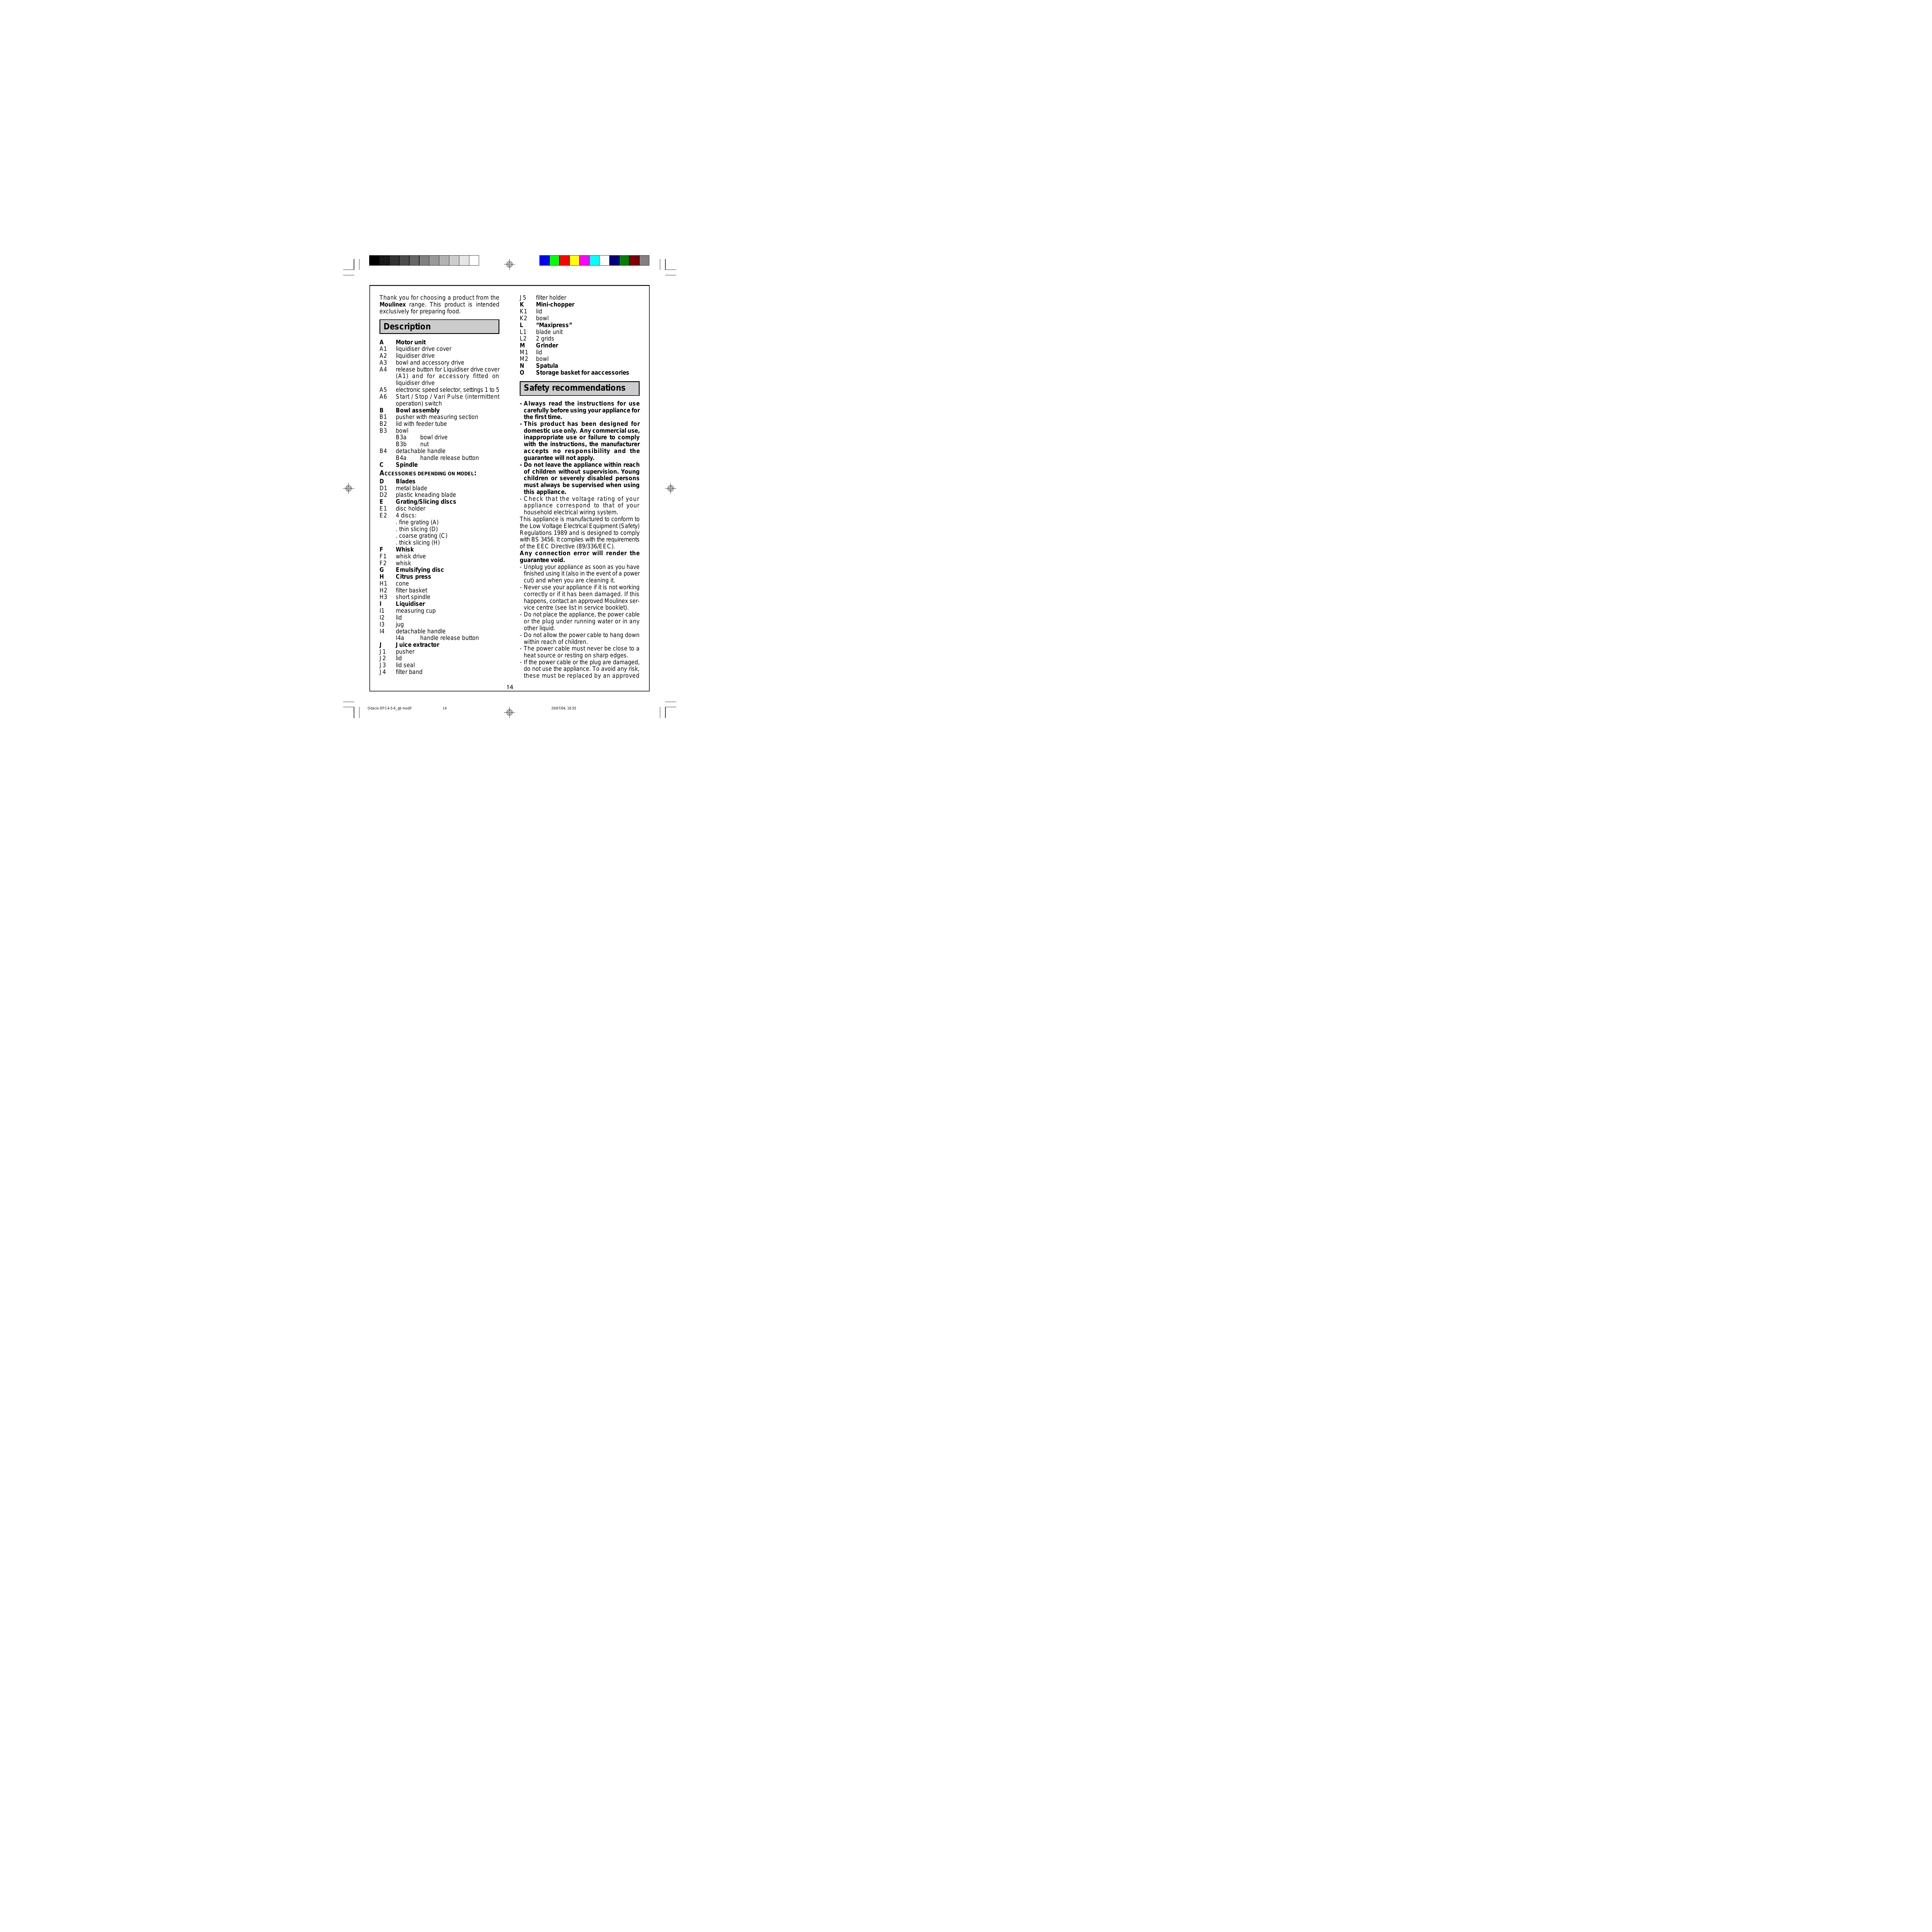
N O Description A A1 A2 A3 A4 A5 A6 B B1 B2 B3 B4
C Motor unit liquidiser drive cover liquidiser drive bowl and accessory drive release button for Liquidiser drive cover (A1) and for accessory fitted on liquidiser drive electronic speed selector, settings 1 to 5 Start / Stop / Vari Pulse (intermittent operation) switch Bowl assembly pusher with measuring section lid with feeder tube bowl B3a bowl drive B3b nut detachable handle B4a handle release button Spindle
Safety recommendations - Always read the instructions for use carefully before using your appliance for the first time. - This product has been designed for domestic use only. Any commercial use, inappropriate use or failure to comply with the instructions, the manufacturer accepts no responsibility and the guarantee will not apply. - Do not leave the appliance within reach of children without supervision. Young children or severely disabled persons must always be supervised when using this appliance. - Check that the voltage rating of your appliance correspond to that of your household electrical wiring system. This appliance is manufactured to conform to the Low Voltage Electrical Equipment (Safety) Regulations 1989 and is designed to comply with BS 3456. It complies with the requirements of the EEC Directive (89/336/EEC). Any connection error will render the guarantee void. - Unplug your appliance as soon as you have finished using it (also in the event of a power cut) and when you are cleaning it. - Never use your appliance if it is not working correctly or if it has been damaged. If this happens, contact an approved Moulinex service centre (see list in service booklet). - Do not place the appliance, the power cable or the plug under running water or in any other liquid. - Do not allow the power cable to hang down within reach of children. - The power cable must never be close to a heat source or resting on sharp edges. - If the power cable or the plug are damaged, do not use the appliance. To avoid any risk, these must be replaced by an approved
ACCESSORIES DEPENDING ON MODEL: D D1 D2 E E1 E2
Moulinex service centre (see list in service booklet). - Do not use the appliance for juicing if the filter holder on the juice extractor is damaged. - For your own safety, use only Moulinex accessories and spare parts which are suitable for your appliance. - Always use the pushers to push food down the feeder tubes, never use your fingers, a fork, a spoon, a knife or other utensil. - Only remove the accessories when the appliance has come to a complete stop. - Do not introduce any utensil (spoon, spatula...) through the feeder tube. - Do not place any utensil containing metal in a microwave oven. - Use the accessories one at a time. - Handle the metal blade and discs with great care: they are extremely sharp. - You must remove the blades (D) and spindle (C) before emptying the bowl of its content. - Empty the chopping bowl or liquidiser jug before detaching the handle. - Never touch the parts when they are moving. - Do not run your appliance empty. - Do not allow long hair, scarves, ties etc. to dangle over accessories during operation. - Never use or plug in your appliance if : - Its power cord is faulty or damaged. - The appliance has been dropped. - It has visible damage or operating faults. In such cases, to avoid any danger, contact your Approved Service Centre to have the appliance repaired, as special tools are required.
- Before using the liquidiser drive (A2): ensure that there is no accessory fitted on the bowl and drive accessory.
Functions of your food processor 1 FITTING DETACHABLE PARTS
. ASSEMBLING / DISMANTLING THE BOWL (B3) The bowl is used with the following accessories (depending on model): - blades (D), grating/slicing discs (E), whisk (F), emulsifying disc (G), citrus press (H), juice extractor (J), “Maxipress” (L). - If not already fitted, - position drive (B3a) in the bowl. - Lock the drive (B3a) with the nut (B3b) as far as it will go. - Dismantle the bowl assembly and clean it after each use.
. FITTING/DETACHING THE BOWL HANDLE (B4) AND THE LIQUIDISER JUG HANDLE (I4) For ease of cleaning and storage, the bowl handle (B4) and liquidiser jug handle (I4) are detachable. - To fit the handle, position it against the lugs of the bowl/jug. - Slide the handle upwards until it clicks. - To detach the handle, press the release button (B4a) or (I4a) and slide the handle downwards. (note: the lid of the liquidiser jug must be unlocked in order to be able to detach the handle (I4).) The handle (B4) must be fitted to the bowl in order to be able to lock the liquidiser drive cover (A1).
Using your appliance - Before using for the first time, wash all accessory parts in warm, soapy water. Rinse and dry. - Place the motor unit on a flat, clean and dry surface. - Plug the appliance in. - Vari Pulse (intermittent operation): turn switch (A6) to the “Vari Pulse” position «0». Using a succession of pulses can give you better control when preparing certain foods. - Continuous operation: turn switch (A6) to position “1”. - Stop: turn switch (A6) to position “0”. - Speed selector (A5): select the suggested speed or change it as required during preparation.
Odacio DFC4-5-6_gb modif
2 MIXING/BLENDING/CHOPPING/
KNEADING ACCESSORIES USED (DEPENDING ON MODEL) - Bowl assembly (B), spindle (C) and blades (D): . metal blade (D1) for mixing or chopping. . plastic kneading blade (D2) for kneading, blending pastry or cake making.
FITTING THE ACCESSORIES Press the release button (A4) to open the upper power outlet cover (A1). - Fit the bowl (B3) on the bowl and accessory drive (A3). - Fit the spindle (C) on to the bowl drive (B3a). 15
- Slide the metal blade (D1) or the plastic kneading blade (D2) onto the spindle (C), down to the bottom of the bowl. - Place the ingredients in the bowl. - Fit the lid (B2) on the bowl. - Close the liquidiser drive cover (A1). You should hear a click. To unlock the blades (D) from the spindle (C): - Place the bowl assembly on a stable worktop. - Turn the spindle (C) clockwise, holding the blade (D) by its upper section.
FITTING THE ACCESSORIES USAGE AND PRACTICAL TIPS USAGE AND PRACTICAL TIPS Blending - Select a speed between 3 and 5 (A5) and turn the switch (A6) to position “1” to start the appliance. You can blend up to 1 litre of soup or stewed fruit in 20 sec. Chopping - Select speed 5 (A5) and turn the switch (A6) to position “1” to start the appliance or, for better control over the chopping, use the “Vari Pulse” position (A6). In 15 to 30 sec., you can chop up to 600g of food: . hard produce: cheese, dried fruits, certain vegetables (carrots, celery...). . soft produce: certain vegetables (onions, spinach...). . raw or cooked meat (boned, sinew removed and diced). . raw or cooked fish... Kneading/Mixing - Select speed 5 (A5) and turn the switch (A6) to position “1” to start the appliance. - When kneading, stop the appliance as soon as the pastry starts to form a ball. You can: . knead up to 1.2 kg of pastry/dough (biscuit, shortcrust, and bread) in approximately 60 sec. . mix up to 1 litre of pancake, waffle batter, etc. in 1min to 1 min 30. . mix up to 1.5 kg of light cake mixture (biscuit, sponge) in 1 min 30 to 3 min 30.
- Push the food through the feeder tube using the pusher (B1). - For grating, select a speed between 3 and 5 (A5) and turn the switch (A6) to position “1”. - For slicing, select speed 2 (A5) and turn the switch (A6) to position “1”. The slicing/grating discs can (depending on model): . slice thickly (H) / slice thinly (D): potatoes, onions, cucumbers, beetroot, apples, carrots, and cabbage... . coarsely grate (C) / finely grate (A): celery, potatoes, carrots, cheeses...
3 GRATING/SLICING ACCESSORIES USED Press the release button (A4) to open the liquidiser drive cover (A1). - Fit the bowl (B3) on the bowl and accessory drive (A3). - Fit the required disc (E2) on to the disc holder (E1). - Fit the spindle (C) on the drive (B3a), then the disc holder (E1) on to the spindle (C). - Fit the lid (B2) on the bowl. - Close the liquidiser drive cover (A1). You should hear a click.
4 BEATING/WHISKING/EMULSIFYING ACCESSORIES USED (DEPENDING ON MODEL) - Bowl assembly (B) and balloon whisk (F) or - Bowl assembly (B), emulsifying disc (G) and spindle (C).
FITTING THE ACCESSORIES Press the release button (A4) to open the liquidiser drive cover (A1). - Fit the bowl (B3) on the bowl and accessory drive (A3). 4 a To use the balloon whisk (F): - fit it on to the bowl drive (B3a). 4 b To use the emulsifying disc (G): - fit the spindle (C) on to the bowl drive (B3a). - slide the emulsifying disc on to the spindle. Then: - Place the ingredients in the bowl. - Fit the lid (B2) on the bowl. - Close the liquidiser drive cover (A1). You should hear a click.
USAGE AND PRACTICAL TIPS
- Bowl assembly (B), spindle (C) and grating/ slicing discs (E)
- Select a speed between 1 and 5 (A5), depending on the food to be prepared, and turn the switch (A6) to position “1” to start the appliance. 16
Odacio DFC4-5-6_gb modif
You can add ingredients during blending through the hole of the measuring cup (I1). - Do not fill the liquidiser jug with boiling liquid. - Never use the blender to grind dry products (hazel nuts, almonds, peanuts etc.). You can: - prepare up to 1.5 litre of extra smooth soup, sauces, stewed fruits, milk shakes and cocktails. - blend all types of batter (pancake, fritters, waffles, custard flan). - crush ice at speed “5”. To remove the liquidiser jug from the appliance, grasp it by the handle and press the release button (A4).
- Do not use the balloon whisk or the emulsifying disc to knead dough or to mix cake mixtures. You can prepare: mayonnaise, aioli, sauces, egg whites (1 to 7), whipped cream (up to 0.5 litre). 5 SQUEEZING CITRUS FRUIT (depending on
ACCESSORIES USED - Bowl (B3) and citrus press (H)
FITTING THE ACCESSORIES Press the release button (A4) to open the liquidiser drive cover (A1). - Fit the bowl (B3) on the bowl and accessory drive (A3). - Fit the short spindle (H3) for the citrus press on the bowl drive (B3a). - Fit the filter basket (H2) on the bowl. - Fit the cone (H1) through the hole in the strainer. - Close the liquidiser drive cover (A1). You should hear a click.
7 EXTRACTING JUICE FROM FRUITS AND VEGETABLES (depending on model)
ACCESSORIES USED - Bowl (B3), spindle (C) and juice extractor (J)
FITTING THE ACCESSORIES Press the release button (A4) to open the liquidiser drive cover (A1). - Place the bowl (B3) on the accessory drive (A3). - Place the spindle (C) on to the bowl drive. - Slide the filter holder assembly (J3+J4+J5) on to the spindle (C). - Fit the lid (J2) on the bowl. - Close the liquidiser drive cover (A1). You should hear a click.
USAGE AND PRACTICAL TIPS - Hold one half of the citrus fruit on the cone (H1). - Select speed 1 (A5) and turn the switch (A6) to position “1” to start the appliance. You can squeeze up to a litre of juice without emptying the bowl.
6 BLENDING/MIXING FINELY IN THE USAGE AND PRACTICAL TIPS LIQUIDISER
- Remove hard stones, thick peel (such as kiwi) and hard cores from fruit before processing. - Select speed 5 (A5) and turn the switch (A6) to position “1” to start the appliance. - Insert the ingredients through the feeder tube and gently press with the pusher (J1). - Remove the pulp regularly from the filter holder and clean the filter band. - Do not juice more than 250 g of ingredients at a time.
ACCESSORY USED - Liquidiser jug (I)
FITTING THE ACCESSORY Press the release button (A4) to open the liquidiser drive cover (A1). - Place the ingredients in the liquidiser jug (I3) and lock the tab on the lid (I2) under the handle. - Fit the liquidiser jug (I) on the liquidiser drive (A2) (audible click). If the lid is not fitted or incorrectly fitted on the jug, the appliance will not start.
(depending on model)
- Select a speed between 1 and 5 (A5) and turn the switch (A6) to position “1” to start the appliance or, for better control over the blending, use the “Vari Pulse” position (A6).
- Mini-chopper (K) or Grinder (M)
FITTING THE ACCESSORY Press the release button (A4) to open the liquidiser drive cover (A1). 17
- Put the ingredients in the bowl (K2 or M2), and lock the lid (K1 or M1) on the bowl. - Fit the accessory on the liquidiser drive (A2) (audible click). If the lid is not fitted or incorrectly fitted, the appliance will not start.
USAGE AND PRACTICAL TIPS - Select speed 5 (A5) and turn the switch (A6) to position “1” to start the appliance or, for better control over the chopping, use the “Vari Pulse” position (A6). With the mini-chopper you can: . chop in seconds: garlic cloves, herbs, parsley, dried fruits, bread, ham,... . prepare baby foods. Maximum quantity of dried foods (hazelnuts, almonds...): 80 g. This mini-chopper is not designed to take hard ingredients such as coffee beans. With the grinder you can: . grind in seconds: coriander, pepper, Cayenne pepper, dried apricots... . Quantity / Maximum time for dried apricots: 140 g / 10 sec. To remove the accessory from the appliance, press the release button (A4).
. Small holes: for coulis or compotes of fruit (up to 500 g) with hard stones removed tomatoes, grapes, strawberries, raspberries, redcurrants, apricots, peaches. Note: if the blade unit fails to crush the food, check that it is properly clipped into the grid. 10 CLEANING AND DISASSEMBLING THE
"MAXIPRESS" - Lift out the assembly of spindle / blade unit (L1) / grid (L2) by grasping the spindle (C). - Remove the grid / blade unit assembly from the spindle (C). - Press on the clips on either side of the blade unit to release it from the grid.
Cleaning - Unplug the appliance. - To make cleaning easier, rinse the accessories straight after use. - Wash and dry the accessories (they are all dishwasher safe except for the whisk drive (F1)). - Pour some hot water containing a few drops of washing up liquid into the mixer bowl. Close the lid. Operate in short bursts by pressing the pulse key several times. Unplug the appliance. Rinse the bowl under running water and leave to dry. - For ease of cleaning and storage, the chopping bowl handle (B4) and the liquidiser jug handle (I4) are detachable (and dish washer proof). - If the accessories have become discoloured by food (carrots, oranges...), rub them gently with a cloth dipped in cooking oil and then wash as normal. - Do not place the motor unit (A) or the whisk drive (F1) in water or near running water. Wipe them with a damp cloth. - The blades on the accessories are very sharp. Always handle with care.
9 PUREEING/PRESSING/MASHING
(depending on model)
ACCESSORIES USED - Bowl assembly (B), spindle (C), and “Maxipress” (L)
FITTING THE ACCESSORY Press the release button (A4) to open the liquidiser drive cover (A1). - Fit the bowl (B3) on the accessory drive (A3). - Fit the spindle (C) on the bowl drive (B3). - Slide the required grid (L2) onto the spindle (C), turning slightly so that the notches on the grid come up against the ridges on the inside of the bowl. - Fit the blade unit (L1) in the central hole in the grid (L2) and press down until it clicks. - Place the lid (B2) on the bowl. - Close the liquidiser drive cover (A1). You should hear a click.
Storage Your Odacio food processor has: - a storage basket (O) that fits inside the bowl assembly (B). You can store the grating/ slicing discs (E2), the disc holder (E1), the metal blade (D1) as well as the spindle (C). - a cable tidy incorporated in the motor unit: stow the supply flex and adjust it to the required length by pushing it into or pulling it out of the base.
USAGE AND PRACTICAL TIPS - Chop the food into chunks before processing. - Select speed 1 (A5) and turn the switch (A6) to start the appliance. Selecting the grid: . Large holes: for purées (up to 1 kg of cooked vegetables or fruit) - potatoes, carrots, cauliflower.
Odacio DFC4-5-6_gb modif
What to do if your appliance does not work? - Check: . the connection and fuse. . that the accessories are properly fitted on to the motor unit. . that the lids are properly fitted. . when using the bowl assembly (B), that the liquidiser drive cover (A1) is locked. Your appliance still does not work? Contact an approved Moulinex centre (see list in “Moulinex Service” booklet). HELPLINE If you have any product problems or queries, please contact our Customer Relations team first for expert help and advice : 0845 602 14 54 - UK (01) 47 51 947 - Ireland or consult our website www.moulinex.co.uk
Accessories You can buy the following accessories or replacements mail order though our approved Moulinex Service Centre or via our website: Accessories Chip cutting disc (disc E) Grating disc for coconut & parmesan (disc G) Coarse grating disc (disc C) Thick slicing disc (disc H) Fine grating disc (disc A) Thin slicing disc (disc D) Grinder Mini-chopper Whisk Plastic kneading blade Citrus press Liquidiser jug Metal blade Emulsifying disc Juice extractor Spatula Storage basket Maxipress
Approved Moulinex Service Centre 5980678 5980679 5966358 5966356 5980676 5980677 5909800 5909801 5980652 5980640 5909802 5909803 A11D09 5980642 0697254 4909610 5909804 5980671