SM3300 - AEG - Free user manual and instructions
Find the device manual for free SM3300 AEG in PDF.
Download the instructions for your in PDF format for free! Find your manual SM3300 - AEG and take your electronic device back in hand. On this page are published all the documents necessary for the use of your device. SM3300 by AEG.
USER MANUAL SM3300 AEG
PT MANUAL DE INSTRUÇÕES A C B D F E G I J H K
FOR PERFECT RESULTS Thank you for choosing this AEG product. We have created it to give you impeccable performance for many years, with innovative technologies that help make life simpler features you might not find on ordinary appliances. Please spend a few minutes reading to get the very best from it.
Visit our website to: Get usage advice, brochures, trouble shooter, service information: www.aeg.com/webselfservice Register your product for better service: www.registeraeg.com Buy accessories and consumables for your appliance: www.aeg.com/shop
CUSTOMER CARE AND SERVICE When contacting Service, ensure that you have the following data available:
- Model Number - PNC number - Serial number The information can be found on the rating plate.
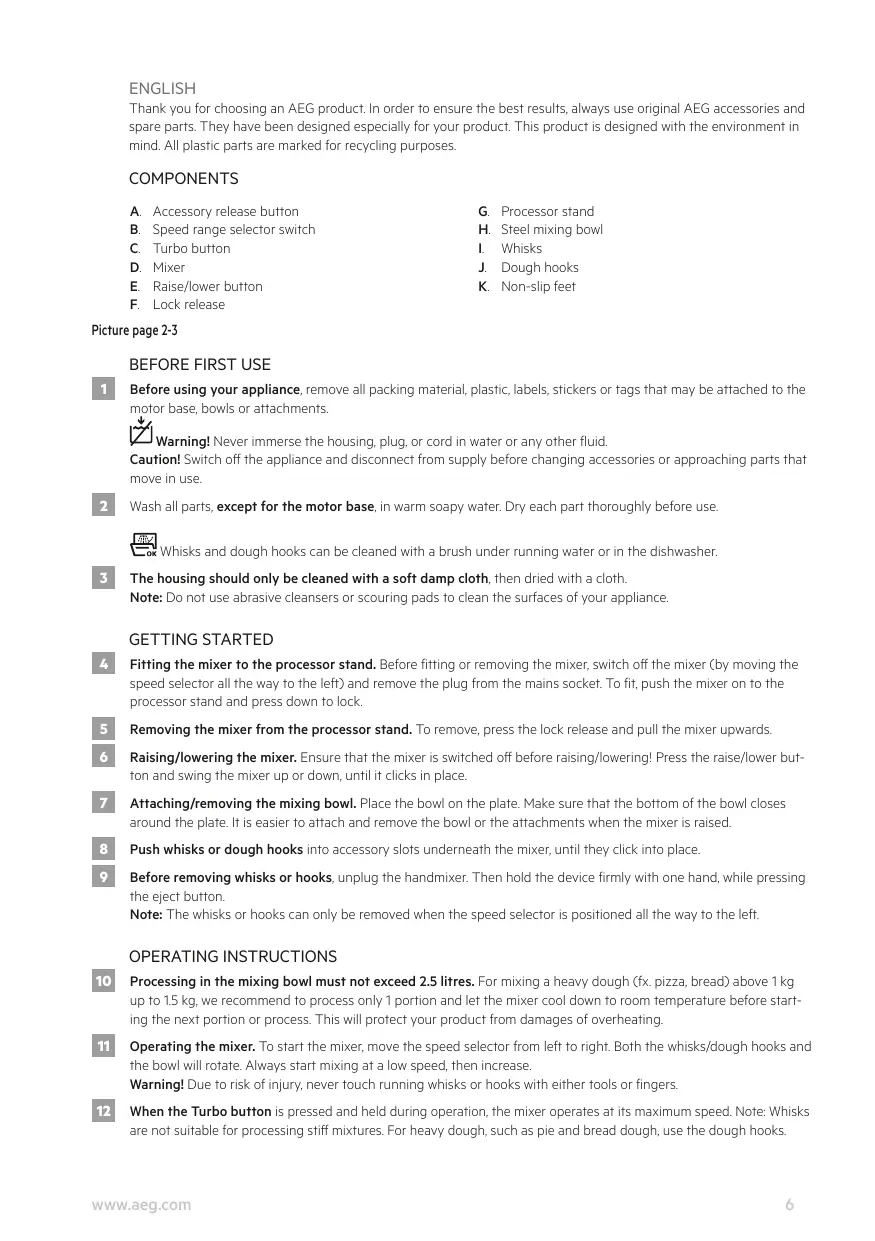
ENGLISH Thank you for choosing an AEG product. In order to ensure the best results, always use original AEG accessories and spare parts. They have been designed especially for your product. This product is designed with the environment in mind. All plastic parts are marked for recycling purposes.
Accessory release button
Speed range selector switch Turbo button Mixer Raise/lower button Lock release
Steel mixing bowl Whisks Dough hooks Non-slip feet
Before using your appliance, remove all packing material, plastic, labels, stickers or tags that may be attached to the motor base, bowls or attachments.
Warning! Never immerse the housing, plug, or cord in water or any other fluid. Caution! Switch off the appliance and disconnect from supply before changing accessories or approaching parts that move in use.
Wash all parts, except for the motor base, in warm soapy water. Dry each part thoroughly before use.
Whisks and dough hooks can be cleaned with a brush under running water or in the dishwasher.
The housing should only be cleaned with a soft damp cloth, then dried with a cloth.
Note: Do not use abrasive cleansers or scouring pads to clean the surfaces of your appliance.
Fitting the mixer to the processor stand. Before fitting or removing the mixer, switch off the mixer (by moving the speed selector all the way to the left) and remove the plug from the mains socket. To fit, push the mixer on to the processor stand and press down to lock.
Removing the mixer from the processor stand. To remove, press the lock release and pull the mixer upwards.
Raising/lowering the mixer. Ensure that the mixer is switched off before raising/lowering! Press the raise/lower button and swing the mixer up or down, until it clicks in place.
Attaching/removing the mixing bowl. Place the bowl on the plate. Make sure that the bottom of the bowl closes around the plate. It is easier to attach and remove the bowl or the attachments when the mixer is raised.
Push whisks or dough hooks into accessory slots underneath the mixer, until they click into place.
Before removing whisks or hooks, unplug the handmixer. Then hold the device firmly with one hand, while pressing the eject button.
Note: The whisks or hooks can only be removed when the speed selector is positioned all the way to the left.
OPERATING INSTRUCTIONS
Processing in the mixing bowl must not exceed 2.5 litres. For mixing a heavy dough (fx. pizza, bread) above 1 kg up to 1.5 kg, we recommend to process only 1 portion and let the mixer cool down to room temperature before starting the next portion or process. This will protect your product from damages of overheating.
Operating the mixer. To start the mixer, move the speed selector from left to right. Both the whisks/dough hooks and the bowl will rotate. Always start mixing at a low speed, then increase.
Warning! Due to risk of injury, never touch running whisks or hooks with either tools or fingers.
When the Turbo button is pressed and held during operation, the mixer operates at its maximum speed. Note: Whisks are not suitable for processing stiff mixtures. For heavy dough, such as pie and bread dough, use the dough hooks.
GB Switch the appliance off, remove the plug from the wall socket and wait until the tools have stopped completely.
DE Warning! Never immerse the housing, plug, or cord in water or any other fluid.
Wash all parts, except for the motor base, in warm soapy water. Dry each part thoroughly before use.
AR Whisks and dough hooks can be cleaned with a brush under running water or in the dishwasher.
The housing should only be cleaned with a soft damp cloth, then dried with a cloth.
Note: Do not use abrasive cleansers or scouring pads to clean the surfaces of your appliance.
Before storage, remove the plug from the power outlet. Ensure the appliance is clean and completely dry.
Store the dough hooks and whisks in the mixing bowl located on the processor base. This will protect them from damage.
FR GR IT Enjoy your new AEG product!
SAFETY ADVICE Read the following instruction carefully before using machine for the first time.
• Appliances can be used by persons with reduced physical, sensory or mental capabilities or lack of experience and knowledge if they have been given supervision or instruction concerning use of the appliance in a safe way and if they understand the hazards involved. • Children should be supervised to ensure that they do not play with the appliance. • Never use or pick up the appliance if – the supply cord is damaged, – the housing is damaged. • If the appliance or the supply cord is damaged, it must be replaced by the manufacturer, its service agent or similarly qualified person, in order to avoid hazard. • Always disconnect the appliance from the supply if it is left unattended and before assembling, disassembling or cleaning. • Care shall be taken when handling the tools, emptying the bowl and during cleaning. • Switch off the appliance and disconnect from supply before changing accessories or approaching parts that move in use. • Do not immerse the appliance in water or any other liquid. • This appliance is intended for domestic use only. The manufacturer cannot accept any liability for possible damage caused by improper or incorrect use.
NL PT RECIPES RECIPE Yeast dough (Pizza dough)
Place yeast, sugar and warm water in the stand mixer bowl of the machine, and let it stand until creamy.
Add flour, salt and oil to the mixture. Mix at lower speed for 30 sec. When the dough is formed homogeneously, increase speed to speed 5 for 4 min and 30 sec. The dough is ready when it does not stick to the side of the bowl, neither to the tool. Spread the dough with a rolling pin to the desired thickness on a lightly floured surface. Place the dough in a lightly greased pan and spread with toppings.
SETTINGS AND TROUBLESHOOTING SETTING SPEED Kneading, Mixing
Start with low speed, then increase to high speed.
Start with medium speed, then increase to high speed.
Medium or high speed.
Start processing at low speed to avoid powdery foods and liquids spraying out.
PROBLEM POSSIBLE CAUSE SOLUTION The motor slows down during operation.
Amount of dough may exceed maximum capacity.
Remove half and process in two batches.
Dough may be too wet, it sticks onto the side of the bowl.
Add more flour, 1 tablespoon at a time until the motor speeds up. Process until dough cleans the side of the bowl.
The motor does not work.
The appliance is not connected to the mains.
Make sure to plug in the appliance before operation.
The appliance vibrates/moves during operation.
The rubber feet are wet.
Make sure the rubber feet at the bottom of the unit are clean and dry.
Too high setting on the speed selector. Lower the speed setting.
It is normal for heavy loads (e.g heavy dough, cheese).
Remove half and process in two batches.
If the appliance is still not working, contact the customer service.
DISPOSAL GB DE This symbol on the product indicates that this product contains a battery which shall not be disposed with normal household waste.
This symbol on the product or on its packaging indicates that the product may not be treated as household waste. To recycle your product, please take it to an official collection point or to an AEG service center that can remove and recycle the battery and electric parts in a safe and professional way. Follow your country’s rules for the separate collection of electrical products and rechargeable batteries. AEG reserves the right to change products, information and specifications without notice.
CÓMO DESECHAR EL ELECTRODOMÉSTICO GB COMPONENTI A.
Printed on recycled paper
Electrolux Hausgerate GmbH Further Strasse 246 D-90429 Nurnberg Germany 3483 A SM33xx 02 04 0817