
11405 - Food processor MAGIMIX - Free user manual and instructions
Find the device manual for free 11405 MAGIMIX in PDF.
User questions about 11405 MAGIMIX
0 question about this device. Answer the ones you know or ask your own.
Ask a new question about this device
Download the instructions for your Food processor in PDF format for free! Find your manual 11405 - MAGIMIX and take your electronic device back in hand. On this page are published all the documents necessary for the use of your device. 11405 by MAGIMIX.
USER MANUAL 11405 MAGIMIX
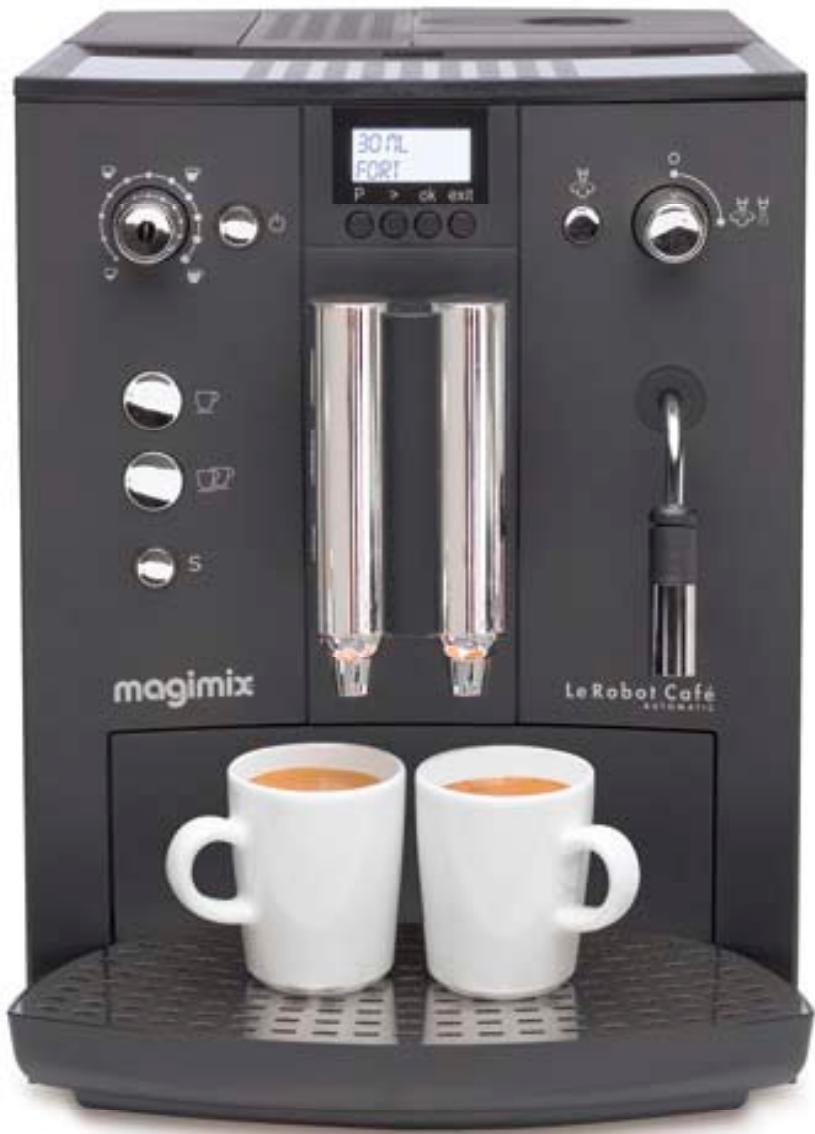
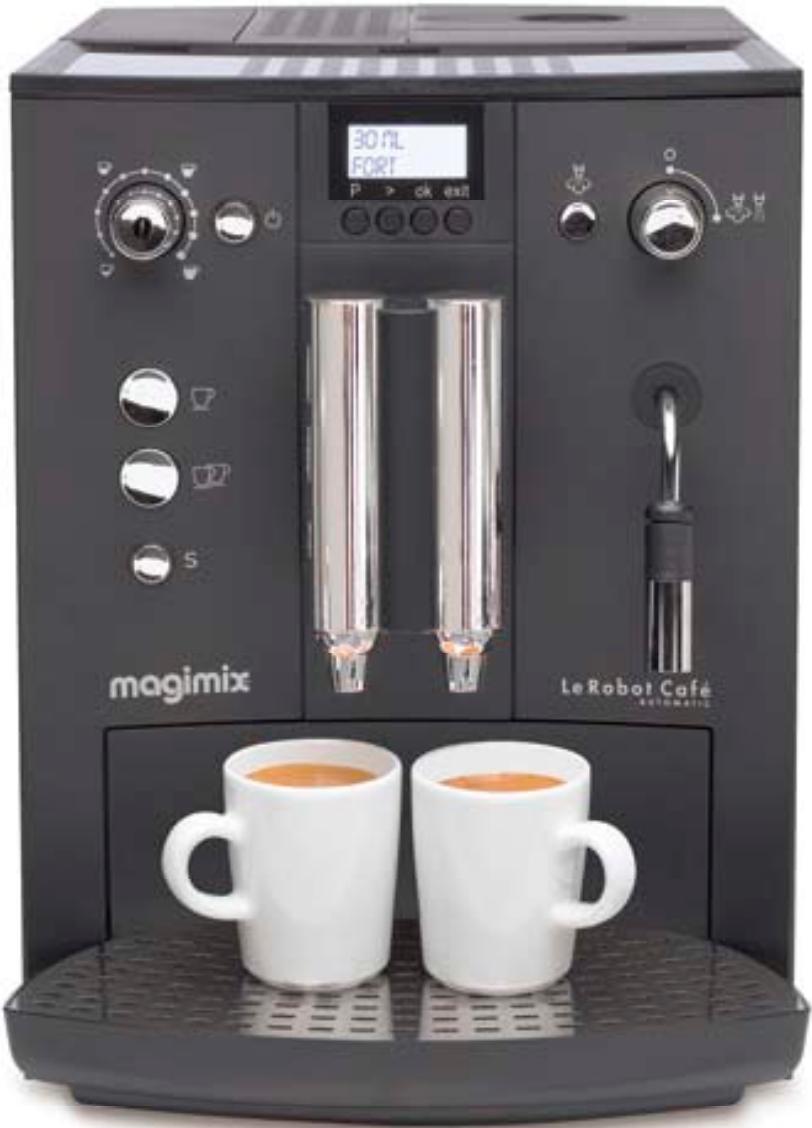
Le Robot Café Automatic
Frmode d'emploi
Uk Instructions for use
magimix
Descriptif 2
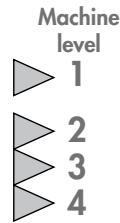
NORMAAL - HOOG - MAXIMAAL
Language selection 42
Adjusting the clock 43
44
Water hardness level 45
Selecting the temperature 45
Brewing espresso coffee
Preparing the machine 46
Adjusting the grind 46
Large or small espresso? 46
Light, strong or extra-strong espresso? 47
1 or 2 cups 47
Ground coffee 47
Using the nozzle
Hot water 48
Steam 48
Cappuccino 49
Aftercare
Weekly aftercare 50
Changing the filter 51
Cleaning programme 52
Safety instructions 57

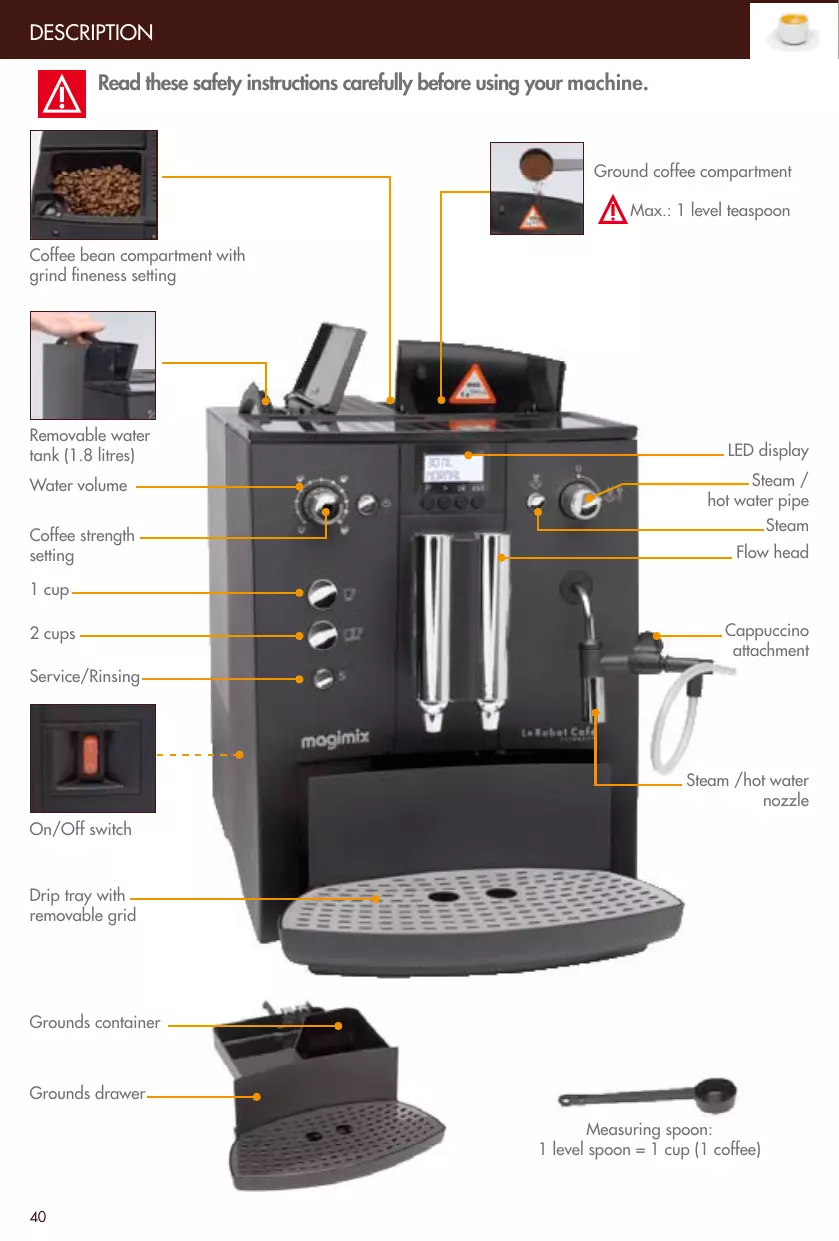
Read these safety instructions carefully before using your machine.
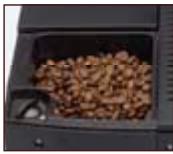
Coffee bean compartment with grind fineness setting

Removable water tank (1.8 litres)
Water volume
Coffee strength setting
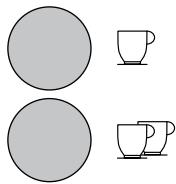
1 cup
2 cups
Service/Rinsing
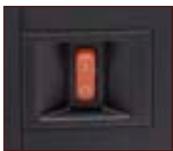
On/Off switch
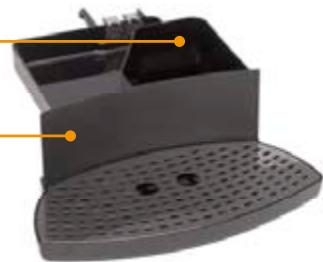
Drip tray with - removable grid
Grounds container
Grounds drawer
Ground coffee compartment
Max.: 1 level teaspoon
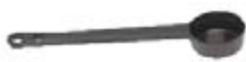
Measuring spoon:
1 level spoon = 1 cup (1 coffee)
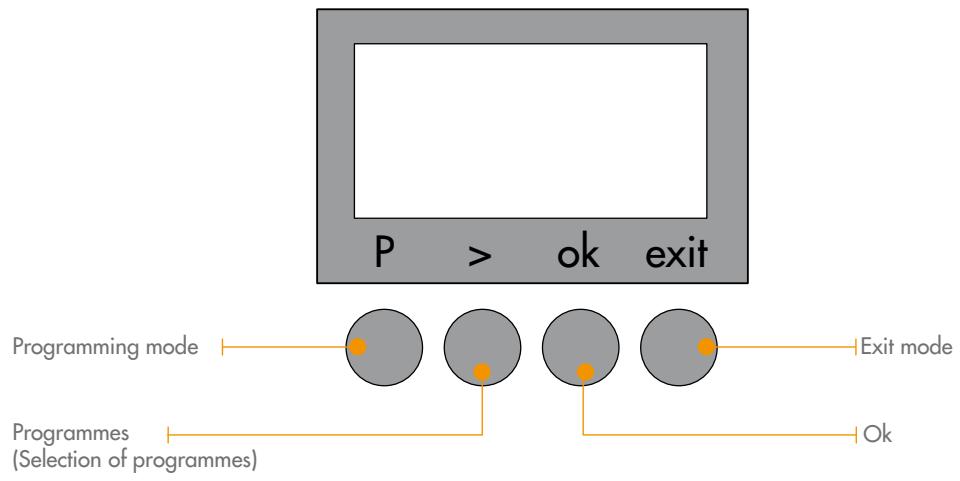
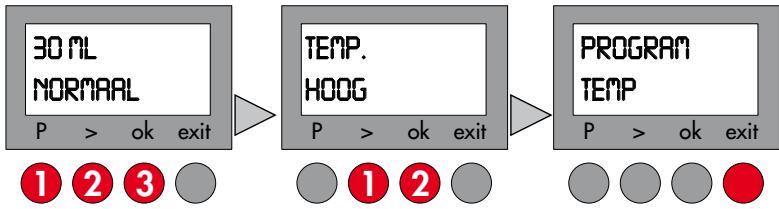
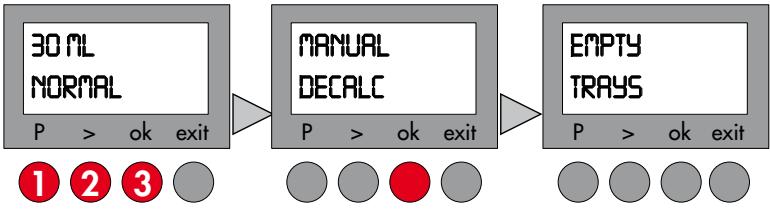
LIST OF PROGRAMMES
PROGRAM Indicate whether or not you have chosen to install the water filter. FILTER See "Installing the filter" chapter (p. 44).
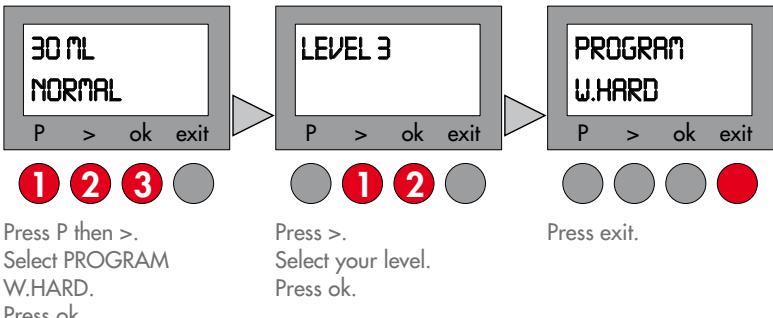
PROGRAM Choose your water hardness setting between 1 and 4. U.HARD See "Water hardness level" chapter (p. 45).
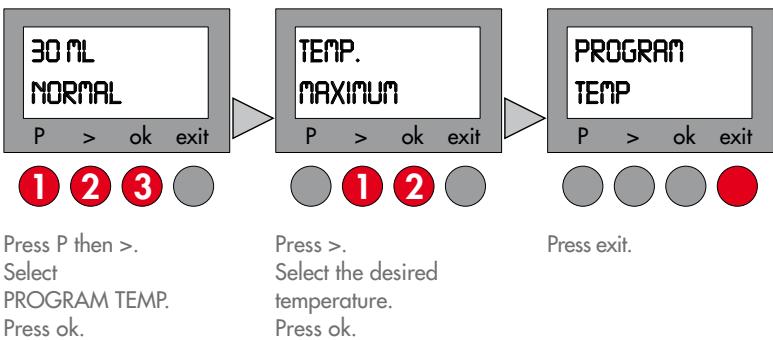
PROG RAM Choose between three temperature settings for your coffee: Temp Normal, High, Maximum. See "Selecting the temperature" chapter (p. 45).
PROGRAM Choose between 8 different languages. LALNGUAGE See "Language selection" chapter (p. 42).
PROGRAM Setting the on/off time Time See "Adjusting the clock" chapter (p. 43).
PROGRAM You can find out how many times each function has been used.
PROGRAM Cleaning programmes. > CLEANING CLEANING See "Cleaning programme" chapter (p. 52).
PROGRAM Descalng programmes. > DECALC See "Dscalingprogramme" chapter (p. 53).
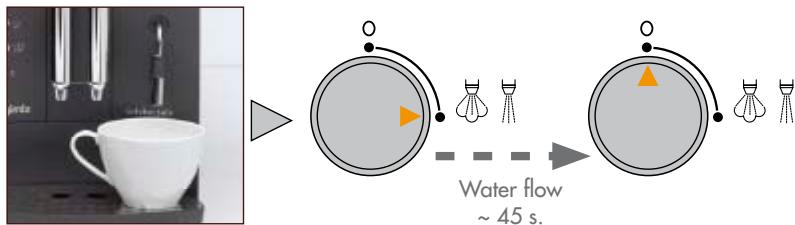
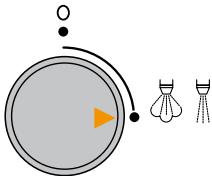
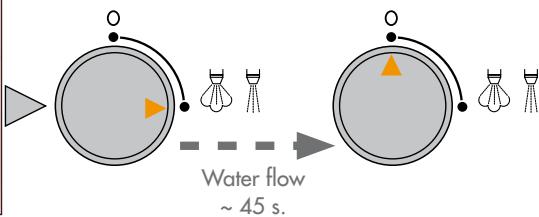
Rinsing
Before you use your machine for the first time, you must rinse the water circuit to eliminate any residual water in the system.

Plug into earthed socket.
Switch the machine on.

Select.


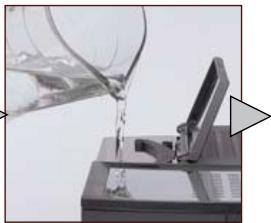
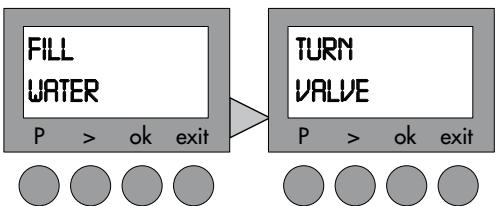
Fill with fresh water

Allow water to flow for 45 s
Turn the tap off.

SYS.15 HEATING


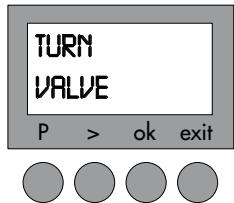
Turn the tap on.
Place a cup underneath the flow head


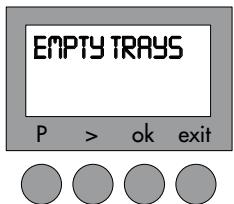
Press S as soon as the button starts flashing

You can rinse your machine at any time simply by pressing the S button.
Language selection


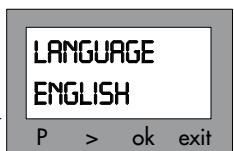


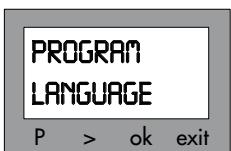


Press P then >. Select PROGRAM LANGUAGE. Press ok.
Press > Select the language. Press ok.
Exit.
Adjusting the clock
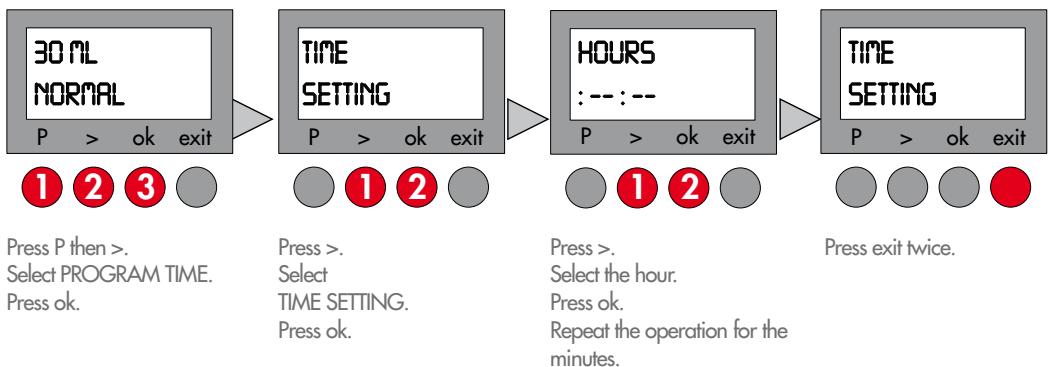
Setting the timer for the automatic switch-on
Pre-program your machine for automatic switch on.
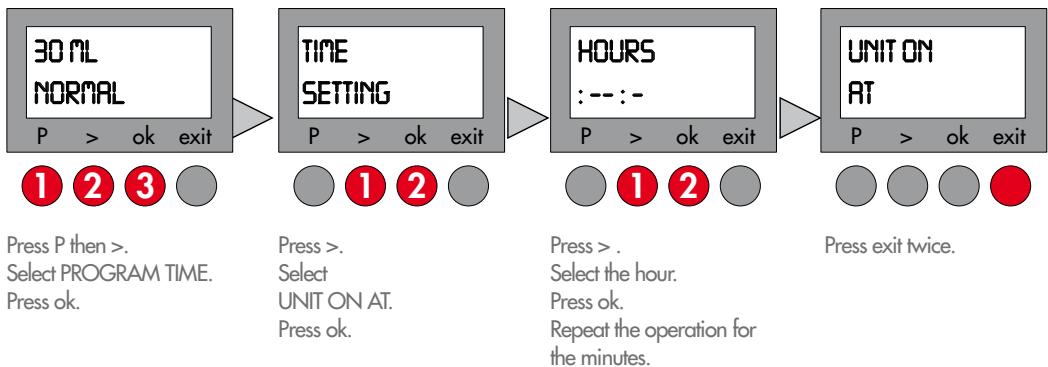
Setting the timer switch-off
Pre-program your machine for automatic switch off.

Installing the water filter
Option 1
If you decide to use the filter option, the water hardness and manual descending programmes will no longer be displayed.

Place a cup underneath the flow head
Turn the tap on.
Turn the tap off.
Option 2
If you decide not to use the filter option, you will need to set the water hardness (see p. 45) and carry out manual descending (see p. 54).
Press P then >.
Select PROGRAM FILTER.
Press ok.
Press >.
Select NO.
Press ok.
Press exit
Setting Water hardness level
If, and only if, you have not installed your filter, you must select the water hardness setting so that the system is set up warn you when you need to descale your machine.

Dip the test strip in cold water
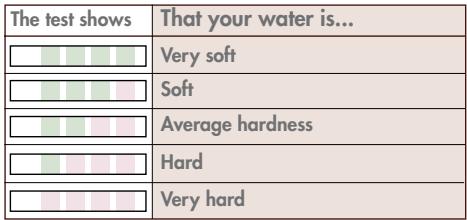
Compare.
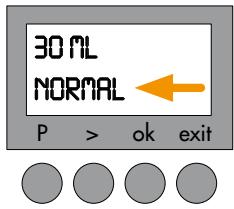
Temperature setting
You can choose between three temperature settings for your coffee.
NORMAL - HIGH - MAXIMUM
Preparing the machine
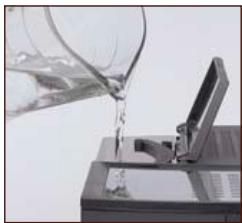
Fill the water tank.
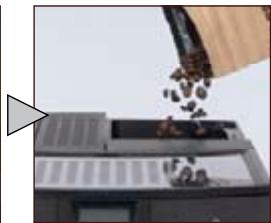
Fill the coffee bean compartment.
Ensure the tap is off
Setting the fineness of the grind
The paler the beans (lightly roasted) the finer they must be ground.

Only adjust the grind setting while the grinder is running.
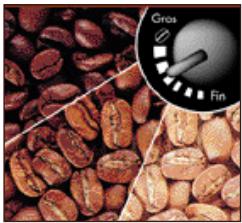
Clockwise: coarser grind.
Anti-clockwise: finer grind.
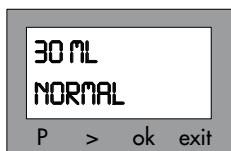
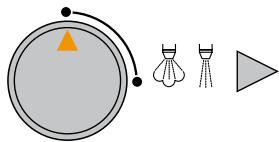
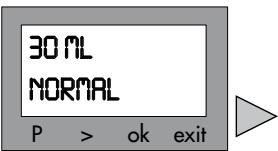
Large or small espresso?
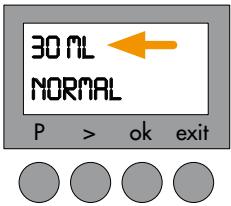
Water volume display.
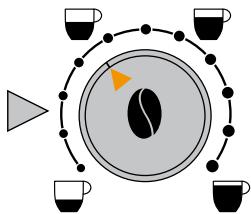
Turn the dial to the desired level.
...adapt your water level to the type of coffee:
30 ml - 70 ml
Espresso
80 ml - 130 ml
Espresso with milk / Cappuccino
140 ml - 240 ml
White coffee
Light, strong or extra-strong espresso?
Choose between 3 levels of flavour intensity.
Coffee intensity display.
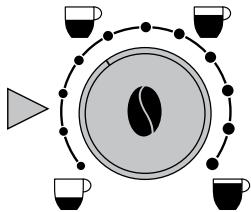
Press centre of cup dial to obtain desired intensity of coffee.
Press the button:
x1:Light
x2:Normal
x3 :Strong
1 or 2 cups

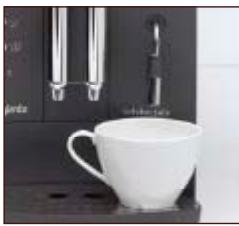
Place 1 or 2 cups under the flow heads
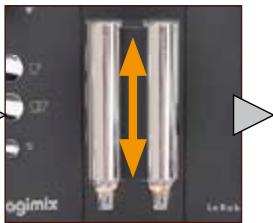
Adjust the height.
Press the 1 or 2 cup button. The coffee will stop automatically.

The water quantity displayed represents the amount for each cup.
When you are brewing 2 cups, the flow will stop then resume, as the machine will carry out 2 grinding cycles.
The flow can be halted any time by pressing on the 1 or 2 cups selection button.
Ground coffee
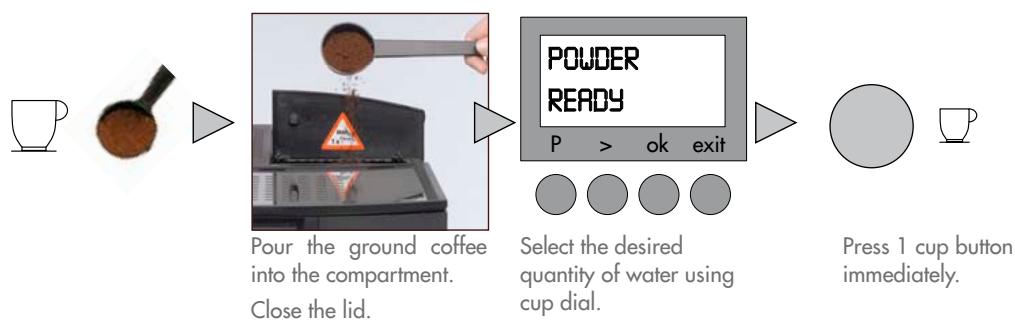

Never use more than one measuring spoonful of ground coffee.
Never insert anything other than ground coffee or cleaning tablets into the ground coffee compartment. If the ground coffee compartment is opened by mistake or a button has not been pressed within a minute of putting the ground coffee in, the machine will automatically be rinsed through via the flow heads. Close the lid and wait 1 minute.
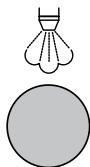
Hot water
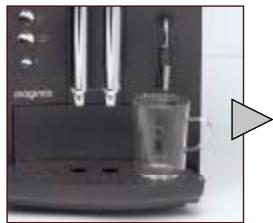
Place the cup underneath the nozzle
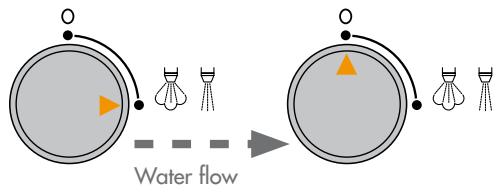
Turn the tap on.
Turn the tap off.
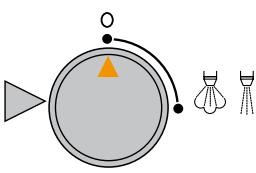
Steam
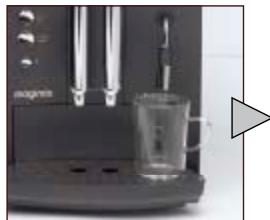
Place the cup underneath the nozzle
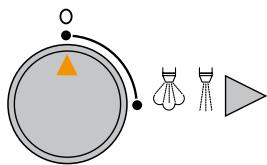
Ensure the tap is turned off
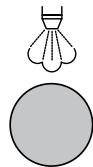
Press


Display
System ready.

0
Turn the tap on.
0
Turn the tap off.
Return to "coffee" mode.

You can draw steam for 2 minutes at a time. After that, the machine automatically interrupts the supply.
You can resume by turning the button again.
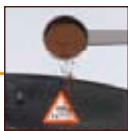
A small amount of water will flow from the nozzle before the steam arrives.
Cappuccino
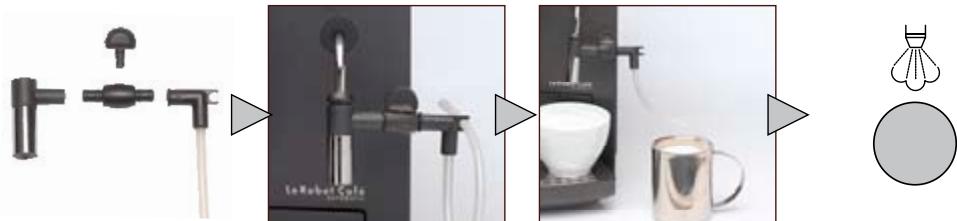
Press.
Assemble the attachment.
Attach it to the nozzle.
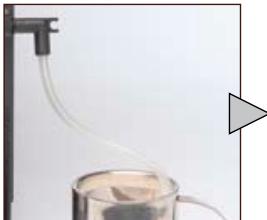
Place 1 cup under the nozzle. Put the pipe in a jug 1/3 full of milk.

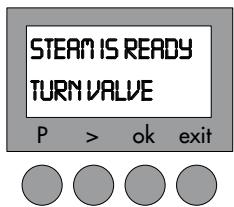
Wait for the STEAM IS READY message to be displayed.
Slowly turn the tap on.
Brewing a Cappuccino?
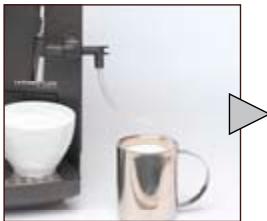
Prepare your frothy milk as described above.

Press to return to coffee mode.

Prepare 1 or 2 cups of coffee.

Spoon the desired amount of froth on top of the coffee.
Cleaning the Cappuccino attachment
Fill the jug with water and place the Cappuccino pipe in the water.
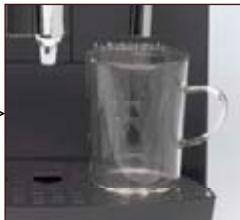
Place a cup under the nozzle.
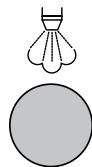
Press.

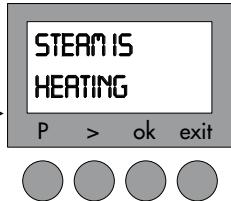
Wait until the STEAM READY message is displayed.
Slowly turn the tap on.

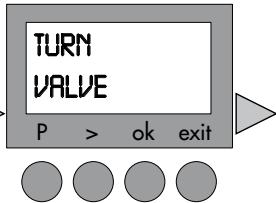
Open valve

Water will be drawn up into the pipe. Turn the steam dial when water runs clear and the pipe is clean.
Turn the tap and valve off

Always unplug the machine and wait for it to cool down before cleaning. Do not put any of the parts in the dishwasher.
Do not use an abrasive sponge or aggressive detergent.
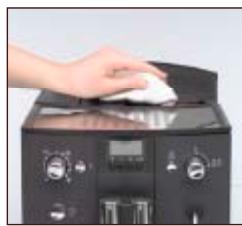
Weekly aftercare
Once a week or more if necessary.
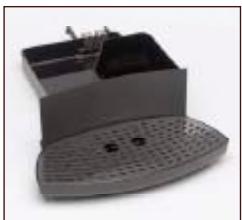
Empty the drip tray and the grinds container.
Water tank
- Tray + grid
- Contacts
Clean and dry well using water + mild detergent.
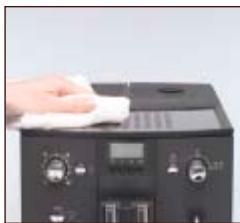
Wipe the the exterior of the machine housing with a damp cloth.
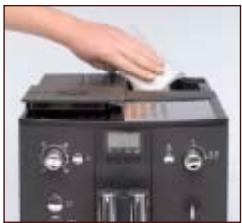
Clean the compartment with a damp cloth and dry.
Clean with a dry cloth.
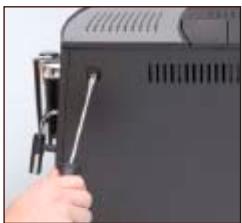
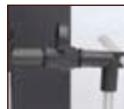
Unscrew using a flat screwdriver or a coin.
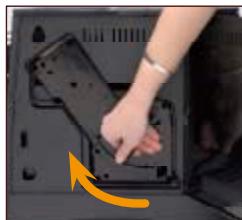
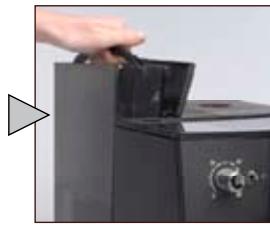
Raise the release handle, pressing the red button at the same time.
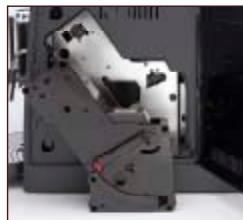
Remove the machine's central unit.
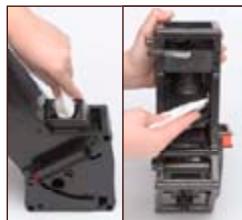
Clean the funnel ^+ filter with a damp cloth.
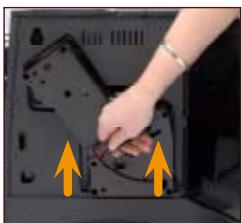
Place the central unit back in the machine
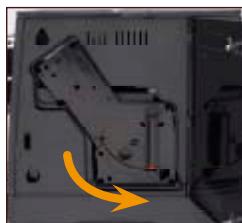
Lock into place by pushing the Handle down, pressing the red button at the same time. Screw the door shut.
Closed.

Open.
Changing the filter
Automatic rinsing.
After filtering approximately 50 litres of water, the filter will need to be replaced.
The machine is set up to tell you when you need to change the filter.
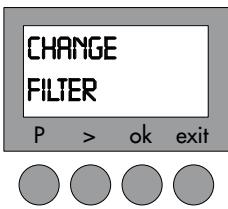
The filter needs to be changed
Empty the water tank.
Change the filter.

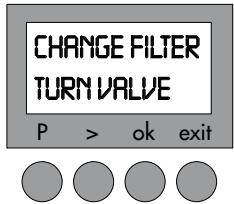
Press.

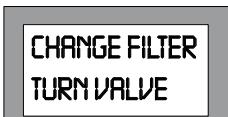
CHANGE FILTER
TURNVALUE
P > ok exit
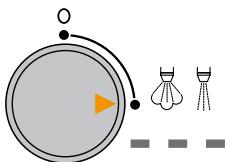
Place a cup underneath the flowhead.
Turn the tap on.
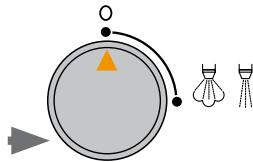
Turn the tap off.
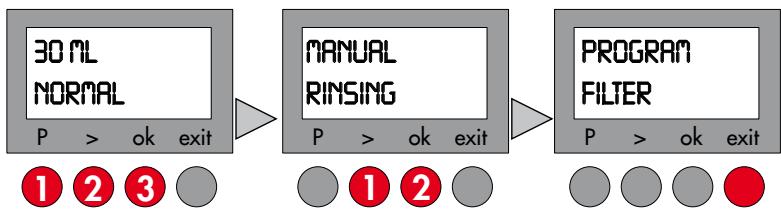
Manual rinsing
Even if you do not use your machine very often, the filter will still need changing approximately every 2 months or so.

Empty the water tank.
Change the filter.
Fill with water.

Press P then >. Select PROGRAM FILTER. Press ok.
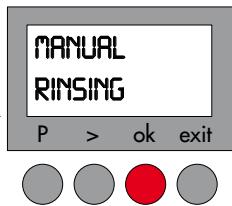
Press ok.
P > ok exit

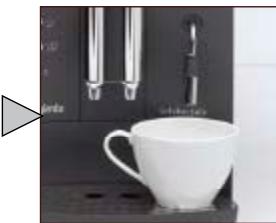
Place a cup underneath the flowhead.
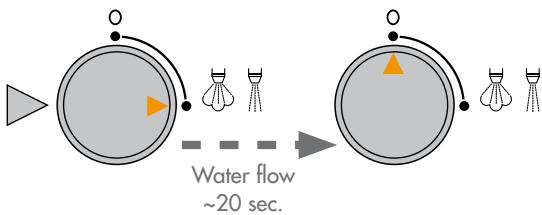
Turn the tap on.
Turn the tap off.
Cleaning programme
Automatic
The machine needs to be cleaned.
Press.
The metal sensors at the back of the drip tray are very sensitive and need to be wiped clean thoroughly.
Fill the water tank. Put the tray back in position.
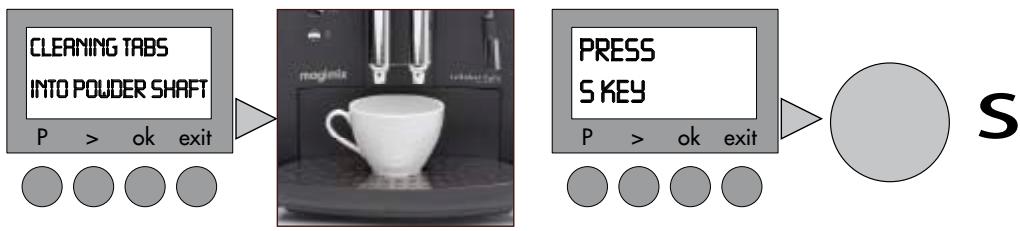
Put a cleaning tablet in the ground coffee compartment.
Close the lid.
Place a large cup under the flow head.
Press.

Cleaning underway 10 min.
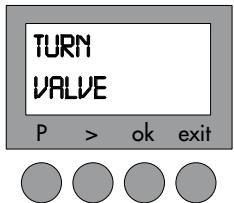
Empty the trays and put them back.

Never interrupt the cleaning programme once it has started.
Manual
You can launch a cleaning programme whenever necessary.

Press P then >.
Select PROGRAM
CLEANING.
Press ok.
Press ok.
Proceed according to the automatic mode.
Dscaling programme
Automatic: filter option activated

Never interrupt the descending programme once it has started.
Never use vinegar or a vinegar-based product for descaling.
Always remove the water tank filter before descending.

The machine needs.
descaling.
Press
Empty the trays and put them back.

Fill the tank with fresh water + descending product up to the 0.5 l mark.

10 min.

Place a cup underneath the nozzle.
Turn the tap off.

Turn the tap on.


Empty the trays and container.
Fill the water tank up to the 0.5 l mark.

Turn the tap off.

5 min.
Turn the tap on.
Empty the trays and put them back.


Press.
Manual: filter option deactivated
You can select the descending programme whenever necessary.
Press P then >. Select PROGRAM DECALC. Press ok.
Press ok.
Proceed as for the automatic mode.
RECIPES


Espresso
Espresso coffee is characterised by the colour of its creamy golden top, midway between russet and hazel, and by its extremely rich aroma...Espresso coffee represents roughly 40 or 50ml of black coffee served in a 60ml cup.
Cappuccino
Fill a large cup 1/3 full with frothed milk (see "Cappuccino" chapter, p. 49). Froth the milk using the cappuccino attachment. You can either spoon the froth onto your espresso coffee and sprinkle it with cocoa powder or pour the coffee on top of your frothed milk.
Ristretto
This is concentrated espresso coffee, made from the same quantity of ground coffee, but only half the water. It never exceeds 30ml .
Macchiato
"Macchiato" means "spotted" in Italian. It closely resembles cappuccino coffee, but is stronger and has a more powerful aroma. Make a cup of espresso coffee and top it with a spoonful of milk froth.
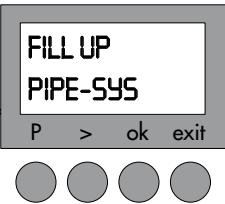
| Screen messages | Actions |
| FILE UP PIPE-SYS | Turn the steam/hot water tap on. Press S. |
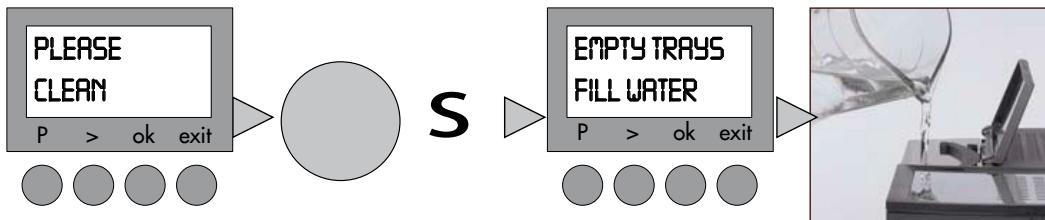
| FILL WATER | Fill with fresh water. Position the water tank correctly. |
| FILL BEANS | Pour coffee beans into the coffee bean compartment. This message will remain on the screen until you grind some more coffee. |
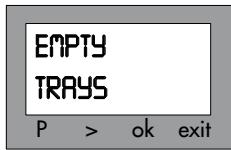
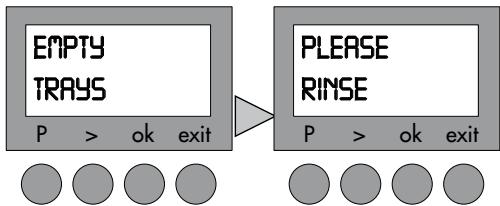
| EMPTY TRAYS | Empty the trays. Clean the contacts at the bottom of the drip tray and dry thoroughly. |
| TRAYS MISSING | Position the trays correctly. Clean the contacts at the bottom of the drip tray and dry thoroughly. |
| SYSTEM TOO HOT | Cool the system down by drawing hot water through the nozzle. |
| PLEASE CLEAN | Clean the machine (see p. 52). |
| SYSTEM CALCIF | Descale the machine (see p. 53). |
| FILTER CHANGE | Replace the filter (see p. 51). |
| CLOSE THE DOOR | Check that the central unit is properly positioned (see p. 50). Screw the door shut. |
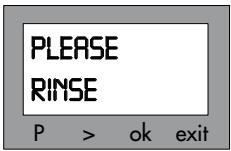
| PLEASE RINSE | Place a cup under the flow heads. Press the S button. |
| Question | Answer |
| No coffee flow. | Check the positioning of the water tank. Fill the water tank. Check the positioning of the trays. Machine clogged with limescale ----> descale. Clean the central unit filter. |
| Coffee flow reduced to a dribble. | Coffee ground too finely ----> adjust the setting to a coarser grind. |
| Coffee too watery, not strong enough. | Refill the coffee bean compartment. Reduce the volume of coffee in ml. Select a stronger coffee by pressing Reduce the fineness of the grind. |
| Unpleasant taste. | Coffee: stale? acidic? ----> replace the coffee beans. Chlorinated water? ----> use the filter cartridge or bottled water (low mineral content). After descaling, fill the water tank and rinse the machine through, 1/2 via the nozzle, 1/2 via the flow heads. |
| Coffee not hot enough. | Preheat the cups using the hot water nozzle. Adjust the coffee temperature setting. |
| Insufficient coffee flow. | Refill the coffee bean compartment. |
| Grinder making unusual noise. | Refill the coffee bean compartment. Call Magimix Customer Care 01483 427411. |
| Milk not frothy enough. | Nozzle or pipe: blocked? clogged with limescale? ----> see "Aftercare" chapter. Use cold, full fat milk. |
| Cappuccino attachment not drawing up liquid. | Clean the tube (see p. 49). Check that the attachment components have been properly assembled. Check valve is open. |
| No steam or hot water supply. | Clean the nozzle (see p. 49). |
| Water around the base of the machine. | Empty the drip tray. |
| Machine not working at all. | Check all the connections. Close the ground coffee compartment and wait for one minute. Press S. Call Magimix Customer Care 01483 427411. |
| The descaling programme will not start. | Deactivate the filter option. (see p. 44) |
| Trouble with initial start up. | Ensure machine has been rinsed through following the instructions to allow you to change the language. |

This symbol means that this product must not be treated as household waste. It must be taken to a suitable collection point for the recycling of electrical or electronic equipment.
To find out where your nearest collection points are, contact your local council or the local waste reception centre.
- Check that the voltage of your power supply corresponds to that shown on the identification plate of your machine.
- Never leave children near the machine unattended. The machine has not been designed for use by children.
- This machine has not been designed for use by persons (including children) with physical, sensory or mental impairments or who are lacking in knowledge or experience, unless they have been the necessary initial supervision or have received instructions as to how use the machine by a person responsible for their safety.
- The machine must always be connected to an earthed socket.
- Never allow the power cord to dangle over the work surface.
- Never allow the machine or its power cord to come into contact with a hot or wet surface.
- Always unplug the machine after using it before you fill the water tank and move or clean the machine. Never tug on the power cord to unplug it.
- Never leave the machine and/or its power cord near heat.
- While operating the machine, avoid touching certain parts which can become extremely hot (flow heads, nozzle, etc.).
- Never heat flammable liquids with the steam.
- Always fill the tank with cold water and never add other types of liquid.
- Malfunctions due to failure to descale the machine or the use of a descending method other than that described in the Instructions for Use are not covered by the guarantee.
- Never use your machine after it has fallen or been dropped or if it is not working properly. If the power cord has been damaged, it must be replaced by the manufacturer, approved by Magimix. For further information please contact customer care on; 01483 427411, in order to avoid all possible danger.
- Never use your machine outside.
- This machine is intended solely for use in the home and has not been designed for professional/commercial use.
magimix
www.magimix.com