
NT1 Signature - Microphone RODE - Free user manual and instructions
Find the device manual for free NT1 Signature RODE in PDF.


| Type | Large diaphragm condenser microphone |
| Polar Pattern | Cardioid |
| Frequency Range | 20 Hz - 20 kHz |
| Impedance | 100 Ω |
| Maximum SPL | 135 dB SPL |
| Equivalent Noise Level | 7 dB |
| Dynamic Range | 128 dB |
| Output Connection | XLR (3-pin) |
| Phantom Power Requirement | 48V DC |
| Dimensions (Length x Diameter) | 190 mm x 52 mm |
| Weight | 345 g |
| Included Accessories | Shock mount, pop filter, XLR cable |
| Microphone Body Material | Aluminum |
| Country of Manufacture | Australia |
| Primary Applications | Vocals, spoken word, studio recording |
| Cleaning Instructions | Wipe with a soft, dry cloth. Avoid moisture |
| Storage | Store in a dry, dust-free place |
| Repair Service | Contact RØDE authorized service center |
Frequently Asked Questions - NT1 Signature RODE
User questions about NT1 Signature RODE
0 question about this device. Answer the ones you know or ask your own.
Ask a new question about this device
Download the instructions for your Microphone in PDF format for free! Find your manual NT1 Signature - RODE and take your electronic device back in hand. On this page are published all the documents necessary for the use of your device. NT1 Signature by RODE.
USER MANUAL NT1 Signature RODE
USER GUIDES / NT1 Signature Series / USER GUIDE & SUPPORT

natural_image
Black RODE studio microphone with circular head cover and stand, no visible text or symbols on device bodyNT1 Signature Series
USER GUIDE & SUPPORT
The NT1 Signature Series is a large-diaphragm studio condenser microphone that delivers incredible warmth and clarity on a wide variety of sound sources, from vocals to guitars, drums, piano and more.
Discover everything you need to know about using your NT1 Signature Series here.
Contents
Features
USER GUIDES / NT1 Signature Series / USER GUIDE & SUPPORT

1 Large-diaphragm 1-inch Capsule
2 Gold Dot Indicating Front of Microphone
3 Screw Thread
4 XLR Connector
5 Pop Filter
6 SM6 Shock Mount
7 Pop Filter Mounting Arm
8 Microphone Stand Mount
Pickup Pattern and Placement
The NT1 Signature Series is a side-address microphone and features a tight cardioid polar pattern. This means it will pick up sound perpendicular to, and in front of, the body of the microphone, while rejecting sounds behind it. The gold dot on the body of the NT1 Signature Series indicates the front of the microphone – always make sure that this is pointed towards your sound source.
USER GUIDES / NT1 Signature Series / USER GUIDE & SUPPORT

natural_image
Close-up of a black microphone with a mesh grille and gold-colored internal structure (no text or symbols visible)Getting Set Up
The NT1 Signature Series comes with all the accessories you need to get recording, including a studio-quality shock mount, pop filter and XLR cable.
Using the Shock Mount
The SM6 shock mount and pop filter provides excellent isolation from unwanted sounds produced by external bumps and other movement, as well as plosives (puffs of air from your mouth that can overload the capsule). It can be attached to any standard microphone stand or studio arm, either upright or upside down. The mount features both 5/8-inch and 3/8-inch thread sizes.
Attaching the Pop Filter
To place the pop filter on the shock mount, adjust the 'L'-shaped bracket with the rounded base so that its threaded socket faces up. Screw the pop filter into this socket until firmly secured. Once in place, the height of the pop filter can be adjusted using the telescopic arm, as well as its left-to-right orientation and back-and-forth tilt.
Mounting the NT1 Signature Series
Place the NT1 Signature Series inside the SM6 shock mount and rotate the microphone clockwise to screw it loosely into the base of the mount. Adjust the orientation of the microphone so that the gold dot faces the pop filter, and then tighten the ring beneath the mount while holding the microphone to secure it in place.
USER GUIDES / NT1 Signature Series / USER GUIDE & SUPPORT

natural_image
Black studio microphone with adjustable stand and propeller, no visible text or symbolsConnecting Your NT1 Signature Series
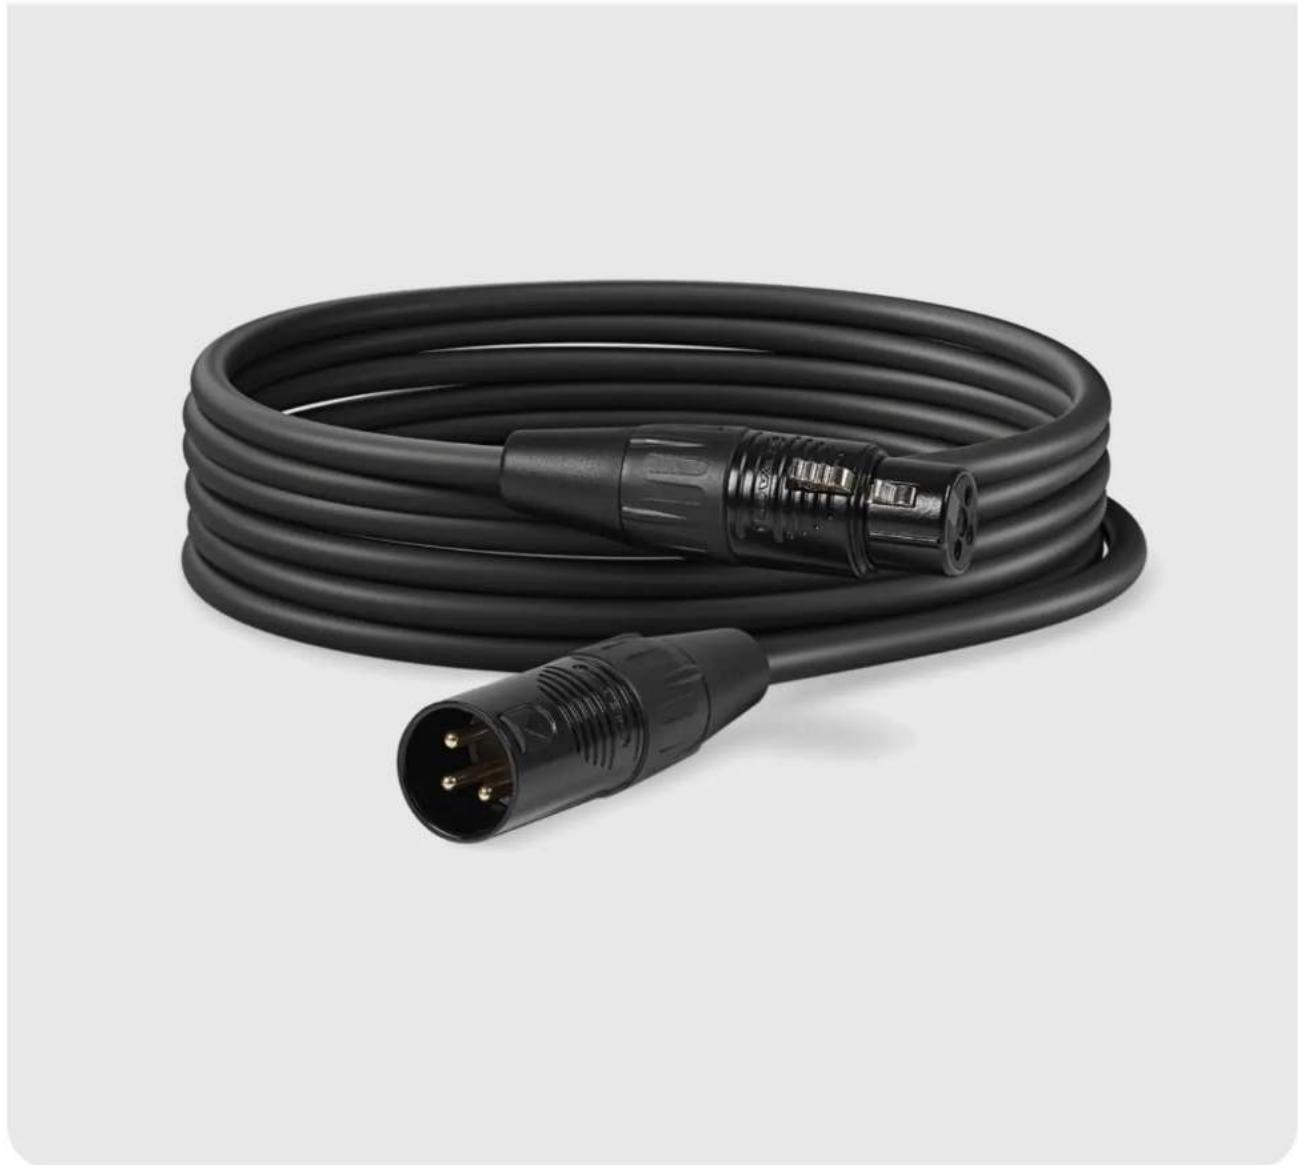
Once you've mounted your NT1 Signature Series, plug the female end of your XLR cable (three holes) into the base of the microphone (three pins). Before connecting the other end of the cable to your mixer, audio interface or similar device, ensure the input volume is fully down to avoid unexpected feedback or loud sounds.
USER GUIDES / NT1 Signature Series / USER GUIDE & SUPPORT
natural_image
Coiled black electrical plug with three connectors, no visible text or symbolsPowering Your NT1 Signature Series
For the NT1 Signature Series to function, you'll need to supply it 48V phantom power. Most mixers, audio consoles and audio interfaces like the AI-1 (pictured) are capable of providing phantom power, which is supplied to the mic via an XLR cable. In most cases, you will need to activate it via your device.
USER GUIDES / NT1 Signature Series / USER GUIDE & SUPPORT

Using the Blue Ring
While the included premium XLR cable will fit securely in your NT1 Signature Series, the blue ring is useful when using a different microphone cable that doesn't snugly fit into the XLR connector. Simply place the ring into the XLR socket, then push it into place with a cable. This will ensure a tight fit with any cable.
USER GUIDES / NT1 Signature Series / USER GUIDE & SUPPORT

natural_image
Blue wavy ribbon sculpture with no text or symbolsProducts
Microphones
Headphones
Interfaces and Mixers
Accessories
Apps
Apparel
Service
Contact R∅DE
Support Centre
Warranty
Where to Buy.
Authorised Dealers
Company
About R∅DE
News and Info
Career Opportunities
Account
Create Account
Subscribe to our latest news and offers
Subscribe
USER GUIDES / NT1 Signature Series / USER GUIDE & SUPPORT
© 2024 RODE All Rights Reserved.

- NT1 Signature Series
- Pickup Pattern and Placement
- Getting Set Up
- Using the Shock Mount
- Attaching the Pop Filter
- Mounting the NT1 Signature Series
- Connecting Your NT1 Signature Series
- Powering Your NT1 Signature Series
- Using the Blue Ring
- Products
- Service
- Company
- Account
- Subscribe to our latest news and offers
Brand : RODE
Model : NT1 Signature
Category : Microphone