Pantograph - Éclairage suspendu MARTIN - Free user manual and instructions
Find the device manual for free Pantograph MARTIN in PDF.


| Product Type | Pantograph (drafting tool) |
| Brand | Martin |
| Model | Pantograph |
| Dimensions (L x W x H) | 60 x 40 x 10 cm |
| Weight | 2.5 kg |
| Material | Aluminum alloy |
| Scaling Range | 1:2 to 2:1 (adjustable) |
| Max Tracing Area | 30 x 40 cm |
| Arms Length | Adjustable up to 50 cm |
| Base | Non-slip rubber feet |
| Accuracy | ±0.5 mm |
| Power Source | None (manual operation) |
| Functions | Copying, enlarging, reducing, tracing line drawings |
| Maintenance | Clean with soft dry cloth; lubricate joints occasionally |
| Safety Warnings | Keep away from children under 3 years; avoid pinching fingers |
| Spare Parts Availability | Replacement arms and pivot pins available from manufacturer |
| Repairability | User-replaceable pivot pins; professional repair recommended for structural damage |
| General Information | Designed for precise manual scaling; suitable for artists, engineers, and hobbyists |
Frequently Asked Questions - Pantograph MARTIN
User questions about Pantograph MARTIN
0 question about this device. Answer the ones you know or ask your own.
Ask a new question about this device
Download the instructions for your Éclairage suspendu in PDF format for free! Find your manual Pantograph - MARTIN and take your electronic device back in hand. On this page are published all the documents necessary for the use of your device. Pantograph by MARTIN.
USER MANUAL Pantograph MARTIN
Installation Instructions
The Martin Pantograph is specifically designed for hanging Martin luminaires from ceilings or other load-bearing structural elements. It may be used to suspend a fixture weighing up to 22 kg (48 lbs), and provides a drop from the ceiling to the attachment point of 12 to 62 cm (4.75 - 24.4 in.).
Warning: Never place your hands between the folding side plates when the pantograph is unlocked!
INSTALLATION REQUIREMENTS
FOR THE FIXTURE
The Pantograph attaches to the fixture mounting bracket, if applicable, or to the Omega clamp attachment bracket that is included with Martin moving-head fixtures. The Pantograph cross-plate to which the fixture fastens may be reversed if necessary.
The fastening hardware shall be metric grade 8.8 or better. Use M12 hardware to fasten the Pantograph to the Omega bracket and to most mounting brackets. (Small fixtures may require M10 hardware.) A typical installation requires an M12 x 45 mm hex cap screw, M12 washer, and M12 lock nut. An additional hex nut may be placed between the Pantograph and the Omega bracket to provide clearance for the quarter-turn locks.
FOR THE PANTOGRAPH
The Pantograph fastens to the ceiling or other load-bearing structure with four sets of 8 mm (5/16 in.) hardware. The fasteners are inserted through 42.5 mm washers (included) and then through the 24 mm holes in the base to allow room for precise alignment. Additional fasteners may be inserted through the 8.5 mm holes in the Pantograph base.
The specific fastener type and length varies according to substrate. It is the installers responsibility to determine a suitable fastening method.
FOR SECONDARY ATTACHMENT
Secondary attachment by means of a safety cable is highly recommended and may be required by local codes. The safety cable shall be rated to bear 10 times the combined weight of the fixture and Pantograph, which weighs 5 kg (11 lbs).
INSTALLATION PROCEDURE
1 Establish the location for the Pantograph. Drill or prepare four anchoring points centered on the 24 mm mounting holes in the Pantograph base. The small holes may be used instead if they are more convenient. (See dimension drawing.)
2 Remove the mounting or Omega bracket from the fixture and bolt it to the Pantograph with a suitable bolt, washer, and lock nut. (See “Installation requirements”, above.)
3 Slightly loosen the bolts on each side, if necessary, and fully extend the Pantograph. Lock the position by tightening both wing nuts against the collar to protect yourself from being pinched by the folding arms.
4 Position the Pantograph on the ceiling and fasten through the 24 mm holes in the base.
5 Install the fixture on the Pantograph using the fixture mounting bracket or an Omega bracket. When using an Omega bracket, note that the fasteners must be turned a full quarter turn to lock.
6 Raise the Pantograph to the desired position. Tighten the wing nuts.
7 Test the fit of the ceiling panel, if applicable, and adjust the Pantograph position and extension as necessary.
8 All fasteners must be tight for a safe and satisfactory installation. Tighten the mounting bracket, Pantograph base, and wing nuts. Tighten the 9 hex bolts on one side of the Pantograph and the 4 hex bolts on the other side.
9 Install a safety cable to the ceiling (not the Pantograph) and the fixture.
10 Install the ceiling panel.
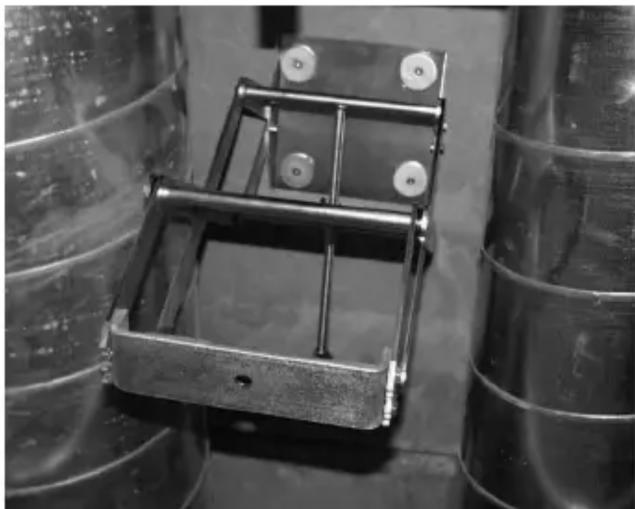
Fasten the Pantograph to the ceiling using the large holes and washers.
natural_image
Close-up of a metal mechanical bracket mounted on cylindrical containers (no visible text or symbols)Fasten the fixture to the Pantograph with locking M12 hardware. Turn the locks a full quarter turn.

natural_image
Close-up of a robotic arm with metal frame and articulated joints, mounted on a base (no visible text or symbols)Check the fit, adjust as required, and tighten everything.

natural_image
Interior view of an appliance showing internal components like electronic devices and wiring (no visible text or symbols)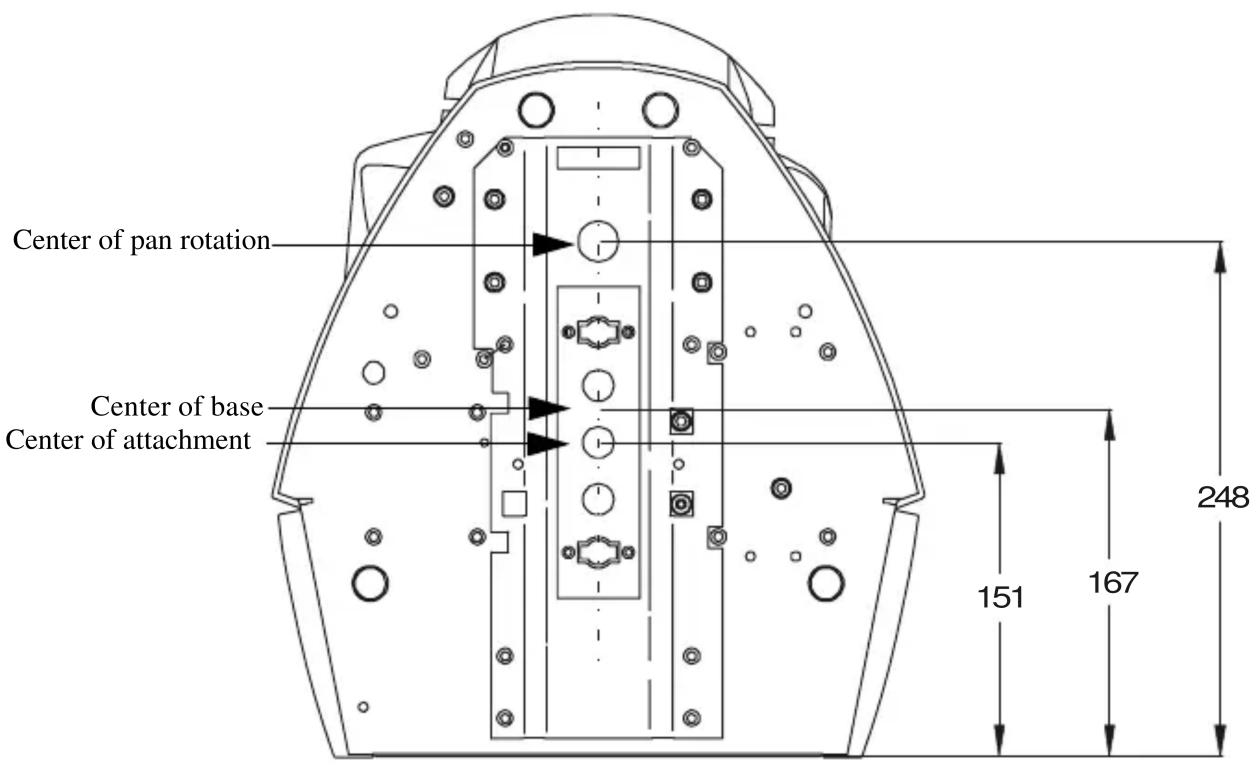
MiniMAC Maestro/Profile/Wash, center dimensions in mm

Pantograph attachment dimensions in mm
Brand : MARTIN
Model : Pantograph
Category : Éclairage suspendu