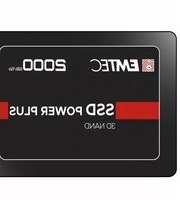
X150 - SSD EMTEC - Free user manual and instructions
Find the device manual for free X150 EMTEC in PDF.


| Product Type | Internal Solid State Drive (SSD) |
| Brand | EMTEC |
| Model | X150 |
| Form Factor | 2.5 inch |
| Interface | SATA III (6 Gb/s) |
| Capacity | Available in 120GB, 240GB, 480GB variants |
| Read Speed | Up to 550 MB/s |
| Write Speed | Up to 500 MB/s |
| Dimensions (W x D x H) | 100.2 x 69.9 x 7.0 mm |
| Weight | Approx. 50 g |
| Power Consumption (Active) | Approx. 2.5 W |
| Power Consumption (Idle) | Approx. 0.5 W |
| Operating Temperature | 0°C to 70°C |
| Storage Temperature | -40°C to 85°C |
| MTBF | 1,500,000 hours |
| Primary Functions | Fast data storage and retrieval, OS boot drive, application loading |
| Cleaning & Maintenance | Use a dry soft cloth to clean the exterior; avoid liquids |
| Safety Precautions | Avoid exposure to strong magnetic fields, extreme temperatures, and physical shock |
| Spare Parts & Repairability | No user-serviceable parts; contact EMTEC support for issues |
| General Information | Compatible with desktops and laptops with SATA interface; requires proper mounting |
Frequently Asked Questions - X150 EMTEC
User questions about X150 EMTEC
0 question about this device. Answer the ones you know or ask your own.
Ask a new question about this device
Download the instructions for your SSD in PDF format for free! Find your manual X150 - EMTEC and take your electronic device back in hand. On this page are published all the documents necessary for the use of your device. X150 by EMTEC.
USER MANUAL X150 EMTEC
EMTEC SSD installation
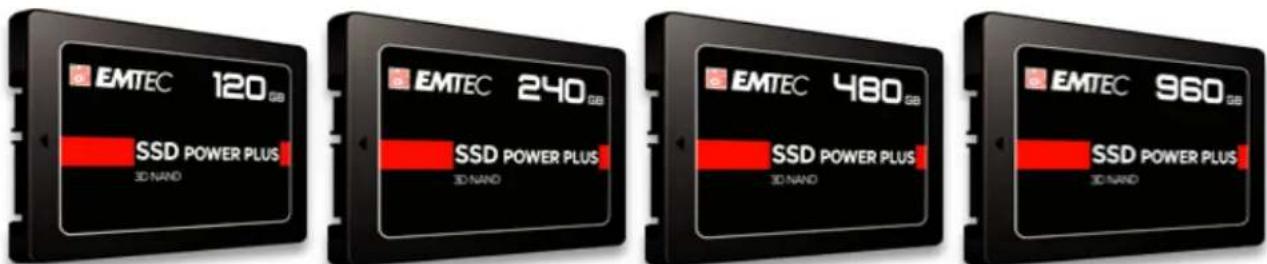
I. Preparation before installing the new disk
The SSD being delivered without operating system it is necessary:
(a) Either to clone the original disk to copy it to the new SSD
(b) Or to install an operating system on the SSD after mounting it in the computer
Choice a) Cloning the original disk to the new SSD
- you have to connect both discs at the same time on your computer (fixed or portable). You must have a USB 3.0 to SATA cable to connect the SSD to your computer.
- You must use disk cloning software (paid or free). This type of software is available for free on the internet. Simply search for “Disk Cloning Software”.
For example, "The specialized press" recommends downloading the Macrium Reflect software from the official website. This software has three major advantages: It is free for 30 days in a trial version, very easy to use and can clone an OS without any problems. See tutorial of installation and use Macrium software in appendix.
If the freshly connected SSD (or any other new disk) does not appear, remember to activate it. On Windows 10, simply right-click on the Start menu, select "Disk Management", then right-click on the grey volume and click on "New Simple Volume".
Important note: Make sure that the destination disk has enough space to accommodate all data. Otherwise, cloning will only be partial.
- Once the previous steps have been completed, you can install the new SSD in your computer: see the procedure described in section II.
Advantages
You are using your old system, so you do not need to reinstall your software and data.
Disadvantages
Malfunctions of the old system are reproduced on the SSD (Virus, corrupted files, errors in the registry, ...).
Option b) Installing a new OS
Important preliminary remark: To install Windows, you must have the Product Key of your version of Windows. See Microsoft Label on Computer or Microsoft License Agreement.
- First of all, backup the data on your current disk to an external medium.
Including: documents, images, videos, Internet favorites and saved passwords, contacts. - If you do not have a Windows installation DVD, you can go to the Microsoft website to create an installation medium (USB stick or DVD) and install a new copy of the operating system Windows. Follow the instructions on the Microsoft website. For Linux or MacOS you must also create bootable installation media from a downloadable ISO file on their website, ask the supplier of the OS concerned.
■ After the previous steps, you can install the new SSD in your computer: see the procedure described in point II.
■ After installing Windows you will need to reinstall your software, hardware drivers and data.
| Advantage | Disadvantages |
| Your operating system will be in like new condition. | After installing the operating system you will need to reinstall your software, hardware drivers and restore your personal files to the SSD. |
II. Steps to follow for the installation of the new disk
1: Preparing the computer
After turning off the computer, disconnect the Power supply cable.
If the battery is removable disconnect it according to the computer's manufacturer user manual. Press the power button about 5 seconds to discharge the residual electricity;
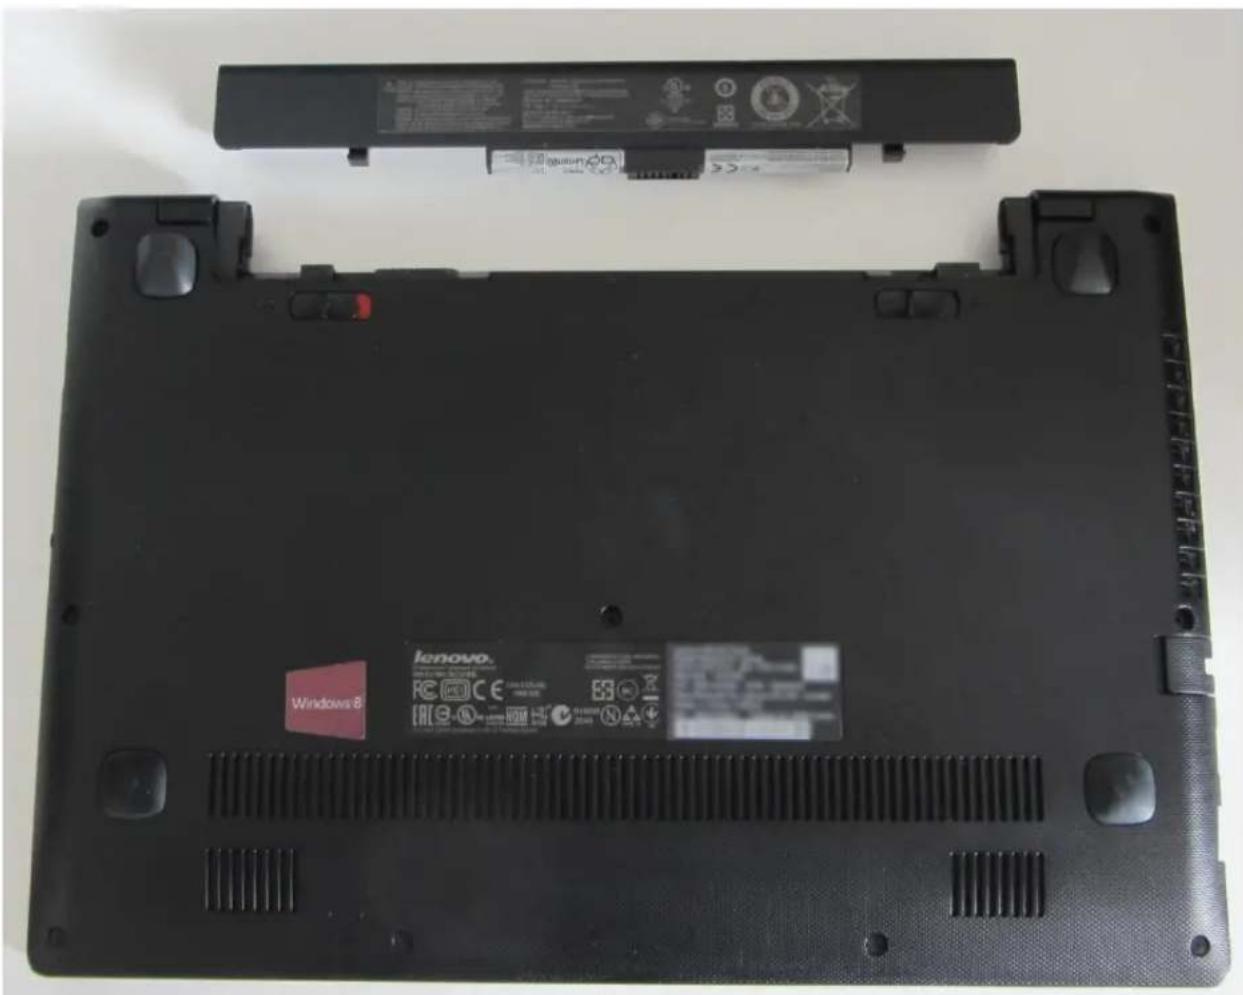
2 : Remove the HDD
Consult the computer's manufacturer user manual to locate and remove the original HDD. In most cases, it is necessary to unscrew and remove the side or bottom panel.
Warning!
Static electricity is potentially dangerous to the various electronics components of your computer during the installation of the SSD. To protect your computer from possible static electricity damage, we recommend that you touch a metal part of the computer chassis to discharge static electricity from your body and put yourself at the same electrical potential as your computer.
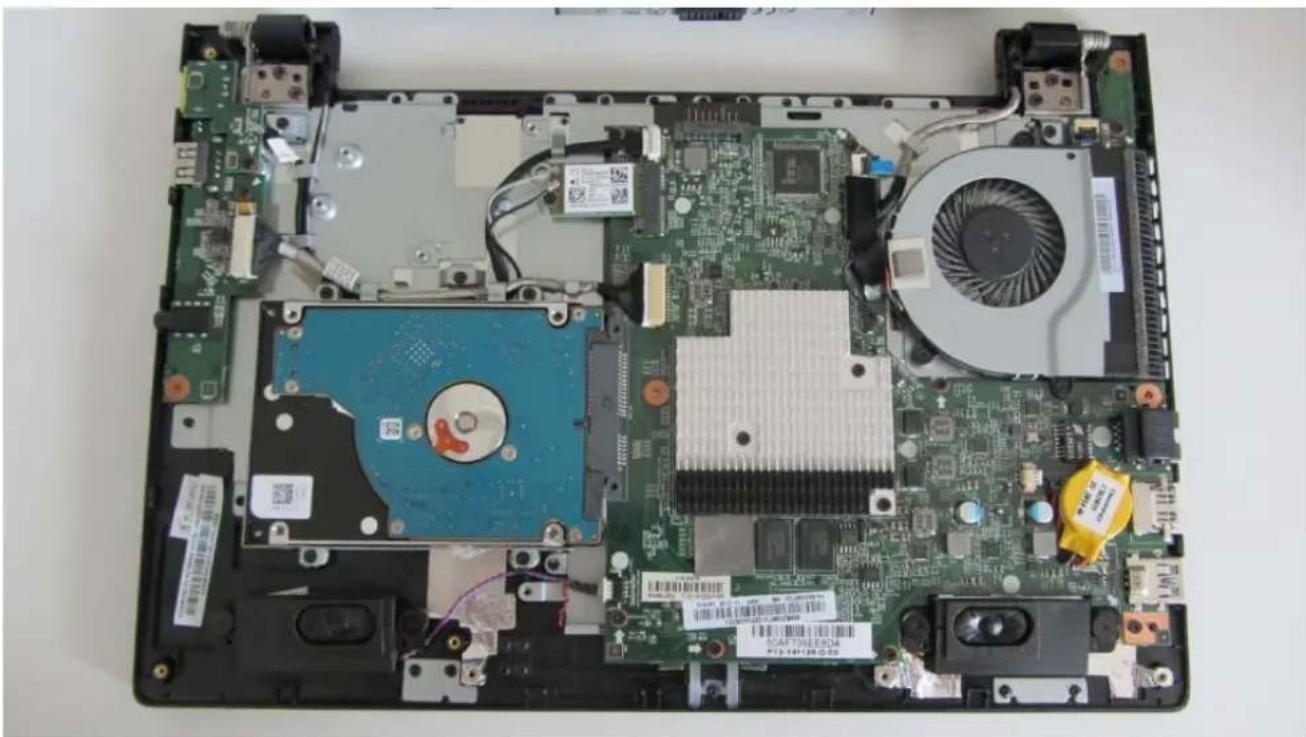
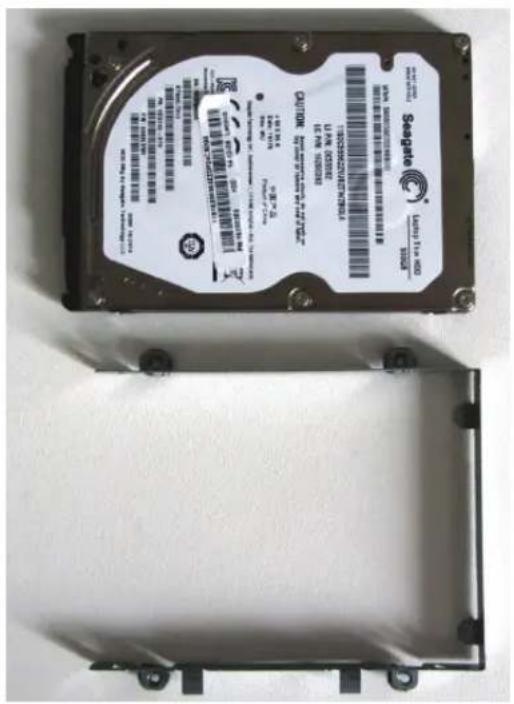
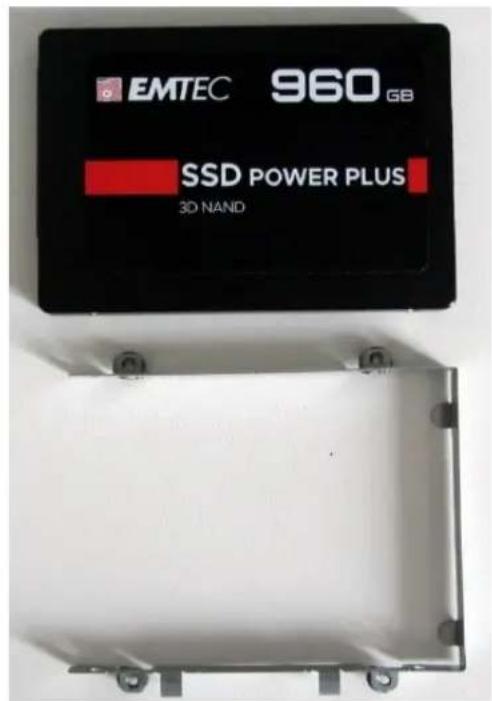
3 : Retrieve the HDD Bracket or Adapter
If the original HDD has a bracket or adapter, disassemble it then attach it to the SSD. This support or this adapter may contain fastening screws.
Consult the computer's manufacturer user manual to properly attach the bracket or adapter to the SSD.
1
2
3

4 : Mounting the SSD in the Computer
Insert the SSD into the PC at the original HDD slot according to the computer's manufacturer user manual (fixing screws, disc locking by a mechanical system, etc.).

5 : Close Your Computer
Close the PC and remount all components in their initial position in accordance with the manual. Plug in the cables (Power supply, Network, Display, keyboard, etc...).
Connect the battery then the power supply cable





- PREPARATION BEFORE INSTALLING THE NEW DISK
- CHOICE A) CLONING THE ORIGINAL DISK TO THE NEW SSD
- ADVANTAGES
- DISADVANTAGES
- OPTION B) INSTALLING A NEW OS
- STEPS TO FOLLOW FOR THE INSTALLATION OF THE NEW DISK
- 1: PREPARING THE COMPUTER
- 2 : REMOVE THE HDD
- WARNING
- 3 : RETRIEVE THE HDD BRACKET OR ADAPTER
- 4 : MOUNTING THE SSD IN THE COMPUTER
- 5 : CLOSE YOUR COMPUTER
Brand : EMTEC
Model : X150
Category : SSD