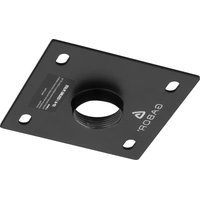
CP-6 - Fastening accessory Gabor - Free user manual and instructions
Find the device manual for free CP-6 Gabor in PDF.


| Product Type | Shoe Dryer |
| Brand | Gabor |
| Model | CP-6 |
| Dimensions (L x W x H) | 30.0 cm x 20.0 cm x 15.0 cm |
| Weight | 1.2 kg |
| Power Rating | 200 W |
| Voltage | 220-240 V |
| Frequency | 50/60 Hz |
| Cord Length | 1.5 m |
| Drying Capacity | Up to 2 pairs of shoes |
| Timer Range | 30 min - 3 hours |
| Heating Type | PTC ceramic heater |
| Airflow | Fan-assisted, 1.5 m³/min |
| Noise Level | < 45 dB |
| Material (Housing) | ABS plastic |
| Color | White with grey accents |
| Operating Temperature | 0-40 °C |
| Safety Features | Overheat protection, auto shut-off |
| Included Accessories | User manual, two shoe trees |
| Maintenance | Clean air filter monthly |
| Storage | Store in dry place when not in use |
| Certifications | CE, RoHS |
Frequently Asked Questions - CP-6 Gabor
User questions about CP-6 Gabor
0 question about this device. Answer the ones you know or ask your own.
Ask a new question about this device
Download the instructions for your Fastening accessory in PDF format for free! Find your manual CP-6 - Gabor and take your electronic device back in hand. On this page are published all the documents necessary for the use of your device. CP-6 by Gabor.
USER MANUAL CP-6 Gabor
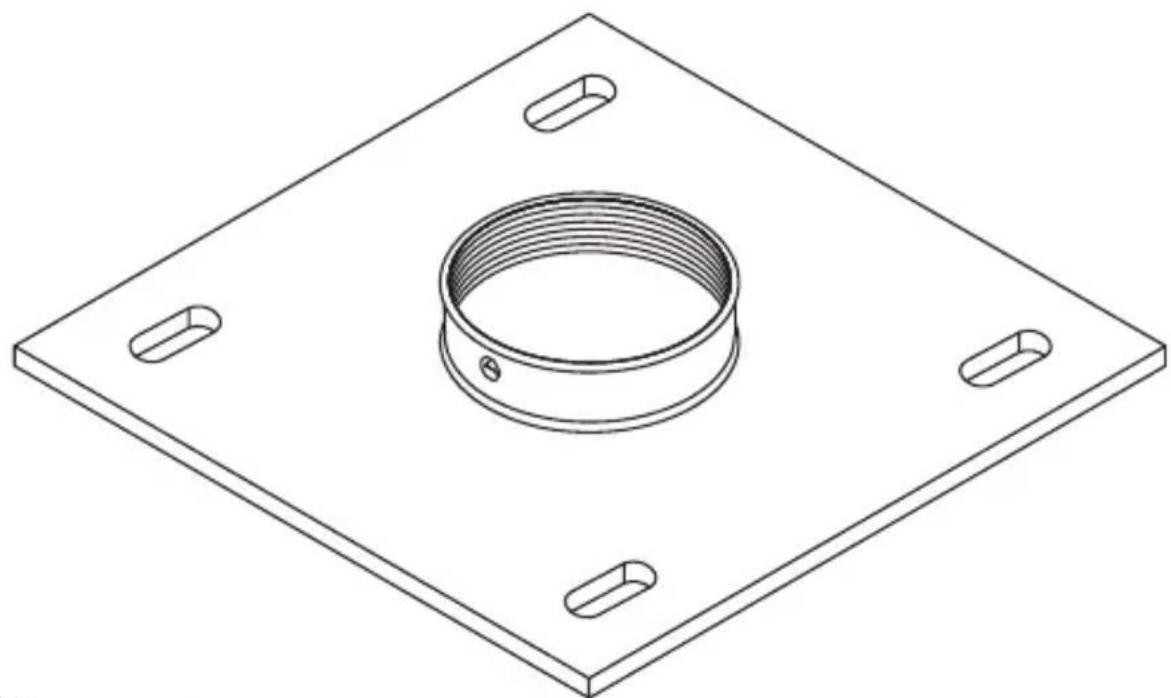
FIXED 1.5 NPT MOUNTING PLATE
natural_image
Isometric line drawing of a mechanical flange with a central threaded bolt and four mounting holes (no text or symbols)User Manual
Thank you for choosing Gabor.
The Gabor Fixed 1.5 NPT Mounting Plates offer a simple-to-attach solid steel plate that allows safe installation of universal 1.5 NPT mounts and extension columns. The durable steel construction supports up to 500 pounds, depending on the support structure, so you can easily hang a TV, monitor, or projector from your ceiling.
If you have safety concerns about installing this product, contact a qualified professional or installation contractor.
If this product is missing hardware or there are defective parts, visit www.madebygabor.com or call Customer Service at 212-594-2353.
Product Specifications
Dimensions
CP-6: 6 × 6 in. (15.2 × 15.2 cm)
CP-8: 8 × 8 in. (20.3 × 20.3 cm)
Material
Steel
Max Weight Capacity
500 lb. (226 kg)
Mount Compatibility
1.5 NPT
Parts List
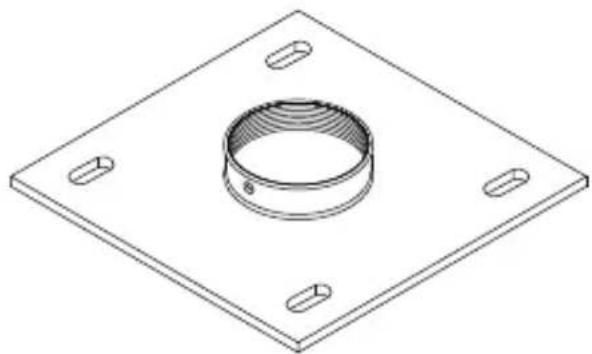
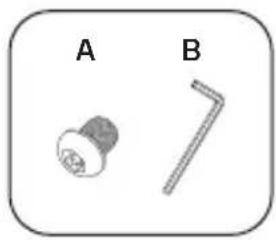
Mounting plate
natural_image
Technical drawing of a mechanical flange with a central threaded component and four mounting holes (no text or symbols)A
1X

Pinhead security set screw
B
1X
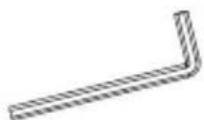
Hex key (5/32 in.)
Tools and Hardware
Drill

natural_image
Line drawing of a handheld electric drill with a flat base (no text or symbols)Stud finder

3/16 in. (4.5 mm) Wood drill bit
3/8 in. (10 mm) Concrete drill bit
Pencil
Threaded rods

Lag screws

Nuts

Washers

Concrete anchors

Framing channels

Framing channel nuts

Overview
CP-6 INCHES
![6 [152.4] 0.41 x 0.73 [10.5 x 18.5] 1.5 NPT 4.2 [105.5] 2.08 [52.75] 0.92 [23.45] 0.77 [19.45] 2.23 [56.75] 4.5 [13.5] 6 [152.4]](/content/2026/06/1362381/images/1ee7897ef07d5364cf39641a31bdc54db5d8aac6cb5d75a76858c01957cbe2f6.jpg)
[MM]
![0.7 [17.3]](/content/2026/06/1362381/images/4142b52fe22a6b24cc5f0c6cab161b012e213e5da45e8182049d458f8246aa29.jpg)
CP-8
![8 [203.2] 0.41 x 0.73 [10.5 x 18.5] 1.5 NPT 6.2 [156.5] 3.08 [78.25] 0.92 [23.35] 0.76 [19.35] 3.24 [82.25] 6.5 [64.5] 8 [203.2]](/content/2026/06/1362381/images/69b7c2e7b5e90826b07ddb9c210478ee3f8e883aef5b5cef7a62ea4024b569d6.jpg)
![0.7 [17.3]](/content/2026/06/1362381/images/1f170d5bef4ececcf905f4cd49547028292a1893152104b5a2b81697ff19cb82.jpg)
Instructions
You can easily attach the Fixed Mounting Plate to a wooden stud framed ceiling, a suspended ceiling, or into concrete. Make sure you do not attach the plate to a vertical mounting surface such as walls or angled ceilings.
Important! Check the weight limitations of the supporting structure and mounting components to ensure you do not exceed the lowest weight capacity.
Mounting to a Wooden Ceiling

natural_image
Illustration of a tool set including a power tool, a pen, and a pencil holder (no text or symbols)To mount the plate to a wooden ceiling, use 5/16-18 to 2 12 -inch (minimum) Grade 2 lag screws to secure the Fixed Mounting Plate to the ceiling, via the plate's mounting holes.

Mounting to a Suspended Ceiling

Mount the plate from a suspended ceiling by using four 3/8-inch Grade 2 or better threaded rods, which are secured to framing channels spanning up to 5 feet by Grade 2 or better 3/8-inch channel nuts.
- Screw a threaded rod into each channel nut.
- Screw a nut onto each threaded rod.
- Insert washers onto the threaded rods, and fit the plate onto the rods.
- Rotate the nuts up and down the threaded rods to adjust the plate until it's level.
- Once the plate is level, fit a washer and nut onto each of the four threaded rods, and tighten the nuts until secure.

Mounting into Concrete

Mount the plate into an 8-inch-thick concrete ceiling. Anchors must be installed into the concrete before installing the Gabor Fixed Mounting Plate.
Warning! Make sure the concrete is structurally solid with no cracks or other defects, as this can result in personal injury or damage to equipment.
- Use the plate's mounting holes as a guide, and drill four holes into the concrete.
-
Insert an anchor into each hole, and then screw a threaded rod into each anchor.
-
Screw a nut onto each threaded rod.
-
Insert washers onto the threaded rods, and fit the plate onto the rods.
-
Rotate the nuts up and down the threaded rods to adjust the plate until it's level.
-
Once the plate is level, fit a washer and nut onto each of the four threaded rods, and tighten the nuts until secure.

natural_image
Technical diagram showing assembly of a mechanical component with multiple parts and connections (no text or symbols)Attaching an Extension Column
natural_image
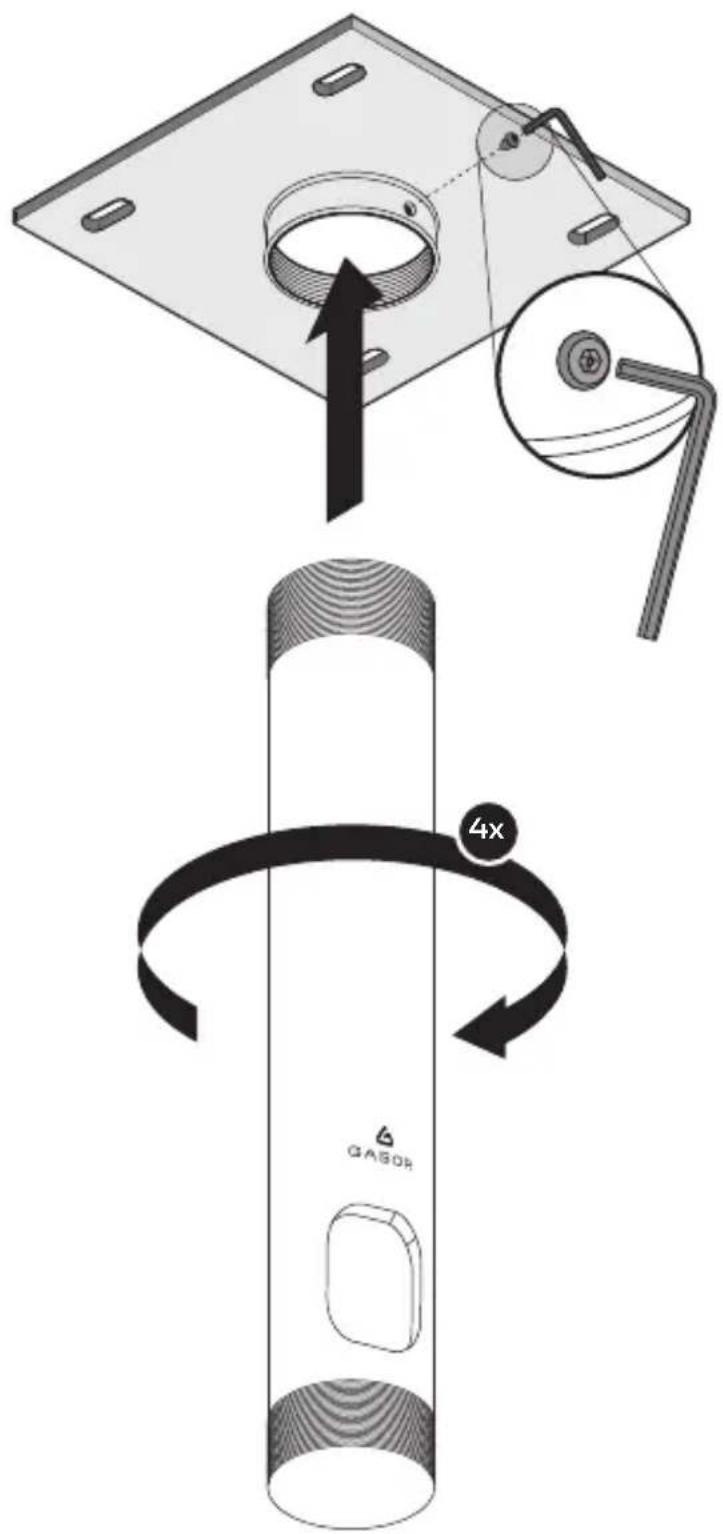
Two labeled mechanical parts: a cylindrical nut and a diagonal pin (no text or symbols present)- Install a 1.5 NPT threaded extension column (not included) into the plate's threaded collar. Tighten with at least four hand turns.
- Use the included pinhead security set screw to lock the column in place, and tighten with the hex key.
- Connect the mount of your TV, monitor, or projector, using the instructions included with the manufacturer's manual for your equipment.
Safety Warnings
- When installing this product, be sure to refer to the mounting instructions detailed in this manual; failure to abide by the mounting instructions may void the product's warranty.
- Do not exceed the maximum weight limit, as this can result in serious personal injury or damage to equipment. It is the installer's responsibility to make sure all components attached to the Gabor Mounting Plates do not exceed 500 pounds (226 kg).
- The 500 pound weight capacity of the Gabor Mounting Plates may be limited to the lowest weight capacity of any component located between the Gabor Mounting Plates and the supporting structure.
- Do not attach to vertical supports such as walls or angled ceilings.
- Do not use this product for any 1.5 NPT mount or extension columns other than what it is intended for; the exact specifications, size parameters, and weight limits are found both on the product box and in the instruction manual.
-
It is strongly recommended that this product be installed by a qualified professional or installation contractor; Gabor takes no responsibility for any product damage or personal injury resulting from mishandling, incorrect mounting, faulty assembly, or improper use of this product.
-
The Fixed 1.5 NPT Mounting Plates are intended to be used with a 1.5 NPT threaded extension column (not included).
- The Gabor Mounting Plates are designed to be mounted to a 2×6-inch wood studded ceiling covered with 5/8-inch drywall; or into an 8-inch-thick concrete ceiling using either 1/4- to 2½-inch lag bolts with anchors (not included) or 5/16- to 2½-inch lag bolts with concrete anchors (not included); or suspended from four 3/8-inch Grade 2 or better threaded rods (not included) which are secured to a framing channel (not included) spanning a maximum five feet by Grade 2 or better 3/8-inch channel nuts (not included).
- Do not mount the device on structures that may be affected by vibrations or noticeable impacts; do not install near a heater, fireplace, or any other source of direct heat energy.
- This product may contain small parts which can possibly pose a choking hazard; keep out of reach of children and pets.
- Excessive exposure to liquids may damage the finish of this product; when cleaning this product, use only a mild detergent solution, and quickly wipe dry with a soft cloth.
- All images are for illustrative purposes only.
Ten-Year Limited Warranty
This Gabor product is warranted to the original purchaser to be free from defects in materials and workmanship under normal consumer use for a period of ten (10) years from the original purchase date or thirty (30) days after replacement, whichever occurs later. The warranty provider's responsibility with respect to this limited warranty shall be limited solely to repair or replacement, at the provider's discretion, of any product that fails during normal use of this product in its intended manner and in its intended environment. Inoperability of the product or part(s) shall be determined by the warranty provider. If the product has been discontinued, the warranty provider reserves the right to replace it with a model of equivalent quality and function.
This warranty does not cover damage or defect caused by misuse, neglect, accident, alteration, abuse, improper installation or maintenance. EXCEPT AS PROVIDED HEREIN, THE WARRANTY PROVIDER MAKES NEITHER ANY EXPRESS WARRANTIES NOR ANY IMPLIED WARRANTIES, INCLUDING BUT NOT LIMITED TO ANY IMPLIED WARRANTY OF MERCHANTABILITY OR FITNESS FOR A PARTICULAR PURPOSE. This warranty provides you with specific legal rights, and you may also have additional rights that vary from state to state.
To obtain warranty coverage, contact the Gabor Customer Service Department to obtain a return merchandise authorization ("RMA") number, and return the defective product to Gabor along with the RMA number and proof of purchase. Shipment of the defective product is at the purchaser's own risk and expense.
For more information or to arrange service, visit www.madebygabor.com or call Customer Service at 212-594-2353.
www.gradusgroup.com
Product warranty provided by the Gradus Group.
Gabor is a registered trademark of the Gradus Group.
© 2021 Gradus Group LLC. All Rights Reserved.

GABOR®
A Gradus Group Brand
- FIXED 1.5 NPT MOUNTING PLATE
- Thank you for choosing Gabor.
- Product Specifications
- Dimensions
- Material
- Max Weight Capacity
- Mount Compatibility
- Parts List
- Tools and Hardware
- Overview
- Instructions
- Mounting to a Wooden Ceiling
- Mounting to a Suspended Ceiling
- Mounting into Concrete
- Attaching an Extension Column
- Safety Warnings
- Ten-Year Limited Warranty
Brand : Gabor
Model : CP-6
Category : Fastening accessory