
SR50SIDE4PHD - Inverter Tripp Lite - Free user manual and instructions
Find the device manual for free SR50SIDE4PHD Tripp Lite in PDF.


| Product Type | Power Inverter |
| Brand | Tripp Lite |
| Model | SR50SIDE4PHD |
| Input Voltage | 12V DC |
| Output Voltage | 120V AC |
| Continuous Power Output | 500W |
| Surge Power Output | 1000W |
| Output Waveform | Modified Sine Wave |
| Number of AC Outlets | 2 |
| USB Charging Port | Yes (2.1A) |
| Dimensions (L x W x H) | 8.0 x 4.0 x 2.0 inches |
| Weight | 1.5 lbs |
| Protection Features | Overload, Short Circuit, Over Temperature, Low Voltage Shutdown |
| Cooling | Smart Fan |
| Mounting | Desktop or Wall-Mountable |
| Operating Temperature | 0°C to 40°C |
| Certifications | UL, cUL, FCC |
| Maintenance | Keep dry, clean with soft cloth; no user-serviceable parts |
| Warranty | 2 years limited |
Frequently Asked Questions - SR50SIDE4PHD Tripp Lite
User questions about SR50SIDE4PHD Tripp Lite
0 question about this device. Answer the ones you know or ask your own.
Ask a new question about this device
Download the instructions for your Inverter in PDF format for free! Find your manual SR50SIDE4PHD - Tripp Lite and take your electronic device back in hand. On this page are published all the documents necessary for the use of your device. SR50SIDE4PHD by Tripp Lite.
USER MANUAL SR50SIDE4PHD Tripp Lite
Assembly Instructions
SmartRack® 4-Post
Heavy-Duty Open Frame Racks
Models: SR4POST48HD, SR4POST50HD, SR4POST52HD, SR4POST58HD

natural_image
Technical line drawing of a rectangular metal frame structure with bolt holes and internal ribs (no text or symbols)PROTECT YOUR INVESTMENT!
Register your product for quicker service and ultimate peace of mind.
You could also win an ISOBAR6ULTRA surge protector—a \$50 value!
www.tripplite.com/warranty



Manufacturing Excellence.
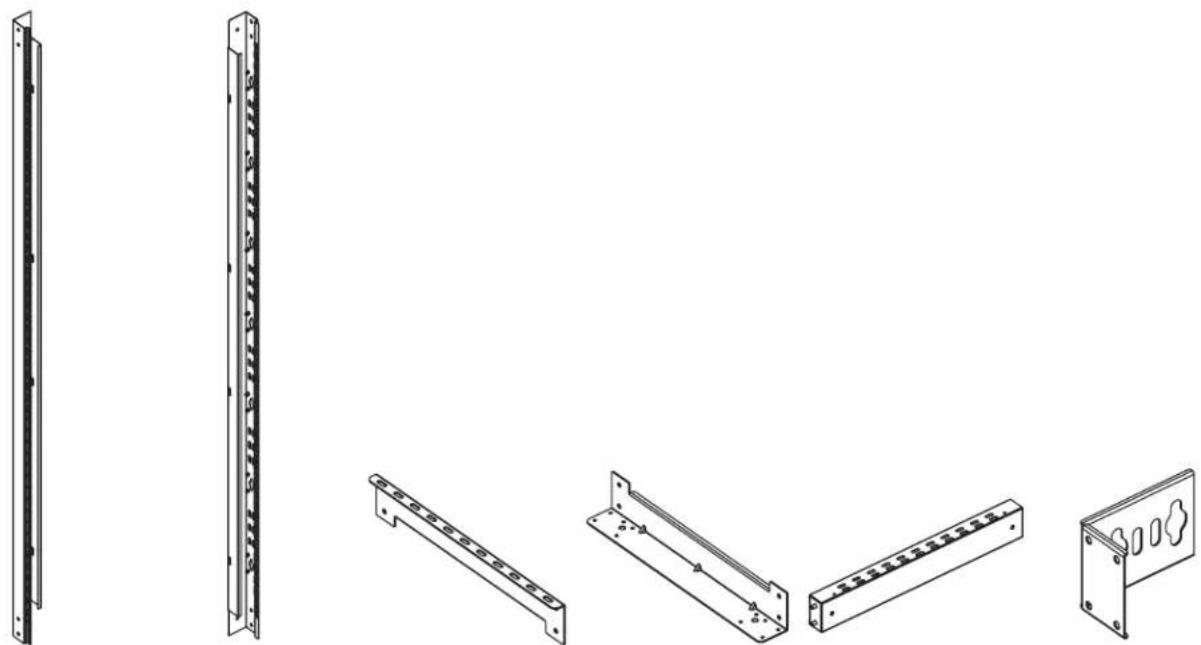
Parts List
natural_image
Technical line drawings of five different mechanical or electrical components, including vertical and rectangular panels with mounting holes (no text or symbols)ABCDEF
Front Upright Rear Upright Top Flange Base Flange Horizontal Beam PDU Bracket
x2
x2
x2
x2
x4
x2

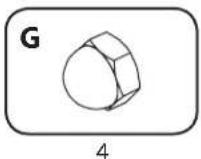
GHI
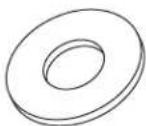
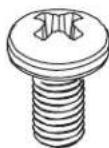
M10 Acorn Nut M10 Flat Washer M6x12 Phillips Head Screw
x16
x16
x4
SRCASTER Kit (Optional, Sold Separately)

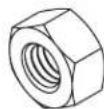


JKL
M6x16mm Hex Head Screw
M
M6 Hex Nut M6 Flat Washer Caster
x16
x16
x32
x4
Required tools (User Supplied):
• Phillips Head Screwdriver
• 16 mm Open End Wrench

WARNING: The rack enclosure is extremely heavy. Do not attempt to unpack, move, assemble or install the enclosure without assistance. Until it has been properly assembled and stabilized, the enclosure is prone to tipping and could cause property damage and/or personal injury. Use extreme caution when assembling the enclosure. Do not attempt to install equipment without first stabilizing the enclosure.
step
1
Lay out parts on the floor or a stable work surface and assemble as shown.

natural_image
Two vertical cylindrical objects labeled A and B, each with a textured surface and a numbered label 1 below (no text or symbols on the objects themselves)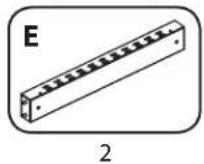

natural_image
Technical line drawing of a rectangular frame with internal components and an inset close-up showing internal structure (no text or symbols)step
2
Attach the washers and acorn nuts, but leave them loose. This will allow the unit to flex later in the assembly process.



natural_image
Technical line drawing of a structural frame with mounting brackets and bolt holes (no text or symbols)step

Attach the washers and acorn nuts, but leave them loose.

2

4

4

natural_image
Technical line drawing of a structural frame with mounting holes and structural supports (no text or symbols)step


2
natural_image
Technical line drawing of a structural frame assembly with mounting brackets and a magnified inset showing internal components (no text or symbols)step
5
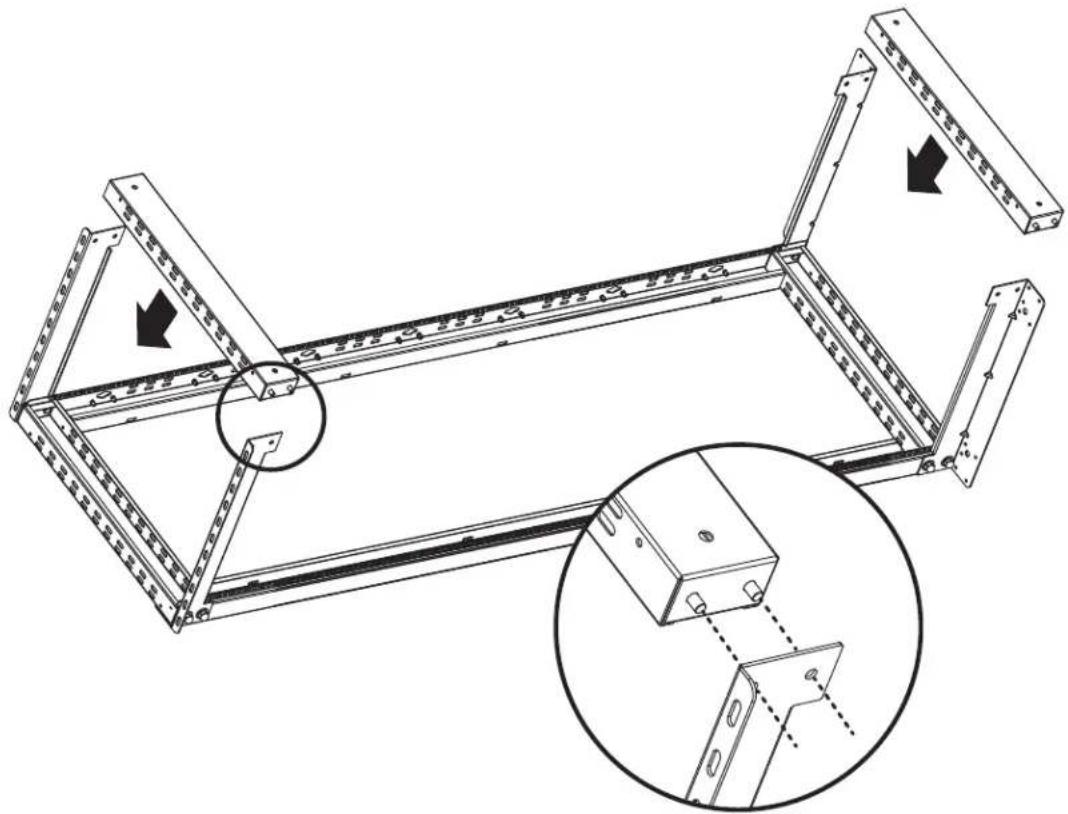
Lay rear upright on the unit. Pull apart the base flange and horizontal beam 1. Align the holes at the end of the upright with the studs in the horizontal beam and push the upright onto the beam 2. Push the base flange and horizontal beam back together.

natural_image
Two vertical diagrams labeled A and B, each showing a rod or wire inside a larger frame (no text or symbols present)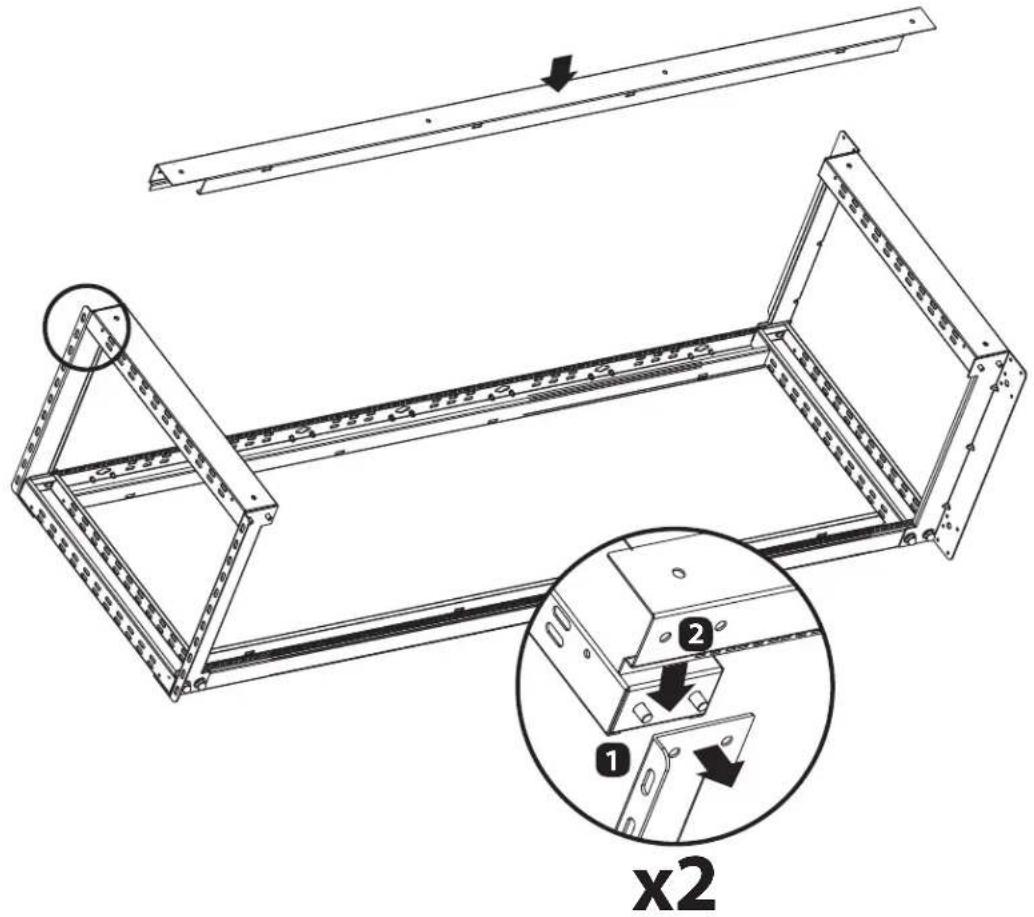
Repeat this process for the other end of the upright.
step
6
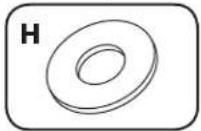
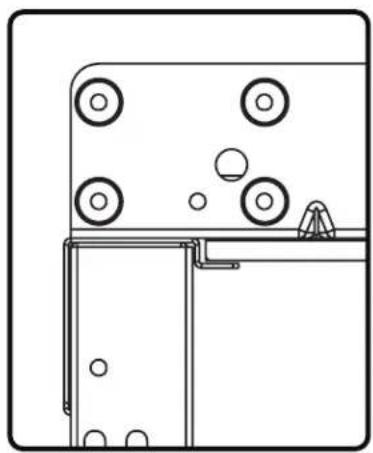
Attach the washers and acorn nuts, but leave them loose.

4
4

natural_image
Technical line drawing of a structural frame with mounting holes and internal ribs (no text or symbols)Repeat steps 5 & 6 to attach front upright.
step

Using an open end wrench (user-supplied), tighten all acorn nuts firmly. Place the rack upright on a level surface and confirm it's stable.

natural_image
Technical line drawing of a mechanical frame structure with a wrench and dimension label 'x16' (no text or symbols on the diagram itself)step

(Optional)
Attach PDU Brackets

2

4

step

(Optional)
Attach Casters
Warning: Do not attempt to install casters while equipment is installed in the rack.
Note:
Installation requires
Tripp Lite's Heavy-
Duty Rolling Caster
Kit (model SRCASTER, sold separately)

16

16

32

4

natural_image
Technical line drawing of a mechanical assembly with mounting brackets and fasteners (no text or symbols)Configuration 1 Configuration 2
natural_image
Technical line drawing of a door mechanism with circular components and a triangular base (no text or symbols)
natural_image
Technical line drawing of a door with wheels and a stand (no text or symbols)step

(Optional)
Attach Side Panels (sold separately)

Warranty and Product Registration
5-Year Limited Warranty
Seller warrants this product, if used in accordance with all applicable instructions, to be free from original defects in material and workmanship for a period of 5 years from the date of initial purchase. If the product should prove defective in material or workmanship within that period, Seller will repair or replace the product, in its sole discretion.
THIS WARRANTY DOES NOT APPLY TO NORMAL WEAR OR TO DAMAGE RESULTING FROM ACCIDENT, MISUSE, ABUSE OR NEGLECT. SELLER MAKES NO EXPRESS WARRANTIES OTHER THAN THE WARRANTY EXPRESSLY SET FORTH HEREIN. EXCEPT TO THE EXTENT PROHIBITED BY APPLICABLE LAW, ALL IMPLIED WARRANTIES, INCLUDING ALL WARRANTIES OF MERCHANTABILITY OR FITNESS, ARE LIMITED IN DURATION TO THE WARRANTY PERIOD SET FORTH ABOVE; AND THIS WARRANTY EXPRESSLY EXCLUDES ALL INCIDENTAL AND CONSEQUENTIAL DAMAGES. (Some states do not allow limitations on how long an implied warranty lasts, and some states do not allow the exclusion or limitation of incidental or consequential damages, so the above limitations or exclusions may not apply to you. This warranty gives you specific legal rights, and you may have other rights which vary from jurisdiction to jurisdiction).
WARNING: The individual user should take care to determine prior to use whether this device is suitable, adequate or safe for the use intended. Since individual applications are subject to great variation, the manufacturer makes no representation or warranty as to the suitability or fitness of these devices for any specific application.
Product Registration
Visit www.tripplite.com/warranty today to register your new Tripp Lite product. You'll be automatically entered into a drawing for a chance to win a FREE Tripp Lite product!* * No purchase necessary. Void where prohibited. Some restrictions apply. See Web site for details.
Tripp Lite follows a policy of continuous improvement. Product specifications are subject to change without notice.


Manufacturing Excellence.
1111 West 35th Street, Chicago, IL 60609 USA • www.tripplite.com/support
14 08-120·933384_revA

Brand : Tripp Lite
Model : SR50SIDE4PHD
Category : Inverter