Ultra HD Flip Video - Camcorder CISCO - Free user manual and instructions
Find the device manual for free Ultra HD Flip Video CISCO in PDF.

User questions about Ultra HD Flip Video CISCO
0 question about this device. Answer the ones you know or ask your own.
Ask a new question about this device
Download the instructions for your Camcorder in PDF format for free! Find your manual Ultra HD Flip Video - CISCO and take your electronic device back in hand. On this page are published all the documents necessary for the use of your device. Ultra HD Flip Video by CISCO.
USER MANUAL Ultra HD Flip Video CISCO
natural_image
Black flip phone with circular lens and silver bezel, no visible text or symbols on body
text_image
FLiP video™Consult Safety Instructions Before Use.
Install Battery Pack
Welcome to Flip UltraHD™
1 Slide battery latch to unlock.
2 Slide front panel down.
3 Position rechargeable Lithium-ion battery pack with + and - at the right side and Flip Video™ logo facing up.
Note: The battery pack is shipped partially charged. For best results, fully charge (up to 3 hours) before use. Simply follow steps in the Recharge Battery Pack section.
Using AAA Lithium Batteries
If you need a backup power source for your UltraHD, three AAA lithium batteries will provide power for a limited period of time.
Note: Alkaline batteries do not provide sufficient power for reasonable video camera usage and are not recommended.

text_image
FLiP VIDEO Flip 1 2 3Get Started
1 Press power button to turn on. Video camera setup appears automatically the first time you power on.
Set Language
- Use + and — to select your language.
Set Date
- Use + and - to adjust current setting.
- Use < and > to select month/day/year.
Set Time
- Use + and - to adjust current setting.
- Use ◁ and ▷ to select hour/minute/AM/PM.
Set Tones
- Use ◁ and ▶ to turn the tones on and off.
Set Recording Light
- Use ◁ and ▷ to turn the recording light on and off.
To Return to Video Camera Setup Later
Starting with the video camera OFF:
1 Press power button to turn on.
2 When UltraHD logo appears, press and hold record button until SET LANGUAGE appears.

text_image
ultraHD Hold • for setupRecord and Play
Record Videos
1 Press ● to start/stop recording.
2 Press and hold + and - to zoom in/out during recording.
Play Videos
1 Press ▶ to play/pause.
2 Press and hold + and - to increase/decrease volume.
3 Press < and > to view previous/next video.
Note: Press and hold ◁ and ▷ during playback to rewind/fast-forward.
Delete Videos
1 Press button. Select YES to confirm.
Note: Delete button is locked the first time you power on. To unlock, press and hold delete button.
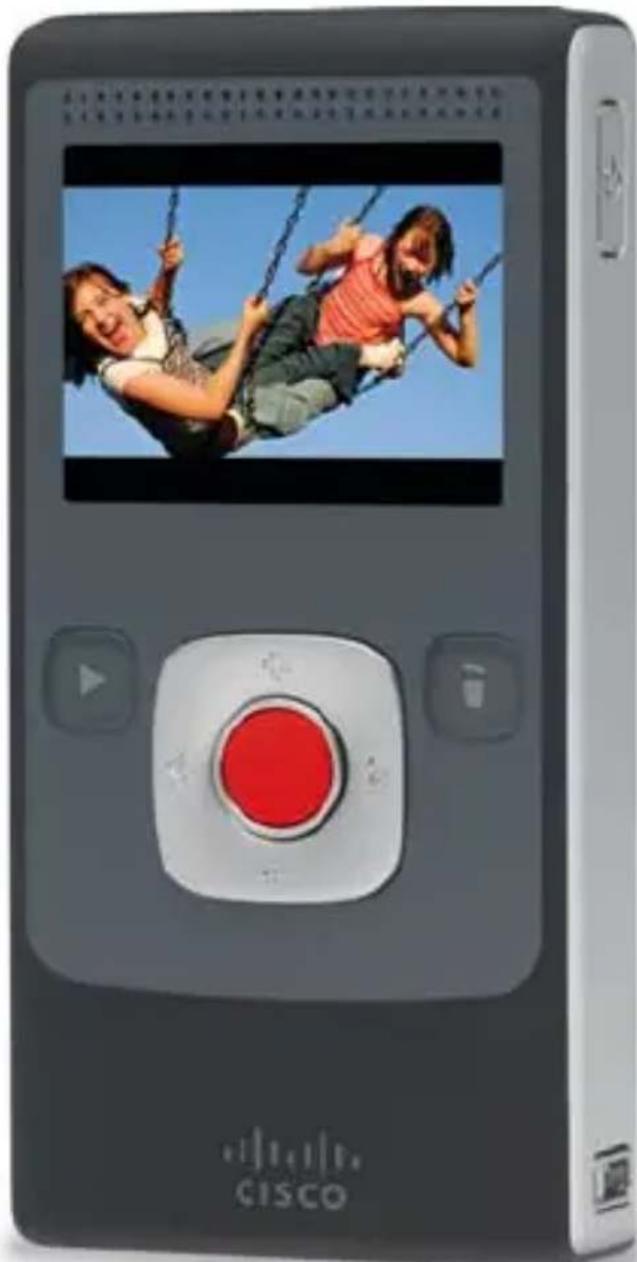
natural_image
Digital camera module with a red circular button and two smiling people swinging on poles, displayed in a black format (no text or symbols on the device body)Connect to Computer
1 Slide USB latch down. USB arm flips up automatically.
2 Plug USB arm into USB port on computer.
3 The battery pack will begin recharging and you can install pre-loaded FlipShare™ software on your computer.
Recharge Battery Pack
1 Slide USB latch down. USB arm flips up automatically.
2 Plug USB arm into USB port on computer.
3 Screen will display charging status.
displays to indicate charging in process.
displays to indicate a fully-charged battery.
• Fully recharging the battery pack takes up to 3 hours.
- Disconnect your video camera from the computer after charging to help preserve the battery pack's lifespan and performance.
Note: Your computer must be powered on for your video camera to charge.
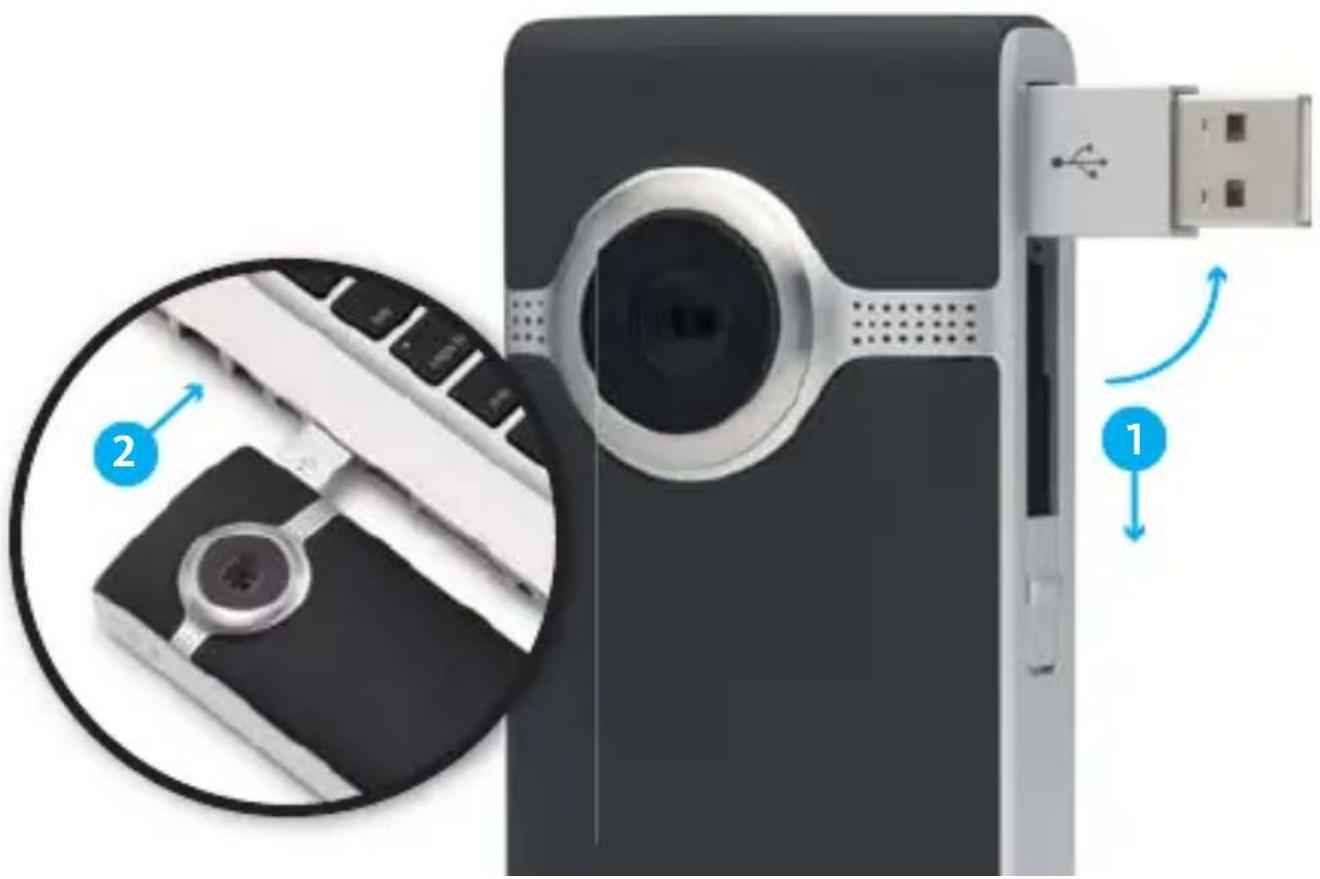
natural_image
Close-up of a digital camera module with USB port, showing internal components and a close-up of its cable (no text or symbols visible)Organize, Create and Share
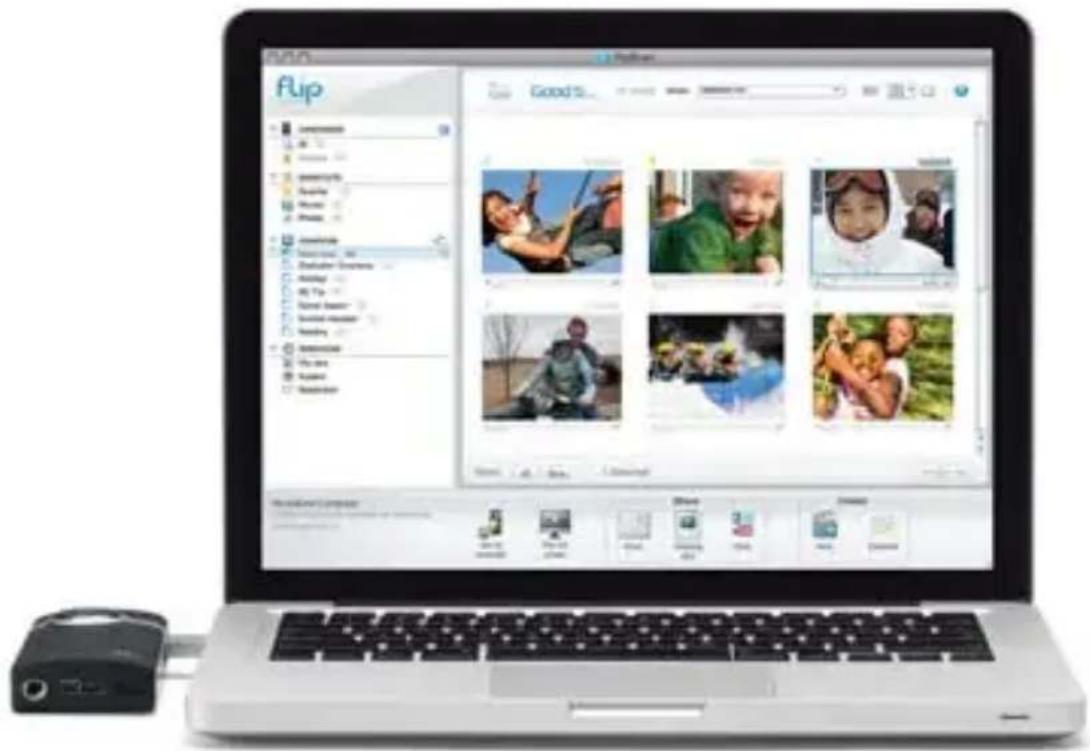
flipshare™
Pre-loaded FlipShare software makes editing and sharing your videos easy.
FlipShare Features
- Save videos to your computer.
- Organize your videos.
• Capture snapshots from your videos. - Create custom movies and greeting cards.
• Share videos by uploading directly to:

natural_image
Three social media platform icons: Facebook, Twitter, and YouTube Tube (no text or symbols beyond logos)FlipShare Installation Instructions
Just plug in your video camera and follow these simple steps.
Windows XP
- Select VIEW YOUR FLIP VIDEOS. Click OK.
Vista/Windows 7
- Select OPEN FOLDER to view files. Open SETUP_FLIPSHARE.
Mac
- Open FLIPVIDEO drive. Select START FLIPSHARE.
text_image
Flip Good 5 12:00 AM 12:00 PM 12:00 PM 12:00 PM 12:00 PM 12:00 PM 12:00 PM 12:00 PM 12:00 PM 12:00 PM 12:00 PM 12:00 PM 12:00 PM 12:00 PM 12:00 PM 12:00 PM Good 5 12:00 PM 12:00 PM 12:00 PM 12:00 PM 12:00 PM 12:00 PM 12:00 PM 12:00 PM 12:00 PM 12:00 PM 12:00 PM 12:00 PM 12:00 PM 12:00 PM Speed: 1.5 GHz Video: 3.5 GHz Image: 4.5 GHz Audio: 6.5 GHz Video: 8.5 GHz Audio: 12.5 GHz Video: 15.5 GHz Audio: 18.5 GHz Video: 22.5 GHz Audio: 25.5 GHz Video: 28.5 GHz Audio: 32.5 GHz Video: 35.5 GHz Audio: 38.5 GHz Video: 42.5 GHz Audio: 45.5 GHz Video: 48.5 GHz Audio: 52.5 GHz Video: 6.5 GHz Video: 7.5 GHz Video: 8.5 GHz Video: 9.5 GHz Video: 12.5 GHz Video: 15.5 GHz Video: 18.5 GHz Video: 22.5 GHz Video: 25.5 GHz Video: 28.5 GHz Video: 32.5 GHz Video: 35.5 GHz Video: 38.5 GHz Video: 42.5 GHzVisit the FlipShare software HELP section for detailed instructions on all features.
View On HD Television
1 Power off video camera and television.
2 Connect video camera to television with optional HDMI Cable (sold separately).
3 Power on video camera and television.
• Video camera screen will be off when connected to television.
4 Switch your television to the appropriate VIDEO input.
• See television manual for instructions.
5 Press play button to start/pause playback.

text_image
HDMI™ HIGH-DEFINITION MULTIBRIDGE INTERFACE Note: You can use any brand of HDMI Cable that has an HDMI Connector (for the HDTV) on one end and HDMI Micro Connector (for the video camera) on the other end.
text_image
Video Camera Features 1 7 FLiP video 2 3 6 8 9 10 4 HOMI Flip PORT 5| 1 | Power Button | Press to turn on/off. |
| 2 | Wrist Strap Hook | Attach wrist strap (included in box). |
| 3 | Tripod Mount | Attach a tripod or other Flip Video accessory. |
| 4 | HDMI Micro Port | Connect HDMI cable accessory to your HDTV. |
| 5 | FlipPortTM | Connect accessories to your FlipTM video camera. |
| 6 | Battery Latch | Slide to lock/unlock. |
| 7 | Recording Light | Red light turns on during recording. Built-in wide-range microphone is also located here. |
| 8 | USB Latch / Arm | Slide down to release USB arm. Connect to a PC or Mac USB port. |
| 9 | Screen | Recording viewfinder/playback screen. |
| 10 | Recording Controls | Press buttons to record and preview videos. |
| Record Button | Press to start/stop recording. During power on: Hold to return to video camera setup. | |
| Play Button | Press to play/pause playback. Press and hold to play all videos. | |
| Delete Button | Press to delete. Press and hold to lock/unlock the delete button. | |
| Up/Down Buttons | While recording: press and hold to zoom in/out. During playback: press and hold to increase/decrease volume. | |
| Left/Right Buttons | While paused: press to skip to previous/next video. During playback: press and hold to rewind/fast-forward. |
Extend the fun with Flip Video Accessories. Learn more at www.theflip.com/accessories.
Included In This Box:
- Flip UltraHD Video Camera
• Rechargeable Battery Pack - Wrist Strap
- Soft Case
- User Guide
- Safety Instructions
- Warranty Information
Flip Video Support:
www.theflip.com/support
To Reset Camera:
- Hold down the power button on the video camera for 10 seconds
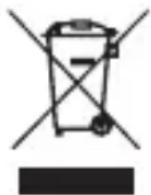
This symbol on a Cisco product, battery or packaging means that the product and/or battery should not be disposed of with your household waste.
It is your responsibility to dispose of your waste equipment and batteries separately from your household waste and in accordance with
local laws and regulations. The correct disposal of your old equipment and batteries will help prevent potential negative consequences for the environment and human health.
Please use the nearest waste collection facility as directed by your municipality or your retailer.
Cisco, the Cisco Logo, Flip UltraHD, FlipShare, FlipPort, Flip, Flip Video and Flip Video logo are trademarks or registered trademarks of Cisco Systems, Inc. and/or its affiliates in the U.S. and other countries. A listing of Cisco's trademarks can be found at www.cisco.com/go/trademarks. The HDMI Logo and High-Definition Multimedia Interface are trademarks or registered trademarks of HDMI Licensing LLC. Third-party trademarks mentioned are the property of their respective owners.
© 2010 Cisco and/or its affiliates. All rights reserved.