
VLHD30 - Video transmitter EBODE - Free user manual and instructions
Find the device manual for free VLHD30 EBODE in PDF.

| Product Type | Full HD Video Sender (Wireless HDMI Transmitter & Receiver Kit) |
| Brand | ebode |
| Model | VLHD30 |
| Dimensions (Transmitter & Receiver) | 146 x 93 x 25 mm (each) |
| Weight | Approx. 200 g each (estimated) |
| Power Supply | 100-240V AC input, 5V 3A DC output adapters (included) |
| Wireless Technology | WHDI 1.0 |
| Operating Frequency | 4.9 - 5.9 GHz (with DFS) |
| Transmission Distance | Up to 35 meters line-of-sight |
| Video Resolution Support | 1080p, 720p, 1080i |
| HDMI Standard | HDMI 1.3 (supports HDCP 2.0) |
| System Latency | < 1 ms |
| Antenna Type | Built-in omni-directional |
| IR Control | 3.5mm IR emitter input (external) and built-in IR receiver |
| USB Interface | USB host (for PC connection or USB peripherals) |
| Certifications | FCC, CE, R&TTE |
| Operating Temperature | 0°C to 70°C |
| Included Accessories | 2x power adapters, 2x HDMI cables (1m), 1x USB A-A cable, 1x IR emitter, 2x holding chassis, user manual |
| Standby Mode | Press power button >3 seconds; red power LED only |
| Maintenance & Cleaning | Wipe with a dry cloth; do not use liquids; keep away from moisture |
| Safety Warnings | Indoor use only; avoid rain/humidity; do not disassemble; keep batteries out of reach of children |
| Spare Parts & Repairability | Use only original spare parts (e.g., power adapter); repair by qualified personnel only |
Frequently Asked Questions - VLHD30 EBODE
User questions about VLHD30 EBODE
0 question about this device. Answer the ones you know or ask your own.
Ask a new question about this device
Download the instructions for your Video transmitter in PDF format for free! Find your manual VLHD30 - EBODE and take your electronic device back in hand. On this page are published all the documents necessary for the use of your device. VLHD30 by EBODE.
USER MANUAL VLHD30 EBODE
natural_image
Two black electronic devices, one rectangular and one rectangular, displayed against a white background (no visible text or symbols)VLHD30 - Full HD Video Sender
Before using our product, please read this documents carefully.
CONTENTS
- CONFORMITY OF USE
- INTRODUCTION
- SET CONTENTS
- GENERAL SPECIFICATIONS
- HARDWARE OVERVIEW
- BEFORE YOU BEGIN
- INSTALLING THE SYSTEM
- QUICK INSTALLATION GUIDE
- TECHNICAL DATA
- Q&A
1. Conformity of Use
For carefree and safe use of this product, please read this manual and safety information carefully and follow the instructions. The unit is registered as a device that does not cause or suffer from radio-frequency interference. It is CE approved and it conforms with the Low Voltage Directory. The safety and installation instructions must be observed. Technical manipulation of the product, or any changes to the product, is forbidden, due to security and approval issues. Please take care to set up the device correctly - consult your user guide. Young children should use the device only under adult supervision. No guarantee or liability will be accepted for any damage caused due to incorrect use of the equipment supplied, other than indicated in this owner's manual.
SAFETY WARNINGS
- To prevent short circuits, this product (except if specified for outdoor usage) should only be used inside and only in dry spaces. Do not expose the components to rain or humidity.
- Only connect the adapter to the mains after checking whether the mains voltage is the same as the values on the rating labels. Never connect an adapter or power cord when it is damaged. In that case, contact your supplier. If there is any danger of a thunderstorm, it is a good precaution to unplug the power supply from the mains network in order to protect it from lightning. The same applies if the system is to be out of action for any length of time.
- Avoid strong mechanical tear and wear, extreme ambient temperatures, strong vibrations and atmospheric humidity.
- Do not disassemble any part of the product: the device contains live parts and no user-serviceable parts are inside. The product should only be repaired or serviced by qualified and authorized service personnel. Defected pieces must be replaced by original (spare) parts.
- Batteries: keep batteries out of the reach of children. Dispose of batteries as chemical waste. Never use old and new batteries or different types of batteries together. Remove the batteries when you are not using the system for a longer period of time.
When inserting batteries, please be sure the polarity is right. Make sure that the batteries are not short circuits and are not disposed in fire (danger of explosion).
In case of improper usage or if you have opened, altered and repaired the product yourself, all guarantees expire. The supplier does not accept responsibility in the case of improper usage of the product or when the product is used for purposes other than specified. The supplier does not accept responsibility for additional damage other than covered by the legal product responsibility.
2. Introduction
| Supported Video Resolution | 1080p, 720p, 1080i | |
| HDMI Interface | Support HDMI 1.3 audio and video format and HDCP 2.0 | |
| Transmission Distance | Within 35 meters line of sight (LOS) | |
| Operating Frequencies | 4.9~5.9GHz (with DFS function). | |
| System Latency | <1ms | |
| Antenna | Omni-directional internal antennas. | |
| Power Supply | 100~240V AC in, 5V 3A DC out Power Adaptor | |
| Certificate | FCC, CE | |
| Standard | WHDI 1.0 | |
| IR Function | 3.5mm Jack plug, external IR transmitter eye | Built-in infrared remote control receiver control module |
| Working Temperature | 0°C~70°C | |
| Dimensions | 146(L)*93(W)*25mm(H) | |
2.2 Main Features
-Working frequency range: 4.9GHz\~ 5.9 GHz ;
-With DFS function;
-Smart outfit and portable;
-Build in Omni-directional antennas;
-within 35 meters LOS range with no latency;
-Remote control your source
2.3 Packing Content:
Please check whether the following items are present in the package. If any items was missed or damaged, please call your distributor.
2.4 Main units:
1x VLHD30 Transmitter
1x VLHD30 Receiver

natural_image
Line drawing of a rectangular electronic device with a label 'D. 0.5' on its side (no other text or symbols)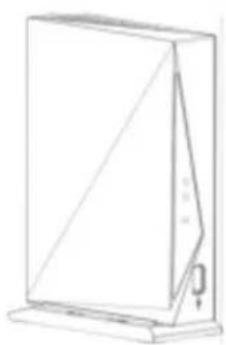
natural_image
Line drawing of a rectangular device with a diagonal line and a small attached component (no text or symbols)2.4.1 Accessories:
2x Power Supply
1x IR Emitter
2x Holding chassis
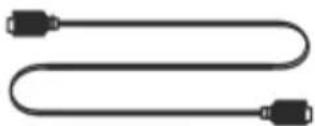
1x USB Cable (A-A)
2x HDMI Cable 1m
1x User Manual
natural_image
Pure electrical circuit lines without any symbolsUSB cable (A-A)
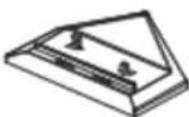
Holding chassis
IR Emitter
2.4.2 VLHD30 Transmitter Instructions
1) LED indications on the front panel

-Power LED: indicate power state
-Video LED: indicate HDMI connection
-Link LED: indicate wireless connection
-USB Interface: used for PC connection or other USB host device
2) Interface indications on the back panel

-DC IN Jack: to connect the power supply
-IR slot: to connect IR transmitter lead
-HDMI Interface: to connect HD video source
-Button: to register, switch standby mode and normal working mode
2.4.3 Standby mode and wake up method
1) Enter Standby Mode:
- Press the power button of the TRANSMITTER for more than three seconds, if both units are connected the TRANSMITTER and RECEIVER will enter standby mode.
- Press the power button of the RECEIVER for more than three seconds, if both units are connected the TRANSMITTER and RECEIVER will enter standby mode.
2) LED indications in standby mode:
- All the LED's are off except the red Power LED
3) Wake-up method:
- Press the power button on the TRANSMITTER and/or RECEIVER for more than three seconds. If there is a connection possible both units will wake-up.
2.4.4 LED Indication
| Working state | Transmitter | Receiver | ||||||
| Power | Video | Link | Power | Video | Link | |||
| Powered | ● | ● | ● | ● | ● | |||
| Add device | ● | ● | ● | ● | ||||
| Standby mode | ○ | ○ | ||||||
- indicates red LED is normally on
• indicates green LED is normally on
★ indicates green LED flashes
3. Application and Installation
3.1 Transmitter Connections
1) Applications for Bluray, DVD, multimedia player, set-top box, etc.

- Use the included HDMI cable to connect the Transmitter to the source (Bluray, DVD, multimedia player or set-top box etc.).
- Connect the IR Emitter to the Transmitter and mount the eye on your source. Pay well attention to the location of the eye on your source, in case you find trouble locating the eye on the source use a flash light to shine on the front of your source to locate the right spot (eye) for IR transmission.
2) Applications of notebook, mini host computer and game console etc.

flowchart
graph TD
    A["Front"] --> B["Back"]
    B --> C["Transmitter"]
    C --> D["PS3 station"]
    C --> E["Mini host computer"]
    C --> F["Notebook"]
- Use the included HDMI cable to connect the Transmitter and notebook, mini host computer or PS3 station etc.
- Use the included USB cable to connect the Transmitter and Bluray DVD, multimedia player or set-top box etc.
3.2 Receiver Connections
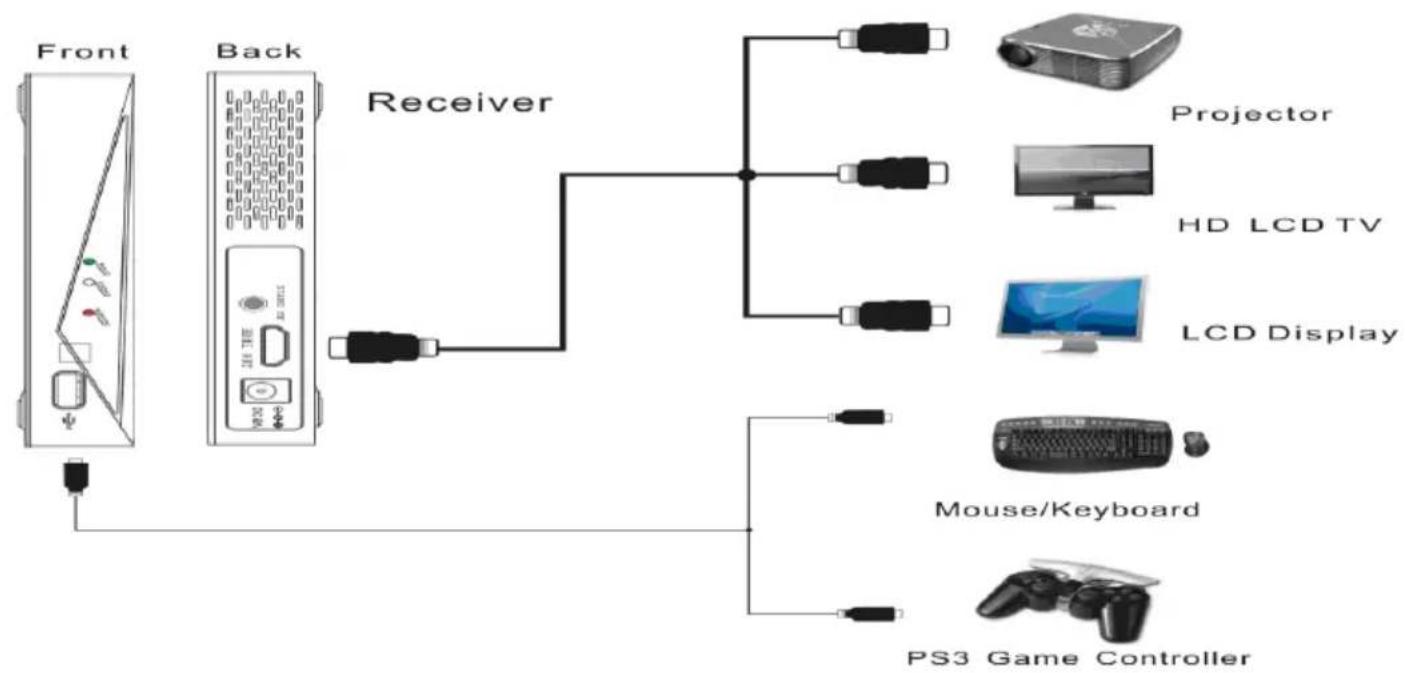
flowchart
graph TD
    A["Front"] --> B["Back"]
    B --> C["Receiver"]
    C --> D["Projector"]
    C --> E["HD LCD TV"]
    C --> F["LCD Display"]
    C --> G["Mouse/Keyboard"]
    C --> H["PS3 Game Controller"]
- Use the included HDMI cable to connect the Transmitter and LCD Display, HD LCD TV, or Projector etc.
- Use the included USB cable to connect the Transmitter and USB Mouse, Keyboard, and PS3 Game Controller.
4. Product Software Upgrade
In case of problems please read the Troubleshooting guide in part 5.
If the Troubleshoot guide cannot help you to solve the problem, please visit our website and go to the FAQ section. If there are any product firmware updates available they can be found on our website www.ebodeelectronics.eu.
5. Troubleshooting
Before following the troubleshoot guide below please make sure that your Receiver and attached equipment (HD source and display) are all properly connected, switched on and not in Standby Mode, please give them a 10 second power off reset before taking the next steps:
| No Video | 1. Check the status of the Link LEDs, and check if the HD Media player works normally.2. Check the interface and HDMI cables are undamaged and plugged into the correct socket.3. Make sure that the Receiver is correctly connected to the HDTV display and not by mistake swapped by the Transmitter.4. Make sure that the device is working within the supported transmission distance, if beyond the distance, please make them closer and reconnect. |
| Power LEDs OFF | 1. Make sure the power is connected, and check the power adaptor is output 5V/3A DC. |
| Receiver Link LED flashes | 1. Make sure audio and video signals can be transmitted from the source successfully.2. Make sure the Receiver is successfully connected to display equipment3. Make sure that the device is working within the supported transmission distance, if beyond the distance, please bring them closer and reconnect to see if the problem is solved.4. Make sure your TV input on the Receiver side is set to the right input source (HDMI 1 etc.) If the TV is not turned on or the TV is on the wrong source input no connection will be made. |
| Receiver video LED abnormal | 1. Make sure the audio and video signals can be transmitted from the source successfully; if no problems are found, there must be something wrong with the unit, please try a 10 second power disconnect of the units.2. Check the interface and HDMI cables are undamaged and plugged into the correct socket.3. Check if the HD source is working normally and related input and output are well connected to the right in/output.4. The HDMI protocol makes use of a handshake between the source and your TV Screen / Beamer. If the handshake is not completed the LED will not be lith. Please turn on and off the TV and source to re-establish the handshake. |
| Bad Picture | 1. Make sure the picture of the HD source is normal by connecting the source directly to the TV, if the picture is good please reconnect and relocate the transmitter and receiver and try again.2. Check the HDMI cables of the Receiver, HD source and if your display HDMI connectors are undamaged and connected correctly to the right in/output. |
| Bad Audio/No Audio | 1. Make sure that the source is outputting supported audio formats.2. Restart the audio source and reconnect the Transmitter and Receiver.3. Make sure there is no wireless transmitting (5GHz) device within 1m of the Receiver and Transmitter such as wireless routers etc. |
| Other Issues/Unresolved Issues | If any other issue occur, try restarting the Transmitter and Receiver to reestablish a connection and HDMI Handshake. Make sure the Source and TV work correctly when connecting them together without the Transmitter and Receiver before searching for problems with the VLHD30 kit. Look at our website FAQ before contacting your store of Purchase. |
6. Sample of use
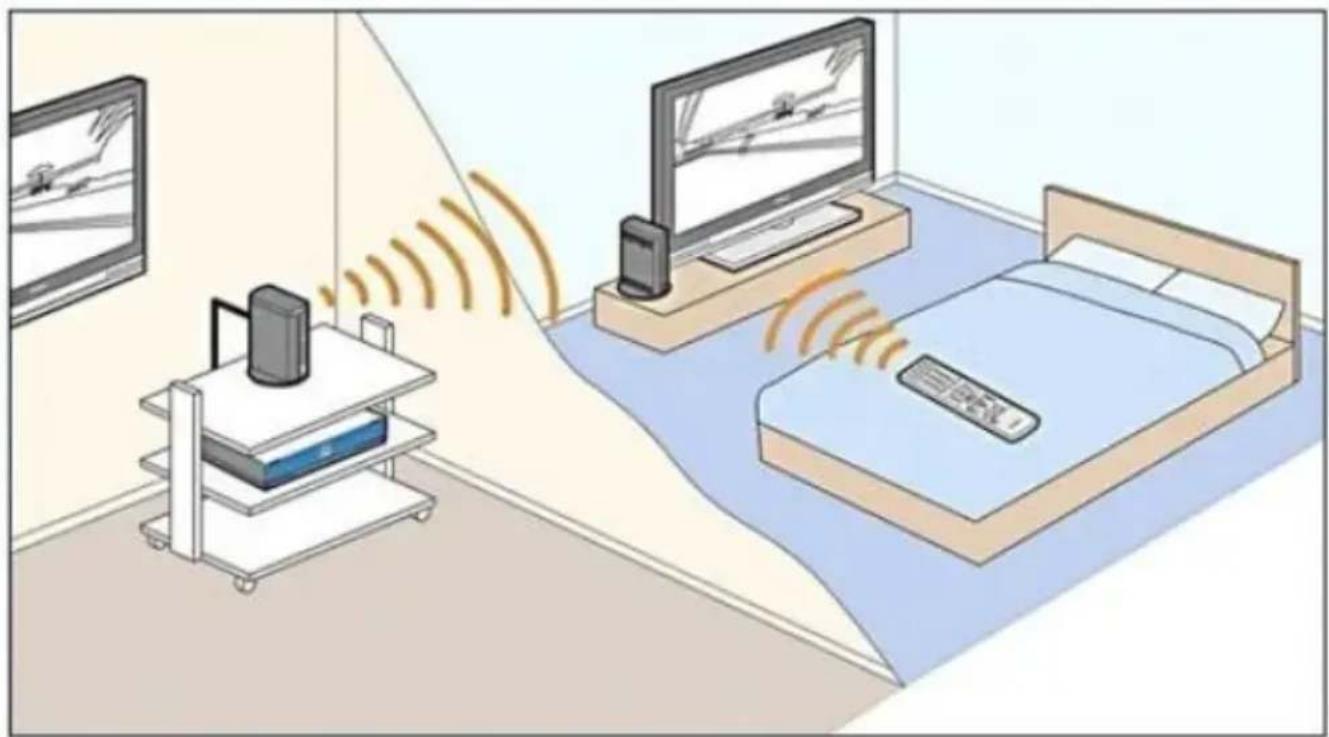
natural_image
Illustration of a room with a monitor, a router, and a small cart connected to a bed via wireless signals (no text or symbols present)DECLARATION OF CONFORMITY
Hereby, ebode declares that this VLHD30 is in compliance with the essential requirements and other relevant provisions of the following Directives:
1) Directive 1999/5/EC of the European Parliament and of the Council of 9 March 1999 on radio equipment and telecommunications terminal equipment and the mutual recognition of their conformity
2) Directive 2004/108/EC of the European Parliament and of the Council of 15 December 2004 on the approximation of the laws of the Member States relating to electromagnetic compatibility
3) Directive 2006/95/EC of the European Parliament and of the Council of 12 December 2006 on the harmonization of the laws of Member States relating to electrical equipment designed for use within certain voltage limits
4) Directive 2002/95/EC of the European Parliament and of the Council of 27 January 2003 on the restriction of the use of certain hazardous substances in electrical and electronic equipment
5) Directive 2005/32/EC of the European Parliament and of the Council of 6 July 2005 establishing a framework for the setting of eco design requirements for energy-using
Technical data and copies of the original Declaration of Conformity are available and can be obtained from ebode electronics: PB 25, NL-4264ZG, the Netherlands.
CE
User Information for Consumer Products Covered by EU Directive 2002/96/EC on Waste Electric and Electronic Equipment (WEEE)
This document contains important information for users with regards to the proper disposal and recycling of ebode products. Consumers are required to comply with this notice for all electronic products bearing the following symbol:
Environmental Information for Customers in the European Union

European Directive 2002/96/EC requires that the equipment bearing this symbol on the product and/or its packaging must not be disposed of with unsorted municipal waste. The symbol indicates that this product should be disposed of separately from regular household waste streams.
It is your responsibility to dispose of this and other electric and electronic equipment via designated collection facilities appointed by the government or local authorities. Correct disposal and recycling will help prevent potential negative consequences to the environment and human health.
For more detailed information about the disposal of your old equipment, please contact your local authorities, waste disposal service, or the shop where you purchased the product.
DECLARATION OF CONFORMITY TO R&TTE DIRECTIVE 1999/5/EC for the European Community, Switzerland, Norway, Iceland and Liechtenstein
Product category: general consumer (category 3).
English: This equipment is in compliance with the essential requirements and other relevant provisions of the European R&TTE Directive 1999/5/EC
Also available from ebode: TAKE10
Universal Remote Control
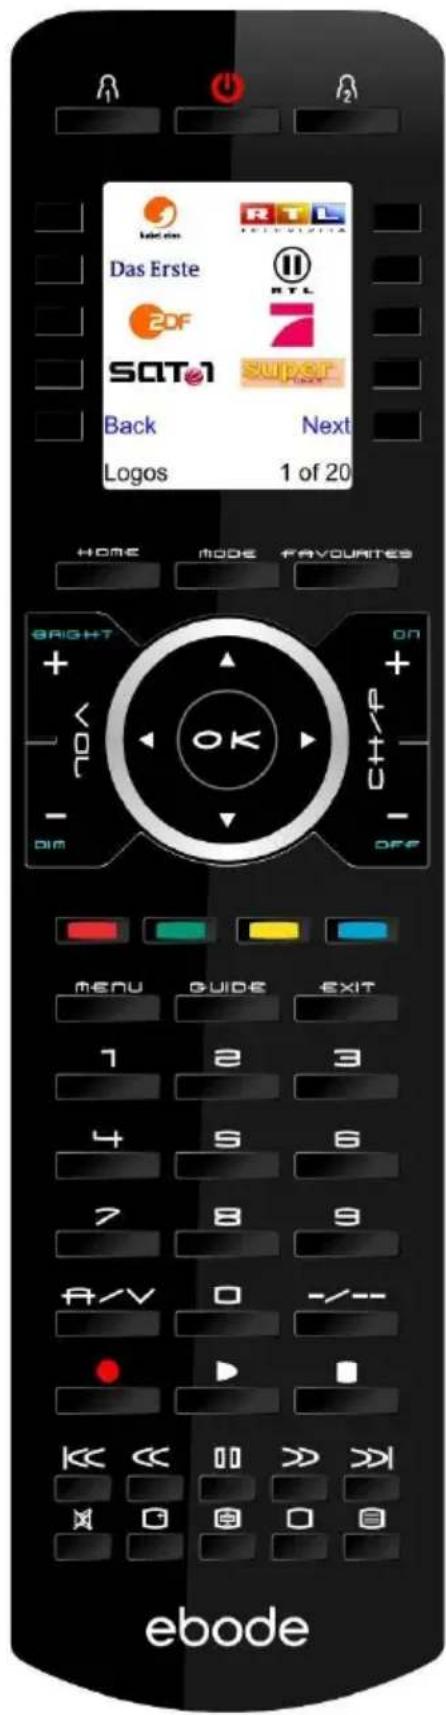
The TAKE10 is an elegant universal remote that is able to control up to 10 A/V devices, including TV, DVD, VCR, Cable, X10 Home Automation products and more.
You don't even have to remember which TV station is on which button, as the brightly displayed icons on the full-colour LCD display make it easy to find and surf all the channels, plus your own favourite 'personal' buttons for you and your partner also give you quick access to all your own favourite channels too.
The remote can be set-up within 5 minutes and is very easy to use and navigate.
As the TAKE10 features RF control, you can even control equipment which is out of sight - even through doors, walls and ceilings.
Features of the TAKE10
• Familiar Channel Logos
• Large, Easy-to-Use Buttons and LCD Screen
• His & Hers Favourite Buttons
- 5-Minute Setup
- The Future-Proof Remote .... world's largest build-in IR library
- incl RF for controlling X10-PLC lighting control
• No PC needed to program
- QuickPower Feature
- Multilingual
Also available from ebode: LightSpeaker
The Next Bright Idea
The unique ebode LightSpeaker ™ cleverly combines low consumption LED lighting with wireless sound in one easy 'plug and play' system that can be hidden away in a lampshade or light fitting. Install it into any room in just a few minutes without tools or extra wiring!
LightSpeaker™ can be mounted into many different light fixtures including pendants fittings, table and floor lamps.

natural_image
Product photo of a white LED light bulb with internal components and a black remote control device (no text or symbols visible)It can even be recessed into your ceiling using our custom-made fitting. All you need is an iPod™, HiFi, television or PC to provide your music and a standard E27 socket to plug into, and this Multiroom, two source system will deliver brilliant lighting and tuneful music around your home - free of wires and headphones.

natural_image
Interior dining room with a white pendant light, wooden table, and potted plant (no visible text or symbols)How it works
Up to two music sources - an iPod and a radio for example, can be connected to the transmitter in the base station, which wirelessly sends the sound to the LightSpeakers which are screwed into a standard E27 socket to receive their power.
The wireless transmitter base station or the supplied remote control allow you to control your source, music and lighting levels from anywhere in your home. Up to four pairs of LightSpeakers™ can be 'paired' to one base station.
Also available from ebode: Hide your A/V gear
Place your A/V equipment inside your TV cabinet and out-of-sight! Use ebode's InfraRed products to control your equipment with your existing remote control.
Place the table top mouse Receiver on top of your TV cabinet.

natural_image
Black computer mouse with a curved cable, shown in profile view (no text or symbols visible)Stick the Mini Receiver right next to or under your TV.
natural_image
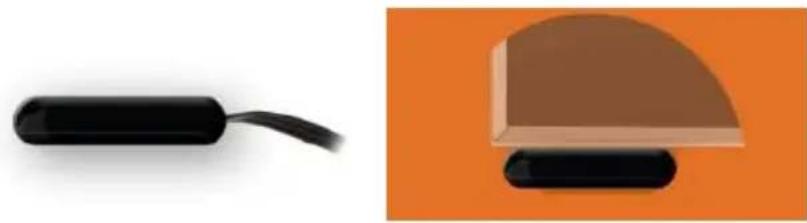
Two product images: a black USB cable and a beige dome-shaped object on an orange background (no text or symbols)Mount the Flush- Mount Receiver in your TV cabinet.
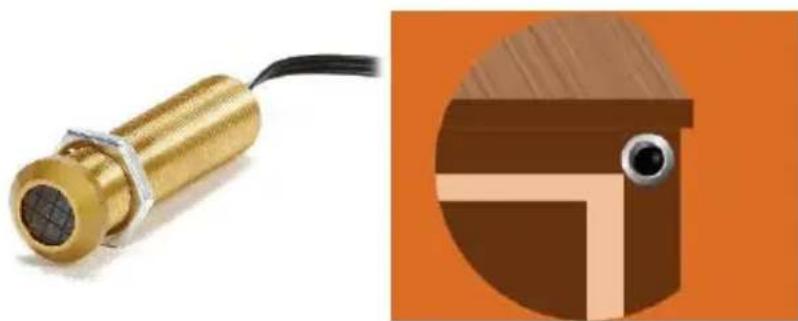
natural_image
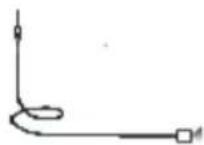
Illustration of a brass sensor device with attached cable and a close-up of a brown mechanical component (no text or symbols)Our ebode proprietary eIR ^2 x ^TM (pronounce Irex) Technology guarantees a high level of immunity for infrared noise from direct sunlight, CFL lighting and Flat Panel TV's (including Plasma, LCD and LED). This kit contains two 3IREDB for control of 6 devices, and a 1IRQC Quick Connect cable for direct control of popular audio/video Receivers (e.g. Yamaha, Onkyo, Denon, Marantz, NAD, Harman-Kardon, Pioneer, etc).
NOTES
ebode
www.ebodeelectronics.eu


- VLHD30 - Full HD Video Sender
- CONTENTS
- Conformity of Use
- SAFETY WARNINGS
- Introduction
- Main Features
- Packing Content:
- Main units:
- Accessories:
- VLHD30 Transmitter Instructions
- 1) LED indications on the front panel
- 2) Interface indications on the back panel
- Standby mode and wake up method
- LED Indication
- Application and Installation
- Transmitter Connections
- Product Software Upgrade
- Troubleshooting
- Sample of use
- DECLARATION OF CONFORMITY
- User Information for Consumer Products Covered by EU Directive 2002/96/EC on Waste Electric and Electronic Equipment (WEEE)
- Environmental Information for Customers in the European Union
- DECLARATION OF CONFORMITY TO R&TTE DIRECTIVE 1999/5/EC for the European Community, Switzerland, Norway, Iceland and Liechtenstein
- Also available from ebode: TAKE10
- Universal Remote Control
- Features of the TAKE10
- Also available from ebode: LightSpeaker
- The Next Bright Idea
- How it works
- Also available from ebode: Hide your A/V gear
- NOTES
- ebode
Brand : EBODE
Model : VLHD30
Category : Video transmitter