
APLVEAMNTP - Tracking StarTech.com - Free user manual and instructions
Find the device manual for free APLVEAMNTP StarTech.com in PDF.

| Type of Product | VESA Mount Adapter |
| Model Number | APLVEAMNTP (SKU: APLVESAMNTP) |
| Brand | StarTech.com |
| Color | Silver |
| Compatible VESA Patterns | 75x75 mm and 100x100 mm |
| Weight Capacity | 30.8 lbs (14 kg) |
| Tilt Range | +90° to -15° |
| Swivel Range | 360° |
| Rotation Range | 360° |
| Maximum Screen Size | 30 inches (762 mm) |
| Recommended Usage | Indoor only |
| Package Contents | Monitor Mount (1), Flange Mount (1), VESA Screws (4), Torx Key (1), 3mm Hex Key (1), 4mm Hex Key (1), Access Card (1), Monitor Mount Screws (2), Plastic Caps (4) |
| Warranty | 10 years |
| Compliance | ISO 9001 Registered |
| Mounting Compatibility | Designed for iMac monitors with stand removal |
| Material | Metal bracket with plastic components |
Frequently Asked Questions - APLVEAMNTP StarTech.com
User questions about APLVEAMNTP StarTech.com
0 question about this device. Answer the ones you know or ask your own.
Ask a new question about this device
Download the instructions for your Tracking in PDF format for free! Find your manual APLVEAMNTP - StarTech.com and take your electronic device back in hand. On this page are published all the documents necessary for the use of your device. APLVEAMNTP by StarTech.com.
USER MANUAL APLVEAMNTP StarTech.com
VESA Mount Adapter | Premium | Silver

natural_image
White metal bracket with mounting holes and a central circular component (no text or symbols visible)Actual product may vary from photos
User Manual
SKU#: APLVESAMNTP
For the latest information and specifications visit
www.startech.com/APLVESAMNTP
Compliance Statements
Use of Trademarks, Registered Trademarks, and other Protected Names and Symbols
This manual may make reference to trademarks, registered trademarks, and other protected names and/or symbols of third-party companies not related in any way to StarTech.com. Where they occur these references are for illustrative purposes only and do not represent an endorsement of a product or service by StarTech.com, or an endorsement of the product(s) to which this manual applies by the third-party company in question. Regardless of any direct acknowledgement elsewhere in the body of this document, StarTech.com hereby acknowledges that all trademarks, registered trademarks, service marks, and other protected names and/or symbols contained in this manual and related documents are the property of their respective holders.
Warning Statements
- Make sure that you assemble this product according to the instructions.
- Do not exceed the weight capacity of this product. Overloading this product might result in injury or property damage. This product can support the following weight: 30.8 lb. (14 kg).
- This product is intended for indoor use only and should not be used outdoors.
Varningsmeddelanden
To view manuals, videos, drivers, downloads, technical drawings, and more visit www.startech.com/support
Mensagens de aviso
To view manuals, videos, drivers, downloads, technical drawings, and more visit www.startech.com/support
Table of Contents
Compliance Statements....1
Warning Statements....2
Product Diagram....5
Product Information 6
Specifications....6
Package Contents 8
Attaching a Monitor....10
Product Diagram
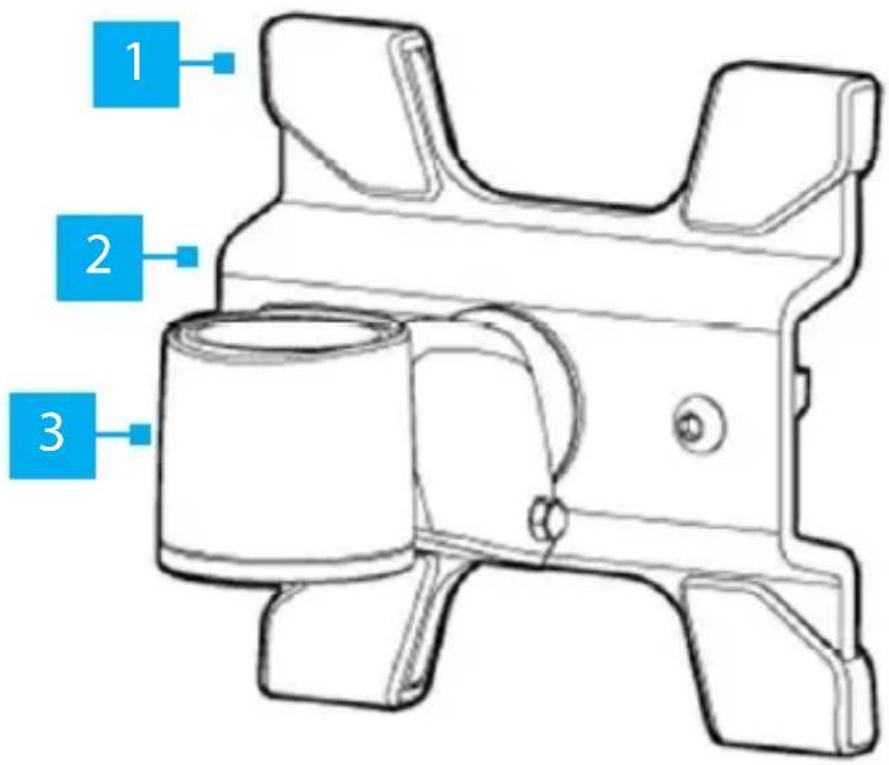
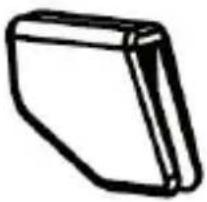
| 1 Plastic Caps (x 4) Mounting Point | ||
| 2 VESA Monitor Adapter | ||
To view manuals, videos, drivers, downloads, technical drawings, and more visit www.startech.com/support
Product Information
Specifications
| Type of measurement Measurement | |
 | 75x75 |
| 100x100 | |
| VESA Mounting Hole Pattern | |
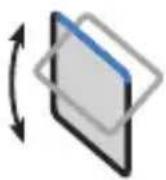 | +90° to -15° |
| Tilt | |
 | Maximum 30 in. (762 mm) |
| Screen Size | |
 | 360° |
| Rotate | |
To view manuals, videos, drivers, downloads, technical drawings, and more visit www.startech.com/support
 Swivel Swivel | 360^ |
 Weight/Load Capacity Weight/Load Capacity | 30.8 lb. (14 kg) |
To view manuals, videos, drivers, downloads, technical drawings, and more visit www.startech.com/support
Package Contents

natural_image
Technical line drawing of a mechanical bracket assembly (no text or symbols)Monitor Mount
Qty: 1

natural_image
Pure technical line drawing of a mechanical component with no text or symbolsFlange Mount
Qty: 1
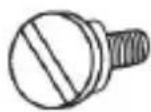
VESA Screws
Qty: 4
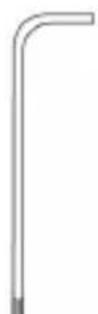
Torx Key
Qty: 1
To view manuals, videos, drivers, downloads, technical drawings, and more visit www.startech.com/support
 3 mm Hex KeyQty: 1 3 mm Hex KeyQty: 1 | 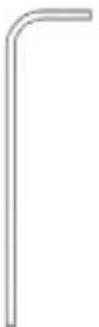 4 mm Hex KeyQty: 1 4 mm Hex KeyQty: 1 |
 Access CardQty: 1 Access CardQty: 1 | 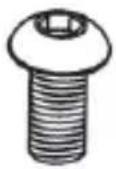 Monitor Mount ScrewsQty: 2 Monitor Mount ScrewsQty: 2 |
 Plastic CapsQty: 4 Plastic CapsQty: 4 |
To view manuals, videos, drivers, downloads, technical drawings, and more visit www.startech.com/support
Attaching a Monitor
- Turn off the iMac Monitor and disconnect all cables connected to the back of the iMac Monitor.
- Turn the iMac Monitor around so that the back is facing forward.
- Tilt the top of the iMac Monitor forward.
- Insert the Access Card into the slot at the top of the Monitor Stand, disengaging the locking mechanism.
Notes: The Access Card needs to be on a slight upward angle and will need to go into the slot approximately 3/4 of an inch order to disengage the locking mechanism.
Only the Access Card should be used to disengage the locking mechanism.

Tilt the iMac Monitor and Insert the Access Card
To view manuals, videos, drivers, downloads, technical drawings, and more visit www.startech.com/support
- Tilt the iMac Monitor forward until the Monitor Stand is locked into place and the eight screws on the Monitor Stand are visible.
- Lay the iMac Monitor face down on a flat surface (e.g. desk) with the Monitor Stand hanging over the edge of the desk.
- Use the Torx Key to remove the eight screws from the back of the iMac Monitor.

Removing the Screws from the iMac Monitor
-
Remove the stand from the iMac Monitor.
-
While sliding the Flange overtop of the Mounting Bracket, align the center hole and the eight holes in the Flange with the eight threaded holes and alignment pin on the Mounting Bracket.
To view manuals, videos, drivers, downloads, technical drawings, and more visit www.startech.com/support
- Re-insert the eight screws through the Flange.
- Using the Torx Key tighten the eight screws, being careful not to over-tighten.

Installing the Flange
- Slide the Plastic Caps (x 4) over the ends of the Monitor Mount, to protect the surface of the iMac Monitor.

natural_image
Technical line drawing of a mechanical bracket with directional arrows indicating movement or force (no text or symbols)Installing the Plastic Caps
To view manuals, videos, drivers, downloads, technical drawings, and more visit www.startech.com/support
- Align the 2 screw holes on the Monitor Mount with the 2 Mounting holes on the Flange. The orientation of the iMac Monitor is important.
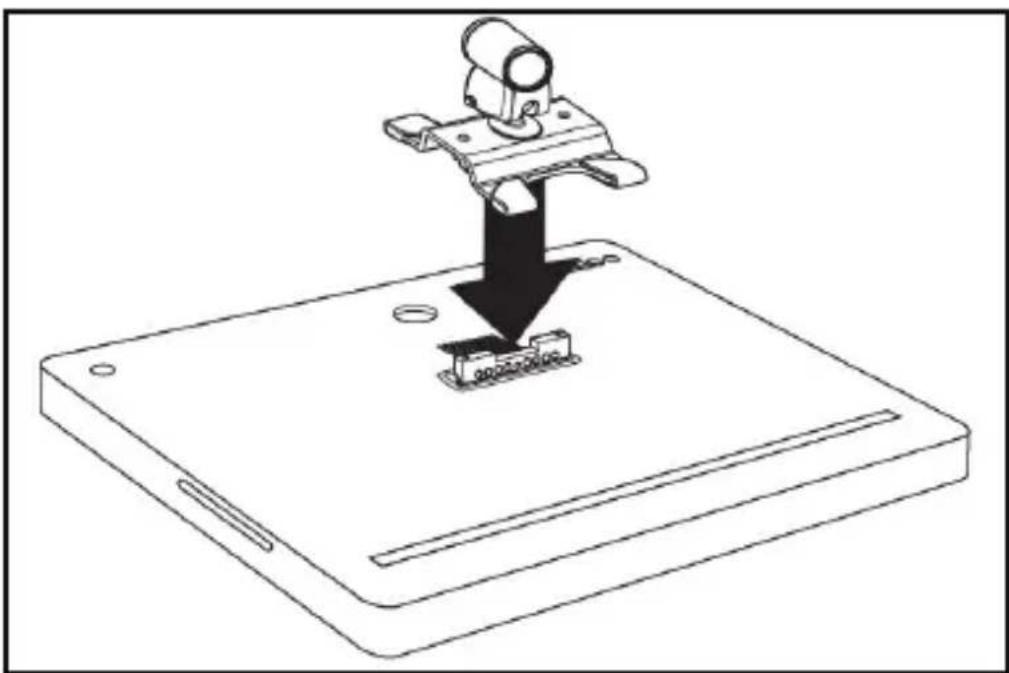
natural_image
Line drawing of a device with a mechanical component inserted into a base, showing a downward arrow indicating insertion or disassembly (no text or symbols present)Aligning the Monitor Mount
-
Insert the 2 Monitor Mount Screws through the Monitor Mount and into the Flange.
-
Use the Hex Key (4 mm) to tighten the Monitor Mount Screws. Be careful not to over-tighten the Monitor Mount Screws.
To view manuals, videos, drivers, downloads, technical drawings, and more visit www.startech.com/support

Attaching the Monitor Mount
Attaching the Monitor Mount
Notes: Attaching the Monitor Mount may require two people.
The Monitor Mount supports up to a maximum of 30.86 lb. (14 kg).
-
While supporting the weight of the Monitor, carefully align the Mounting Hole on the Monitor Mount with the Mounting Peg on the top Swivel Arm on the compatible Startech.com mount.
-
Slide the Mounting Hole on the Monitor Mount over the Mounting Peg until it clicks into place.
To view manuals, videos, drivers, downloads, technical drawings, and more visit www.startech.com/support
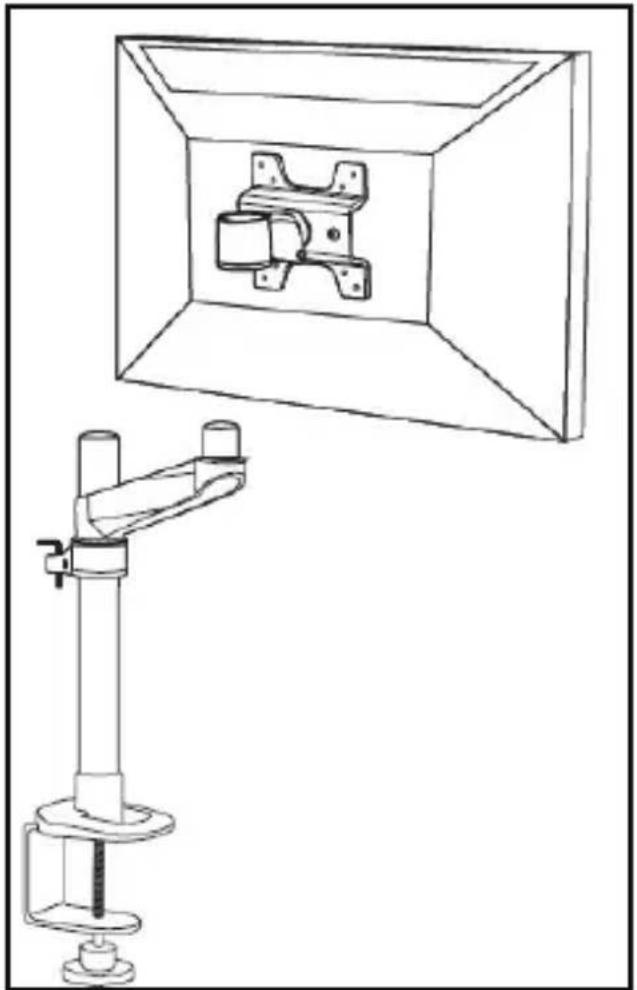
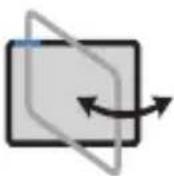
natural_image
Technical line drawing of a mechanical assembly with a mounted bracket and a transparent enclosure (no text or symbols)Attaching the Monitor Mount
- Using the 4 mm Hex Key, adjust the swivel tension of the Monitor Mount by loosening or tightening the Hex Screw located on the Monitor Mount next to the Mounting Hole.
To view manuals, videos, drivers, downloads, technical drawings, and more visit www.startech.com/support
Warranty Information
This product is backed by a ten-year warranty.
For further information on product warranty terms and conditions, please refer to www.startech.com/warranty.
Limitation of Liability
In no event shall the liability of StarTech.com Ltd. and StarTech.com USA LLP (or their officers, directors, employees or agents) for any damages (whether direct or indirect, special, punitive, incidental, consequential, or otherwise), loss of profits, loss of business, or any pecuniary loss, arising out of or related to the use of the product exceed the actual price paid for the product.
Some states do not allow the exclusion or limitation of incidental or consequential damages. If such laws apply, the limitations or exclusions contained in this statement may not apply to you.
Hard-to-find made easy. At StarTech.com, that isn't a slogan. It's a promise.
StarTech.com is your one-stop source for every connectivity part you need. From the latest technology to legacy products — and all the parts that bridge the old and new — we can help you find the parts that connect your solutions.
We make it easy to locate the parts, and we quickly deliver them wherever they need to go. Just talk to one of our tech advisors or visit our website. You'll be connected to the products you need in no time.
Visit www.startech.com for complete information on all StarTech.com products and to access exclusive resources and time-saving tools.
StarTech.com is an ISO 9001 Registered manufacturer of connectivity and technology parts. StarTech.com was founded in 1985 and has operations in the United States, Canada, the United Kingdom and Taiwan servicing a worldwide market.
Reviews
Share your experiences using StarTech.com products, including product applications and setup, what you love about the products, and areas for improvement.
StarTech.com Ltd.
45 Artisans Cres.
London, Ontario
N5V 5E9
Canada
StarTech.com LLP
2500 Creekside Pkwy.
Lockbourne, Ohio
43137
U.S.A.
StarTech.com Ltd.
Unit B, Pinnacle
15 Gowerton Rd., Brackmills
Northampton
NN4 7BW
United Kingdom
FR: startech.com/fr
DE: startech.com/de
ES: startech.com/es
NL: startech.com/nl
IT: startech.com/it
JP: startech.com/jp
- VESA Mount Adapter | Premium | Silver
- Compliance Statements
- Use of Trademarks, Registered Trademarks, and other Protected Names and Symbols
- Warning Statements
- Varningsmeddelanden
- Mensagens de aviso
- Table of Contents
- Product Diagram
- Product Information
- Specifications
- Package Contents
- Attaching a Monitor
- Removing the Screws from the iMac Monitor
- Attaching the Monitor Mount
- Warranty Information
- Limitation of Liability
- Hard-to-find made easy. At StarTech.com, that isn't a slogan. It's a promise.
- Reviews
- StarTech.com Ltd.
- StarTech.com LLP
Brand : StarTech.com
Model : APLVEAMNTP
Category : Tracking