
HLCRIO141 - Accessory iOttie - Free user manual and instructions
Find the device manual for free HLCRIO141 iOttie in PDF.


| Product Type | Universal Tablet Mount |
| Brand | iOttie |
| Model | HLCRIO141 |
| Compatible Device Width | 4.5 - 7.5 inches |
| Mounting Type | Windshield or Dashboard |
| Locking Mechanism | One-Touch Locking |
| Suction Cup | Yes, with lever lock |
| Telescopic Arm | Yes, adjustable length |
| Angle Adjustment | Ball pivot joint |
| Stopper | Included to prevent disconnection |
| Dashboard Disc | Included for dashboard mounting |
| Gel Pad Care | Rinse with warm water to restore tackiness |
| Material | Plastic, sticky gel pad |
| Installation | Peel suction cover, place on surface, pull lever |
| Assembly Required | Yes (neck, base, stopper) |
| Safety Note | Use dashboard disc to prevent dashboard damage |
| Warranty | One Year Limited Warranty |
| Satisfaction Guarantee | Yes |
| Manufacturer | iOttie Inc., New York, NY |
| Contact | Tel: 201-580-2688, Email: cs@lottie.com |
Frequently Asked Questions - HLCRIO141 iOttie
User questions about HLCRIO141 iOttie
0 question about this device. Answer the ones you know or ask your own.
Ask a new question about this device
Download the instructions for your Accessory in PDF format for free! Find your manual HLCRIO141 - iOttie and take your electronic device back in hand. On this page are published all the documents necessary for the use of your device. HLCRIO141 by iOttie.
USER MANUAL HLCRIO141 iOttie
Easy Smart Tap 2 Universal Tablet Mount
The Easy Smart Tap 2 provides a safe, versatile & stylish smartphone mounting solution. Combined with our one touch locking feature, universal fit & rinsable sticky gel pad, the Easy Smart Tap 2 allows you to mount your device securely and safely on your desired location.
Universal Fit
- Adjustable bracket to fit devices securely.
- Will comfortably fit most tablet devices with widths from 4.5 - 7.5 inches wide.
• Telescopic arm which provides a better view
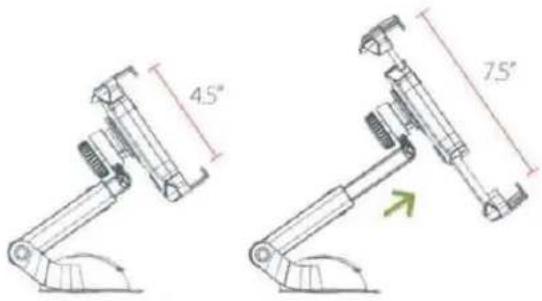
Easy One Touch Locking Feature
- Adheres to either windshield or dashboard.
• Works with most curved & textured dashboards. - Rinse with warm water to restore tacky suction.
*To avoid the possibility of marks or harm to select dashboards, we recommend you to place the mount onto your windshield.
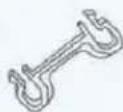
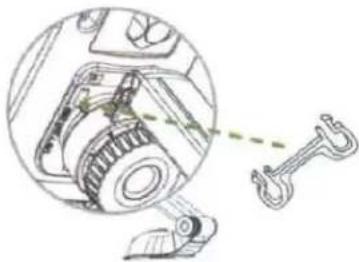
Stopper: Provides a secure position to prevent mount from disconnecting when inserting tablet or hitting bumps
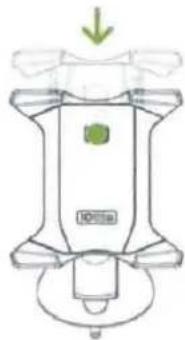
Easy One Touch Locking Feature
- Mount your device quickly & safely.
• Simple push of a finger locks your device in place.
natural_image
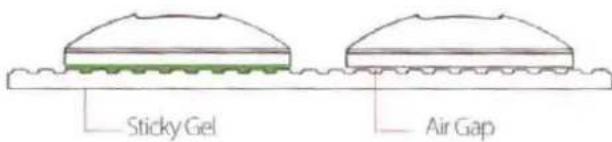
Technical line drawing of a mechanical component with a green arrow indicating downward motion (no text or symbols)iOttie Sticky Gel Pad
Traditional Suction Cup
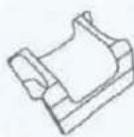
Space Block: Optional for in vehicle use to prevent shaking of the tablet device when on the go
Tel: 201-580-2688
Email:cs@lottie.com
iOttie Inc.
38W 32nd Street, #1610, New York, NY 10001

One Year Limited Warranty - Satisfaction Guaranteed.
iOttie has you covered. Should anything go wrong with your mount within the warranty period, iOttie will provide you with a hassle-free replacement.
Mount Smart. Drive Smarter!
iottie
HOW TO ASSEMBLE
natural_image
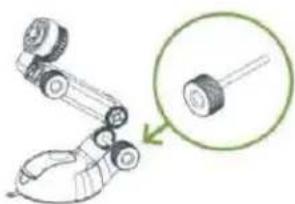
Diagram of a robotic arm with a close-up inset showing a cylindrical component (no text or symbols)- Assemble the neck and base parts securely by mount adjusting knob
natural_image
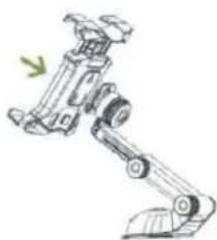
Mechanical assembly diagram showing a linkage mechanism with no visible text or symbols- Insert the Mount into the Connector, pull up to lock
natural_image
Technical line drawing of a mechanical assembly with a dashed line indicating a reference point (no text or symbols present)- Add stopper to the bottom of the connector to prevent mount from disconnecting when placing tablet into mount
INSTALLATION INSTRUCTIONS
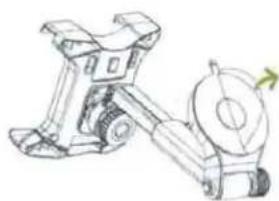
natural_image
Technical line drawing of a mechanical assembly with no visible text or symbols- Remove the suction pad cover
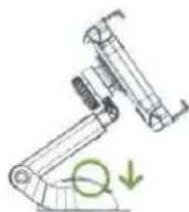
natural_image
Diagram of a robotic arm with a green circular arrow indicating rotation or movement (no text or symbols)- Place the mount on the desired surface and pull down the lever to secure the mount
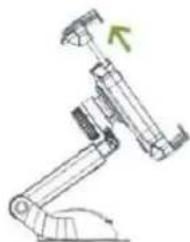
natural_image
Mechanical robotic arm diagram with no visible text or symbols- Open the One Touch Locking Arm
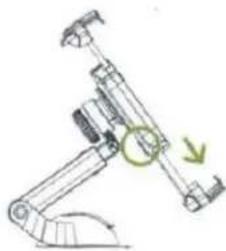
natural_image
Mechanical assembly diagram showing a lever mechanism with a green circular arrow indicating motion (no text or symbols)- Press button in back of the mount to lower bottom foot
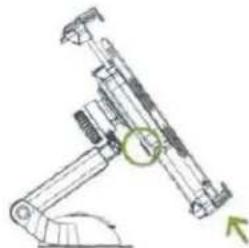
natural_image
Mechanical assembly diagram showing a lever mechanism with a green circular annotation and directional arrow (no text or symbols)- Place the device in mount and raise the bottom foot by pressing the button in the back.
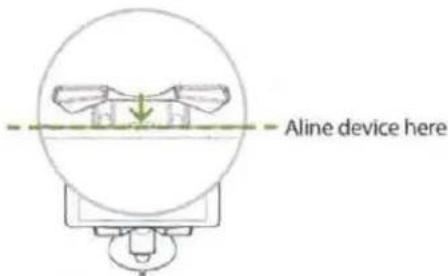
- Line device up with line located on the one touch locking arm
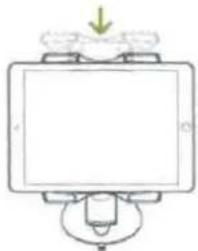
natural_image
Simple line drawing of a tablet device with a green arrow pointing to the top panel (no text or symbols)- Press device with one finger to activate the one touch locking arm which will securely lock your device into place
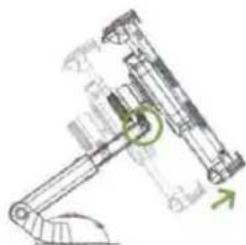
- Loosen knob to extend telescopic arm to desired length
natural_image
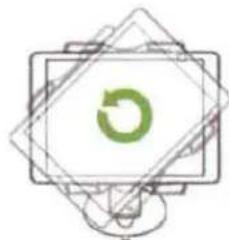
Abstract diagram with a green circular arrow inside a square frame, no text or symbols present.- Adjust Cradle in angle with ball pivot joint
DASHBOARD DISC

Please Note: iOttie recommends to use included dashboard disc for all dashboard mounting, this will help mounting as well as prevent any potential dashboard damage.
We recommend this disc for dashboard mounting only.
Step 1
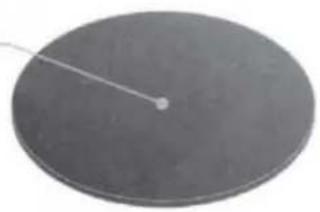
Peel protective film off Dashboard Disc. Place sticky side down.
Dashboard Disc
natural_image
Circular object with a thin rod and a small dot on its surface, resembling a disc or knob (no text or symbols visible)Step 2
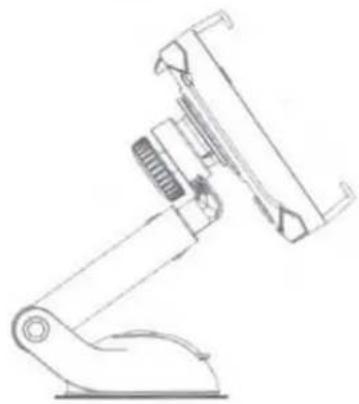
Remove plastic cover on sticky gel pad & place onto Dashboard Disc. Press down.
natural_image
Line drawing of a handheld device with adjustable arm and handle (no text or symbols)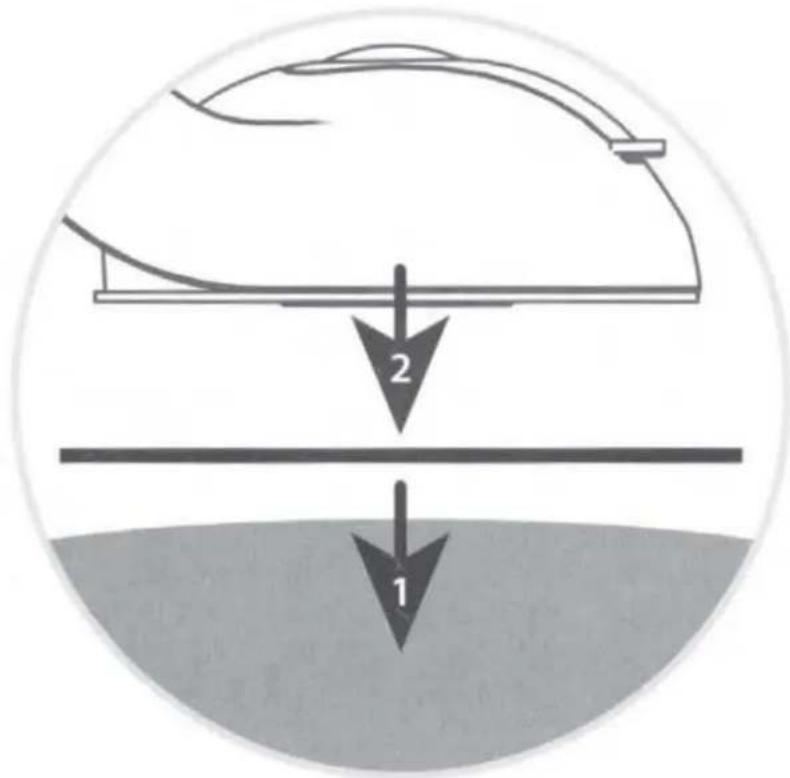
iottie
Brand : iOttie
Model : HLCRIO141
Category : Accessory