
Piranha BS8050-2V - Barcode Reader Newland - Free user manual and instructions
Find the device manual for free Piranha BS8050-2V Newland in PDF.


| Product Type | Wireless Barcode Scanner |
| Model | Piranha BS8050-2V |
| Brand | Newland |
| Scan Engine | 1D or 2D (version dependent) |
| Connectivity | Bluetooth HID/SPP, USB HID-KBW/COM Port Emulation |
| Operating Modes | Real-Time (Bluetooth) and Batch (USB) |
| Battery | Rechargeable lithium-ion (built-in, non-replaceable) |
| Charging Method | Micro USB cable |
| Charging Time | 3-4 hours (first use) |
| LED Indicators | Charging/Battery, Good Read, Data, Function |
| Buttons | Scan/Power, Delete/Reset, Function |
| Supported Symbologies | Code 39, Code 128, EAN-13, UPC-A, QR Code, Data Matrix, PDF417, and many more |
| Auto Power-Off Timer | Programmable: 5, 10, 20, 30 minutes or permanent |
| Sound Notifications | Yes, configurable on/off |
| Vibration Notifications | Yes, configurable on/off |
| Firmware Upgrade | Via USB using BS80Update tool |
| Dimensions (Approx.) | 100 x 50 x 20 mm |
| Weight (Approx.) | 100 g |
| Color | Black |
| Care and Cleaning | Wipe with soft, dry cloth; avoid harsh chemicals |
| Safety Instructions | Do not disassemble; avoid excessive heat; battery cannot be replaced |
| Package Contents | Scanner, Micro USB cable, User Manual |
Frequently Asked Questions - Piranha BS8050-2V Newland
User questions about Piranha BS8050-2V Newland
0 question about this device. Answer the ones you know or ask your own.
Ask a new question about this device
Download the instructions for your Barcode Reader in PDF format for free! Find your manual Piranha BS8050-2V - Newland and take your electronic device back in hand. On this page are published all the documents necessary for the use of your device. Piranha BS8050-2V by Newland.
USER MANUAL Piranha BS8050-2V Newland
BS8050-2V Piranha
Barcode Scanner
User Guide
Disclaimer
© 2015 Fujian Newland Auto-ID Tech. Co., Ltd. All rights reserved.
Please read through the manual carefully before using the product and operate it according to the manual. It is advised that you should keep this manual for future reference.
Do not disassemble the device or remove the seal label from the device. Otherwise, Fujian Newland Auto-ID Tech. Co., Ltd. does not assume responsibility for the warranty or replacement.
All pictures in this manual are for reference only and actual product may differ. Regarding to the product modification and update, Fujian Newland Auto-ID Tech. Co., Ltd. reserves the right to make changes to any software or product to improve reliability, function, or design at any time without notice. Besides, the information contained herein is subject to change without prior notice.
The products depicted in this manual may include software copyrighted by Fujian Newland Auto-ID Tech. Co., Ltd or a third party. The user, corporation or individual, shall not duplicate, in whole or in part, distribute, modify, decompile, disassemble, decode, reverse engineer, rent, transfer or sublicense such software without prior written consent from the copyright holders.
This manual is copyrighted. No part of this publication may be reproduced, distributed or used in any form without written permission from Newland.
Fujian Newland Auto-ID Tech. Co., Ltd. reserves the right to make final interpretation of the statement above.
Fujian Newland Auto-ID Tech. Co., Ltd.
3F, Building A, No.1, Rujiang Xi Rd., Mawei, Fuzhou, Fujian, China 350015
http://www.nlscan.com
Revision History
| Version | Description | Date |
| V1.0 | Initial release. | March 18, 2015 |
| V1.1 | Added the content concerning the 2D version. | May 19, 2015 |
Table of Contents
Revision History ...... - 3 -
Preface....1
Introduction....1
Chapter Descriptions....1
Safety Instructions....1
Chapter 1 Getting Started....2
Introduction....2
Unpacking 2
BS80 Scanner 3
Functions of the Buttons 4
Charging the Battery 5
Connecting the BS80 to Smartphone/Tablet 6
LED Notifications....8
Turning the BS80 On/Off....9
Scanning Instructions....10
Scanning 1D Barcode....10
Scanning 2D Barcode....10
Chapter 2 System Settings....11
Introduction....11
Restore Factory Defaults 11
Operating Modes....11
Query Scanner Information....13
Query/Delete the Data in FLASH....13
Sound Notifications 14
Vibration Notifications 15
Terminating Character Suffix....16
Inter-Character Delay for Bluetooth HID....17
Delete Bluetooth Pairing 17
Automatic/Manual Power-Off 18
Time Stamp 20
Set Date Format....20
Set Date & Time....21
Parameters of USB HID-KBW 22
USB Country Keyboard Types....22
Convert Case 23
Inter-Keystroke Delay for KBW....23
Upgrade the Firmware 24
Chapter 3 Symbologies ......27
Introduction....27
1D Scan Engine 27
1D Symbologies....27
Code 39 27
Transmit Code 39 Start/Stop Character....27
Code 39 FULL ASCII....28
Code 128....28
UCC/EAN-128 28
EAN-8 28
EAN-13 29
ISSN....29
ISBN....29
UPC-E....29
UPC-A....30
Interleaved 2 of 5....30
Matrix 25....30
Industrial 25....30
Codabar 31
Code 93....31
GS1 Databar (RSS)....31
Code 11....31
Plessey 32
MSI-Plessey....32
2D Scan Engine 33
Global Settings....33
Enable/Disable All Symbologies....33
Enable/Disable 1D Symbologies....33
Enable/Disable 2D Symbologies....33
1D Symbologies....34
Code 39....34
Transmit Code 39 Start/Stop Character....34
Code 39 FULL ASCII....34
Code 128....34
UCC/EAN-128 35
EAN-8 35
EAN-13 35
ISSN....35
ISBN....36
UPC-E....36
UPC-A....36
Interleaved 2 of 5....36
Matrix 25....37
Industrial 25....37
Codabar 37
Code 93....37
RSS-Limited 38
RSS-Expand....38
Code 11....38
Plessey 38
MSI-Plessey....39
2D Symbologies....39
PDF 417....39
QR Code....39
Data Matrix 39
Appendix 40
Factory Defaults Table 40
Digit Barcodes....44
Preface
Introduction
This manual provides detailed instructions for setting up and using the NLS-BS80 barcode scanner (hereinafter referred to as “the BS80” or “the scanner”).
Chapter Descriptions
◇ Chapter 1, Getting Started : This chapter provides information on getting the scanner up and running for the first time.
◇ Chapter 2, System Settings : This chapter describes the barcode programming procedure and shows you how to configure system parameters.
◇ Chapter 3, Symbologies : This chapter lists all compatible symbologies and describes how to configure the relevant parameters.
Appendix : This chapter offers factory defaults table and a bunch of frequently used programming barcodes.
Safety Instructions
Read the operating instructions carefully and especially observe the safety information. If you do not follow the safety instructions on proper handling in this manual, we assume no liability for any resulting personal injury or damage to property.
Don't put the scanner in places with excessively high temperatures, such as exposure to direct sunlight.
Don't use the scanner in extremely humid area or drastic temperature change.
The rechargeable battery is permanently built into the scanner and cannot be replaced.
✿ Never damage the rechargeable battery. Damaging the casing of the rechargeable battery might cause an explosion or a fire!
Chapter 1 Getting Started
Introduction
The BS80 is a wireless pocket barcode scanner equipped with 1D or 2D scan engine to meet different needs. It is a great space-saver for busy or limited workspaces. It also supports iOS, Android, and Windows devices through Bluetooth HID or SPP communication.
An illustrated introduction to the BS80 is included in this chapter. If you have the scanner at hand, make good use of it to develop a better understanding of this manual. This chapter is written for normal users, maintenance staff and software developers.
Unpacking
Open the package and take out the scanner and its accessories. Check to make sure everything on the packing list is present and intact. If any contents are damaged or missing, please keep the original package and contact your dealer immediately for after-sale service.
BS80 Scanner
1 Charging/Battery LED
3 Data LED
5 Delete/Reset Button
7 Micro USB Port
9 Scan Window
2 Good Read LED
4 Scan/Power Button
6 Function Button/Function LED
8 Product Label
Functions of the Buttons
| Scan/Power Button |
| *Press the button to scan barcode when the scanner is on.*Hold down the button for 3 seconds to power it on when the scanner is off. |
| Delete/Reset Button |
| *Press the button to remove the corresponding data from the USB storage area of FLASH memory in the Batch mode before scanning the barcode to be deleted.*Hold down the button for 7 seconds to reset it when the scanner is on. |
| Function Button |
| *Press the button to turn on or off the HID keyboard of the connected iOS device in the Real-Time mode.*Hold down the button for 8 seconds to unpair paired Bluetooth device from the scanner in the Real-Time mode and to make the scanner discoverable by other Bluetooth device.*Hold down the button for 3 seconds to start data transmission via USB in the Batch mode (Make sure that the scanner is connected to PC with required driver installed on it.) |
| Scan/Power Button + Function Button |
| *Hold down the two buttons at the same time for 3 seconds to toggle between the Real-Time mode and Batch mode when the scanner is on. |
| Delete/Reset Button + Function Button |
| *Hold down the two buttons at the same time for 7 seconds to upgrade the firmware via USB after clicking the “Start” button of the firmware upgrade utility on PC that the scanner is connected to.Note: If the update fails or you accidentally enter update status, you need to hold down the Delete/Reset button for 7s to reset the scanner and get it back to normal operating status. |
| Scan/Power Button + Delete/Reset Button |
| *Press the two buttons at the same time to check the battery level with the Charging/Battery LED when the scanner is on. |
Charging the Battery
Charge the scanner by connecting it to a host device with Micro USB cable, as shown below.
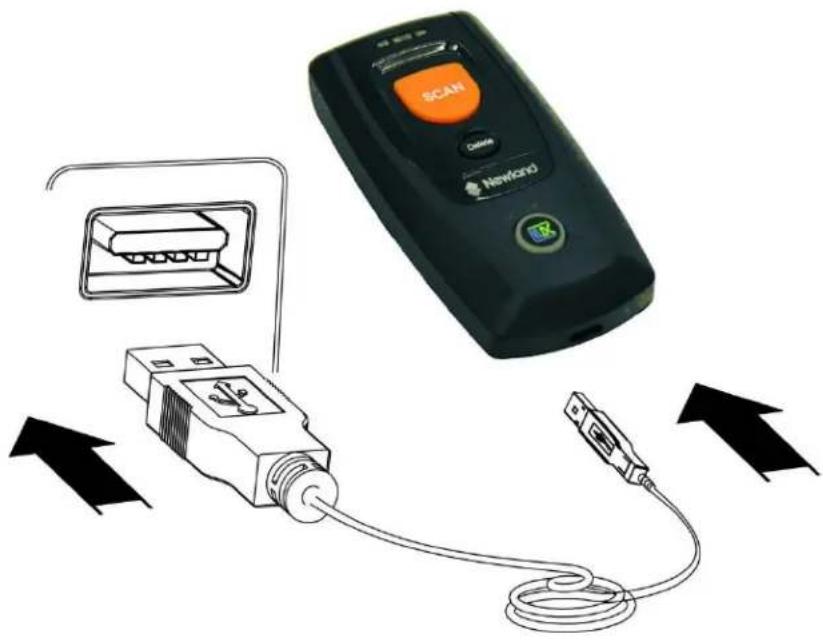
Note: Low battery may result in failure or misoperation of the scanner. Before your first use, charge the battery for 3-4 hours.
Connecting the BS80 to Smartphone/Tablet
- Make sure your device has HID or SPP profile.
- Turn off the Power-Saving mode on your smartphone/tablet first. If the red Function LED on the scanner illuminates, hold down the Scan/Power button and Function button at the same time for 3 seconds or scan the barcode below to switch to the Real-Time mode.
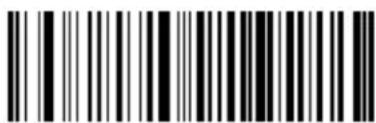
Real-Time Mode (Default)
- Scan the appropriate barcode below to choose HID or SPP profile before connecting the scanner to smartphone/tablet. If you don't know what profile your device is using, please try HID profile first, then SPP profile.
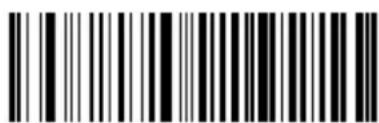
HID (Default)
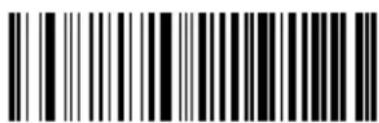
SPP
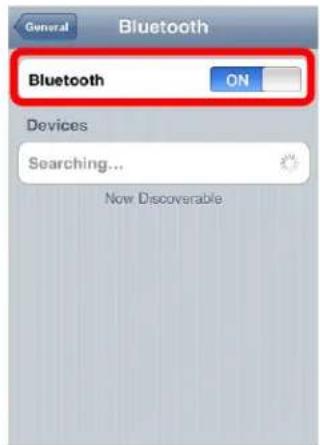
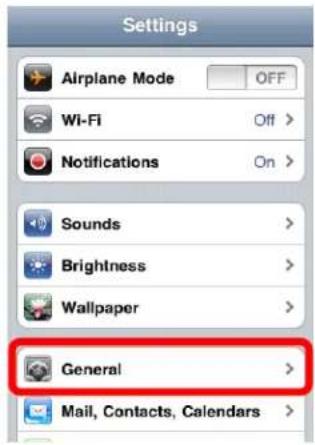
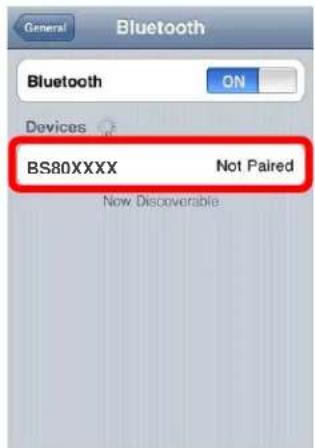
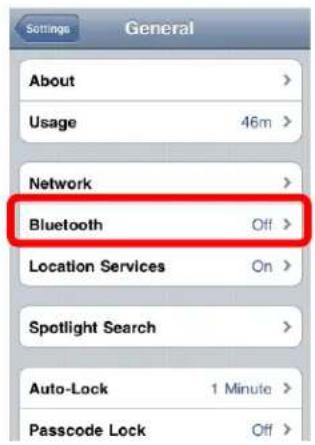
- Complete the following connection procedure (example: pairing with iPhone). If the BS80 does not appear in the search results in step (5), you may need to delete existing pairing information on the scanner by holding down the Function button on the scanner for 8 seconds (see Functions of the Buttons in this chapter) or by scanning the Delete Bluetooth Pairing barcode (see Delete Bluetooth Pairing in Chapter 2).
(1) Click "Settings".
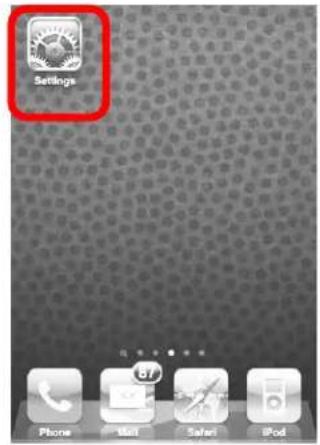
(4) Turn it on and search the devices.
(2) Click "General".
(5) Select "BS80XXXX" to connect.
(3) Click "Bluetooth".
(6) The "Connected" message means the connection is OK.
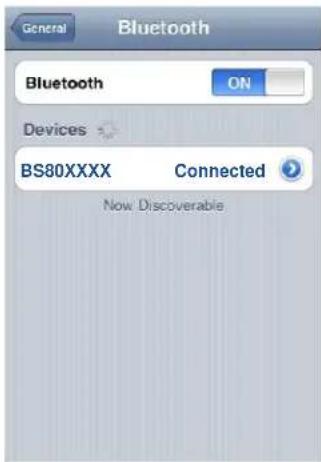
- After the connection is completed, the blue Function LED on the scanner will illuminate.
- Before using WordPad file or relative APP, set keyboard language of the device to USA language. Then, scan barcodes and the barcode data will show before current cursor position. If the data cannot be sent to smartphone/tablet, please scan the Restore Factory Defaults barcode (see Chapter 2).
Note: This product complies with Bluetooth standards. The device that communicates with this product must support the same SPP or HID. For other Bluetooth devices with other profiles, we cannot guarantee a connection before the product has been tested.
The communication speed and range of the product may vary due to obstacles and radio wave condition between the product and device to which it is connected. Condition on the host device may also affect the communication speed and range of the scanner.
LED Notifications
| Charging/Battery LED | |
| Red LED on | Charging in progress. |
| Green LED on | Fully charged. |
| Red and green LEDs flash alternately | Battery not found. |
| Red LED flashes | Low battery alert. |
| If the scanner is on and it is not connected to PC via USB cable, pressing the Scan/Power button and Delete/Reset button at the same time can display the battery level with the Charging/Battery LED. | |
| Green LED on | Battery level is high. |
| Red and green LEDs on | Battery level is medium. |
| Red LED on | Battery level is low. |
When the battery voltage is too low, the scanner will beep with flashing red Charging/Battery LED. Please charge it immediately before the scanner shuts down mandatorily. When it shuts down, please charge it fully before turning it back on.
| Good Read LED | |
| Green LED flashes | Good read. |
| Data LED | |
| Red LED flashes | There is data in FLASH memory. |
| Red LED on | FLASH memory depleted. |
| Function LED | |
| Blue LED flashes slowly with long OFF state | Bluetooth turned on, but no Bluetooth connection established and the BS80 undiscoverable. |
| Blue LED flashes slowly with long ON state | Bluetooth turned on, but no Bluetooth connection established and the BS80 discoverable. |
| Blue LED on | Bluetooth connection established. |
| Blue LED flashes quickly | Data transmission via Bluetooth in progress. |
| Red LED on | Batch mode enabled. |
| Red LED flashes quickly | Batch data transmission via USB in progress. |
Turning the BS80 On/Off
Turn the scanner on: Press the Scan/Power button.
Turn the scanner off: By default, the scanner automatically powers off if no operation is performed on the scanner for 30 minutes. You can adjust the auto power-off timer. You can also turn off the scanner by scanning the Power Off barcode. For more information, see Automatic/Manual Power-Off section in Chapter 2.
Scanning Instructions
Scanning 1D Barcode
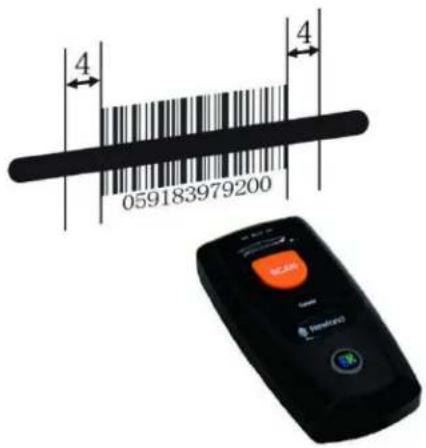
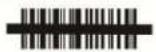
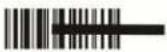
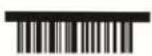
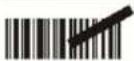
Adjust the scan angle (Do not read barcode at vertical degree) or the distance between barcode and the scanner to ensure that the length of the scan line is roughly 8mm greater than that of the barcode, as shown below.
| Right | Wrong |
 |  |
 |  |
 |  |
Scanning 2D Barcode
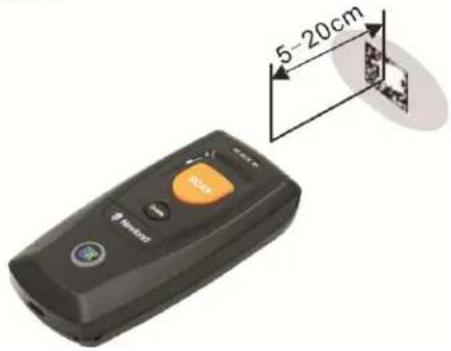
Adjust the scan angle and the distance between barcode and the scanner to make them fall into the following ranges:
- Aim the scan line across the center of the barcode.
- Optimum scan distances: 5-20cm.
Chapter 2 System Settings
Introduction
This chapter describes how to configure the basic system parameters on the scanner.
The scanner provides two operating modes: Real-Time mode (Bluetooth mode) and Batch mode.
1. Real-Time mode
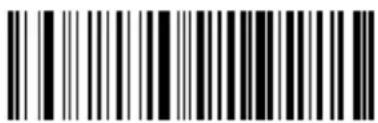
Real-Time Mode (default)
When the scanner is in the Real-Time mode, scanning the following barcodes can switch between Bluetooth HID and SPP profiles. When the scanner is in the Batch mode, scanning the following barcodes can switch between USB HID-KBW and USB COM Port Emulation.
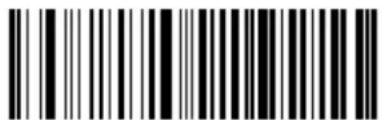
Real-Time Mode: HID (default)
Batch Mode: USB HID-KBW (default)
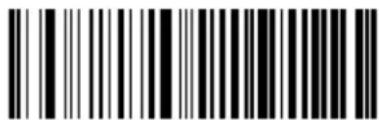
Real-Time Mode: SPP
Batch Mode: USB COM Port Emulation
There are two data transmission modes: Synchronous mode and Asynchronous mode.
(1) Synchronous mode: When you scan barcodes, the data will be sent to smartphone/tablet directly. If you are out of Bluetooth service range, scanned data will be lost.
(2) Asynchronous mode: When you are out of Bluetooth service range, scanned data will be saved in the FLASH memory. Once you are back to service range, the data will be sent to smartphone/tablet automatically. The scanner will automatically remove it from the FLASH memory after smartphone/tablet receives the data.
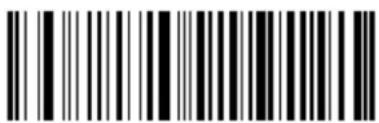
Synchronous Mode
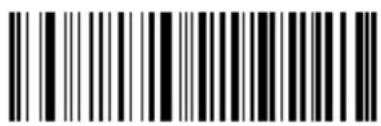
Asynchronous Mode (default)
2. Batch mode
When you scan barcodes, the data will be saved in the FLASH memory. You can sync the data acquired in the Batch mode from the FLASH memory to your PC by following the procedure described below.
Data transmission from FLASH to PC via USB:
Step 1: Install the required driver on your PC.
Step 2: Connect the scanner to your PC with USB cable. The scanner beeps when the connection between them is established.
Step 3: Open Notepad or Office Word on your PC and make sure that your cursor is always positioned in it. Hold down the Function button on the scanner for 3 seconds or longer to start data transmission from the FLASH memory to your PC. To suspend or resume the transmission, press the Function button briefly. The scanner beeps when the transmission is completed.
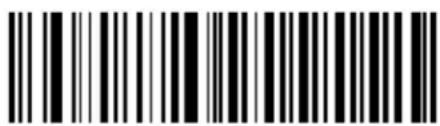
Batch Mode
Note:
- When the scanner switches from one operating mode to the other, it beeps along with corresponding LED notification (For more information, see LED Notifications in Chapter 1)
- Besides the method mentioned above, you can also hold down the Scan/Power button and Function button at the same time for 3 seconds to toggle between the Real-Time mode and Batch mode.
Query Scanner Information
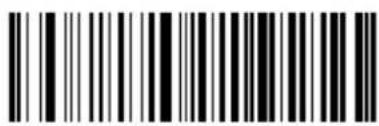
Query the Firmware & Hardware Versions of Scanner
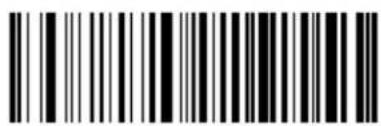
Query the Manufacture Date of Scanner
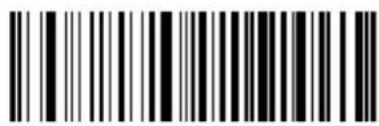
Query the Serial Number of Scanner
Query/Delete the Data in FLASH
The FLASH memory is divided into a USB storage area (used to save the data acquired in the Batch mode) and a Bluetooth storage area (used to save the data acquired in Bluetooth asynchronous mode). You should note that removing data from the USB storage area may take a longer time.
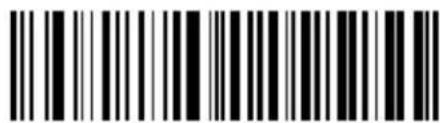
Delete All Barcodes in FLASH
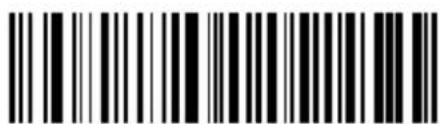
Query the Number of Barcodes in USB Storage Area
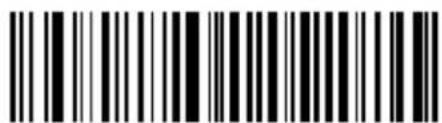
Only Delete Barcodes in USB Storage Area
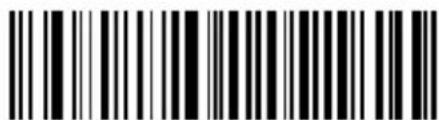
Query the Number of Barcodes in Bluetooth Storage Area
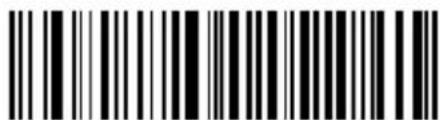
Only Delete Barcodes in Bluetooth Storage Area
Sound Notifications
Turn sound notifications on or off by scanning the appropriate barcode below. After this feature is enabled, the scanner beeps when one of the following events occurs:
- The scanner is turned on.
- The scanner resets.
- A barcode is decoded (including good read for removing barcode data from the FLASH memory in the Batch mode).
- The scanner switched to the Real-Time mode or Batch mode.
- Transmitting data via Bluetooth failed.
- iOS soft keyboard is turned on or off.
- Batch data transmission via USB starts.
- Batch data transmission via USB is interrupted.
- Batch data transmission via USB is completed.
- The paired Bluetooth device is unpaired from the scanner.
- The scanner is turned off.
- USB connection between the scanner and the host established.
- USB connection between the scanner and the host lost.
- Bluetooth connection between the scanner and the host established or lost.
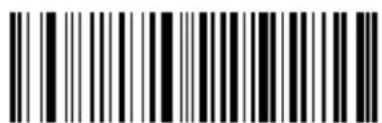
Sound Notifications On (default)
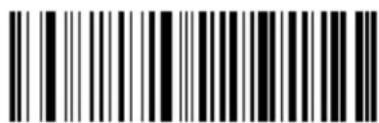
Sound Notifications Off
Vibration Notifications
Turn vibration notifications on or off by scanning the appropriate barcode below. After this feature is enabled, the scanner vibrates when one of the following events occurs:
- A barcode is decoded (including good read for removing barcode data from the FLASH memory in the Batch mode).
- The scanner switched to the Real-Time mode or Batch mode.
- iOS soft keyboard is turned on or off.
- The paired Bluetooth device is unpaired from the scanner.
- Batch data transmission via USB starts.
- The scanner is turned off.
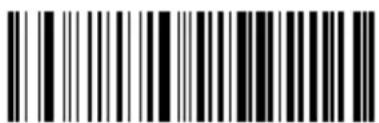
Vibration Notifications On
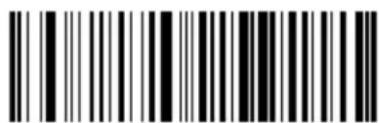
Vibration Notifications Off (default)
Terminating Character Suffix
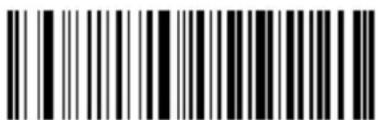
Append CRLF as Terminating Character Suffix (default)
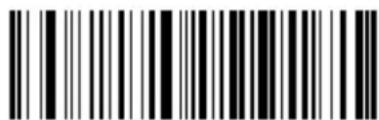
Disable Terminating Character Suffix
Inter-Character Delay for Bluetooth HID
Select an appropriate inter-character delay to avoid data loss during transmission. This parameter is only valid in the Bluetooth HID mode.
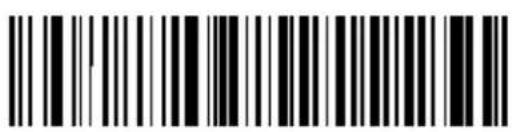
5ms
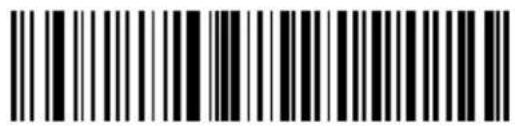
15ms (default)
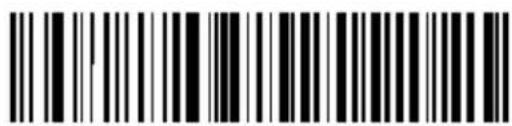
25ms
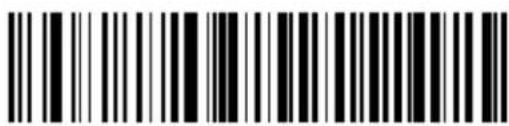
35ms
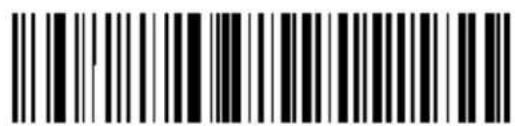
45ms
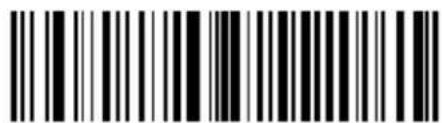
Query Inter-Character Delay
Delete Bluetooth Pairing
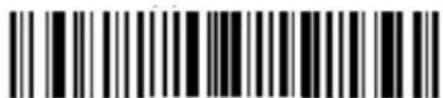
Delete Bluetooth Pairing
Automatic/Manual Power-Off
By default, the scanner automatically powers off if no operation is performed on the scanner for 30 minutes. This feature can help to extend battery life.
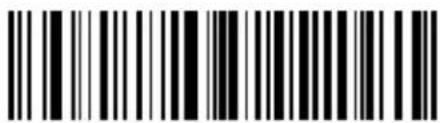
Query Auto Power-Off Timer
Set the auto power-off timer: Scan the Set Auto Power-Off Timer barcode then one of the timers listed below.
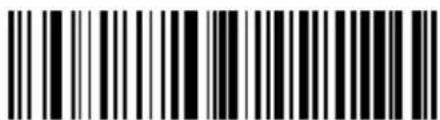
Set Auto Power-Off Timer
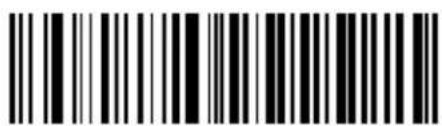
5 Minutes
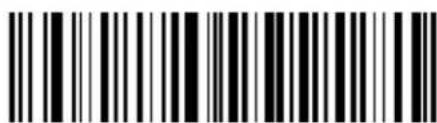
10 Minutes
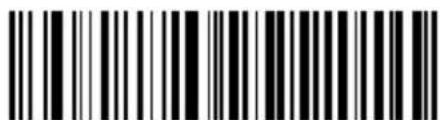
20 Minutes

30 Minutes (default)
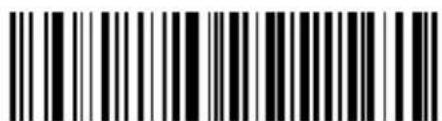
60 Minutes
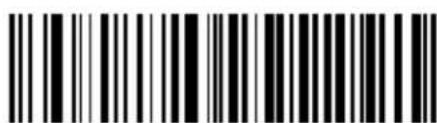
Permanent
You can power off your scanner manually by scanning the barcode below.
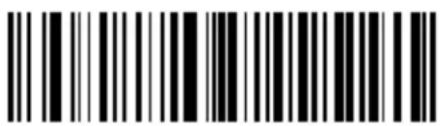
Power Off
Note: After the Power Off barcode is scanned, the scanner emits a long beep and then turns off.
Time Stamp
You can decide whether to send date and time or not by enabling or disabling time stamp.
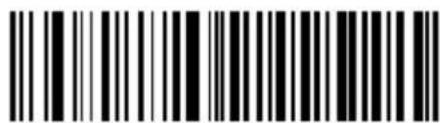
Enable Time Stamp (default)
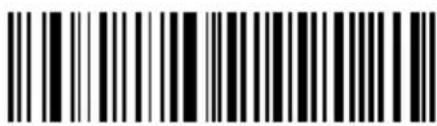
Disable Time Stamp
Set Date Format
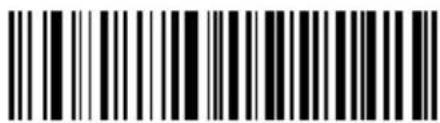
Format 1: mm/dd/yyyy (example: 01/23/2011)
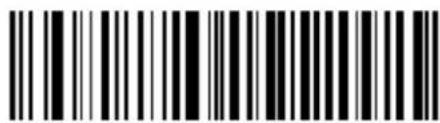
Format 2: dd/mm/yyyy (example: 23/01/2011)
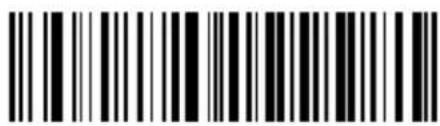
Format 3: yyyy/mm/dd (default) (example: 2011/01/23)
Set Date & Time
Step 1: Double click on BS80Setting.exe to run BS80 Date&Time Setting Tool. Then check the "Auto-sync date and time with the host" item on it.
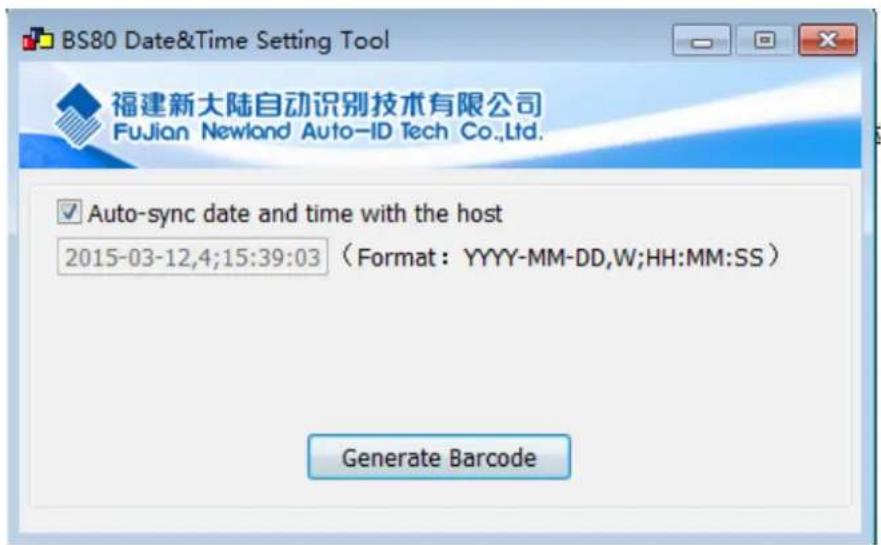
Step 2: After the time in the box is in sync with the system clock, click the "Generate Barcode" button.
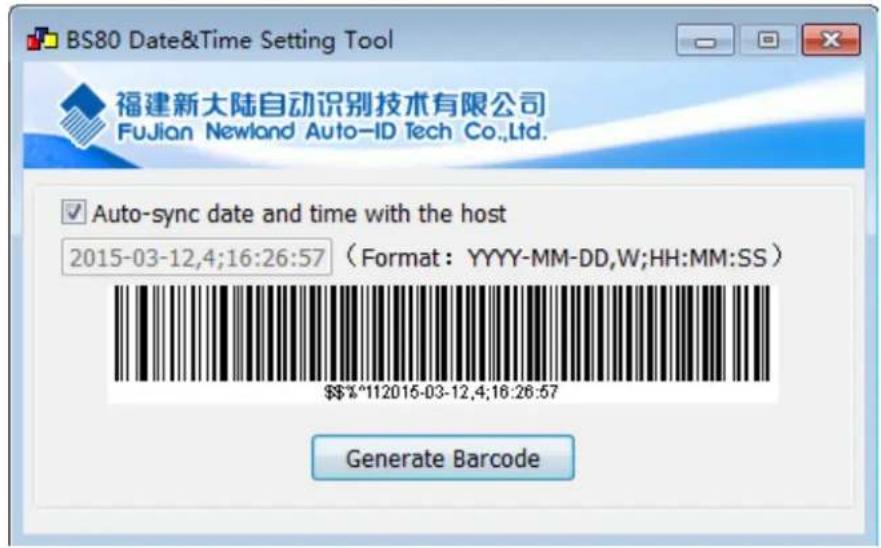
Step 3: Scan the barcode generated to set the date and time on the scanner.
Note: You need to run this tool on the Windows XP or WIN7 operating system.
Parameters of USB HID-KBW
USB Country Keyboard Types
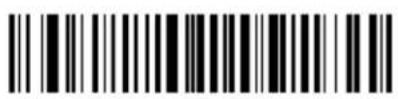
US English (default)
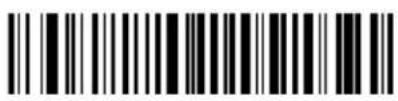
Japan
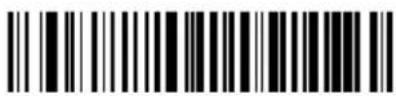
Denmark
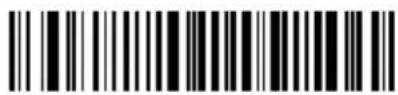
Finland
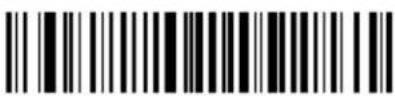
France
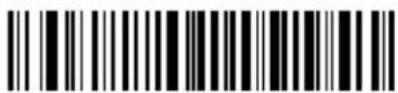
Turkey_F
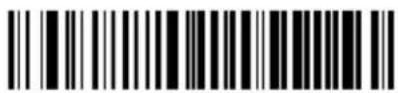
Italy
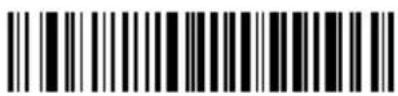
Norway
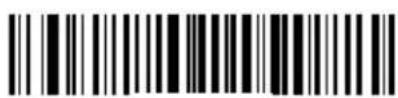
Spain
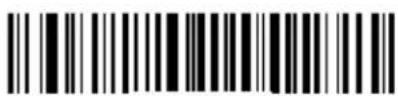
Turkey_Q
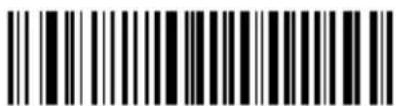
U.K.
Convert Case
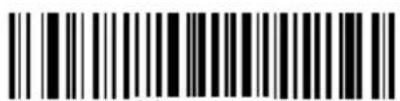
No Case Conversion (default)
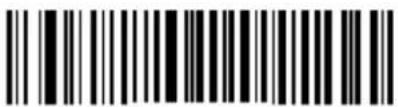
Convert All to Upper Case
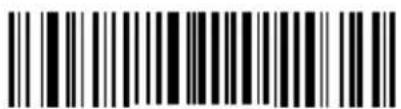
Convert All to Lower Case
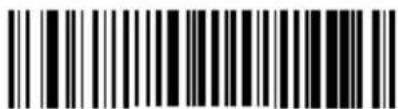
Invert Upper and Lower Case Characters
Inter-Keystroke Delay for KBW
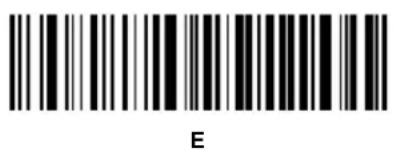
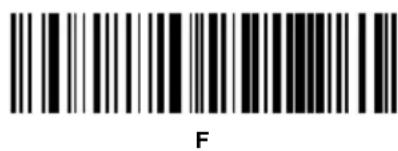
To set the inter-keystroke delay, scan the following barcode and a digit barcode (0\~F).
Note: 0\~F corresponds to 3ms (default), 8ms, 13ms, 18ms, 23ms, 28ms, 33ms, 38ms, 43ms, 48ms, 53ms, 58ms, 63ms, 68ms, 73ms and 78ms respectively.
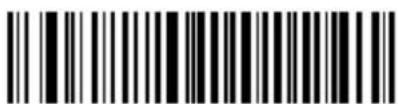
Inter-Keystroke Delay for KBW
Upgrade the Firmware
Step 1: Install the driver: Run the CDC - Virtual COM Driver v1.1.0 program and then follow the on-screen instructions to complete the installation process. (Skip this step if it is already installed on your PC.) Make sure that the driver is properly installed. You cannot upgrade the firmware without it.
Step 2: Run the BS80Update program. Then click "Start".
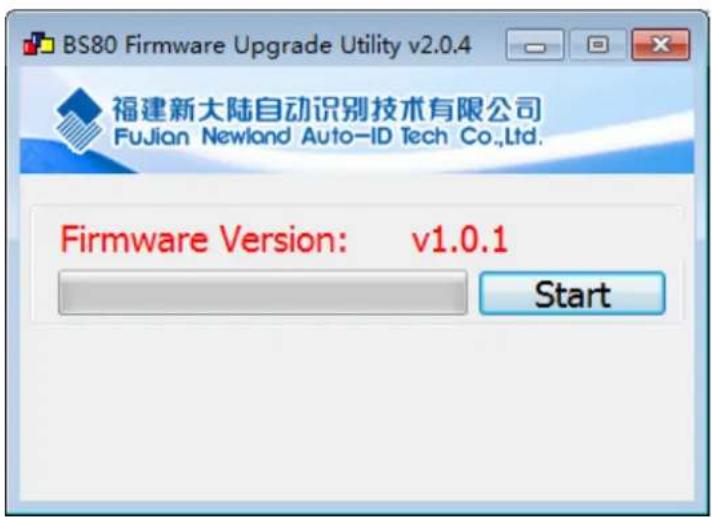
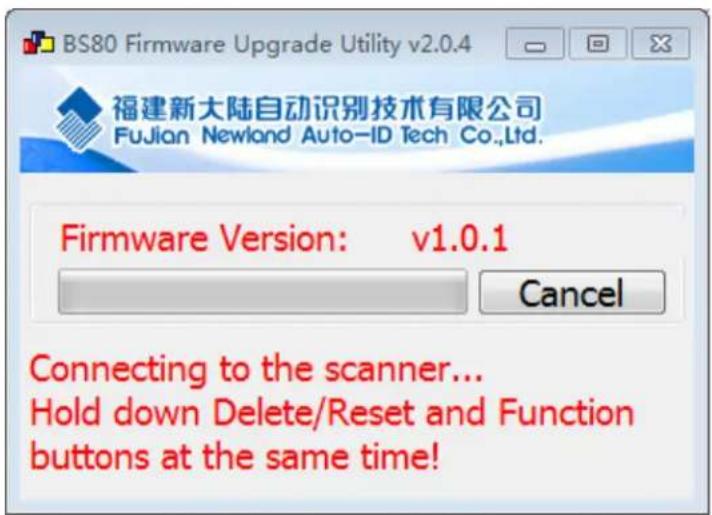
Step 3: Turn on the scanner and connect it to your PC with the USB cable.
Step 4: Hold down the Function button and the Delete/Reset button on the scanner at the same time for 7 seconds to upgrade the firmware. The red and blue Function LEDs flash alternately during the updating process.
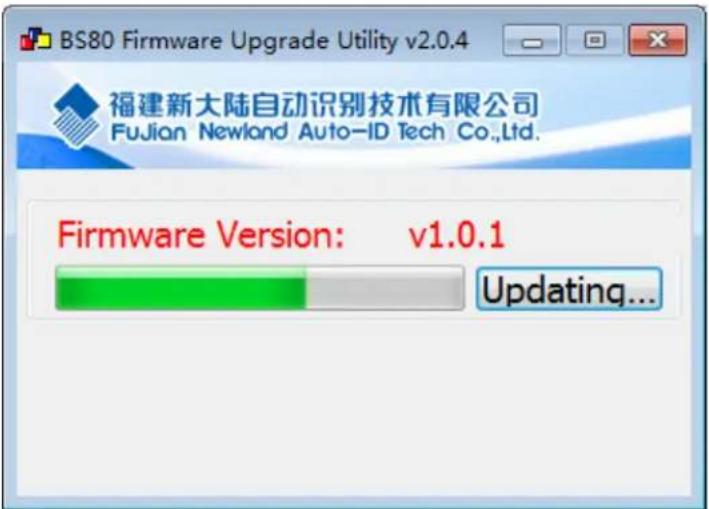
Step 5: Wait for the "Firmware upgraded!" window to pop up and click "OK" to exit the program.
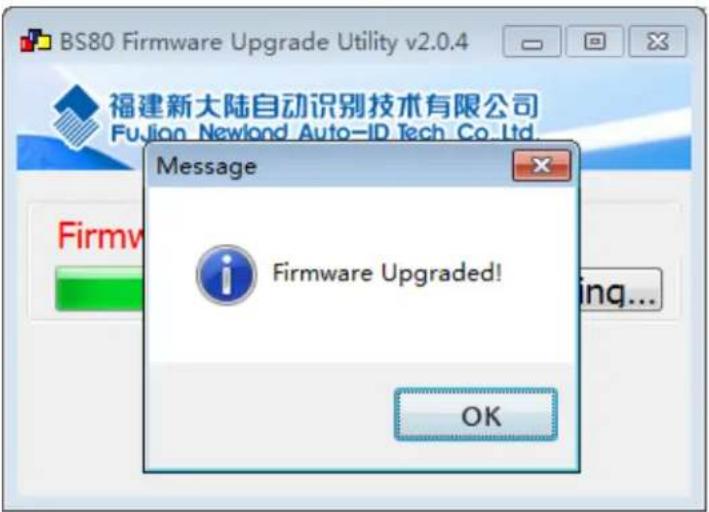
Note: If this utility does not operate normally, check to see if the FirmwarePath in the UpdataTool.ini file is correct (its value should be identical with the name of the .bin file). If there is a higher version of firmware, replace the .bin file.
![Name BS80+Update_EN.exe BS80Firmware_em1300_V1.0.1_20150312.bin HR32UpdateProtocol.dll msg.log UpdataTool.ini USB_DETECT_DLL.dll [Glabal] Corporation = Newland Auto-ID Hyperlink = http://www.nlscan.com/ Caption_Ch = "BS80 Firmware Upgrade Utility" Versions = " v2.0.4" UpdataFirmware=1 MaxDelayMs=8000 FirmwarePath = "\BS80Firmware_em1300_V1.0.1_20150312.bin" ConfigPath = "\HR32WZConfig.bin" CradleFileVer = " v0.2.0" ScannerFileVer = " v0.2.0" RFFileVer = "" EM2039FileVer = " v1.03.059" ComType=0 EditConfig=0](/content/2026/06/1181853/images/7627f1d17b742a623dd869a5cf3d24193b66d2364e22bed5681996a6e8942694.jpg)
Chapter 3 Symbologies
Introduction
Every symbology (barcode type) has its own unique attributes. This chapter provides programming barcodes for configuring the scanner so that it can identify various barcode symbologies. It is recommended to disable those that are rarely used to increase the efficiency of the scanner.
1D Scan Engine
1D Symbologies
Code 39
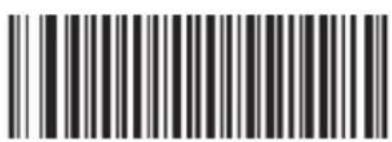
Enable (default)
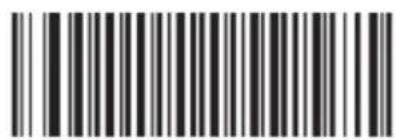
Disable
Transmit Code 39 Start/Stop Character
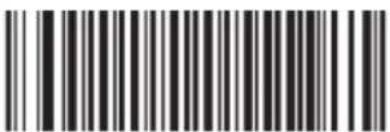
Enable (default)
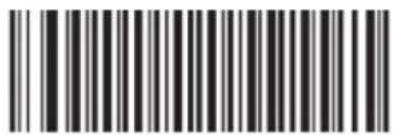
Disable
Code 39 FULL ASCII
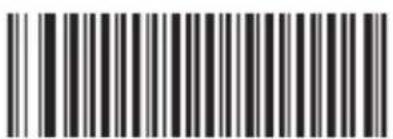
Enable (default)
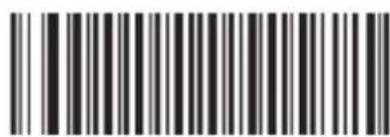
Disable
Code 128
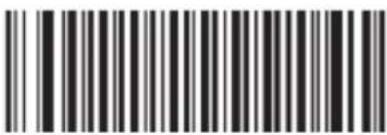
Enable (default)
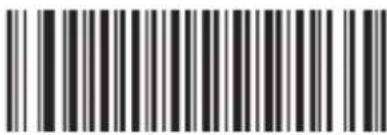
Disable
UCC/EAN-128
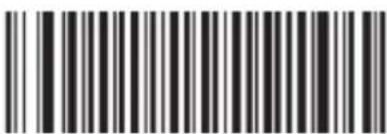
Enable (default)
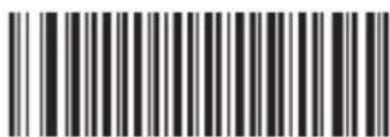
Disable
EAN-8
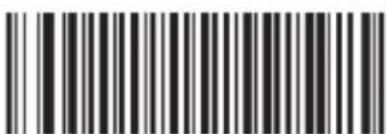
Enable (default)
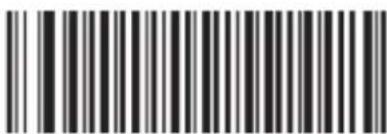
Disable
EAN-13
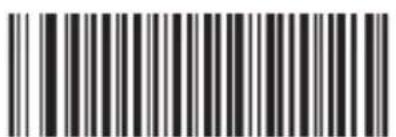
Enable (default)
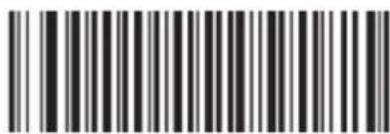
Disable
ISSN
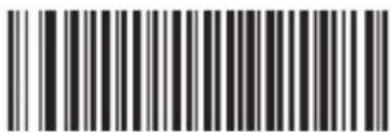
Enable (default)
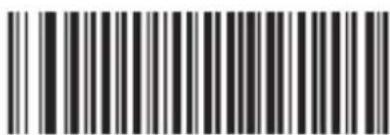
Disable
ISBN
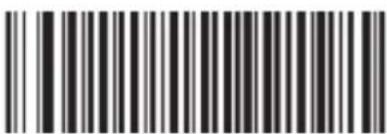
Enable (default)
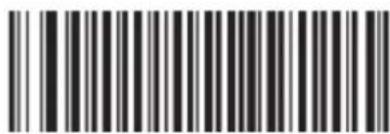
Disable
UPC-E

Enable (default)
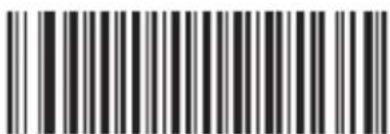
Disable
UPC-A

Enable (default)
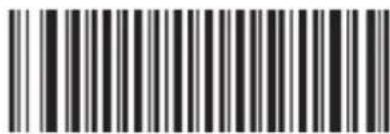
Disable
Interleaved 2 of 5
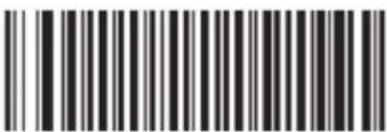
Enable (default)
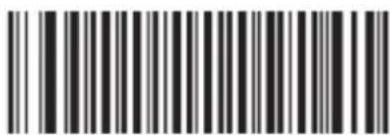
Disable
Matrix 25
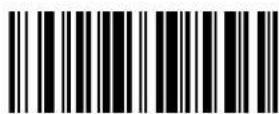
Enable (default)
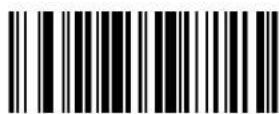
Disable
Industrial 25
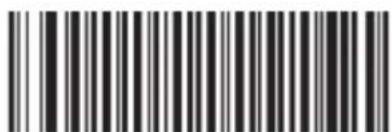
Enable (default)
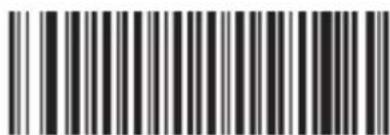
Disable
Codabar
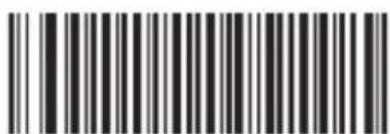
Enable (default)
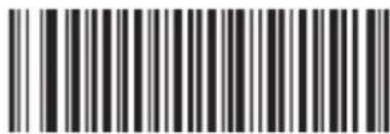
Disable
Code 93
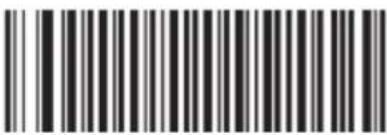
Enable (default)
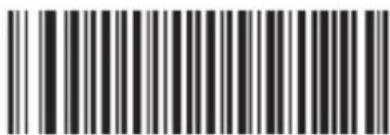
Disable
GS1 Databar (RSS)
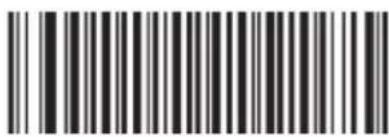
Enable (default)
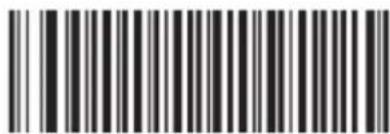
Disable
Code 11
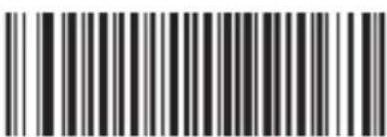
Enable (default)
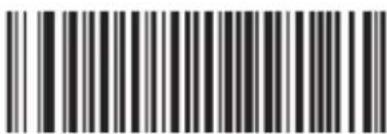
Disable
Plessey
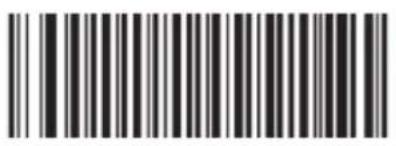
Enable (default)
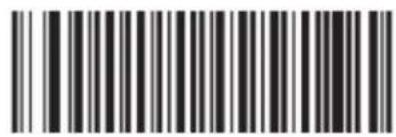
Disable
MSI-Plessey
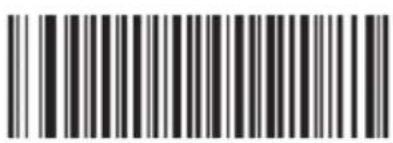
Enable (default)
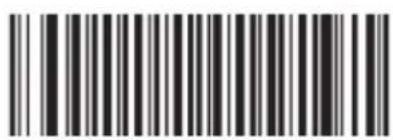
Disable
2D Scan Engine
Global Settings
Enable/Disable All Symbologies
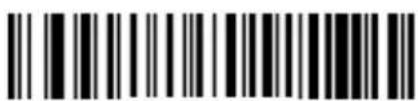
Enable All Symbologies
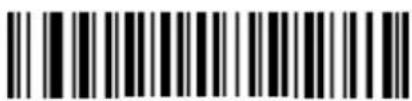
Disable All Symbologies
Enable/Disable 1D Symbologies
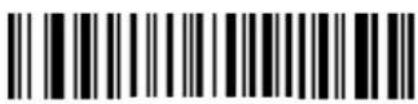
Enable 1D Symbologies
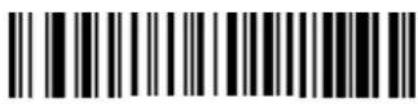
Disable 1D Symbologies
Enable/Disable 2D Symbologies
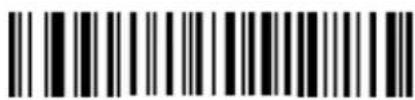
Enable 2D Symbologies
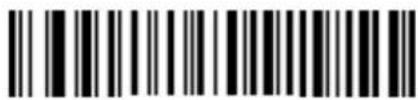
Disable 2D Symbologies
1D Symbologies
Code 39
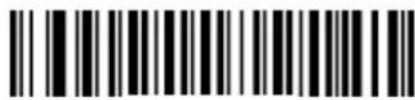
Enable (default)
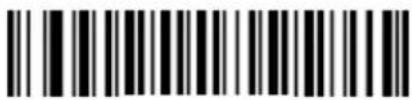
Disable
Transmit Code 39 Start/Stop Character
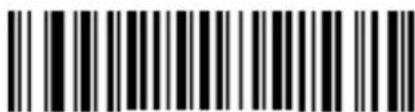
Enable (default)
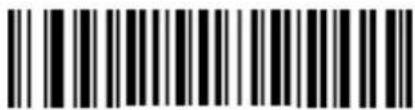
Disable
Code 39 FULL ASCII
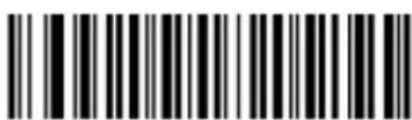
Enable (default)
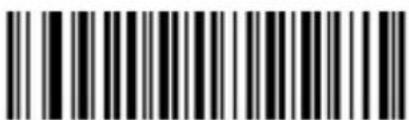
Disable
Code 128
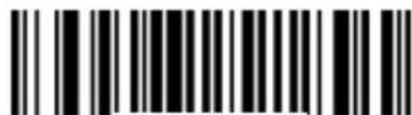
Enable (default)
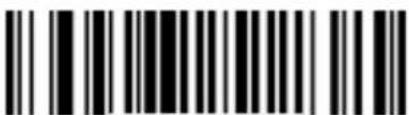
Disable
UCC/EAN-128
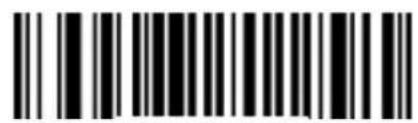
Enable (default)
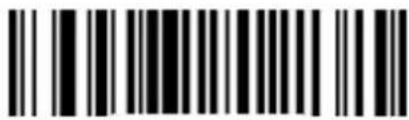
Disable
EAN-8
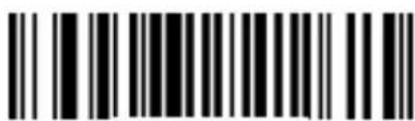
Enable (default)
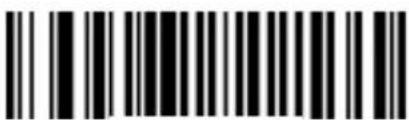
Disable
EAN-13
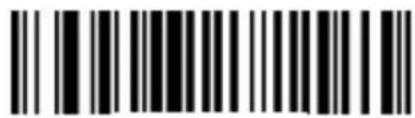
Enable (default)
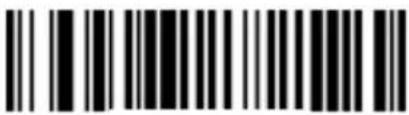
Disable
ISSN
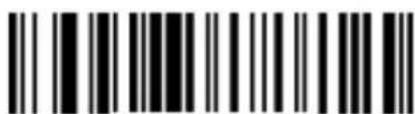
Enable (default)
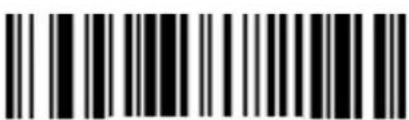
Disable
ISBN
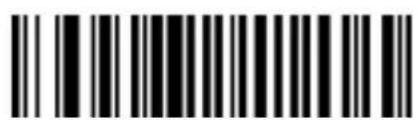
Enable (default)
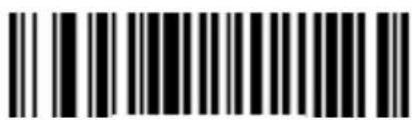
Disable
UPC-E
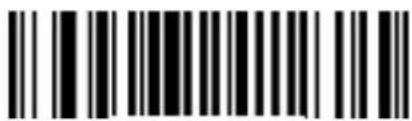
Enable (default)
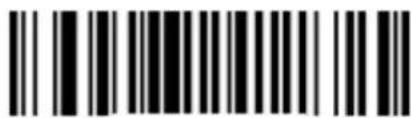
Disable
UPC-A
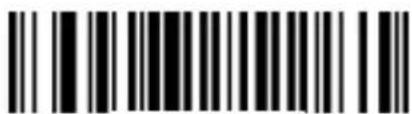
Enable (default)
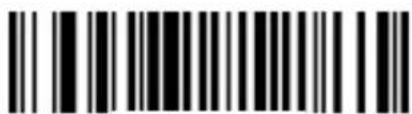
Disable
Interleaved 2 of 5
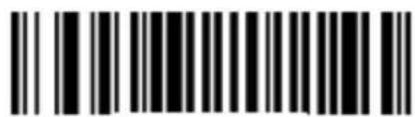
Enable (default)
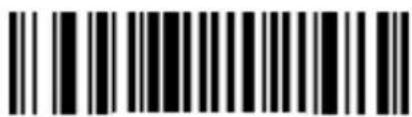
Disable
Matrix 25
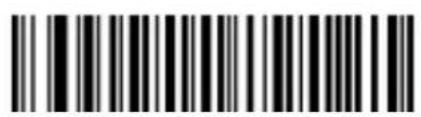
Enable (default)
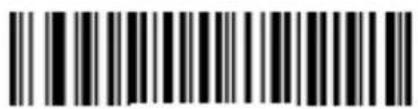
Disable
Industrial 25
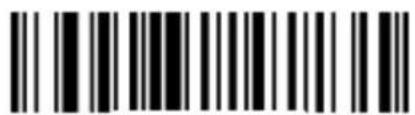
Enable (default)
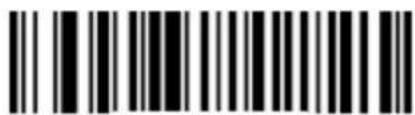
Disable
Codabar
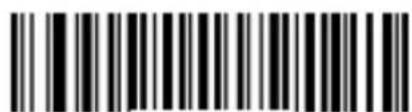
Enable (default)
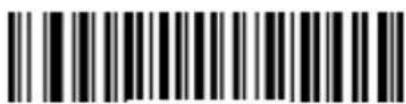
Disable
Code 93
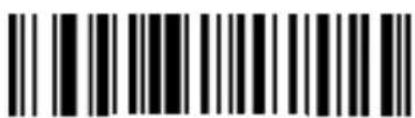
Enable (default)
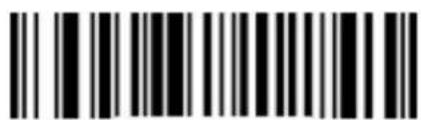
Disable
RSS-Limited
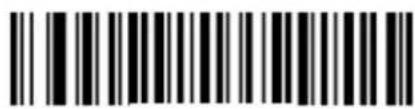
Enable (default)
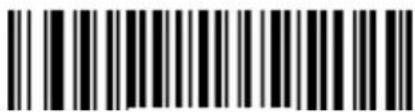
Disable
RSS-Expand
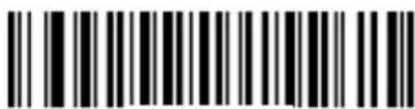
Enable (default)
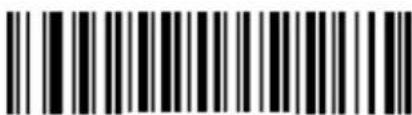
Disable
Code 11
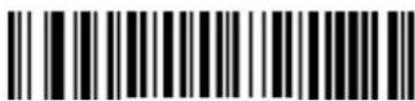
Enable (default)
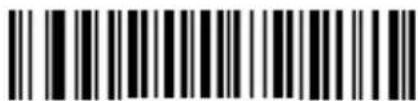
Disable
Plessey
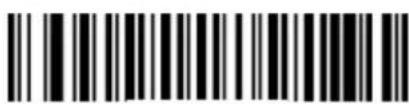
Enable (default)
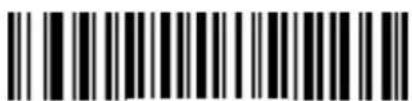
Disable
MSI-Plessey
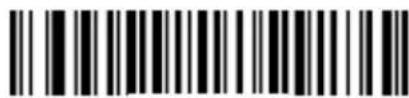
Enable (default)
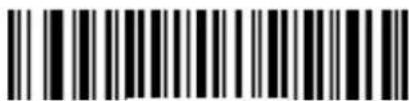
Disable
2D Symbologies
PDF 417
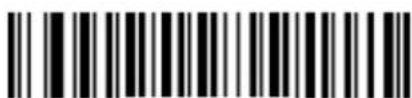
Enable (default)
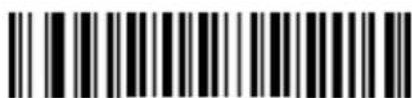
Disable
QR Code
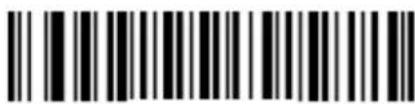
Enable (default)
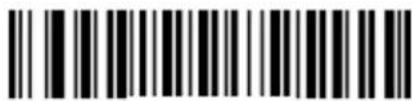
Disable
Data Matrix
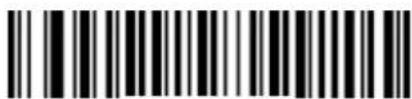
Enable (default)
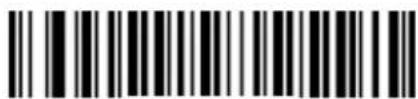
Disable
Appendix
Factory Defaults Table
| Parameter | Factory Default | Remark |
| System Settings | ||
| Operating Mode | Real-Time mode (Bluetooth mode) | |
| Bluetooth Profile | HID | |
| USB Interface Type | USB HID-KBW | |
| Data Transmission Mode for Bluetooth | Asynchronous mode | |
| Sound Notifications | Enabled | |
| Vibration Notifications | Disabled | |
| Terminating Character Suffix | Append CRLF as TerminatingCharacter Suffix | |
| Inter-Character Delay for Bluetooth HID | 15ms | |
| Auto Power-Off Timer | 30 minutes | |
| Time Stamp | Enabled | |
| Date Format | Format 3: yyyy/mm/dd | |
| USB Country Keyboard Types | US English | USB HID-KBW |
| Convert Case | No Case Conversion | USB HID-KBW |
| Inter-Keystroke Delay for KBW | 3ms | USB HID-KBW |
| Symbologies | ||
| 1D Scan Engine | ||
| Code 39 | ||
| Code 39 | Enabled | |
| Transmit Start/Stop Character | Enabled | |
| Code 39 Full ASCII | Enabled | |
| Code 128 | ||
| Code 128 | Enabled | |
| UCC/EAN-128 | ||
| UCC/EAN-128 | Enabled | |
| EAN-8 | ||
| EAN-8 | Enabled | |
| EAN-13 | ||
| EAN-13 | Enabled | |
| ISSN | ||
| ISSN | Enabled | |
| ISBN | ||
| ISBN | Enabled | |
| UPC-E | ||
| UPC-E | Enabled | |
| UPC-A | ||
| UPC-A | Enabled | |
| Interleaved 2 of 5 | ||
| Interleaved 2 of 5 | Enabled | |
| Matrix 25 | ||
| Matrix 25 | Enabled | |
| Industrial 25 | ||
| Industrial 25 | Enabled | |
| Codabar | ||
| Codabar | Enabled | |
| Code 93 | ||
| Code 93 | Enabled | |
| GS1 Databar (RSS) | ||
| GS1 Databar (RSS) | Enabled | |
| Code 11 | ||
| Code 11 | Enabled | |
| Plessey | ||
| Plessey | Enabled | |
| MSI-Plessey | ||
| MSI-Plessey | Enabled | |
| 2D Scan Engine | ||
| Code 39 | ||
| Code 39 | Enabled | |
| Transmit Start/Stop Character | Enabled | |
| Code 39 Full ASCII | Enabled | |
| Code 128 | ||
| Code 128 | Enabled | |
| UCC/EAN-128 | ||
| UCC/EAN-128 | Enabled | |
| EAN-8 | ||
| EAN-8 | Enabled | |
| EAN-13 | ||
| EAN-13 | Enabled | |
| ISSN | ||
| ISSN | Enabled | |
| ISBN | ||
| ISBN | Enabled | |
| UPC-E | ||
| UPC-E | Enabled | |
| UPC-A | ||
| UPC-A | Enabled | |
| Interleaved 2 of 5 | ||
| Interleaved 2 of 5 | Enabled | |
| Matrix 25 | ||
| Matrix 25 | Enabled | |
| Industrial 25 | ||
| Industrial 25 | Enabled | |
| Codabar | ||
| Codabar | Enabled | |
| Code 93 | ||
| Code 93 | Enabled | |
| RSS-Limited | ||
| RSS-Limited | Enabled | |
| RSS-Expand | ||
| RSS-Expand | Enabled | |
| Code 11 | ||
| Code 11 | Enabled | |
| Plessey | ||
| Plessey | Enabled | |
| MSI-Plessey | ||
| MSI-Plessey | Enabled | |
| PDF 417 | ||
| PDF 417 | Enabled | |
| QR Code | ||
| QR Code | Enabled | |
| Data Matrix | ||
| Data Matrix | Enabled | |
Digit Barcodes
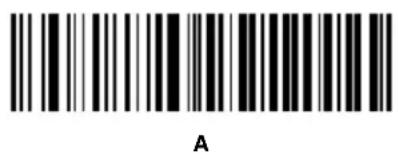
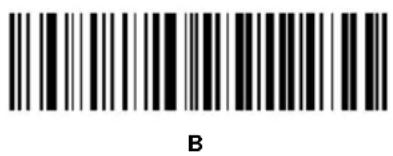
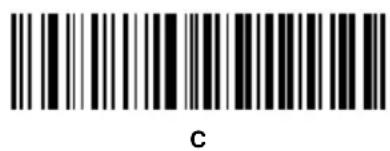
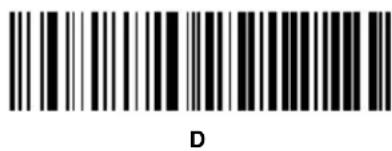
0 \~ 9
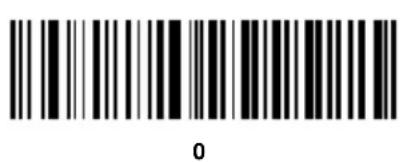
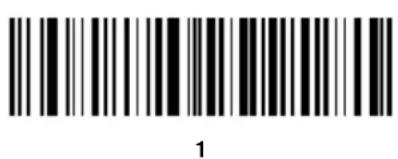
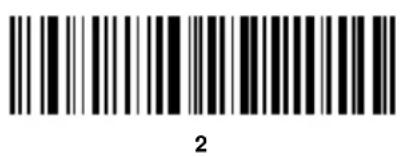
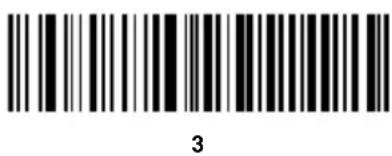
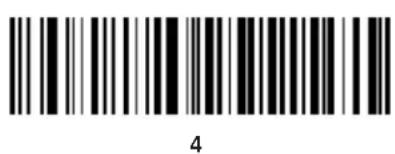
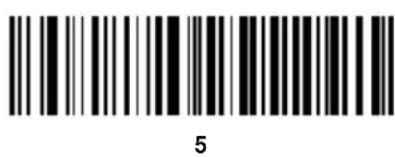
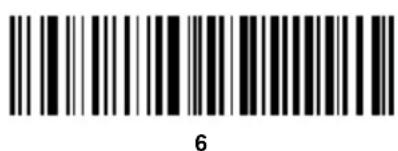
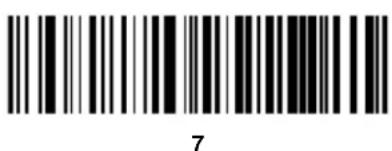
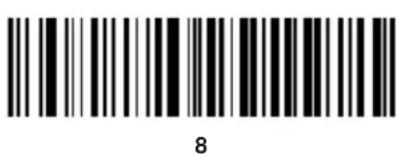
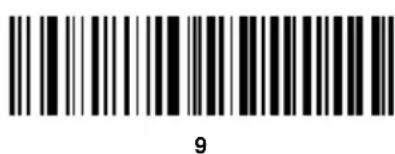
A \~ F

natural_image
Abstract geometric design with blue and white diagonal stripes forming a stylized shape (no text or symbols)Newland EMEA
+31 (0) 345 87 00 33
info@newland-id.com
Newland Nordic Branch
+46 (0) 708 847 767
goeran.jernberg@newland-id.com
Newland South Africa Division
+27 (0)11 553 8010
info@newland-id.co.za
Newland UK Branch
+44 (0) 1442 212 020
david.craggs@newland-id.co-uk
Newland France Branch
+33 (0) 160 707 974
info@newland-id.fr
Newland Middle East Branch
+96 (0) 655 500 9610
shuja.rahman@newland-id.com
Newland D-A-CH
Newland Italy Branch
+39 (0) 335 773 0521
cristiano.dibattista@newland-id.com
Newland Ibérica Branch
+34 93 303 74 66
info@newland-id.es
- Disclaimer
- Table of Contents
- Revision History ...... - 3 -
- Preface....1
- Chapter 1 Getting Started....2
- Chapter 2 System Settings....11
- Chapter 3 Symbologies ......27
- Preface
- Introduction
- Chapter Descriptions
- Safety Instructions
- Chapter 1 Getting Started
- Unpacking
- BS80 Scanner
- Functions of the Buttons
- Charging the Battery
- Connecting the BS80 to Smartphone/Tablet
- LED Notifications
- Turning the BS80 On/Off
- Scanning Instructions
- Scanning 1D Barcode
- Scanning 2D Barcode
- Chapter 2 System Settings
- Real-Time mode
- Batch mode
- Note:
- Query Scanner Information
- Query/Delete the Data in FLASH
- Sound Notifications
- Vibration Notifications
- Terminating Character Suffix
- Inter-Character Delay for Bluetooth HID
- Delete Bluetooth Pairing
- Automatic/Manual Power-Off
- Time Stamp
- Set Date Format
- Set Date & Time
- Parameters of USB HID-KBW
- Convert Case
- Inter-Keystroke Delay for KBW
- Upgrade the Firmware
- Chapter 3 Symbologies
- 1D Scan Engine
- 1D Symbologies
- Transmit Code 39 Start/Stop Character
- 2D Scan Engine
- Appendix
Brand : Newland
Model : Piranha BS8050-2V
Category : Barcode Reader