
805-040 - Beard trimmer Marquant - Free user manual and instructions
Find the device manual for free 805-040 Marquant in PDF.

| Brand | Marquant |
| Model | 805-040 |
| Product Type | Beard Trimmer |
| Power Source | Rechargeable battery (Li-ion, 3.7V) |
| Charging Time | Approximately 8 hours |
| Battery Life | Up to 60 minutes of cordless use |
| Blade Material | Stainless steel |
| Adjustable Length Settings | 10-30 mm with included combs |
| Waterproof | Splash-resistant (rinsable blade only) |
| Dimensions | Approx. 5.9 x 2.0 x 1.6 inches (15 x 5 x 4 cm) |
| Weight | Approx. 5.3 oz (150 g) |
| Cleaning | Remove blade and rinse under water; oil blades regularly |
| Safety Features | Blade guard included; auto shut-off after 5 minutes of non-use |
| Accessories | 3 comb attachments, cleaning brush, oil, charger |
| Warranty | 2 years manufacturer’s warranty |
Frequently Asked Questions - 805-040 Marquant
User questions about 805-040 Marquant
0 question about this device. Answer the ones you know or ask your own.
Ask a new question about this device
Download the instructions for your Beard trimmer in PDF format for free! Find your manual 805-040 - Marquant and take your electronic device back in hand. On this page are published all the documents necessary for the use of your device. 805-040 by Marquant.
USER MANUAL 805-040 Marquant
User Instructions for Shaver
805-040
natural_image
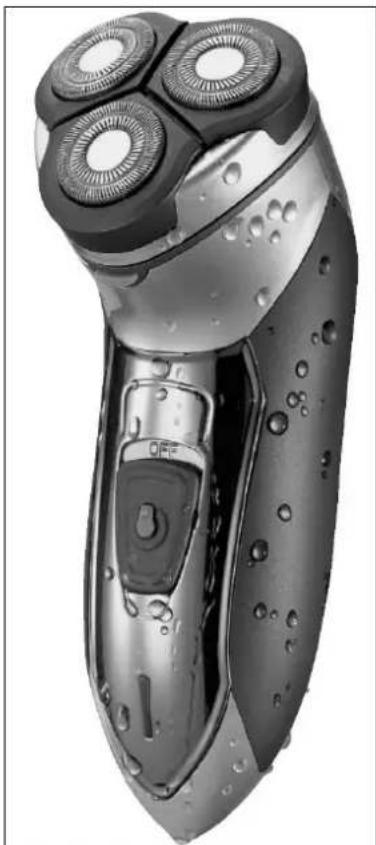
Close-up of a silver electric shaver with three rotary dials and water droplets (no text or symbols visible)SV Bruksanvisning i original
NO Bruksanvisning i original
EN Operating instructions in original
SÄKERHETSANVISNINGAR
natural_image
Line drawing of a hand holding a device with three circular eyes, marked with a cross and star (no text or symbols)natural_image
Diagram showing a mechanical component with a highlighted section and a separate view of a bulb-like structure (no text or symbols)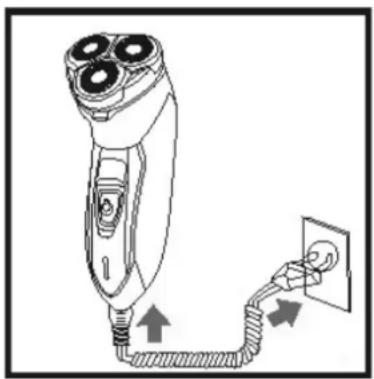
natural_image
Line drawing of a hairpin with three blades connected to an electrical outlet (no text or symbols)- Rakapparaten kan anslutas till 230 VAC, 50 Hz.
natural_image
Simple line drawing of a stylized object resembling a tool or device with a curved line above it (no text or symbols)natural_image
Diagram of a three-pin shaver with an upward arrow indicating growth (no text or symbols present)natural_image
Line drawing of a camera with lens and frame (no text or symbols)
natural_image
Illustration of hands using a tool to adjust or install a mechanical component (no text or symbols visible)natural_image
Illustration of hands using a tool to adjust or install mechanical gears (no text or symbols visible)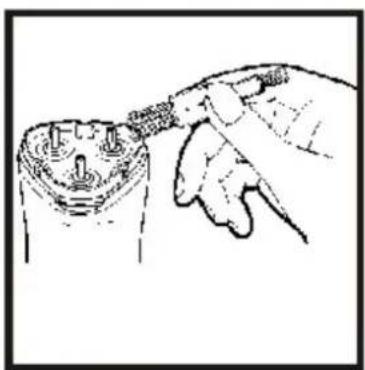
natural_image
Hand holding a small electronic component with pins, no visible text or symbolsnatural_image
Line drawing of a person holding a cylindrical object with three circular eyes, no text or symbols presentSkader på skjærehodet kan føre til risper i huden.
TEKNISKE DATA
Spenning 230 V AC, 50 Hz
BESKRIVELSE
Lading

natural_image
Technical line drawing of a mechanical component with a flanged base and a close-up view of the top part (no text or symbols)
natural_image
Line drawing of a hairpin with three blades connected to a power outlet (no text or symbols)- Barbermaskinen skal kobles til 230 V AC, 50 Hz.
natural_image
Simple line drawing of a stylized object resembling a tool or device with a curved line above it (no text or symbols)natural_image
Diagram showing two mechanical components with a rising arrow, no text or symbols presentnatural_image
Line drawing of a camera with lens and frame (no text or symbols)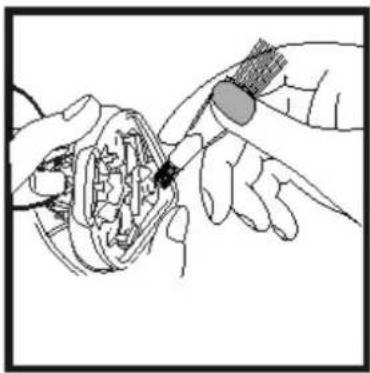
natural_image
Illustration of hands using a tool to adjust or install a mechanical component (no text or symbols visible)natural_image
Illustration of hands using a tool to adjust or install mechanical components (no text or symbols visible)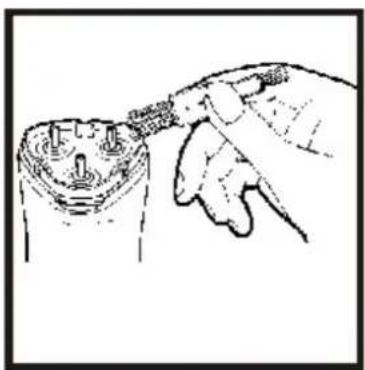
natural_image
Hand inserting a plug into a socket (no text or symbols visible)natural_image
Line drawing of a person holding a cylindrical object with three circular eyes, no text or symbols presentnatural_image
Technical line drawing of a mechanical component with a pin and base, no text or symbols present
natural_image
Line drawing of a hairpin with three blades connected to a power outlet (no text or symbols)natural_image
Simple line drawing of a hand holding a tool, no text or symbols presentnatural_image
Diagram showing two mechanical components with an upward arrow, no text or symbols presentnatural_image
Line drawing of a camera with lens and frame (no text or symbols)
natural_image
Illustration of hands using a tool to adjust or install a mechanical component (no text or symbols visible)natural_image
Illustration of hands using a tool to adjust or install a mechanical component (no text or symbols visible)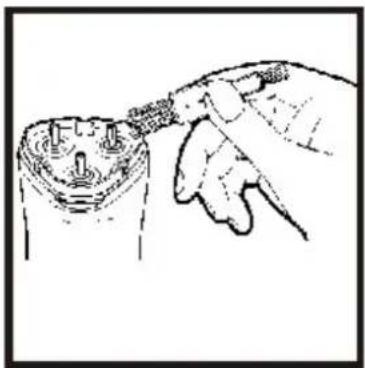
natural_image
Hand holding a tool interacting with a mechanical component (no text or symbols visible)Read the User Instructions carefully before use
- Switch off the appliance when charging.
- Rechargeable, waterproof shaver.
- The perforated plates on the shaver head are very thin. It can be damaged if it is clenched or knocked.
natural_image
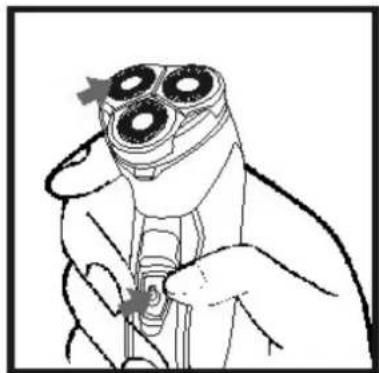
Line drawing of a person holding a device with three circular eyes (no text or symbols)A damaged shaver head can scratch your skin.
TECHNICAL DATA
Voltage 230 VAC, 50 Hz
DESCRIPTION
Charging

natural_image
Technical line drawing of a mechanical component with a flanged end and a threaded base (no text or symbols)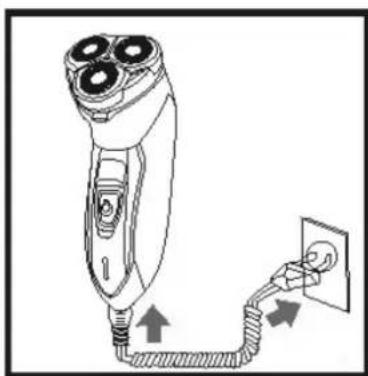
natural_image
Line drawing of a three-pin electric shaver connected to a power outlet (no text or symbols)- The shaver can be connected to 230 VAC, 50 Hz.
- It takes about 8 hours to fully charge the battery.
- With a fully charged battery the shaver can be used for up to 40 minutes without the power cord.
- Unplug the power cord after charging.
Rechargeable battery
The rechargeable battery will last longer if you follow these instructions:
- Charge and store the shaver at a temperature from 5 to 35^ .
- Do not allow the appliance to be connected to the charger for more than 48 hours.
Shaving
- Check that the shaver is fully charged.
- Press the power switch. The shaver is now ready to use.
natural_image
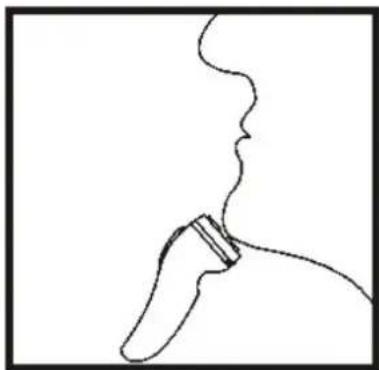
Simple line drawing of a stylized object resembling a tool or device with a curved line above it (no text or symbols)- Press the shaver head against your skin and move the shaver in quick circular movements.
- Switch on the shaver with the power switch.
- Move the shaver heads over your skin with quick, circular movements. You can also move the shaver back and forwards.
- Stretch out your skin with the other hand.
- You can also shave the hair on your neck in the same way.
NOTE: It may take your skin two to four weeks to get used to the unique HILLMANN system.
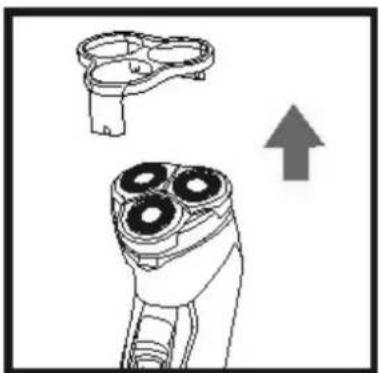
natural_image
Diagram of a three-pin remote control device with an upward arrow indicating motion (no text or symbols present)- Fit the protective cover again after use.
Trimming

natural_image
Line drawing of a camera with lens and frame (no text or symbols)- Open the cover on the back and lift up the trimmer.
- Hold the trimmer at right angles to your skin and start trimming.
- Switch off with the power switch when you have finished.
USE
- Make sure the power switch is in the OFF position before plugging in the power cord.
- The appliance can be used with or without nozzle.
- Switch off after use and unplug the power cord.
MAINTENANCE
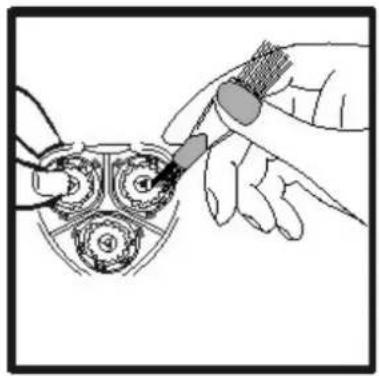
Clean the shaver once a week.
Switch off the power switch and remove the cover. Press in the release button for the outer shaver blade and lift off. Clean the outer shaver blade, the inner shaver blade and casing from stubble (once a week).


natural_image
Illustration of hands using a tool to adjust or install a mechanical component (no text or symbols visible)After cleaning, replace the inner and outer shaver blades and fit the cover again.
natural_image
Illustration of hands assembling mechanical gears (no text or symbols visible)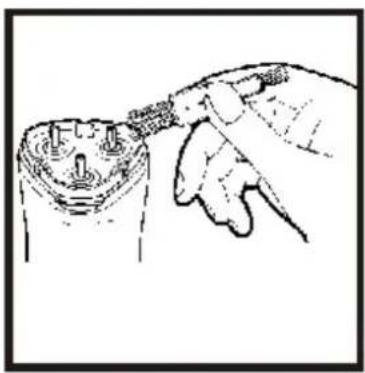
natural_image
Hand inserting a plug into a cylindrical component (no text or symbols visible)Do not change the places of 1, 2 and 3, or turn the shaver head round, otherwise the appliance will not work properly.
Jula reserves the right to make changes. In the event of problems, please contact our service department.
www.jula.com
Care for the environment!
Must not be discarded with household waste! This product contains electrical or electronic components that should be recycled. Leave the product for recycling at the designated station e.g. the local authority's recycling station.
Brand : Marquant
Model : 805-040
Category : Beard trimmer