Centro 6417 - Wardrobe BDI - Free user manual and instructions
Find the device manual for free Centro 6417 BDI in PDF.


| Product Type | Wardrobe / Filing Cabinet |
| Brand | BDI |
| Model | Centro 6417 |
| Designer | Matthew Weatherly |
| Materials | Glass panel, steel frame, wood veneer |
| Assembly Required | Yes, with included hex wrench and Phillips screwdriver (not included) |
| Included Hardware | Screws (H1, H2, H3), bumpers (H4), hex wrench (T1), pulls, file bars, file bar clips |
| File Configuration | Letter or legal files; front-facing or side-facing options |
| Number of Drawers | 1 (with internal file bars) |
| Glass Panel | Top glass panel included |
| Care Instructions | Clean glass with glass cleaner; steel and wood veneer with moist cloth |
| Usage Environment | Indoor, level floors |
| Product Registration | Recommended at www.bdiusa.com/product-registration/ |
| Patents | Protected by US and international patents, trade dress, and/or copyright laws |
| Country of Origin | China |
| Year of Design | 2015 (V2 dated 02.16.2016) |
| Warranty | Not specified; contact BDI customer service |
Frequently Asked Questions - Centro 6417 BDI
User questions about Centro 6417 BDI
0 question about this device. Answer the ones you know or ask your own.
Ask a new question about this device
Download the instructions for your Wardrobe in PDF format for free! Find your manual Centro 6417 - BDI and take your electronic device back in hand. On this page are published all the documents necessary for the use of your device. Centro 6417 by BDI.
USER MANUAL Centro 6417 BDI
Product Registration
Registering your new BDI product allows us to send you important product updates, service information and helpful hints related to your BDI products. Register today, and you will be entered to win free a BINK table from BDI. www.bdiusa.com/product-registration/
Placement and Maintenance
Centro™ Office furniture is designed for indoor use on level floors. Clean glass with glass cleaner, and steel parts and wood veneer with a moist cloth.
Your Centro™ Office furniture is engineered for easy assembly. Carefully follow this procedure to prevent any damage. Do not use power tools for assembly of this product.
Step 1
Unpack and identify the parts listed below. The assembly workspace should be a non-marring surface such as carpet. For missing hardware pieces, please contact BDI Customer Service at customerservice@bdiusa.com. For all other concerns, please contact your BDI retailer.

natural_image
Technical line drawing of a cabinet with open lid and internal compartments, no text or symbols presentC1 Glass Panel x 1
A1 Cabinet x 1
C3 Base x 2
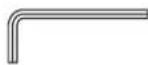
T1 4mm Hex Wrench

H1 1/4-20 x 15mm
Screw x 16

H2 M4 x 37mm
Screw x 6
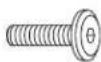
H3 1/4-20 x 19mm
Screw x 3

H4 Bumper x 2
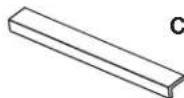
C2 Pull x 3

C4 Small File Bar x 2

C5 Large File Bar x 1

C6 File Bar Clip x 4
Tool Required:
Phillips screwdriver

Designed by Matthew Weatherly.
These distinctive product configurations are protected by US and international patents, trade dress, and/or copyright laws. Centro & BDI are trademarks of Becker Designed, Inc. All rights reserved. ©2015, BDI Made in China. 02.16.2016 V2
Step 2 - Install Base
Attach Base to Cabinet using Screws H1 and tighten with Hex Wrench.
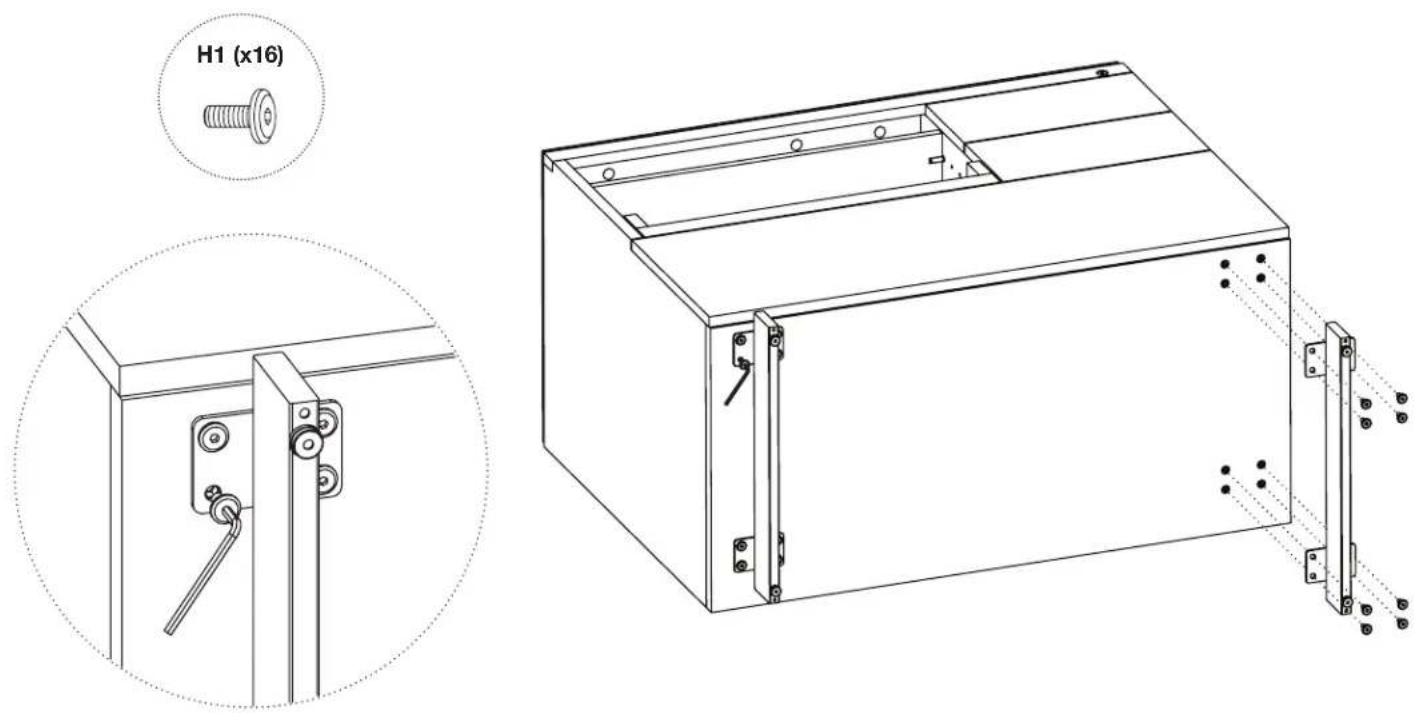
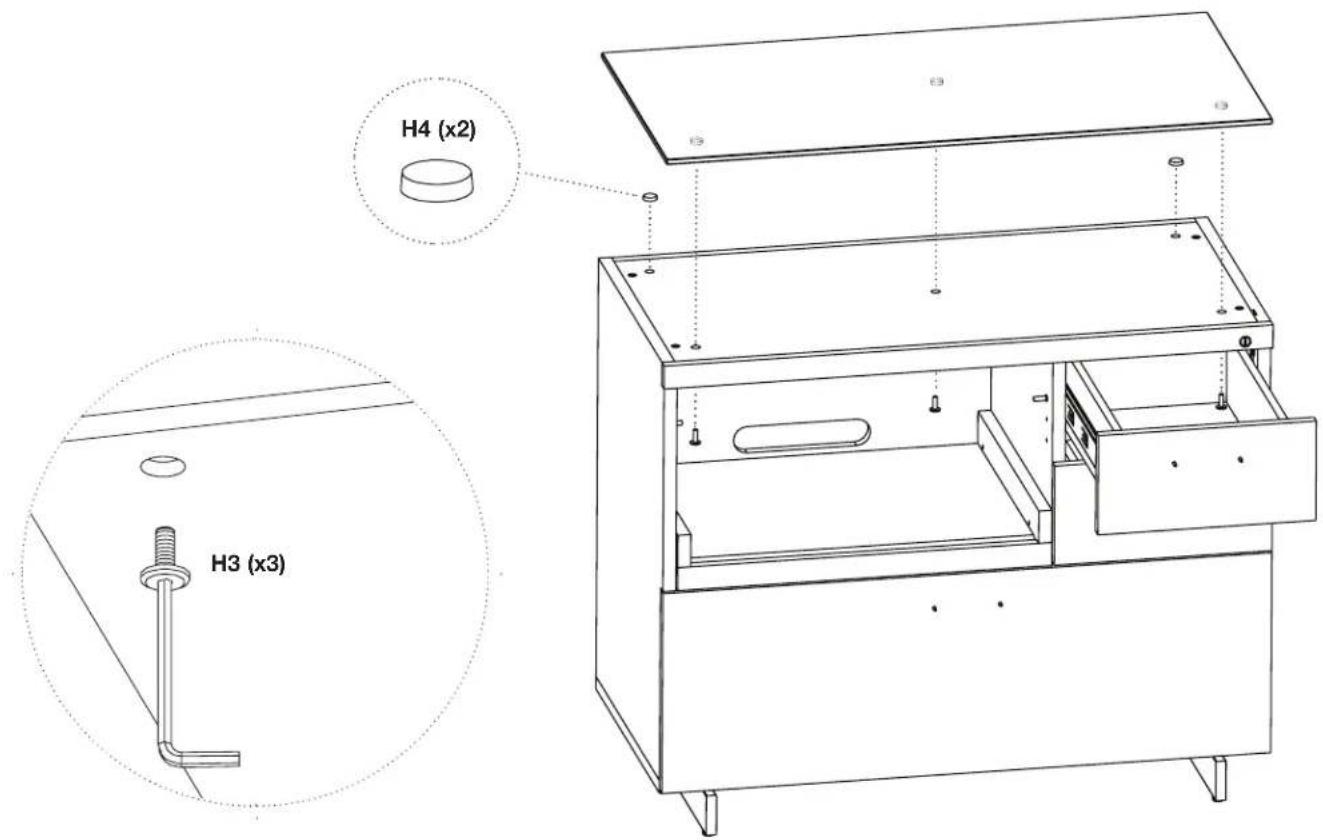
Step 3 - Adhere Bumpers H4 as shown.
Step 4 - From below the top panel, attach Glass Panel with Screws H3 using Hex Wrench.
Step 5 - Attach Pulls to Cabinet using Screws H2 and tighten with a Phillips screwdriver.

Step 6 - File Bar Installation (Option A)
For files facing forward, attach File Bar Clip C6 to both ends of Small File Bar C4 as shown.
For letter files, use the outer notches on the front and back of the drawer. For legal files, use the inner notches.

Step 7 - File Bar Installation (Option B)
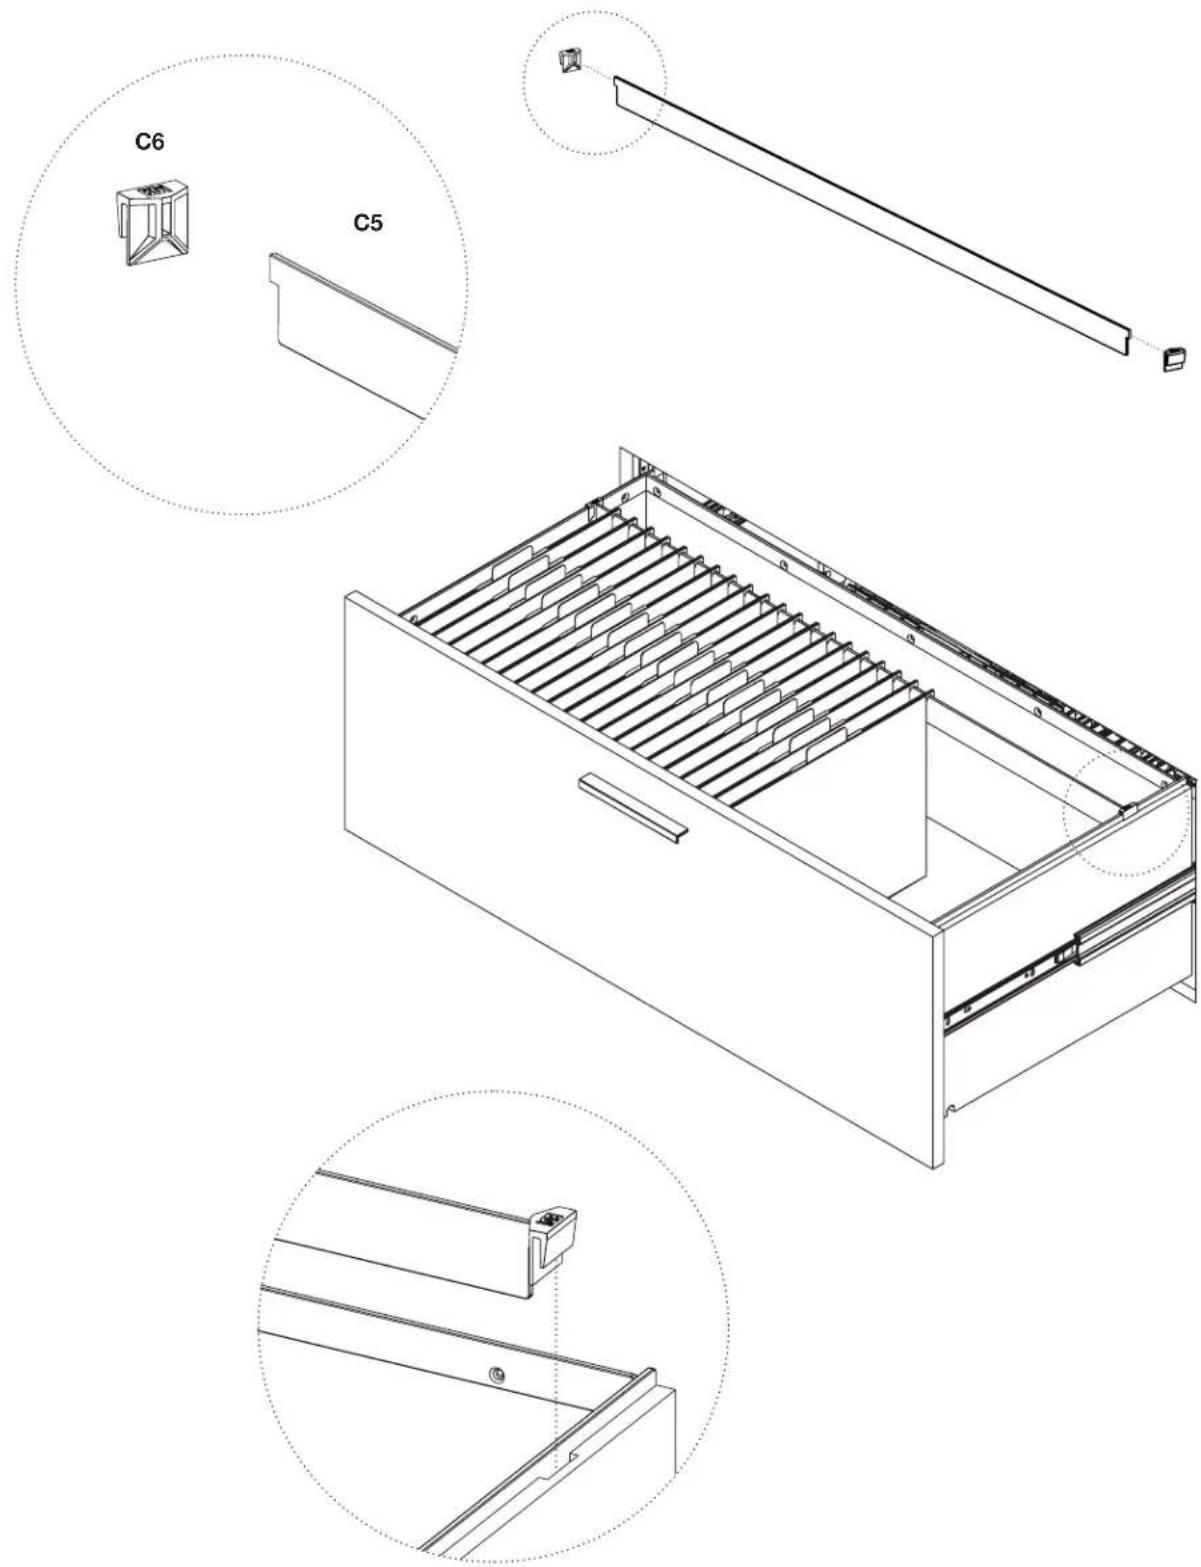
For letter files facing sideways, attach File Bar Clip C6 to both ends of Large File Bar C5 as shown. Place the file bar assembly in the notches located on the left and right drawer side panels. For side facing legal files, skip this step altogether.


Brand : BDI
Model : Centro 6417
Category : Wardrobe