
ZVC7500 - Webcam Zonet - Free user manual and instructions
Find the device manual for free ZVC7500 Zonet in PDF.


| Type of product | Webcam |
| Model | ZVC7500 |
| Brand | Zonet |
| Image sensor | CMOS, 1.3 megapixels |
| Video resolution | 1280 x 960 at 10-15 fps |
| Max image resolution | 2304 x 1728 (picture) |
| Interface | USB 2.0 |
| Focus | Manual, 3 cm to infinity |
| Lens | 5-layer glass |
| Built-in microphone | Yes |
| Signal-to-noise ratio | Greater than 48 dB |
| Dynamic range | Greater than 72 dB |
| Automatic functions | White balance, face tracking |
| Special effects | 18 effects, 10 photo frames |
| Snap-shot button | Yes |
| Digital zoom | Yes |
| System requirements | Windows 98/2000/ME/XP, USB port, DirectX 9.0 |
| Dimensions (approx.) | 3 x 2 x 2 inches (estimated) |
| Weight (approx.) | 4 oz (estimated) |
| Power | USB powered |
| Maintenance | Clean lens with soft cloth; avoid dust, moisture, and extremes |
| Safety cautions | Do not use in hot/cold/dusty/humid areas; avoid drops |
Frequently Asked Questions - ZVC7500 Zonet
User questions about ZVC7500 Zonet
0 question about this device. Answer the ones you know or ask your own.
Ask a new question about this device
Download the instructions for your Webcam in PDF format for free! Find your manual ZVC7500 - Zonet and take your electronic device back in hand. On this page are published all the documents necessary for the use of your device. ZVC7500 by Zonet.
USER MANUAL ZVC7500 Zonet
Show instant effects on your web video
ZVC7500
User's Manual
Table of Contents
Package Contents....3
Product Diagram....3
Specifications....3
System Requirements....3
Driver Installation....4
Software Installation....5
Hardware Installation....6
Check the hardware is working and related settings....6
Advanced Settings....9
Cautions....12
Package Contents:
One ZVC7500
One User Manual
One Driver CD
Product Diagram

Specifications
1.3 Mega pixels Digital Camera
• Image Sensor: CMOS
Video Capture Resolution: 1280*960
Max. Image Resolution: 2304* 1728 (picture size)
Video mode: RGB24 / 1420
Interface: USB 2.0 port
Frame rate: 1280*960 mode up to 10 \~ 15 fps 1600*1200 mode up to 10 fps
Signal-Noise ratio: Larger than 48dB
Dynamic range: Larger than 72dB
Focus Settings: Manual, 3cm to infinity
Non-Compression Image Processor
Automatic Whiteness Balance
Automatic Face Tracking
Lens: 5-layer Glass
Snap-shot Button
Special Image Effect
Special Image Frame
Built-in Microphone
Digital Zoom function
System requirements
CPU: above PII 400MHz, Celeron, AMD Athlon
OS: Windows98/2000/ME/XP
Free HDD space: over 200MB
Memory: min. 128MB
CD-ROM driver
• Available USB port
• Support DirectX 9.0 VGA card
Driver installation
Notice: DO NOT PLUG ZVC7500 INTO USB PORT BEFORE DRIVER IS INSTALLED! If have already plugged ZVC7500, please get it unplugged and follow the Steps below.
Insert the Installation Disc into CD-ROM driver then installation menu will automatically appear. a. Click ZVC7500 to install the driver
Zonet

Figure 1
b. Click Finish to complete the driver installation
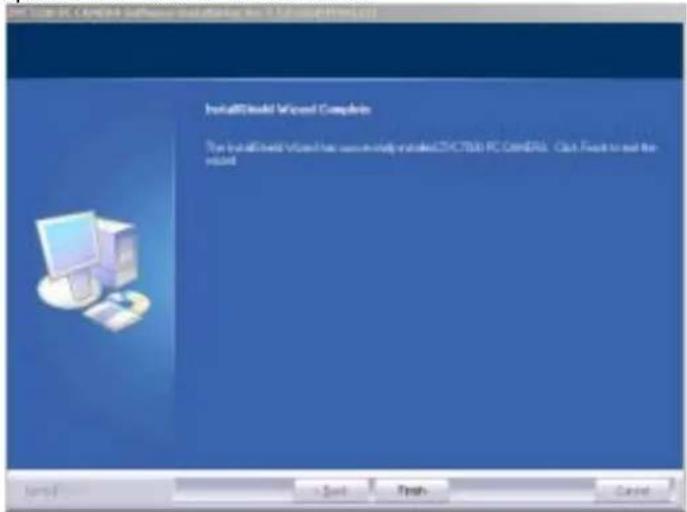
Figure 2
Software Installation
a. After ZVC7500 Driver is installed, please go back to installation menu and click VP-EYE to install the software
Zonet

Figure 3
b. Click VP-EYE icon to start installation
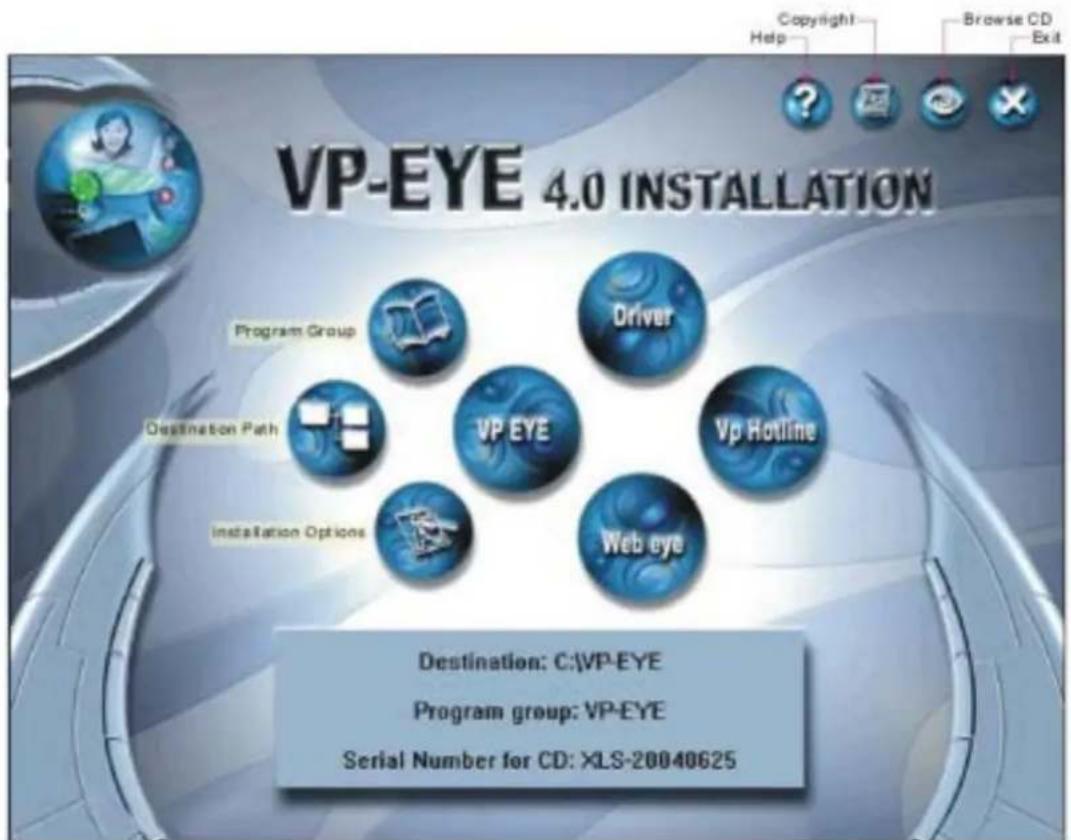
Figure 4
c. Click Finish to complete installation of software
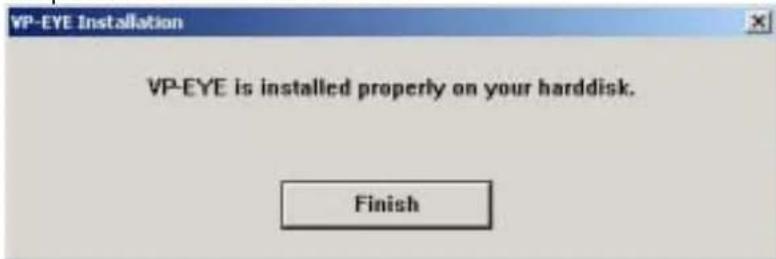
Figure 5
Hardware installation
When the installation of software and related drivers are complete, plug ZVC7500 into an available USB port, system will detect the device and complete the installation automatically.
Click Finish to complete ZVC7500 installation

Figure 6
Check the hardware is working and related settings
Start your ZVC7500
a. By selecting the Application Program from Start menu as Figure 7

Figure 7
b. You will see the preview picture of ZVC7500

natural_image
Blue Lenovo 3.06 microcontroller with USB port, placed on a computer keyboard (no visible text or symbols on device)Figure 8
c. By selecting the Options→ Video Capture Pin, you can adjust the resolution from pull down menu of Output Size from preview window

Figure 9
d. By selecting the Captures→ Set Frame Rate, you can set frame rate from preview window

Figure 10
e. By selecting the Captures→ Set Time Limit, you can set time limit from preview window
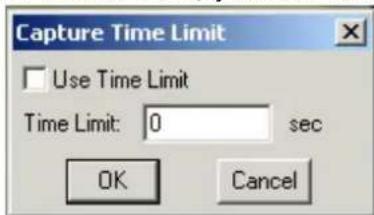
Figure 11
Start your VP-EYE
a. By selecting the Application Program from Start menu as Figure 12

Figure 12
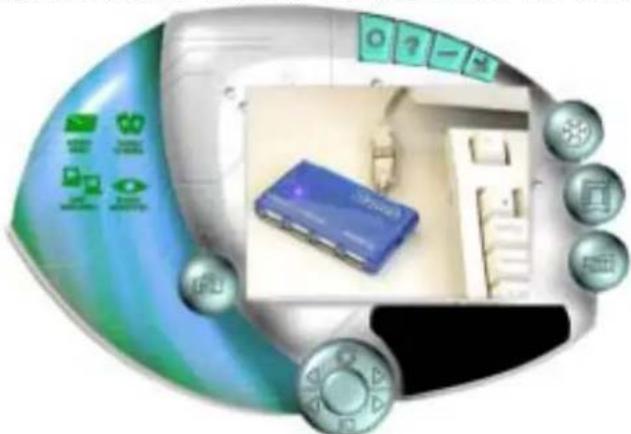
b. You will see the preview picture of VP-EYE, and you can select below functions when Application Panel appears

Figure 13
i. Video Function: you can select the function you need from the left side of control panel
natural_image
Illustration of a computer monitor with a blue case and keyboard, surrounded by control buttons and a green keyboard (no readable text or symbols)Figure 14
ii. Photo Function: you can select the function you need from the left side of control panel

natural_image
Illustration of a home office interior with a blue storage unit and wall-mounted furniture, surrounded by icons and buttons (no text or symbols)Figure 15
iii. Video Bank: you can adjust the volume, microphone, save files of video...from the left side of control panel

natural_image
Illustration of a blue remote control unit with control buttons and a computer monitor, surrounded by a stylized globe (no text or symbols)Figure 16
iv. Photo Bank: you can adjust the resolution, save files of photo...from the left side of control panel

natural_image
Illustration of a smart air conditioner unit with control buttons and a blue internal device (no text or symbols)Figure 17
c. You can adjust the Brightness and Contrast from adjust button or setting icon as Figure 18

Figure 18
Advanced Settings
For ZVC7500
a. By clicking Options→ Video Capture Filter, you can enter into advanced settings
i. From this Settings page you can adjust the quality of the picture

Figure 19
- Click the check box under low-light surrounding
- Adjust the parameter to your favorite setting
- It's very important to set the frequency the same as your local power supply
ii. From this Effects page you can set 18 special effects as well as 10 photo frames for your pictures

Figure 20
- Special effects setting field
- Photo frame setting field
- With this function, users can even edit the photo frame by themselves
iii. From this Zoom page you can adjust the zoom control
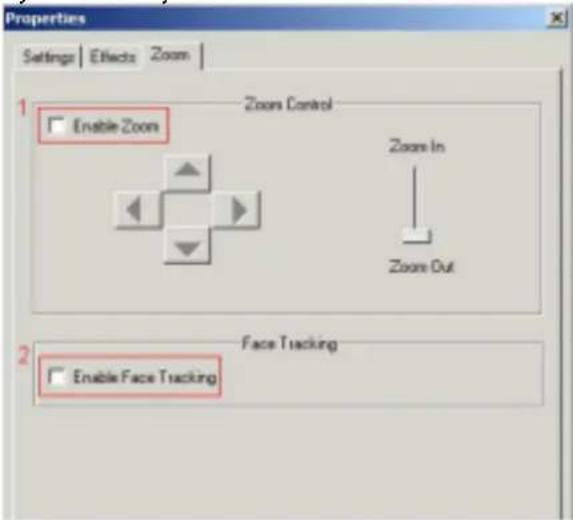
Figure 21
- Click check in certain mode, Users can achieve digital zoom and picture moving function
- Click check in certain mode, Users can achieve face tracking function
b. The advanced setting can also be accomplished simply by right click on the Camera Icon in Taskbar

Figure 22

Figure 23
For VP-EYE
a. Before installation, you can click Destination Path icon if you want to change the destination directory for installing ____

Figure 24
b. Before installation, you can click Installation Options icon to select installation components
![VP-EYE Installation Installation options Control Panel [10,780,000 bytes] □ Auto run (click here to run Control Panel at startup) □ Start Menu (add Control Panel to Start Menu) Application ✓ Photo EZ [16,391,000 bytes] ✓ Video Monitor [15,192,000 bytes] ✓ Photo Greeting Cards [33,833,000 bytes] ✓ Photo Special Effects [10,869,000 bytes] ✓ Video E-Mail [1,066,000 bytes] ✓ Video Games [21,998,000 bytes] ✓ Digital Movie Producer [4,318,000 bytes] Free disk space: 1,618,816,000 bytes Total space required: 114,447,000 bytes OK Help...](/content/2026/05/1067961/images/7f84b98fc99f193900e79cc40f1e1e706d065875f3b0848dfaef6a35350f8ca5.jpg)
Figure 25
Cautions
- If ZVC7500 is hot when it is working for a long time. We suggest you stop working for some time.
- Avoid Contact to the lens with hand, sharp or coarse stuff; use clean and soft cloth for cleaning
- Do not use it in hot, cold, dusty or humid circumstances.
- Avoid falling as much as possible; severe falling may cause damages to the lens, malfunction or scratches to the surface.
- For any problems concerning our products you purchase, please send them back to local sales agent with effective note.
Brand : Zonet
Model : ZVC7500
Category : Webcam