
ChatCam - Webcam Micro Innovations - Free user manual and instructions
Find the device manual for free ChatCam Micro Innovations in PDF.


| Product Type | Webcam |
| Brand | Micro Innovations |
| Model | ChatCam |
| Dimensions (approx.) | 3.5 x 2.5 x 1.5 inches (8.9 x 6.4 x 3.8 cm) |
| Weight | 0.2 lbs (90 g) |
| Power Source | USB powered (from computer) |
| Connection Interface | USB 2.0 |
| Resolution | 640x480 (VGA) |
| Frame Rate | 30 fps |
| Microphone | Built-in |
| Main Functions | Video chat, video recording, photo capture, live streaming |
| Compatible Operating Systems | Windows, macOS, Linux |
| Mounting | Clip-on for monitor or standalone base |
| Cable Length | 5 ft (1.5 m) |
| Care and Cleaning | Clean lens with a soft, dry cloth. Do not use liquids or abrasive cleaners. |
| Safety Warning | Avoid exposure to moisture, extreme temperatures, and direct sunlight. |
| Spare Parts / Repairability | No user-serviceable parts. Contact manufacturer for support. |
| General Information | Plug-and-play installation; driver may be required for full functionality. |
Frequently Asked Questions - ChatCam Micro Innovations
User questions about ChatCam Micro Innovations
0 question about this device. Answer the ones you know or ask your own.
Ask a new question about this device
Download the instructions for your Webcam in PDF format for free! Find your manual ChatCam - Micro Innovations and take your electronic device back in hand. On this page are published all the documents necessary for the use of your device. ChatCam by Micro Innovations.
USER MANUAL ChatCam Micro Innovations
ChatCam™ Webcam Model 4310100

natural_image
Line drawing of a webcam with attached cable and connector (no text or symbols)System Requirements:
- IBM® or Compatible PC with Windows® XP/SP2/Vista/Win7
- USB port
- Tray loading CD-ROM Drive
Packaging Contents:
- Webcam
- ooVoo™ and Install CD
- Quick Start Guide
Contents
Installing the Software 2
Installing your New Webcam 5
Capturing a Photograph 6
Capturing a Video 6
Setting the Webcam Options 8
Webcam Features 11
Maintaining Your Webcam 11
Installing the Software

natural_image
Diagram of a CD inside a drive showing disc and cable (no text or symbols)1 Insert the CD into the CD drive.
Note: If the install screen does not launch automatically, open the folders on the CD and double-click the setup.exe file.
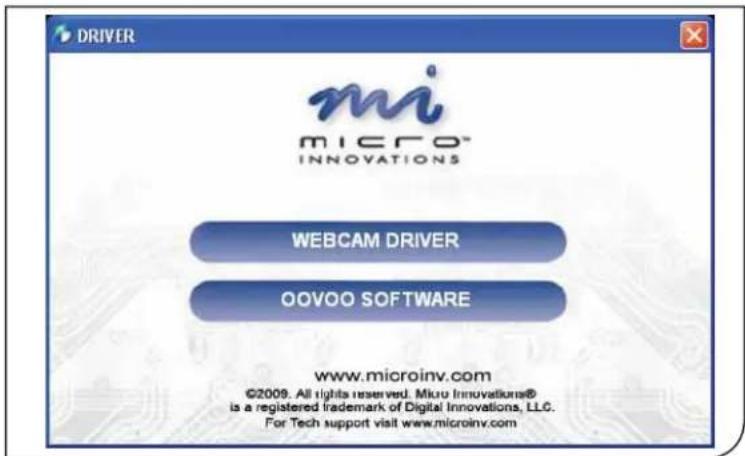
2 The Micro Innovations® software install window will appear. Select Webcam Driver to begin the installation.

3 The InstallShield® Wizard will guide you through the rest of the Webcam Driver installation. Click Next to continue.

4 The software will automatically choose a default destination folder, or you may choose the destination folder yourself. Click Next to continue.

5 Click Install to begin the installation of the Webcam Software.
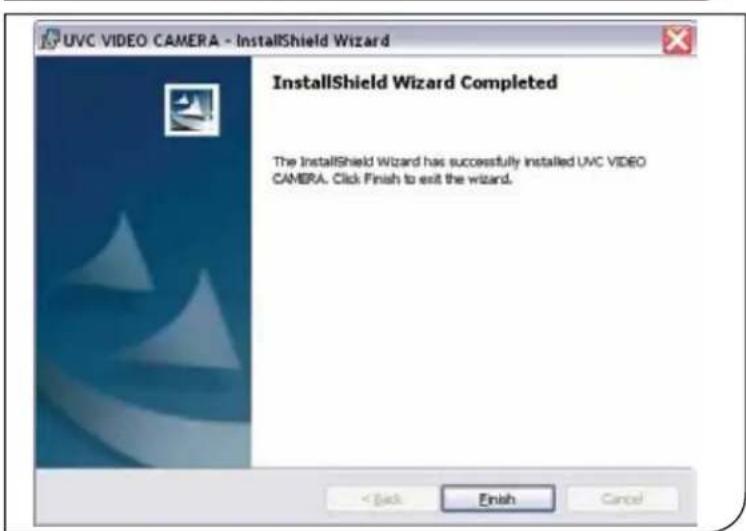
6 When the Webcam Software has completed installation, click Finish to exit the wizard. Proceed to Step 7 to install the ooVoo™ Software.

7 The Micro Innovations® software install window will still be active on the desktop. Select ooVoo™ Software to begin the installation.
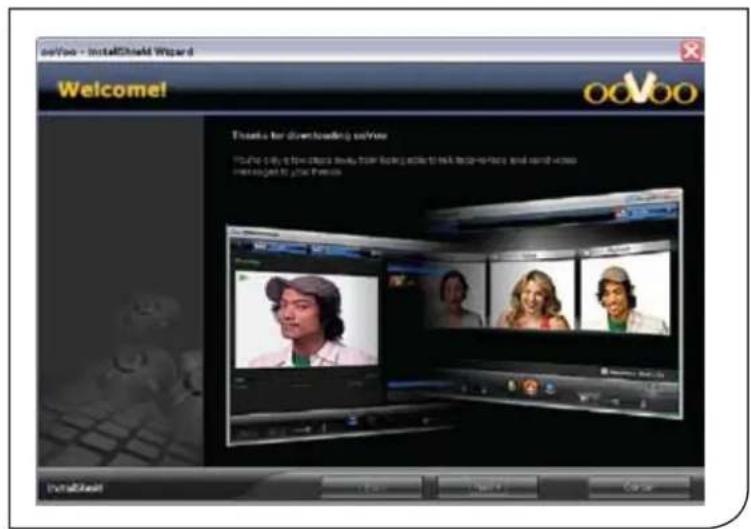
8 The ooVoo™ InstallShield® Wizard screen will appear. Click Next to begin the installation of the ooVoo™ Software.

9 The software will automatically choose a default destination folder, or you may choose the destination folder yourself. Click Install to continue.

10 Follow the instructions on the screen to create your ooVoo™ account. Use the ooVoo™ login screen to sign-in to begin chatting with your camera.
Restart your computer after completing the software installation procedures.
Installing your New Webcam
1

natural_image
Technical line drawing of a mechanical assembly with a rotating component and a baseplate (no text or symbols)Mount webcam above the computer monitor or use on your desk as a standalone camera.
2
natural_image
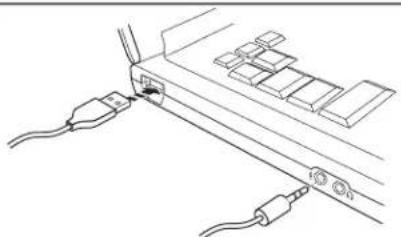
Line drawing of a cable connector with attached cables and connectors (no text or symbols)Plug in microphone cable to microphone jack, and USB cord into an available USB port on the computer. USB ports are identified as ←.
3
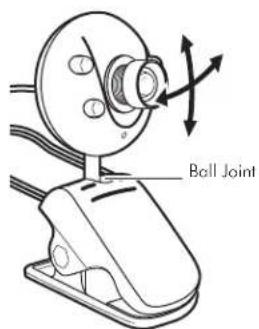
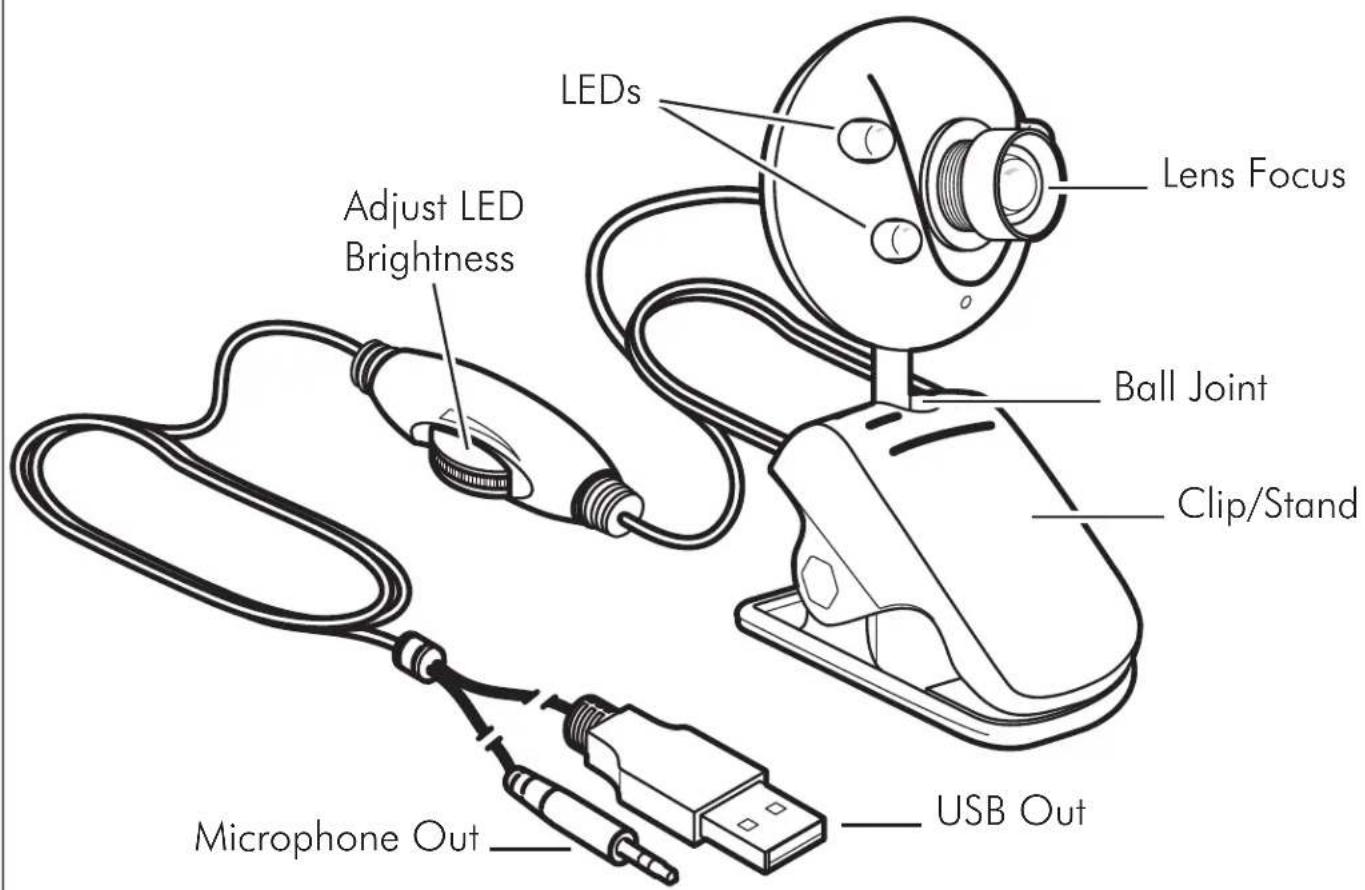
Rotate the ball joint to adjust the angle of view.
4
natural_image
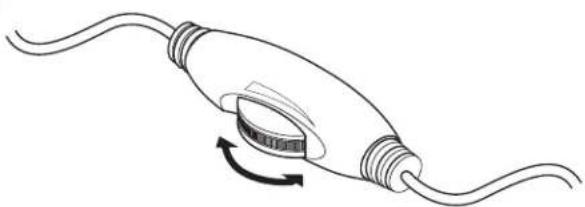
Diagram of a cable connector with a rotating knob and curved arrow indicating rotation (no text or symbols)Use the switch on the cord to adjust the LED brightness on the webcam's face.
Capturing a Photograph

1
Launch VideoCap from your desktop.
Click on Capture. Click on Snap Shot.
After the image has been captured, it will open in your default photo viewing application.
Capturing a Video
1
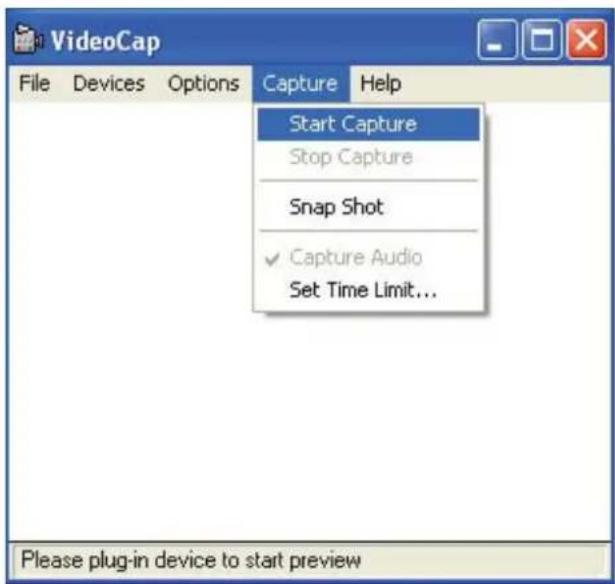
Launch VideoCap from your desktop.
Click on Capture. Click on Start Capture.
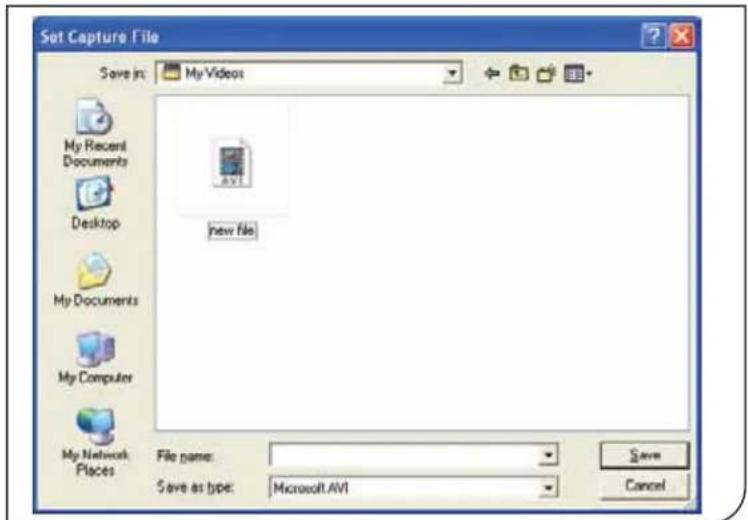
2 The very first time you are recording video, the Set Capture File window will appear. Navigate to your desired destination, choose a file name, and click Save.
Note: This step will be skipped if this is not your first time capturing video.

3 Click OK to start capturing video.

4 To stop capturing video, click on Capture. Click on Stop Capture.
Setting Webcam Options
The software has many options available to personalize your settings.


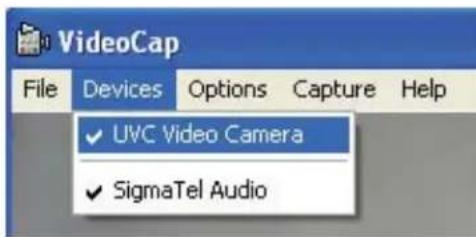

1 To select or change the folder where your videos will be automatically saved, click on File and then select Set Capture File.
2 Navigate to the desired folder and click OK. The default folder is My Documents.
3 The Devices menu allows you to switch between your currently installed video, photo, or audio capturing devices (if applicable).
4 The Preview option allows you to view on your screen what the camera is currently seeing. It is selected as a default.
Setting Webcam Options
![Sound Selection Name: [untitled] Save As... Remove Format: PCM Attributes: 44.100 kHz, 16 Bit, Stereo 172 kb/sec OK Cancel](/content/2026/05/1066852/images/54d911668c62e61163f29a448f1ecaef1c7d4e3ea058c4372961a0993b69b901.jpg)

5 The Audio Format... option includes sound selection options for capturing audio.
Some options may not be available or may be automatically selected.
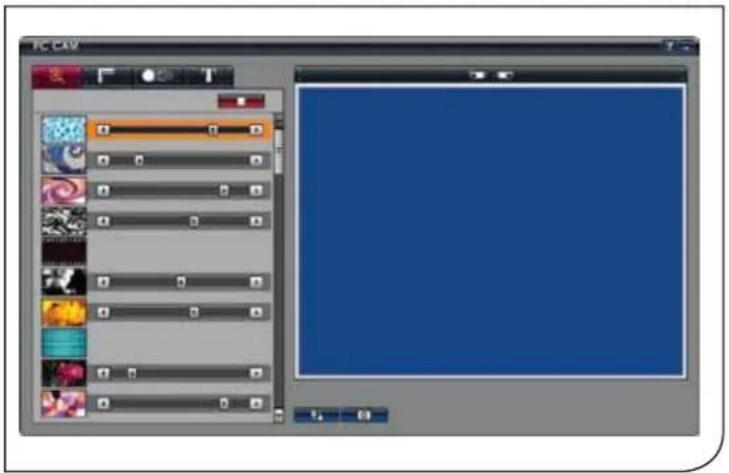
6 The Effect option brings up a screen to select various display effects including effects, frames, animations, and text.
The Effect options can also be accessed by clicking the icon on your desktop.
7 The Audio Capture Filter... includes additional options for capturing audio.
Some options may not be available or may be automatically selected.
8
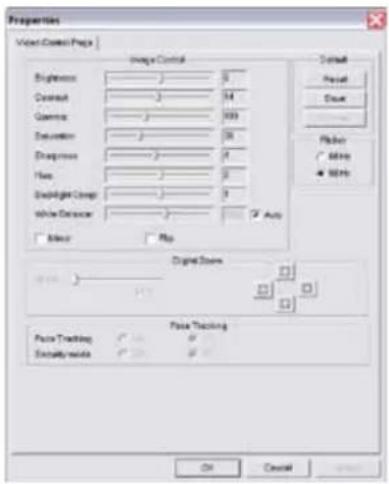
The Video Capture Filter...
includes options to set brightness, contrast, hue, etc. by sliding the bars or typing in a number.
Some options may not be available or may be automatically selected.

9
The Video Capture Pin... includes stream formatting options.
Some options may not be available or may be automatically selected.
10
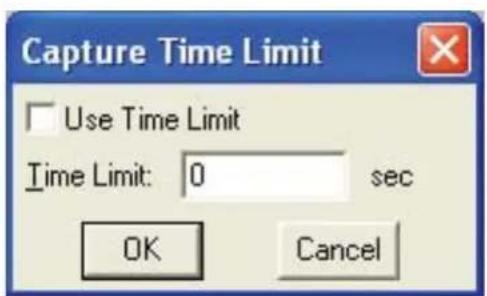
In addition to capturing videos and pictures, the Capture menu allows you to set a time limit on your videos. Click Set Time Limit.
Webcam Features
Maintaining Your Webcam
Regular maintenance ensures a longer product life and minimizes the chance of causing damage to your webcam.
• Always disconnect the webcam before cleaning it.
- Clean the lens with a lint-free cloth.
- Do not try to repair any part of this product. For technical support please visit www.digitalinnovations.com/support.html

Brand : Micro Innovations
Model : ChatCam
Category : Webcam