ELESTNDSKNA - Office Ergolux - Free user manual and instructions
Find the device manual for free ELESTNDSKNA Ergolux in PDF.

User questions about ELESTNDSKNA Ergolux
0 question about this device. Answer the ones you know or ask your own.
Ask a new question about this device
Download the instructions for your Office in PDF format for free! Find your manual ELESTNDSKNA - Ergolux and take your electronic device back in hand. On this page are published all the documents necessary for the use of your device. ELESTNDSKNA by Ergolux.
USER MANUAL ELESTNDSKNA Ergolux
natural_image
Line drawing of a simple desk with two vertical supports and a flat top (no text or symbols)ELECTRIC STANDING DESK
ELESTNDSKNA, ELESTNDSKBA & ELESTNDSKWA
SAFETY & WARNINGS
- Read all instructions before use and retain this user guide for future reference.
- Read all following safety precautions carefully before use.
- Your equipment is intended for use in cool, dry conditions. You should avoid storage in extreme cold, hot or damp areas as this may lead to corrosion and other related problems.
- This desk is rated at a maximum weight capacity of 70kg.
- This desk is designed for indoor use only.
- Do not modify the desk frame or any of the components that operate this desk in any way.
- If the power cord is damaged, cease use immediately and contact help.Kogan.com for support.
- If the control box emits any abnormal noises or strong odours, cease use immediately and contact help.Kogan.com for support.
- Ensure any obstacles are removed from the area around the desk during assembly and operation.
- Ensure that all cords and wires are arranged in a way where they are not a tripping hazard.
- Unplug the power cord before cleaning. Wipe the dust from the surface using a slightly damp cloth. Ensure any water does not come in contact with any internal parts or connectors.
- Do not disassemble or perform any maintenance without disconnecting the power first.
- Do not use any corrosive or abrasive materials to clean the product.
- The control box contains electronic components, metals, plastics, wires etc. ensure it is disposed of in accordance with your local environmental legislation. Do not dispose with general household waste.
- Ensure this product is completely and correctly assembled before use.
- Be familiar with all functions and program settings of the product before first use.
- This product can be used by children aged from 8 years and above and persons with reduced physical, sensory or mental capabilities or lack of experience and knowledge if they have been given supervision or instruction concerning use of the appliance in a safe way and understand the hazards involved.
• Children should not be allowed play with this product.
- Cleaning and user maintenance should not be performed by children without supervision.
- Retain the original packaging where possible, to use for any future transportation of this product.
COMPONENTS
Lay all components out on a clean floor and ensure all parts are included. If any pieces are missing, check all packaging thoroughly, then contact help.Kogan.com for assistance.
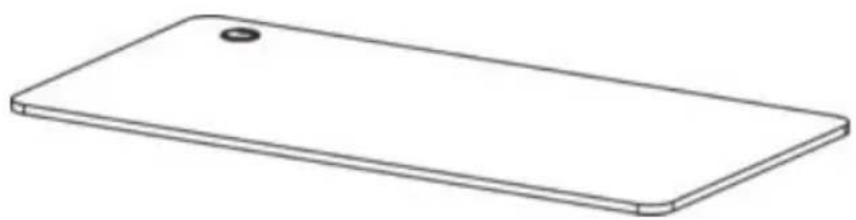
natural_image
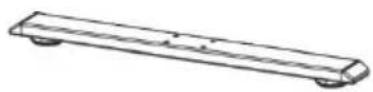
Simple line drawing of a rectangular electronic device with a small circular hole at the top (no text or symbols)A Desktop
B Sync Rod
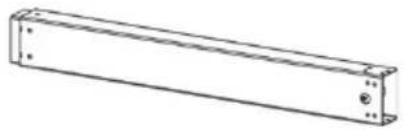
natural_image
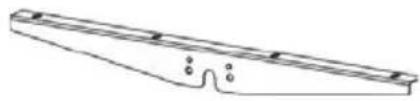
Simple line drawing of a rectangular metal beam or support structure (no text or symbols)C Lifting Column
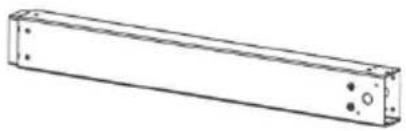
natural_image
Simple line drawing of a rectangular mechanical component with mounting holes and a circular end (no text or symbols)D Lifting Column
natural_image
Pure technical line drawing of a mechanical part with no text or symbolsE Side Bracket (x2)
F Foot(x2)
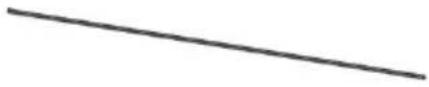
natural_image
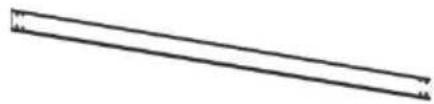
Two parallel diagonal lines with rounded ends, no text or symbols presentG Crossbar (x2)
natural_image
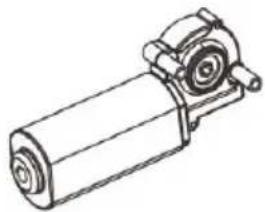
Technical line drawing of a mechanical device with cylindrical body and mounting bracket (no text or symbols)H Motor
natural_image
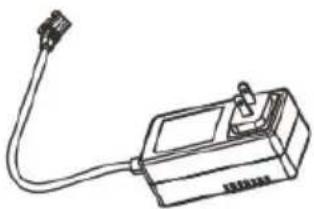
Line drawing of a handheld electronic device with cable and connector (no text or symbols)I AC Adapter
natural_image
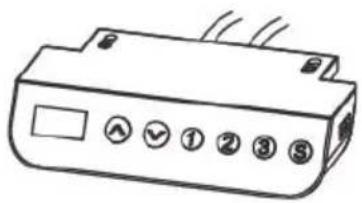
Line drawing of a rectangular electronic device with labeled buttons (no text or symbols beyond basic icons)J Controller
Hardware List
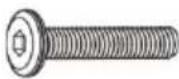
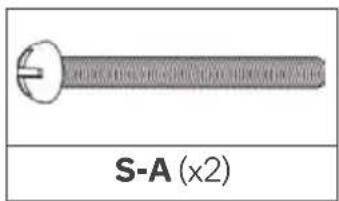
S-A M4x40 Phillips Head Screw (x4)
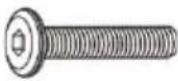
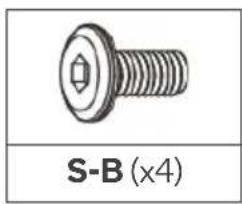
S-B M6x12 Hex Head Screw (x22)
S-C M6x30 Hex Head Screw (x10)
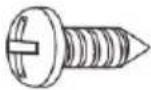
S-D ST4.0x12 Phillips Head Screw (x4)
Tools Required
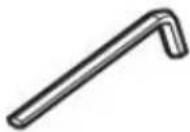
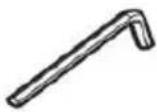
4mm Allen key (included)
Spirit Level (not included)
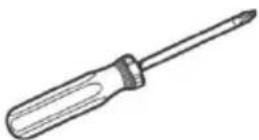
Phillips Head Screwdriver (not included)
ASSEMBLY
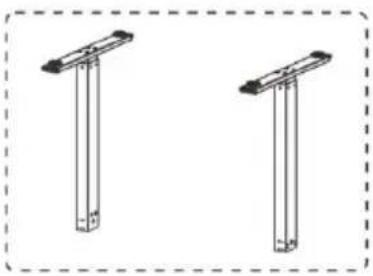
Step 1: Installing the feet.
- Attach the Feet (F) to the bottom of the Lifting Columns (C) (D) using x8 M6x30 Hex Head Screws (S-C).
 |  |
| S-C (x8) | 4mm Allen key |
natural_image
Two identical line drawings of vertical metal supports with mounting holes, enclosed in a dashed border (no text or symbols)
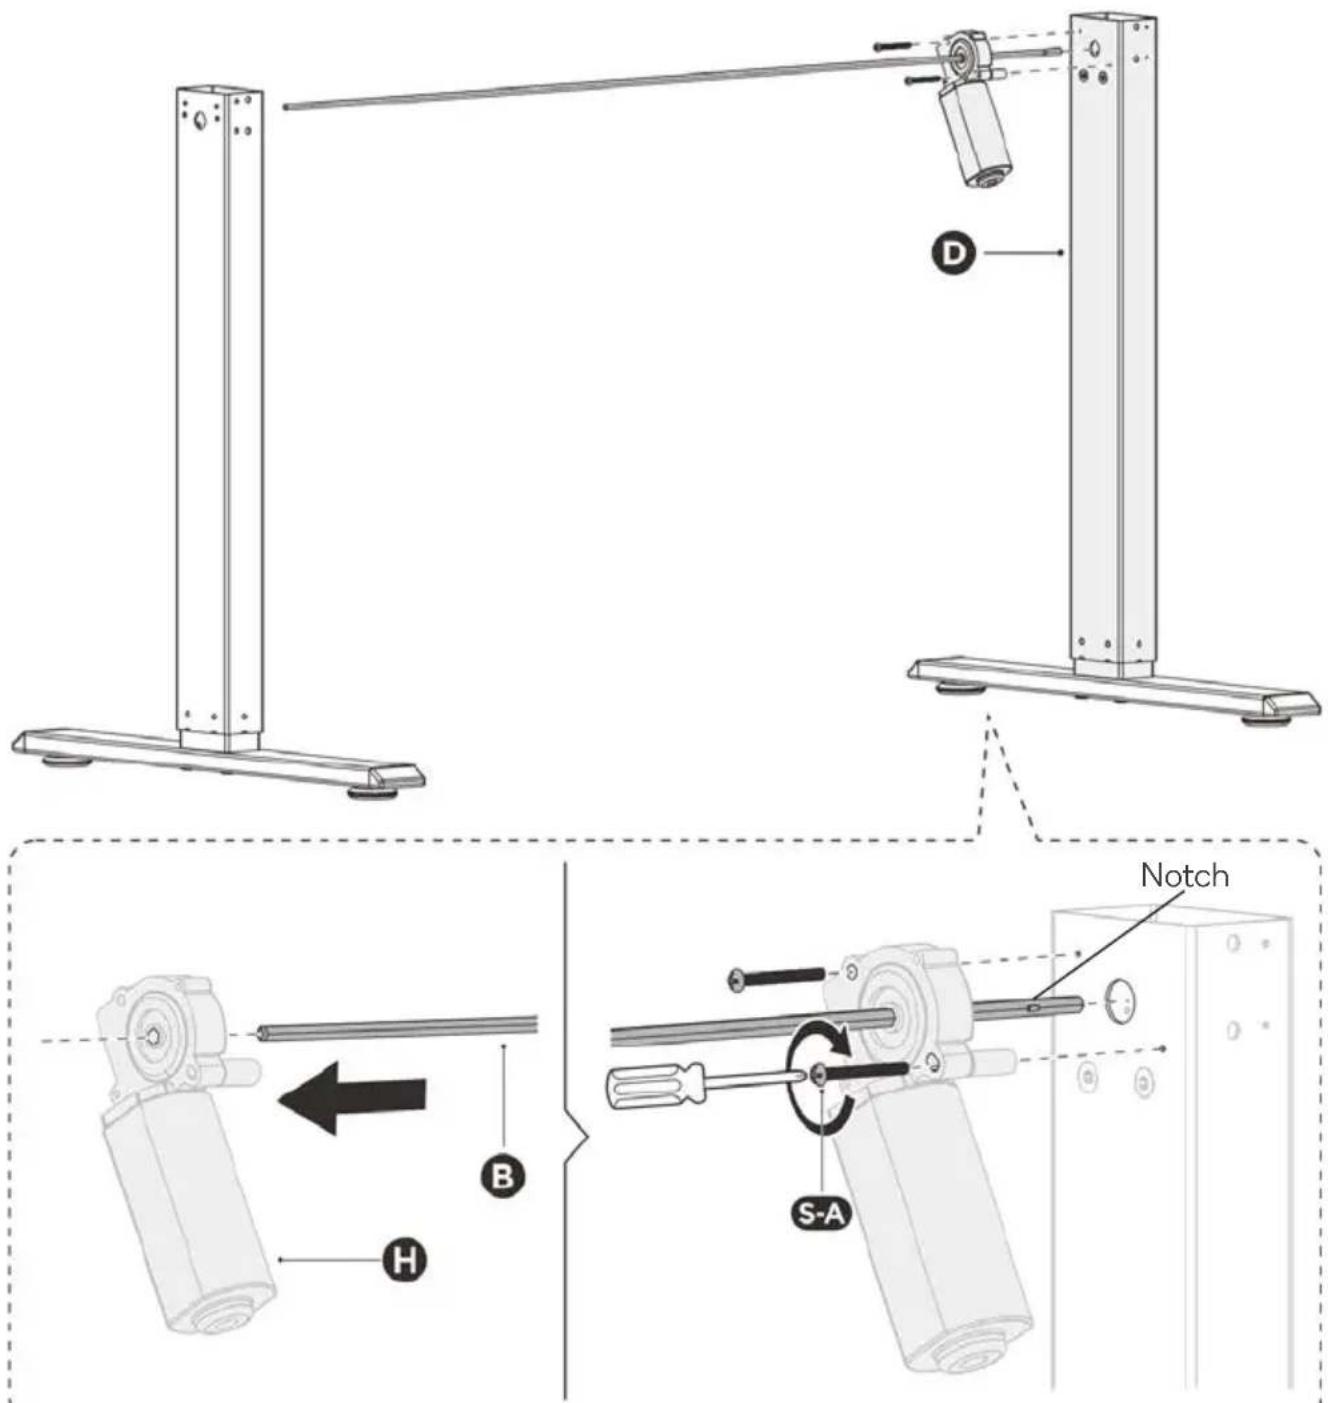
Step 2: Attaching the Sync Rod
- Insert the end of the Sync Rod (B) without the notch though the Motor (H).
- Insert the Sync Rod (B) into the holes on the Lifting Columns (C)(D).
- Secure the motor in place using x2 M4x40 Phillips Head Screws (S-A).
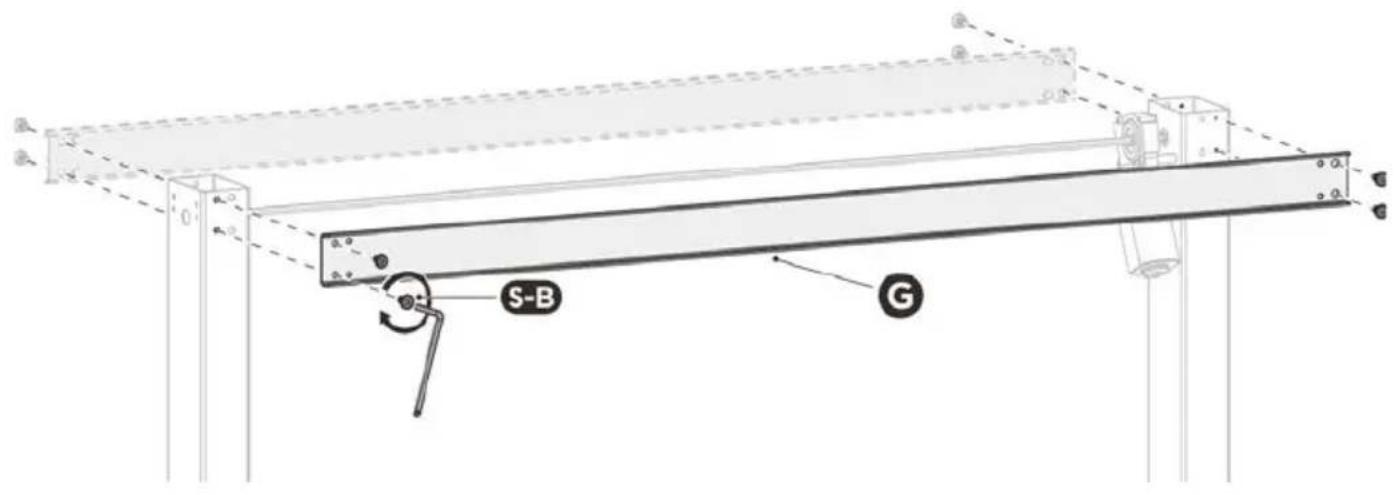
Step 3: Attaching the Crossbars
- Attach the Crossbars (G) to the Lifting Columns (C)(D) using x8 M6x12 Hex Head Screws (S-B).
Note: Ensure the screws are inserted into the outer most holes on the crossbars and lifting columns.

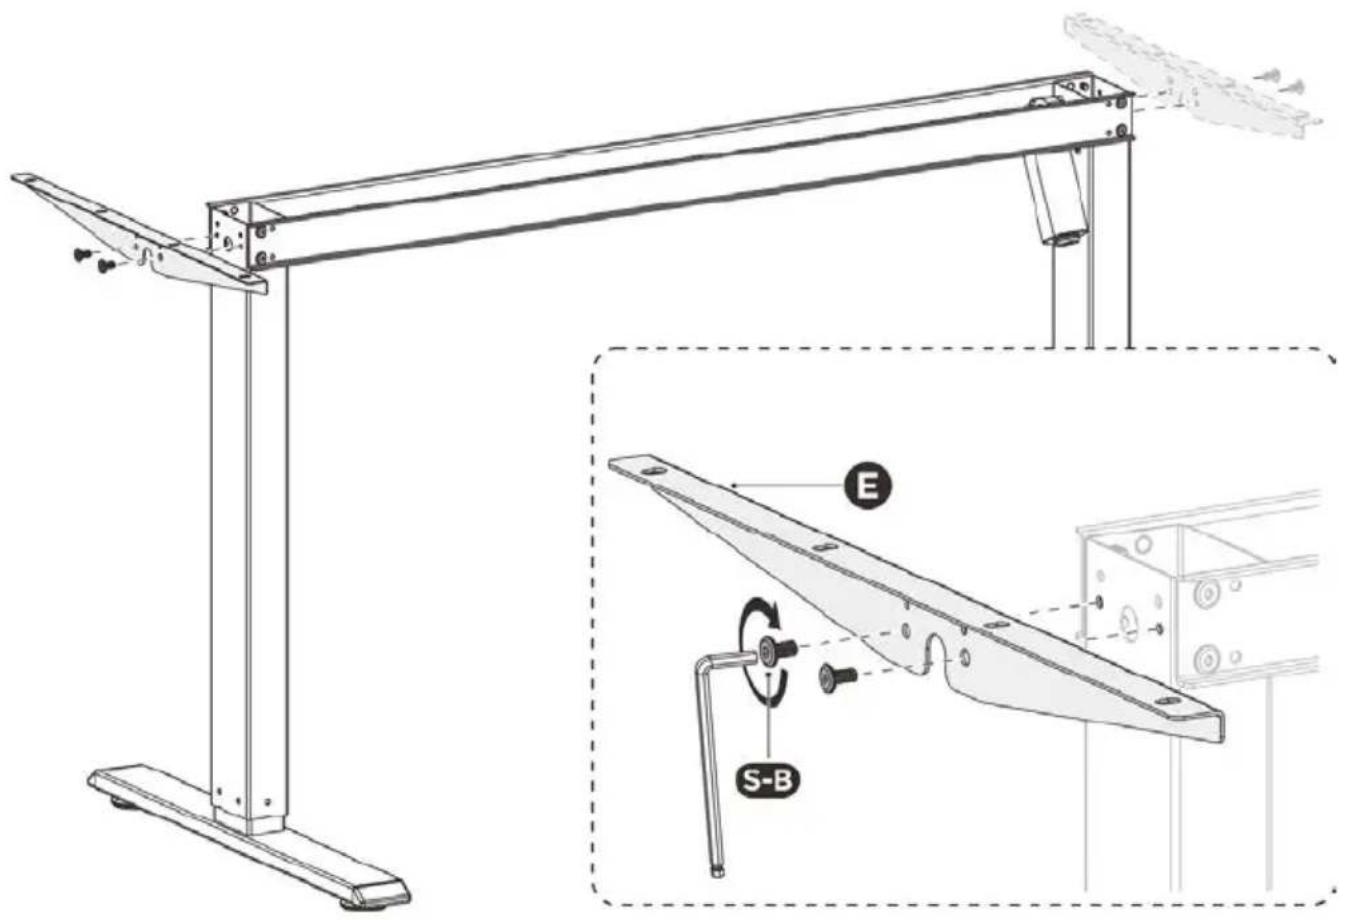
Step 4: Attaching the Side Brackets
- Attach the Side Brackets (E) to the Lifting Columns (C)(D) using x4 M6x12 Hex Head Screws (S-B).
Note: Ensure the Side Brackets are attached to the two holes second from the top of the upper edge of the lifting columns.
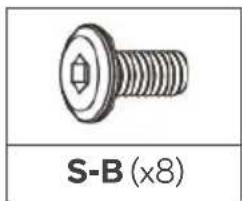
Step 5: Attaching the Desktop
- Lay the Desktop (A) face down on a soft, flat surface (carpet, blanket etc.).
- Attach desk frame assembly to the Desktop (A) using x8 M6x12 Hex Head Screws (S-B).
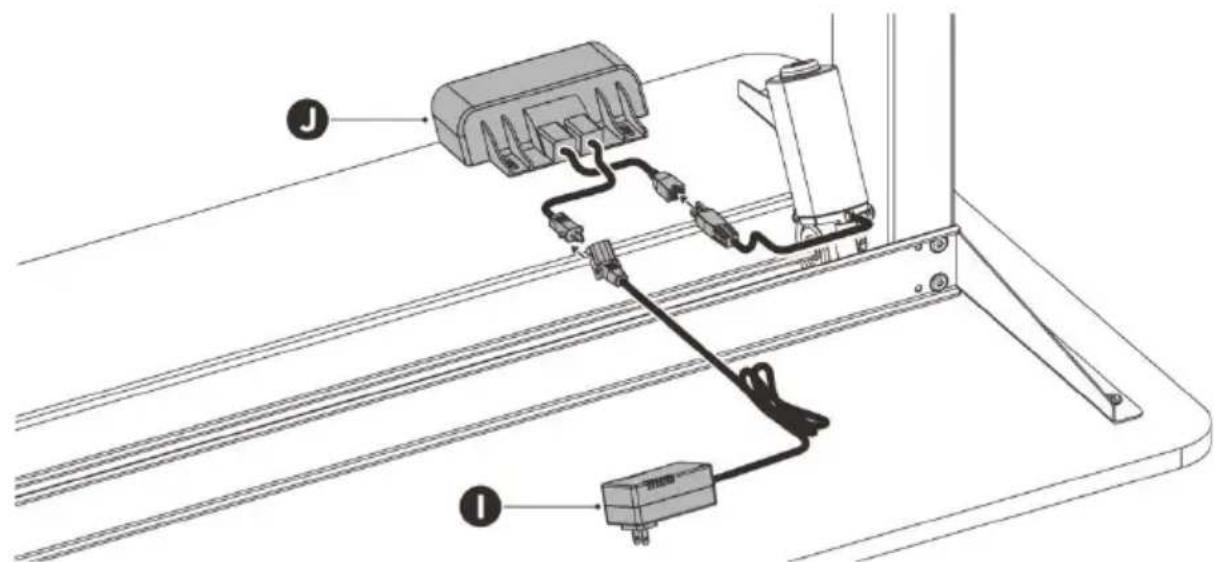
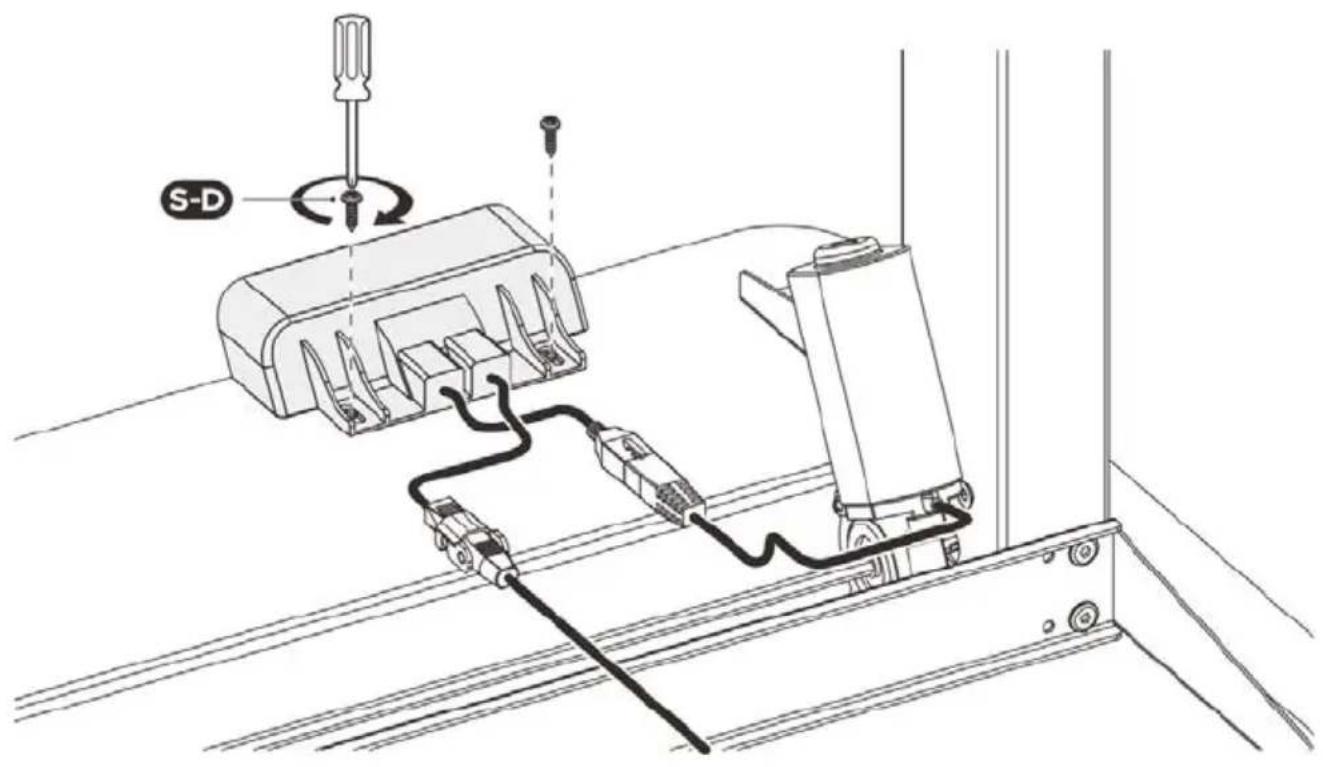
Step 6: Connecting the Controller
- Connect the AC Adapter (I) and the Motor (H) connectors to the mating connectors on the Controller (J).
Note: Do not plug the AC Adapter into power until assembly is complete.
Step 7: Attaching the Controller
- Attach the Controller (J) to the Desktop (A) using x2 ST4.0x12 Screws (S-D).

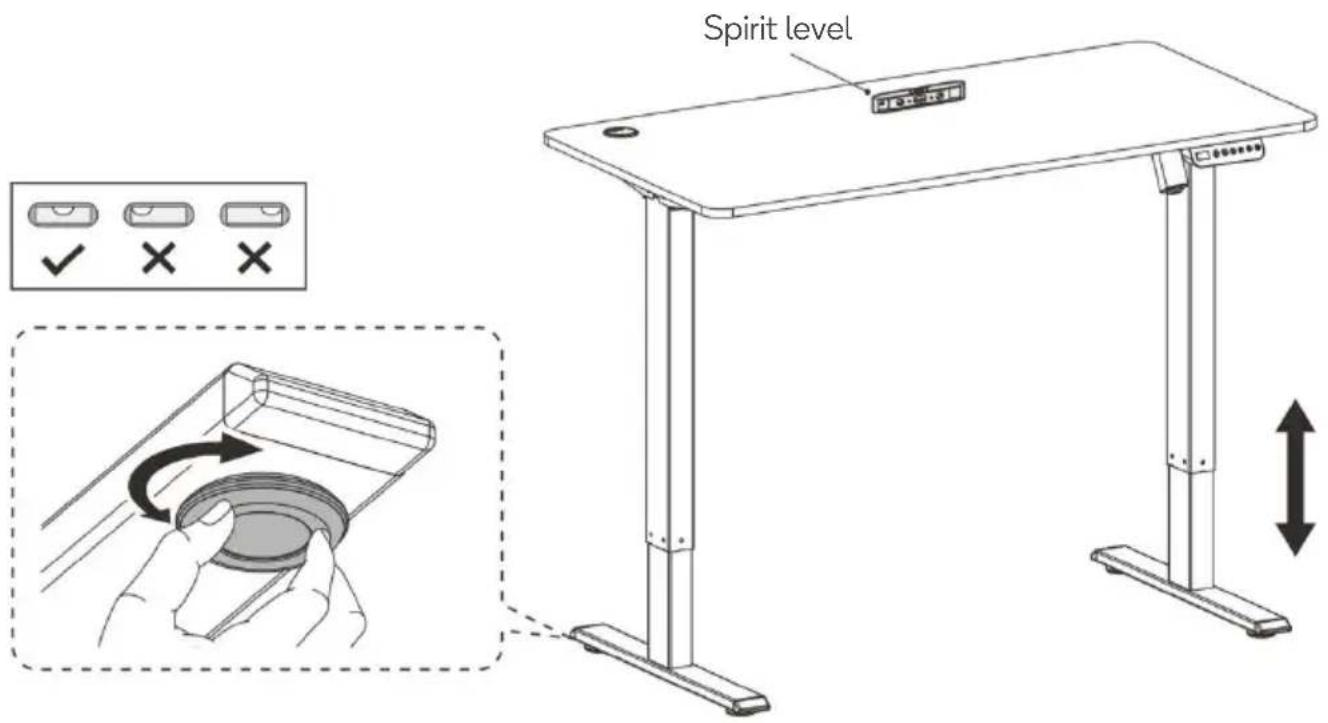
Step 8: Adjusting the Desk
- Turn the Desk back over to the upright position.
- Use a spirit level to ensure the desk is level and stable. Each foot has two adjustable pads that can be rotated to raise or lower the desk.
CAUTION: To avoid serious injuries, at least two people are required when turning the desk over.
OPERATION
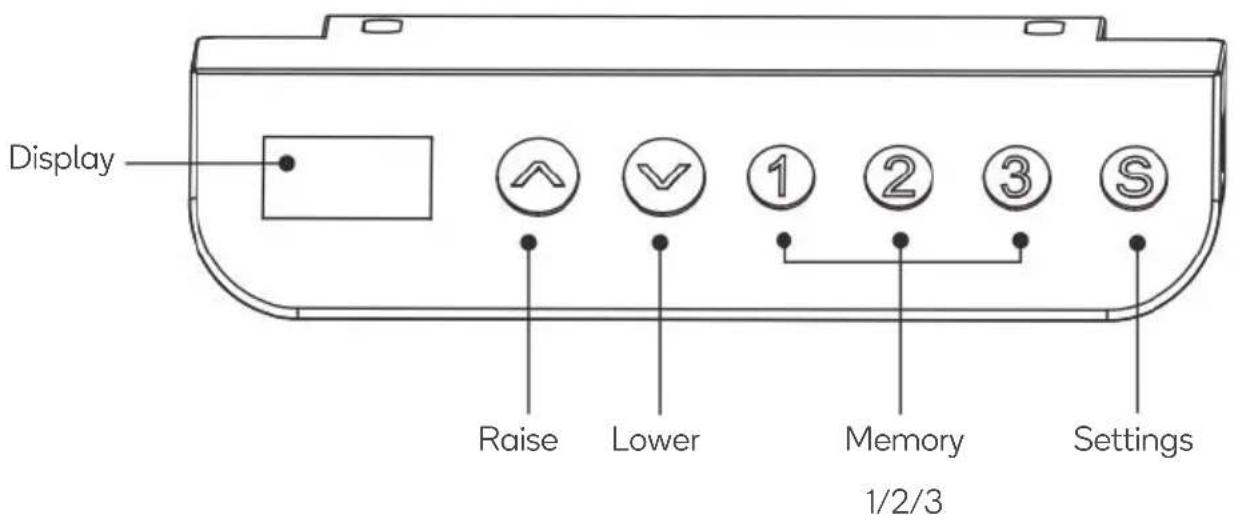
Before First Use
When the desk is first powered on, the height will be displayed on the controller. If this number does not match the actual height of the desk, the system will need to be reset before use.
Resetting the System
- Use the “√” button to place the desk in the lowest position, then and press hold the “√” button for 7 seconds until the display is alternately flashing “RST” and “E-1”. Release the “√” button
- Press and hold the "√" button again, the desk will move downward slightly and then move upwards approximately 5mm.
- The system has now successfully been reset.
Note: To reset a desk with a customised minimum height, you will need to press and hold both the “√” and “^” buttons simultaneously.
Adjusting the Height
Press the “” or “” or buttons to adjust the height of the desk. The display will show the current height.
Memory Setting
- To save a position to one of the three memory buttons, first adjust the desk to the desired height.
- Press the "S" button, the display will flash the current height then press either the "1", "2" or "3" button. The current height will be stored to the respective button.
- To use one of the saved positions, press either the "1", "2" or "3" button. The desk will move to the saved position.
Switching Units (CM/INCH)
- Press and hold the "S" button until "SET" is displayed.
- Press "1" to enter the unit menu. The display will alternately flash "unt" and the current height.
- Press the "√" or "^" or buttons to switch the unit of measurement.
- Press the "S" button to save your selection.
Collision Avoidance
- Press and hold the "S" button until "SET" is displayed.
- Press "2" to enter the collision avoidance menu. The display will alternately flash "cpt" and the current sensitivity level.
- Press the "∨" or "∧" or buttons to adjust the sensitivity level.
- Press the "S" button to save your selection.
Controller Lock
- Press and hold the "S" button until "SET" is displayed.
- Press "3" to lock the controller. The display will flash "OFF". Note: In this current state any buttons pressed will have no effect.
- Press and hold the "S" button for 3 seconds to unlock the controller.
Setting a Custom Minimum & Maximum Height Limit
- Press and hold the "S" button until "HLP" is displayed.
-
The display will alternately flash "HLP" and the current height.
-
Adjust the desk to your desired maximum height and press "1". The display will flash "H-P", press "S" to store the height.
- Adjust the desk to your desired minimum height and press "2". The display will flash "L-P", press "S" to store the height.
- Press "3" to remove the previously stored height settings.
Deleting Custom Settings
- Press and hold the "S" button until "FAC" is displayed, then release the button.
- Press the "S" button again to remove all custom settings.
TROUBLESHOOTING
The following tips will help you detected and eliminate some common faults and errors. If the problem cannot be fixed or the fault is not listed below, please contact help.Kogan.com for support.
| Error Code | Solution |
| Err | The control panel is disconnected. Check the connection. Disconnect the power then reconnect it. |
| E-1 | Reset the system. |
| E-2 | The weight rating has been exceeded. Remove all items from the desktop and reset the system. |
| E-3 | The collision avoidance system has activated. Remove all items within the desk's range of motion. |
| E-5 | Check all connection and reset the system. |
| ovr | An overload has occurred. Remove all items from the desktop and reset the system. |
| hot | The system has overheated. Cease operation and allow the desk to remain idle for approximately 10 minutes. |
| voL | An electrical fault has occurred. Disconnect the power then reconnect it. |
Disposal
This marking indicates that this appliance should not be disposed with other household wastes. To prevent possible harm to the environment or human health from uncontrolled waste disposal, recycle it responsibly to promote the sustainable reuse of material resources.
NOTES
Need more information?
We hope that this user guide has given you the assistance needed for a simple set-up.
For the most up-to-date guide for your product, as well as any additional assistance you may require, head online to help.kogan.com
kogan.com