
FMT1 - Surveillance Camera Speco Technologies - Free user manual and instructions
Find the device manual for free FMT1 Speco Technologies in PDF.


| Product Type | Surveillance Camera |
| Brand | Speco Technologies |
| Model | FMT1 |
| Dimensions (H x W x D) | 120 mm x 70 mm x 70 mm (approx.) |
| Weight | 0.4 kg (approx.) |
| Power Supply | DC 12V, 1A (adapter included) |
| Power Consumption | 6W (max) |
| Video Resolution | 1080p Full HD |
| Night Vision | IR LEDs, up to 20m range |
| Motion Detection | Yes, with adjustable sensitivity |
| Field of View | 90° diagonal |
| Connectivity | BNC video output, power input |
| Mounting | Wall or ceiling mount (bracket included) |
| Operating Temperature | -10°C to 50°C |
| Weatherproof Rating | Indoor use only |
| Maintenance | Clean lens with soft, dry cloth |
| Safety Warnings | Use only supplied power adapter; avoid exposure to moisture |
| Spare Parts Available | Mounting kit, power adapter |
Frequently Asked Questions - FMT1 Speco Technologies
User questions about FMT1 Speco Technologies
0 question about this device. Answer the ones you know or ask your own.
Ask a new question about this device
Download the instructions for your Surveillance Camera in PDF format for free! Find your manual FMT1 - Speco Technologies and take your electronic device back in hand. On this page are published all the documents necessary for the use of your device. FMT1 by Speco Technologies.
USER MANUAL FMT1 Speco Technologies
natural_image
Three technical line drawings of mechanical components with mounting brackets (no text or symbols)In-Ceiling Mounting
Quick Start Guide
Thank you for purchasing our product. This manual is applicable to the in-ceiling bracket. All pictures in this manual are for reference only.
Mounting Examples
①


flowchart
graph TD
    Start --> TypeA["Type A"]
    Start --> TypeB["Type B"]
    TypeA --> FixedDomeCamera["Fixed dome camera"]
    TypeB --> FixedDomeCamera
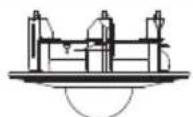

②


Varifocal dome camera
③



Installation
Before installation, please make sure that (1) the height of the space above the ceiling must be more than 250mm; (2) the thickness of the ceiling must range from 5mm to 40mm; (3) the ceiling must be strong enough to withstand more than four times the weight of the dome camera and the accessories. The following pictures are for reference only.
① In-Ceiling Mounting for Fixed Dome Camera
1

Attach the drill template to the ceiling where you want to install the dome camera. Then cut a hole according to the drill template. Note that +2mm of the circle diameter is allowed.
2


Remove the lower dome of the camera. Then place the in-ceiling bracket on the dome camera and tighten the screws provided to fix the bracket and the dome camera. (For type B, you shall rotate the trim ring anticlockwise to remove it. Then you can remove the lower dome by loosening the screws.)
3
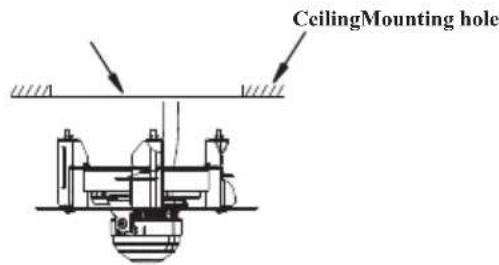
Route the cables through the ceiling and connect the cables. Then push the dome camera with the bracket into the mounting hole in the ceiling.
4

Tighten the lock screws with the screwdriver and the locks will automatically rotate outwards to secure the dome camera to the ceiling. Then adjust the view angle of the camera.
5

Install the lower dome back to the camera. (For type B, after installing back the lower dome, please put the trim ring onto the lower dome and rotate it clockwise until it is locked.)
6

Install the magnetic ring of the bracket.
② In-Ceiling Mounting for Varifocal Dome Camera
1

Attach the drill template to the ceiling where you want to install the dome camera. Then cut a hole according to the drill template. Note that +2mm of the circle diameter is allowed.
2

Rotate the trim ring anticlockwise to remove it. Then remove the lower dome of the camera by loosening the screws. After that, place the in-ceiling bracket on the dome camera and make sure the screw holes of the dome camera is aligned with the screw holes of the bracket marked with "A". Then fix the camera to the bracket with screws.
3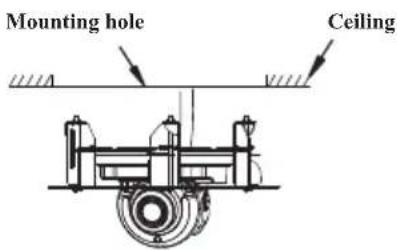 Route the cables through the ceiling and connect the cables.Then push the dome camera with the bracket into the mounting hole in the ceiling. Route the cables through the ceiling and connect the cables.Then push the dome camera with the bracket into the mounting hole in the ceiling. |  Tighten the lock screws with the screwdriver and the locks will automatically rotate outwards to secure the dome camera to the ceiling. Then adjust the view angle of the camera. Tighten the lock screws with the screwdriver and the locks will automatically rotate outwards to secure the dome camera to the ceiling. Then adjust the view angle of the camera. |
5 Install the lower dome back to the camera. Then put the trim ring onto the lower dome and rotate it clockwise until it is locked. Install the lower dome back to the camera. Then put the trim ring onto the lower dome and rotate it clockwise until it is locked. | 6 Install the magnetic ring of the bracket. Install the magnetic ring of the bracket. |
③ In-Ceiling Mounting for Varifocal Dome Camera
1

Attach the drill template to the ceiling where you want to install the dome camera. Then cut a hole according to the drill template. Note that +2mm of the circle diameter is allowed.
2

Loosen the screws to open the lower dome and then loosen the fixed screw to remove the mounting base. After that, make sure the screw holes of the mounting base are aligned with the screw holes of the bracket marked with "B" and then fix them with screws.
3

Route the cables through the ceiling and connect the cables. Then fasten the camera to the mounting base with the fixed screw. After that, push the dome camera with the bracket into the mounting hole in the ceiling.
4


Tighten the lock screws with the screwdriver and the locks will automatically rotate outwards to secure the dome camera to the ceiling. Then adjust the view angle of the camera.
5

natural_image
Technical diagram showing mechanical assembly before and after transformation (no text or labels)Install the lower dome back to the camera.
6


natural_image
Pure mechanical assembly diagram without any text, numbers, or symbolsInstall the magnetic ring of the bracket.
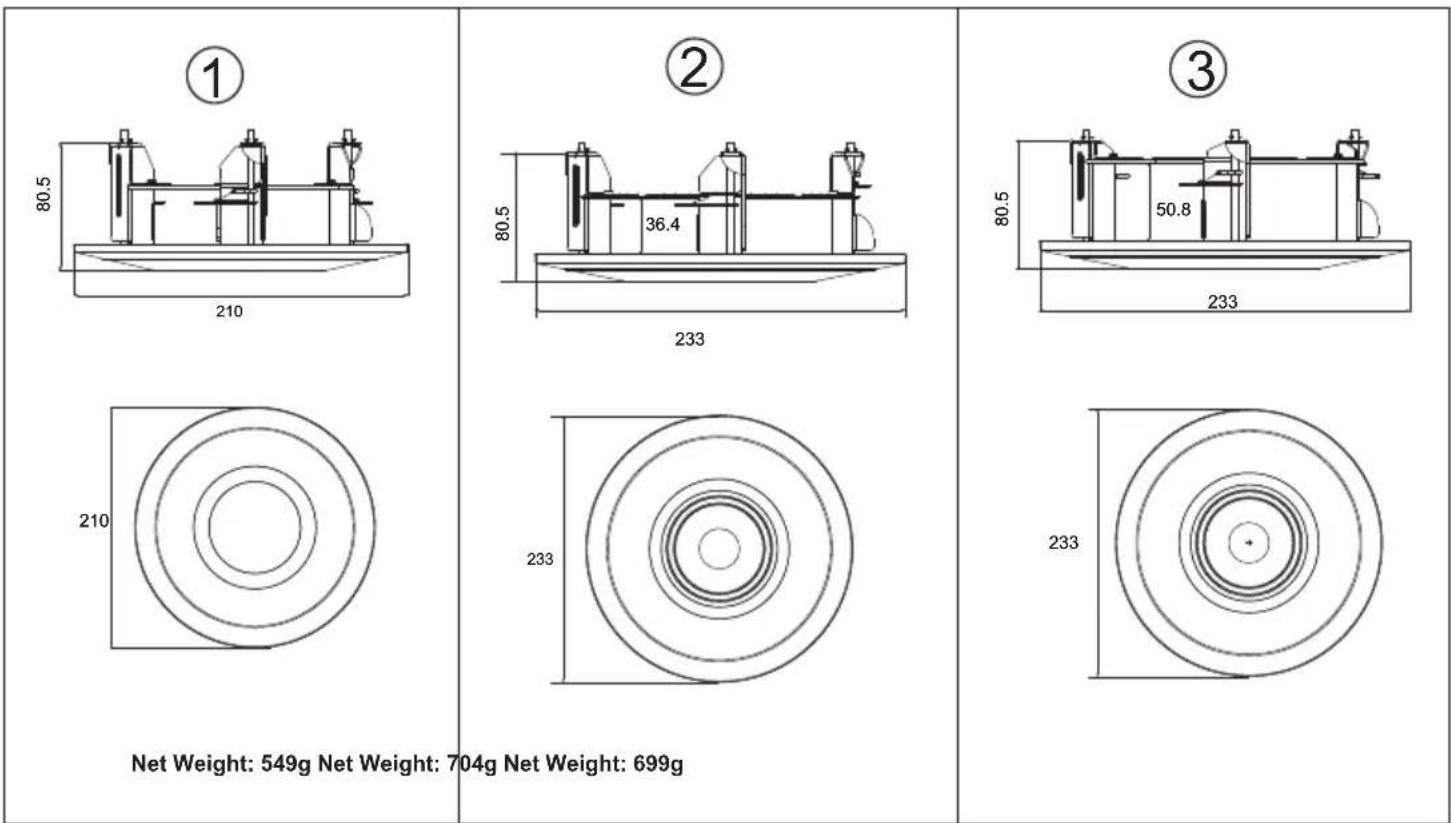
Dimensions
Unit: mm
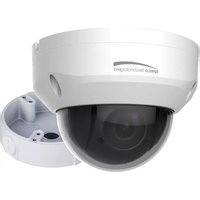
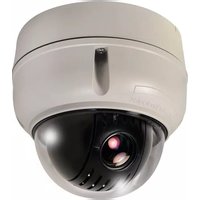
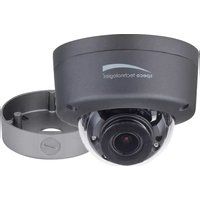
Brand : Speco Technologies
Model : FMT1
Category : Surveillance Camera