WDH-930EDH - Humidifier Ausclimate - Free user manual and instructions
Find the device manual for free WDH-930EDH Ausclimate in PDF.

User questions about WDH-930EDH Ausclimate
0 question about this device. Answer the ones you know or ask your own.
Ask a new question about this device
Download the instructions for your Humidifier in PDF format for free! Find your manual WDH-930EDH - Ausclimate and take your electronic device back in hand. On this page are published all the documents necessary for the use of your device. WDH-930EDH by Ausclimate.
USER MANUAL WDH-930EDH Ausclimate
natural_image
Line drawing of a portable air purifier with control panel and wheels (no text or symbols)CONTENTS
WARNING/CAUTION 1
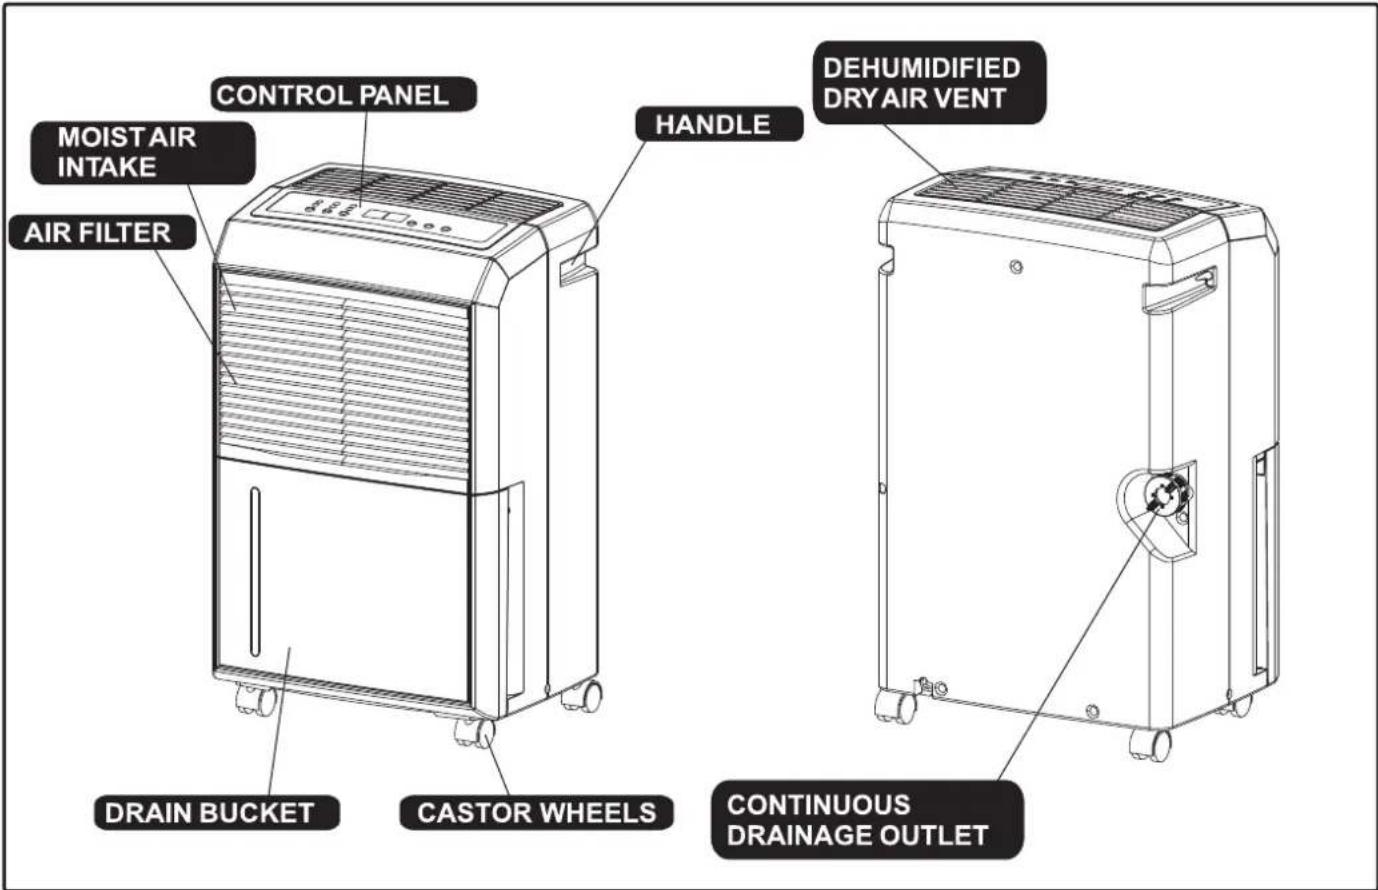
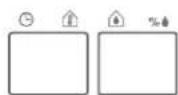
DESCRIPTION OF COMPONENTS
FUNCTION EXPLANATION 2
OPERATING INSTRUCTIONS
CASTOR INSTALLATION 3
CONTINUOUS DRAINAGE 4
CAUTIONS 5
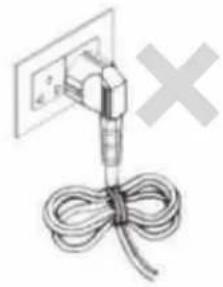
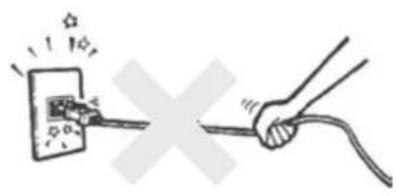
- Do not fold the power cord as shown below.
natural_image
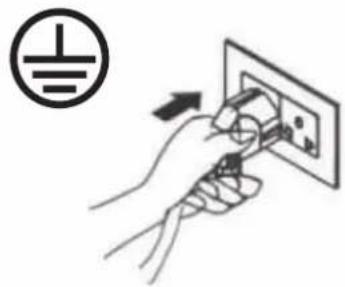
Simple line drawing of a cable tied with a plug and a wall socket, no text or symbols present.● Make sure the plug is placed fully & firm into the socket.
natural_image
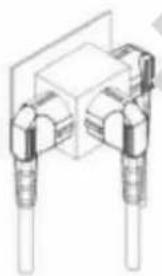
Illustration of a hand using a power plug to switch an electrical outlet (no text or symbols present)- Do not use multiple socket as shown below.
natural_image
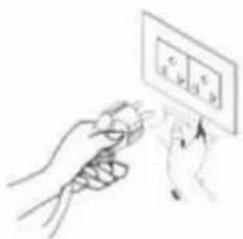
Pure mechanical assembly diagram without any text, numbers, or symbols● Make sure the plug is clean.
natural_image
Illustration of a hand holding a small object with a panel labeled 'c' above, no text or symbols present.● After turning the unit off, please take plug out of the socket.
natural_image
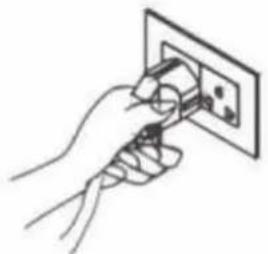
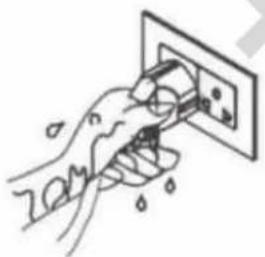
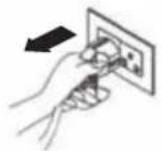
Line drawing of a hand inserting a plug into an electrical outlet (no text or symbols)- Do not have wet hands when connecting the power plug.
natural_image
Hand holding a wall-mounted electrical socket with water droplets, no text or symbols visibleCAUTION
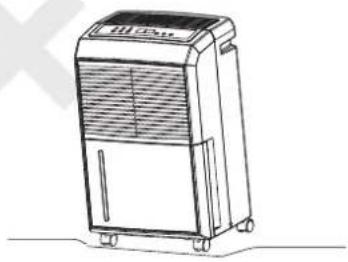
- Do not place anything on top of the control panel.
natural_image
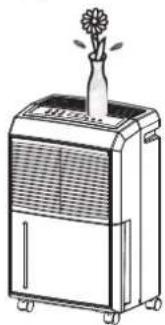
Line drawing of a portable air purifier with a flower on top (no text or symbols)- Do not place anything over the inlet or outlet points.
natural_image
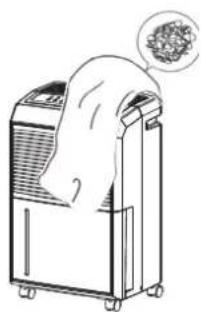
Line drawing of a portable air conditioner unit with a thought bubble showing a textured surface (no text or symbols)- Do not let children by play with the unit or control.
natural_image
Illustration of a person standing beside a large industrial air purifier (no text or symbols visible)- Do not wet the machine or the control panel.
- Keep the flammable gas/oil away from the machine.
natural_image
Illustration of various cylindrical batteries and batteries (no text or symbols visible)- Ask professionals to do the servicing.
natural_image
Illustration of a person kneeling beside a large industrial air purifier (no text or symbols present)DESCRIPTION OF COMPONENTS
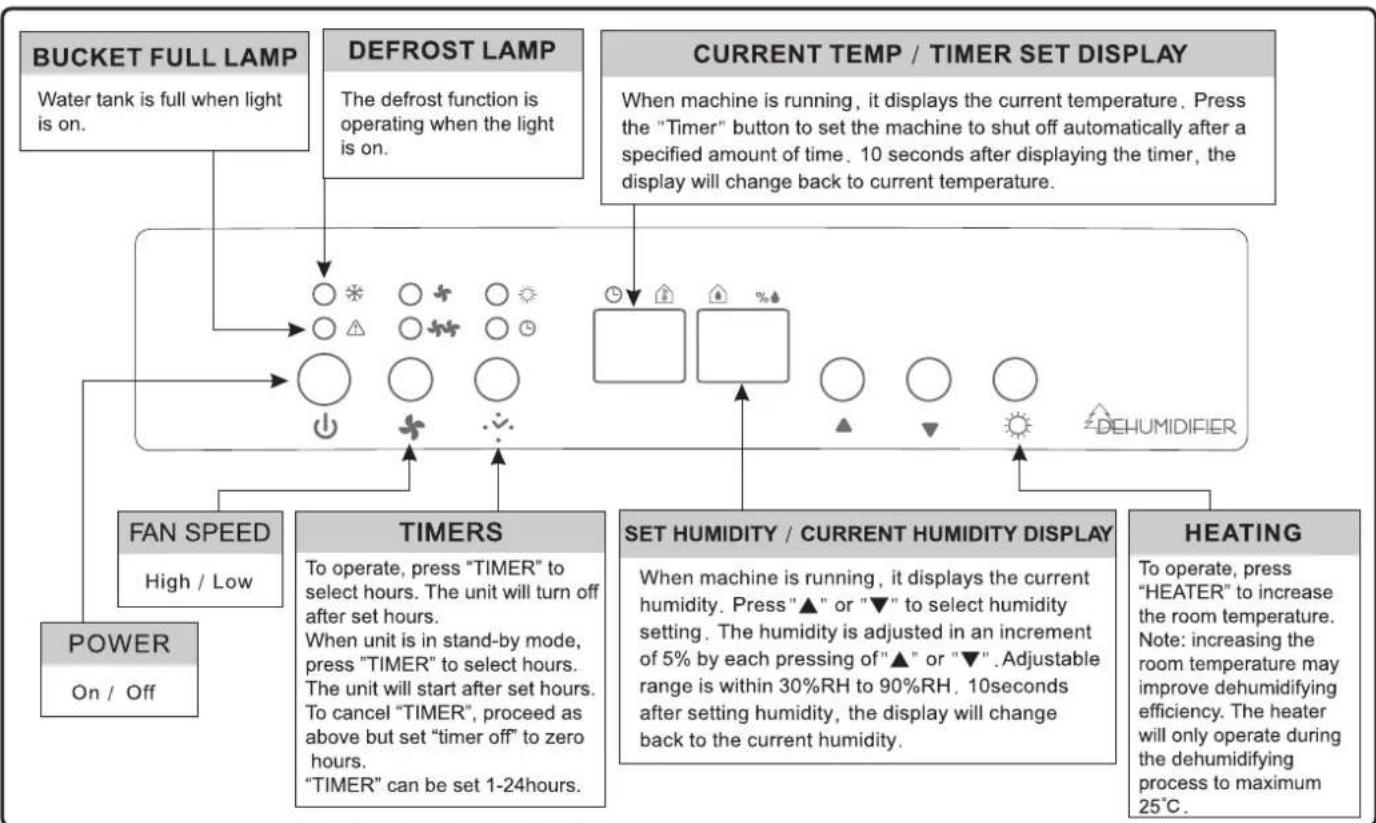
FUNCTION EXPLANATION
flowchart
graph TD
A["Bucket FULL LAMP"] --> B["Water tank is full when light is on."]
C["DEFROST LAMP"] --> D["The defrost function is operating when the light is on."]
E["CURRENT TEMP / TIMER SET DISPLAY"] --> F["When machine is running, it displays the current temperature. Press the "Timer" button to set the machine to shut off automatically after a specified amount of time. 10 seconds after displaying the timer, the display will change back to current temperature."]
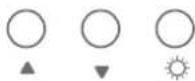
G["FAN SPEED"] --> H["High / Low"]
I["TIMERS"] --> J["To operate, press "TIMER" to select hours. The unit will turn off after set hours. When unit is in stand-by mode, press "TIMER" to select hours. The unit will start after set hours. To cancel "TIMER", proceed as above but set "timer off" to zero hours. "TIMER" can be set 1-24hours."]
K["SET HUMIDITY / CURRENT HUMIDITY DISPLAY"] --> L["When machine is running, it displays the current humidity. Press "▲" or "▼" to select humidity setting. The humidity is adjusted in an increment of 5% by each pressing of "▲" or "▼". Adjustable range is within 30%RH to 90%RH, 10seconds after setting humidity, the display will change back to the current humidity."]
M["HEATING"] --> N["To operate, press "HEATER" to increase the room temperature. Note: increasing the room temperature may improve dehumidifying efficiency. The heater will only operate during the dehumidifying process to maximum 25°C."]
O["POWER"] --> P["On / Off"]
OPERATING INSTRUCTIONS
- Start Operation
1) Place the product dehumidifier in an upright position on a flat, stable, heat resistant surface. Make sure there is nothing flammable or heat sensitive within 100 cm.
2) Insert the dehumidifier's power plug into a suitable wall socket with electricity supply the same voltage depicted on the unit's rear rating label.
3) Ensure the water tank is inserted correctly into the body of the dehumidifier. Note: if the "Bucket Full" light illuminates when turning it on for the first time, just pull out the water tank, check that the "Float" lever moves freely, then return the water tank into the correct inserted position.
DEHUMIDIFIER
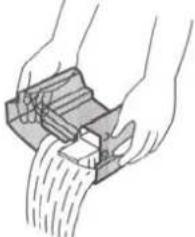
● When Bucket Full Lamp Is On
When the water tank is full the machine will stop and the "Bucket Full" light will illuminate. The water tank should be carefully removed from the machine by sliding it outwards from the front of the machine and it should be emptied. When the empty tank is replaced properly into the machine, the machine will start up and run normally.
natural_image
Illustration of hands using a mechanical device to lift a curved surface (no text or symbols visible)Please use both hands to carefully empty the water tank.
DEFROST
When operating in low temperatures the surface of the dehumidifier's coil/evaporator may accumulate frost/ice and affect the efficiency of the dehumidifier. When this happens the machine will go into periodic defrost mode automatically. This is quite normal.
The “Defrost” lamp ✦ will come on, the compressor will cease operating and the fan will continue to operate until the frost/ice has thawed. As soon as the frost/ice has melted, the compressor will restart and continue the dehumidifying process. Defrost time will vary depending on room temperature and humidity.
The dehumidifier should not be used below 5^ C. If the dehumidifier freezes up, turn the machine off for a few hours before restarting.
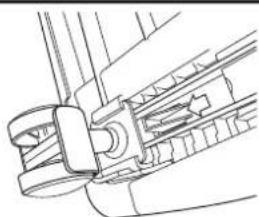
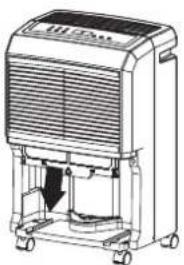
CASTOR INSTALLATION
Castor wheel installation is recommended to avoid damage to floors.
- Remove the castor wheels from the water tank/bucket of the dehumidifier.
- Position the dehumidifier on its side.
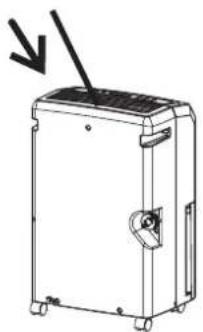
- Locate the arrow on the bottom of the dehumidifier and insert a castor wheel according to the arrow direction.
- Slide the castor wheel in as far as it will go. It will click into place.
- Repeat steps 3-4 for the other castor wheels.
natural_image
Technical line drawing of a mechanical assembly with no visible text or symbolsCONTINUOUS DRAINAGE
The continuous drainage function can be started in the following steps when there is suitable conditions for drainage near the dehumidifier.
| 1. To save having to periodically empty the water tank, this unit can be configured for continuous drainage. You can use the supplied drain hose to connect to the continuous drainage connector. | 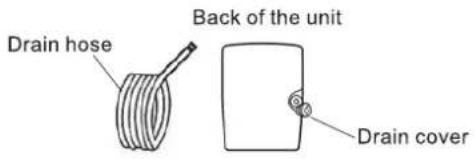 |
| 2. Unscrew and remove the drain cover at the rear of the unit.3. Remove the soft rubber stopper. Put it into the water tank for safe keeping. | 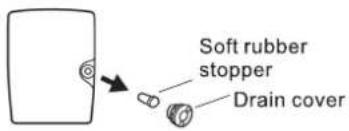 |
| 4. Insert the drain hose through the hole of the drain cover. | 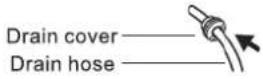 |
| 5. Connect the drain hose to the drain port. | 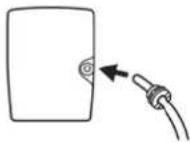 |
| 6. Tighten the drain cover in clockwise direction onto the rear of the unit. | 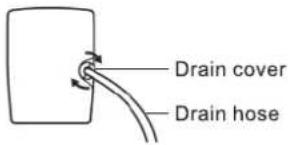 |
| 7. Place the bucket on its original location. | 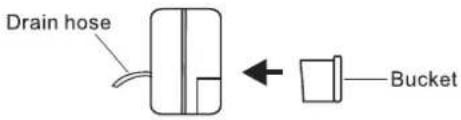 |
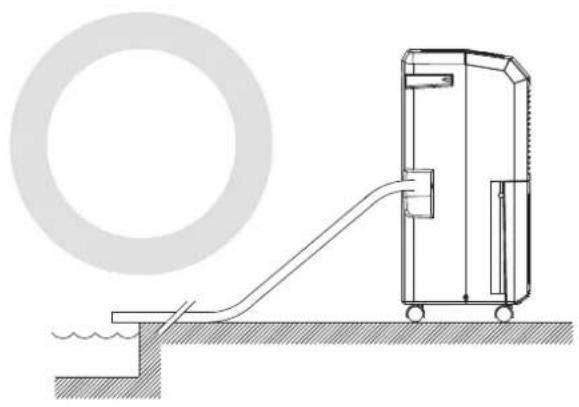
INSTALLING DRAINAGE PVC HOSE
When using the continuous drainage function, the PVC hose must be placed horizontally below the level of the drainage hole. Avoid uneven floor surface and kinking the drainage hose.
natural_image
Technical line drawing of a mechanical device connected to a circular component, with no visible text or symbols.
natural_image
Diagram of a water pump system with a valve and pipe, no text or symbols present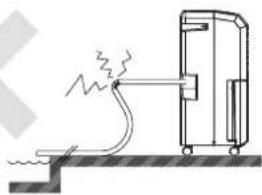
natural_image
Simple line drawing of a mechanical device emitting smoke or heat, with no text or symbols present.- Do not pull the power cord to avoid breaking it and creating danger.
- Do not place the machine on uneven surface to avoid vibration, excessive noise and possible water leakage.
natural_image
Line drawing of a portable air purifier with control panel and wheels (no text or symbols)● It is dangerous to put anything into the machine.
natural_image
Line drawing of a mechanical device with a downward arrow indicating direction (no text or symbols)- Keep the machine away from any type of heat sources.
natural_image
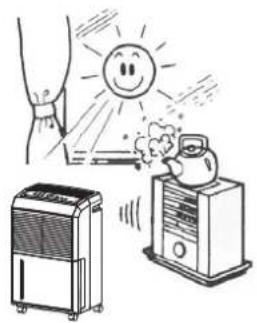
Illustration of a sun heating system with a hand spraying water, a refrigerator, and an air conditioner (no text or symbols)- Do not use insect, oil or paint spray around the machine, it might cause damage to the plastic parts or start a fire.

natural_image
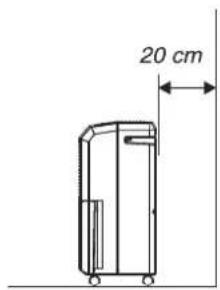
Illustration of a spray gun emitting exhaust smoke next to an air purifier unit (no text or symbols)● Always keep the unit 20 cm away from the wall to dissipate the heat properly.
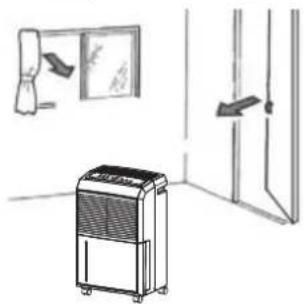
- Close all the open windows to reach the maximum possible efficiency of removing moisture.
natural_image
Line drawing of an air purifier in a room with a wall-mounted door and a hanging door (no text or symbols)● Lift, carry and move the dehumidifier in an upright position and avoid any excessive shaking.
natural_image
Pure technical line drawing of a mechanical component without any text, numbers, or symbolsFor safety reasons, make sure the dehumidifier is unplugged before servicing or cleaning the machine.
1) Cleaning the shell
A. Wipe the shell with a clean, soft cloth.
B. If the dehumidifier is very dirty, use mild detergent then wipe off the detergent with semi dried cloth.
C. Do not wash the machine with a hose or immerse it in water.
2) Cleaning the air filter
The air filter filtrates the dust and impurities in the air. For optimum dehumidifying efficiency clean the air filter every two weeks or as required.
- Cleaning Steps :
A. Pull the air filter out gently.
natural_image
Line drawing of a portable air purifier with control panel and wheels (no text or symbols)B. Clean the filter with a vacuum cleaner or wash it with clean water and dry with a dry cloth.
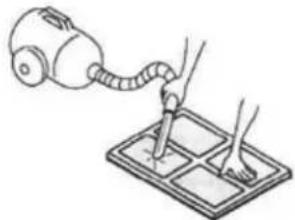
natural_image
Illustration of a hand using a vacuum cleaner to clean or brush on a grid-patterned surface (no text or symbols)C. Put the clean air filter back in place and continue to operate the dehumidifier.
EMERGENCY
If a problem occurs, switch off and unplug the unit immediately. For all troubleshooting please contact Ausclimate (www.ausclimate.com.au) and for you own safety do not disassemble the dehumidifier.
SPECIFICATION
| MODEL | WDH-930EDH |
| POWER | 220-240V~50Hz |
| MOISTURE REMOVAL | 20 L/D (27°C 60%RH)35 L/D (30°C 80%RH) |
| POWER INPUT | 520W/1100W(Heating) |
| SIZE OF SHELL(W*H*D) | 340*545*250 mm |
| WEIGHT | 13.8 kg |
| OPERATINGTEMPERATURE | 5°C~32°C |
(EU) No. 517/2014:
Do not vent R-410A into atmosphere: R-410A is a fluorinated greenhouse gas, covered by Kyoto Protocol, with a Global Warming Potential (GWP) = 2088.
- If the power cord on this unit is damaged it must be replaced by the manufacturer, its service agent or qualified persons in order to avoid a hazard.
- This appliance is not intended for use by children or other persons without assistance or supervision if their physical, sensory or mental capabilities prevent them from using it safely. Children should be supervised to ensure that they do not play with the appliance.
Waste electrical products should not be disposed of with household waste. Please recycle where facilities exist. Check with your local authority or retailer for recycling advice.
Proudly distributed by Ausclimate Pty Ltd
For all enquiries and contact details please visit our website: