
SC4020 - Disk array DELL - Free user manual and instructions
Find the device manual for free SC4020 DELL in PDF.


| Product Type | Disk Array (Storage Enclosure) |
| Brand | Dell |
| Model | SC4020 |
| Form Factor | 2U Rackmount |
| Dimensions (HxWxD) | 3.5 in. (8.9 cm) x 17.0 in. (43.2 cm) x 19.5 in. (49.5 cm) |
| Weight (fully loaded) | Approximately 62 lb (28 kg) |
| Power Supply | Dual hot-plug, 100-240 V AC, 50/60 Hz, 750W each |
| Drive Bays | 12 x 3.5-inch SAS/SATA (expandable via enclosures) |
| Supported Drives | SAS, SATA, SSD (mixed configurations) |
| Controller | Dual active controllers with SAS expansion ports |
| Management | Web-based GUI, CLI, Dell Storage Manager |
| RAID Support | RAID 0, 1, 5, 6, 10, 50, 60 |
| Cooling | Hot-plug redundant fans |
| Operating Temperature | 10°C to 35°C (50°F to 95°F) |
| Storage Temperature | -40°C to 65°C (-40°F to 149°F) |
| Humidity (operating) | 10% to 80% non-condensing |
| Safety Certifications | UL, CSA, CE, FCC, VCCI, C-Tick, BSMI |
| Warranty | 3 years hardware warranty (optional extensions available) |
| Spare Parts | Hot-swap drives, PSU, fan modules, controllers |
| Installation | Rack-mountable with included rails; requires screwdriver for mounting |
Frequently Asked Questions - SC4020 DELL
User questions about SC4020 DELL
0 question about this device. Answer the ones you know or ask your own.
Ask a new question about this device
Download the instructions for your Disk array in PDF format for free! Find your manual SC4020 - DELL and take your electronic device back in hand. On this page are published all the documents necessary for the use of your device. SC4020 by DELL.
USER MANUAL SC4020 DELL
natural_image
Illustration of a vacuum cleaner with two wheels and ventilation slots (no text or symbols)* Before operating this unit, please read the instructions carefully.
* For indoor use only.
Register your product at www.samsung.com/global/register
IMPORTANT SAFEGUARDS
-
Read all instructions carefully. Before switching on, make sure that the voltage of your electricity supply is the same as that indicated on the rating plate on the bottom of the cleaner.
-
WARNING: Do not use the vacuum cleaner when rug or floor is wet. Do not use to suck up water.
-
This appliance is not intended for use by young persons or infirm persons without supervision unless they have been adequately supervised by a responsible person to ensure that they can use the appliance safely. Young children should be supervised to ensure that they do not play with the appliance.
-
Do not use the vacuum cleaner without a dust bag. Replace the dust bag before it is full in order to maintain the best efficiency.
-
Do not use the vacuum cleaner to pick up matches, live ashes or cigarette butts. Keep the vacuum cleaner away from stoves and other heat sources. Heat can deform and discolour the plastic parts of the unit.
-
Avoid picking up hard, sharp objects with the vacuum cleaner as they may damage the cleaner parts. Do not stand on the hose assembly. Do not put a weight on the hose. Do not block the suction or the exhaustion part.
-
Switch the vacuum cleaner off at the machine before unplugging from the electrical outlet. Do not pull on the cord to disconnect the plug from the electrical outlet. Ensure that it is disconnected before attending to the filter.
-
The plug must be removed from the socket outlet before cleaning or maintaining the appliance.
-
The use of an extension cord is not recommended.
-
If your vacuum cleaner is not operating correctly, switch off the power supply and consult an authorized service agent.
-
If the supply cord is damaged, it must be replaced by the manufacturer or its service agent or a similarly qualified person in order to avoid a hazard.
-
The vacuum cleaner is provided with a self-resetting thermal cut-out which automatically shuts off on over-heating. Overheating can be caused by blockage in the filter, nozzle, tube or hose. After removing the cause and allowing the motor to cool, the vacuum cleaner will automatically restart.
1 ASSEMBLING THE CLEANER
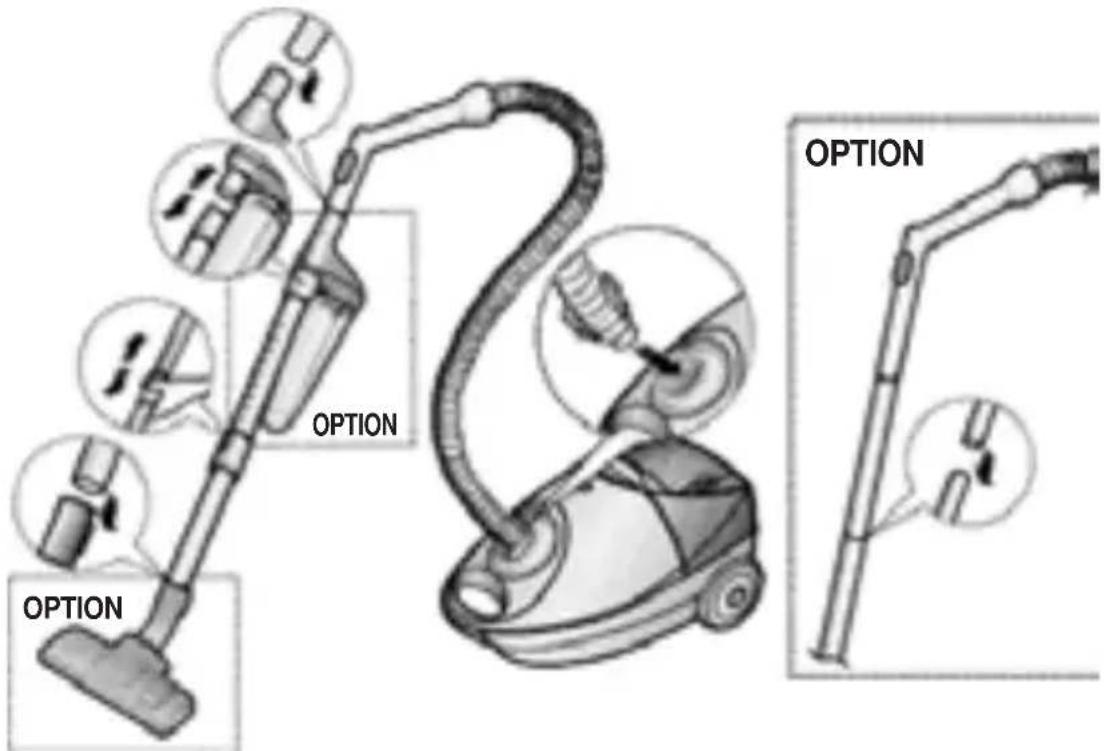
▶ Features may vary according to model.
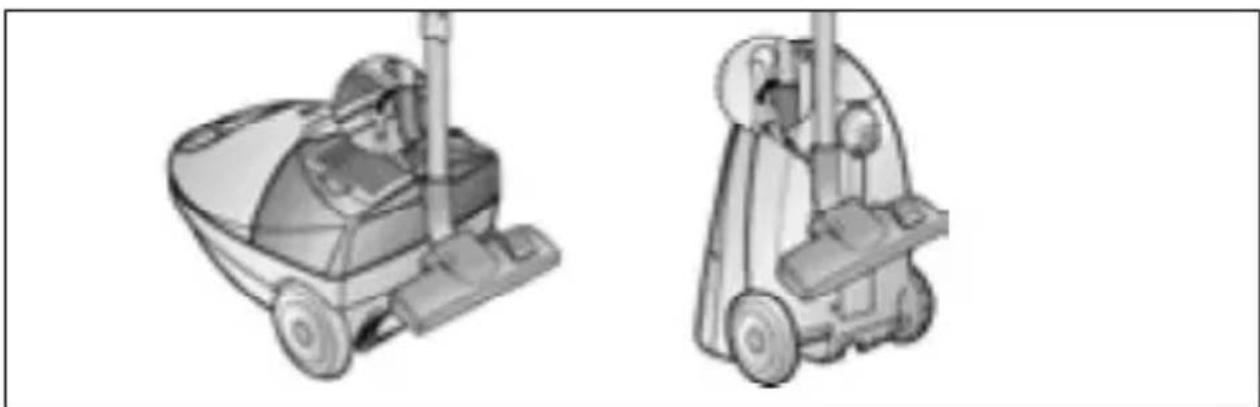
natural_image
Two grayscale illustrations of a vacuum cleaner, one with handle and wheels, the other with front-mounted device (no text or symbols)▶ For storage, park the floor nozzle.
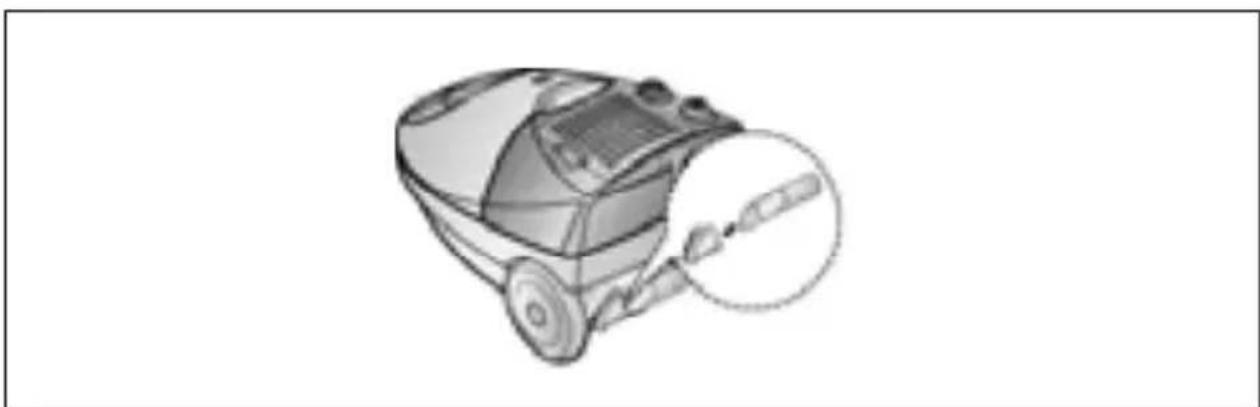
natural_image
Line drawing of a vacuum cleaner with a magnified inset showing the blade and handle (no text or symbols)▶ Tool storage
natural_image
Illustration of a hand holding a small circular device with a button, next to a robotic vacuum cleaner (no text or symbols)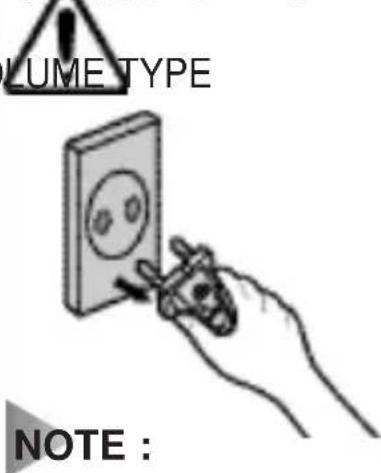
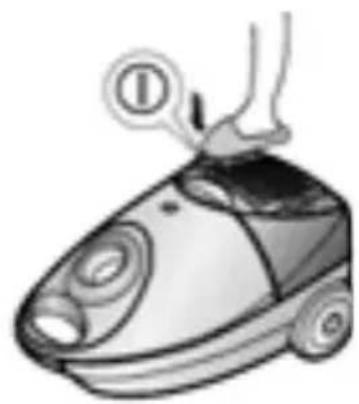
natural_image
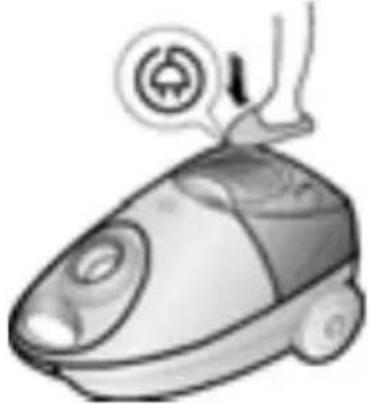
Illustration of a hand holding a small robotic vacuum cleaner with a circular label (no text or symbols on the device itself)- ON/OFF TYPE - ON/OFFgTYPE the
natural_image
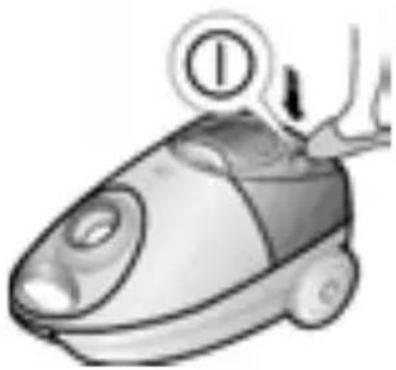
Illustration of a hand holding a small vacuum cleaner with a circular button symbol (no text or labels)socket, please take care to grasp the plug, not the cord in order to avoid undue stress.
natural_image
Illustration of a small vacuum cleaner with a circular button labeled '①' (no text or symbols on the device itself)2-3 POWER CONTROL(VOLUME TYPE ONLY)
MIN = For delicate fabrics, e.g. net curtains.
MAX = For hard floors and heavily soiled carpets.
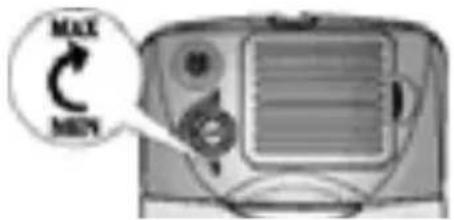
2-4 SUCTION CONTROL
To reduce suction for cleaning draper small rugs and other light fabrics, slide the air vent until the hole is open.
natural_image
Simple line drawing of a curved pipe or tube with a looped end (no text or symbols)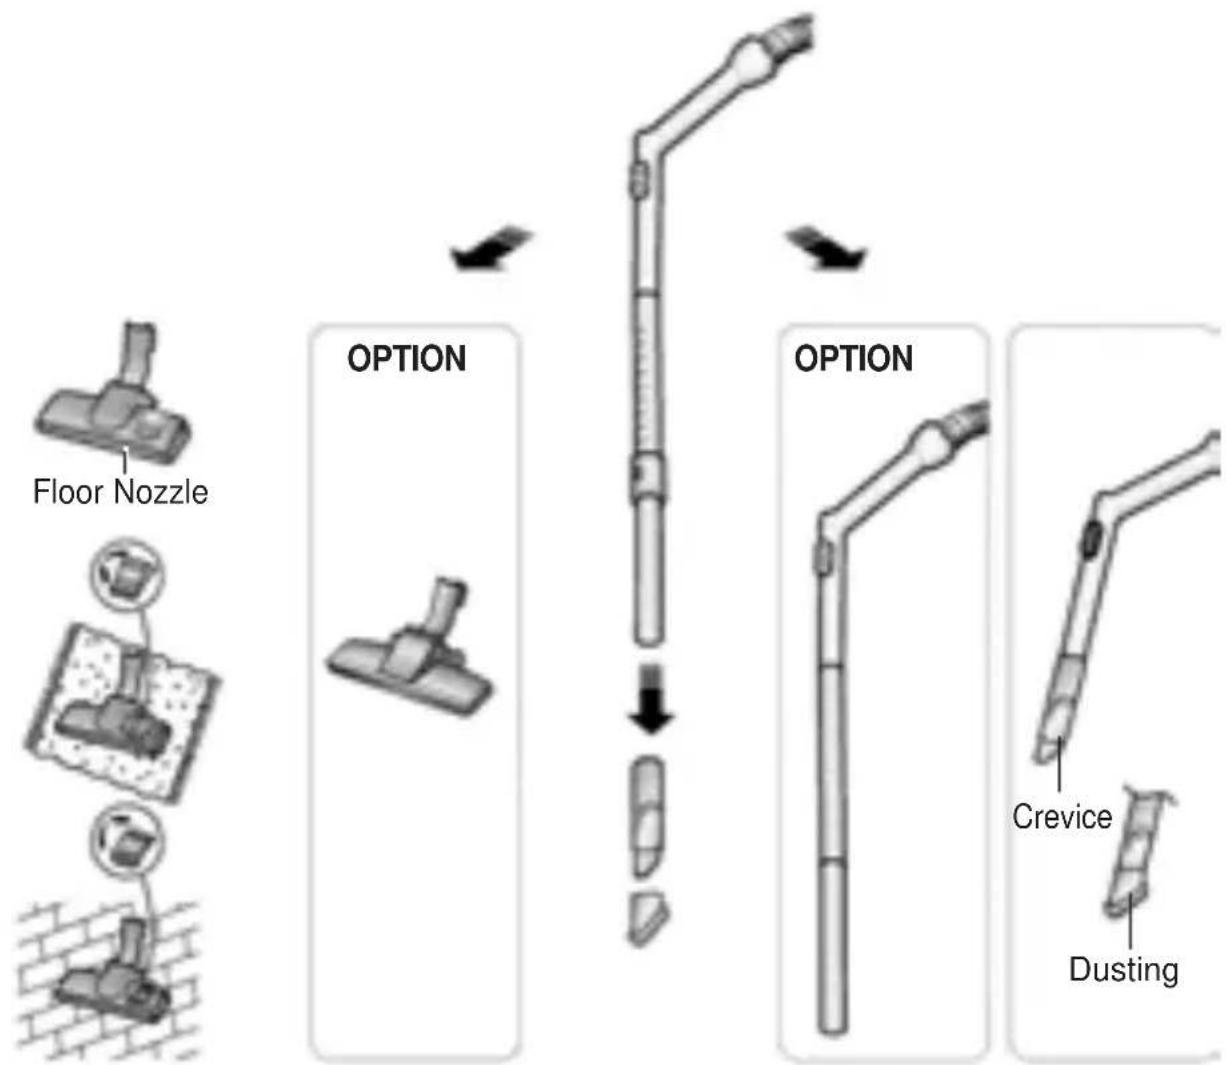
flowchart
graph TD
    A["Floor Nozzle"] --> B["UP"]
    B --> C["UP"]
    C --> D["UP"]
    D --> E["Dusting"]
    style A fill:#f9f,stroke:#333
    style B fill:#ccf,stroke:#333
    style C fill:#cfc,stroke:#333
    style D fill:#fcc,stroke:#333
    style E fill:#cff,stroke:#333
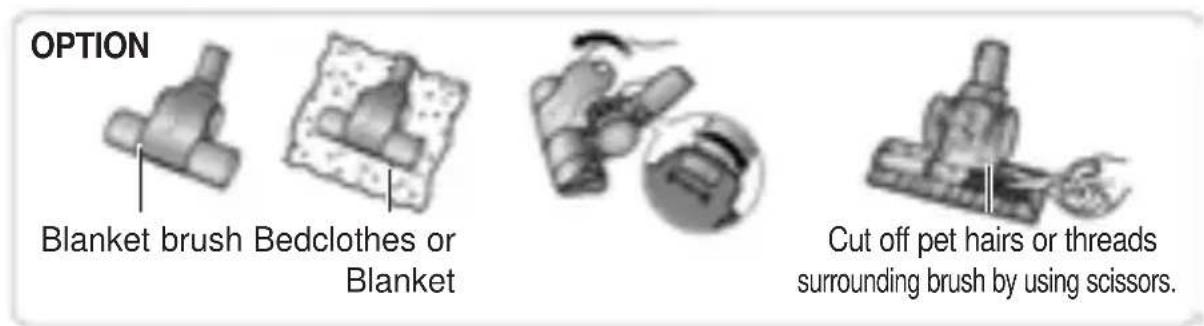
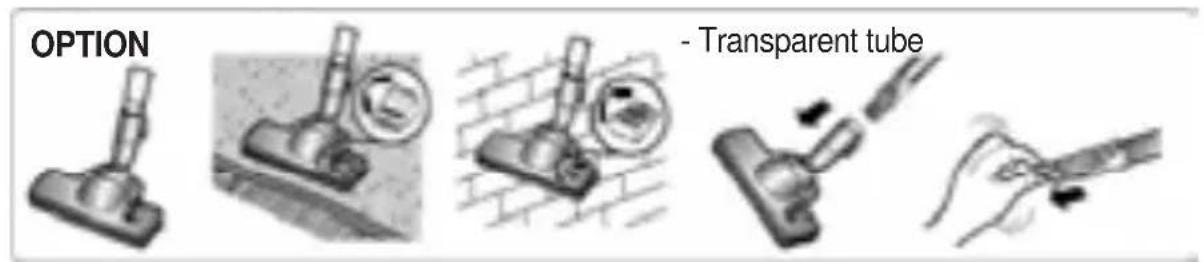
▶ Features may vary according to model.
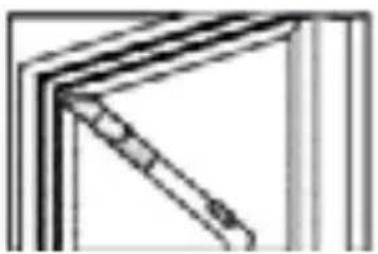
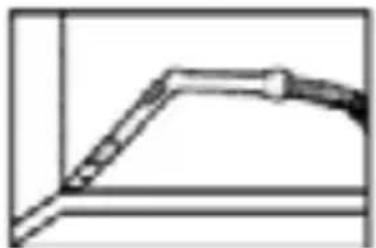
DUSTING BRUSH CREVICE TOOL
natural_image
Pure geometric line drawing of a corner joint or bracket (no text or symbols)- Dusting brush for furniture. shelves, books, etc.
natural_image
Pure technical line drawing of a mechanical component without any text or symbols- Crevice tool for radiators, crevices, corners, between cushions.
natural_image
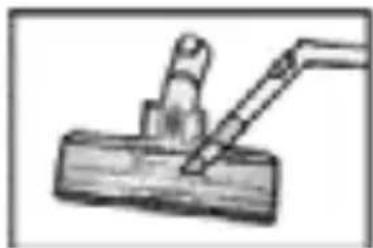
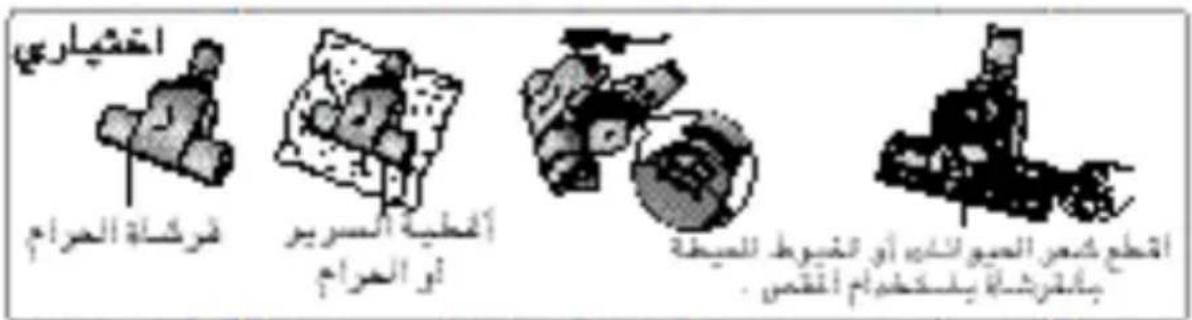
Simple line drawing of a tool interacting with a rectangular object (no text or symbols)- For efficiency. clean Floor Nozzle with Crevice Tool.
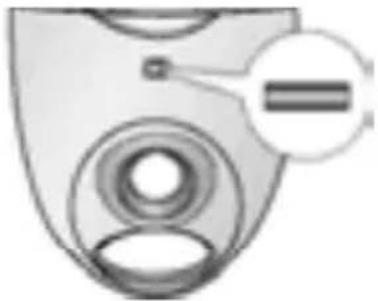
3 INDICATOR LIGHTS
natural_image
Close-up of a mechanical component with concentric rings and a circular annotation (no visible text or symbols)When the indicator color has changed Please replace the dust bag.
3-1 CHANGING THE DUST BAG
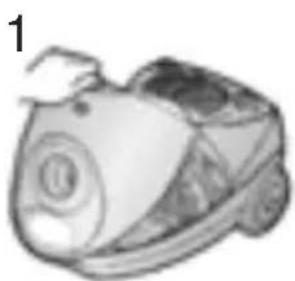
natural_image
Illustration of a small robotic vacuum cleaner (no text or symbols visible)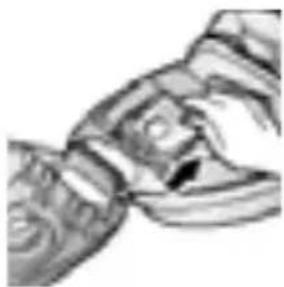
natural_image
Close-up of a textured, curved surface with no visible text or symbols3

natural_image
Illustration of a hand pouring liquid into a container (no text or symbols)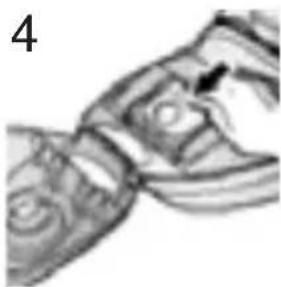
natural_image
Close-up of a textured, curved surface with no visible text or symbols3-2 FOR CLOTH BAG (OPTION)
After using, if the cloth bag is full of dust, clean the cloth bag and use it again.
WARNING : Please do not attempt to operate the cleaner without a dust bag fitted.
4 CLEANING THE INLET FILTER
1
natural_image
Illustration of a stylized fish head (no text or symbols)2
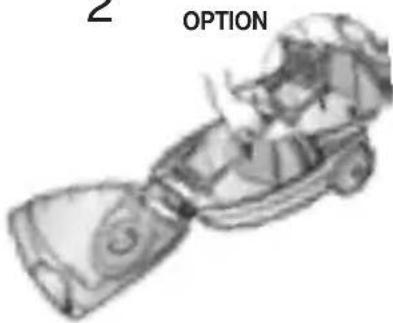
3
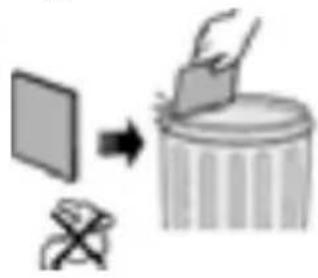
natural_image
Diagram showing a computer monitor and a hand placing a paper into a cylindrical container (no text or symbols)4
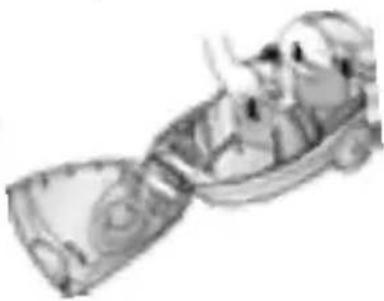
natural_image
Illustration of a person riding a car (no text or symbols visible)NOTE: Do not allow the filter to become clogged as this may cause power reduction or may damage the motor.
5 OUTLET FILTER(VOLUME TYPE ONLY)
1
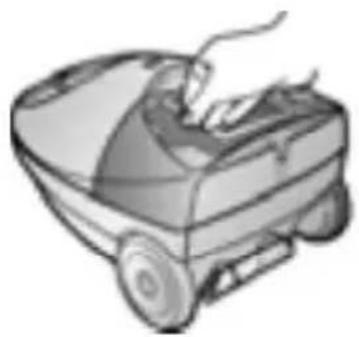
natural_image
Illustration of a car with visible wheels and a handle, no text or symbols present2
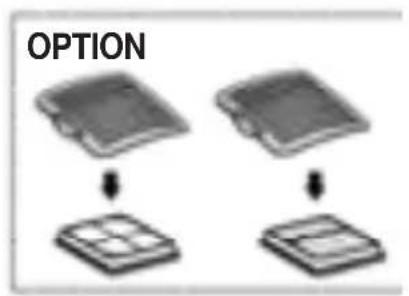
flowchart
graph TD
    A["Option 1"] --> C["Output Block"]
    B["Option 2"] --> D["Output Block"]
6 CYCLONIC FILTER(ONLY CYCLONIC FILTER TYPES)
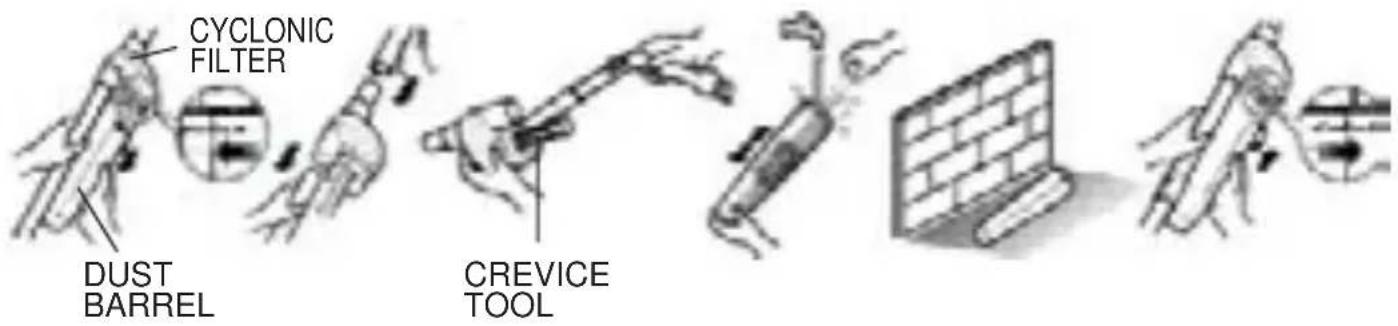
You can use a dust bag in your cleaner for a long time thanks to the Cyclonic Filter system and it maintain the maximum cleaning efficiency.
The larger particle of dust filtered from Cyclonic Filter remain in Dust Barrel when suctioned air and dust revolves in the Cyclonic Filter. So the dust bag contains only smaller ones.
When the Dust Barrel is filled with dust up to the indicating line, it needs disposing and cleaning.
Dust Barrel can be cleaned in water.
- Turn the Dust Barrel to the left and pull it.
-
Disconnect the Cyclonic Filter from extension wand and handle.
-
Remove thread and hair tangled around the net.
-
After cleaning the Dust Barrel and Cyclonic Filter, connect the Cyclonic Filter with extension wand and handle (washed part should be dried in the shade thoroughly before assembling).
-
Push and turn the Dust Barrel to the right. Adjust indicating marks each other carved on Dust Barrel and Cyclonic Filter.
- IF YOU HAVE A PROBLEM
| PROBLEM CAUSE REMEDY | ||
| Motor does not start. | No power supply. Thermal cut-out. | Check cable, plug and socket.Leave to cool. |
| Suction force is gradually decreasing. | Nozzle, suction hose or tube is blocked. | Remove the object. |
| Cord does not rewind fully. | Check that the cord is not twisted or wound unevenly. | Pull the cord out 2-3m and push down the cord rewind button. |
| Vacuum cleaner does not pick up dirt. | Crack or hole in hose. | Check hose and replace if required. |
تعليمات التشفيل

المكنسة الكهربائية
natural_image
Illustration of a small robotic vacuum cleaner (no text or symbols)natural_image
Illustration of a small industrial machine with a handle and circular component (no text or symbols)natural_image
Illustration of a small robotic device with a circular component and handle (no text or symbols)natural_image
Illustration of a car with a circular emblem and a hand gesture (no text or symbols)natural_image
Illustration of a small industrial vacuum cleaner with a circular component above it (no text or symbols visible)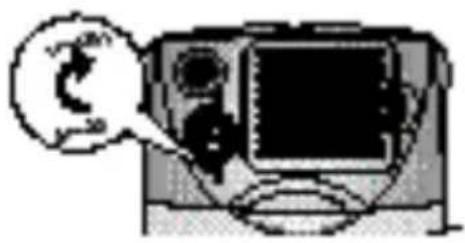
natural_image
Illustration of a vintage camera with a globe icon and screen (no text or symbols)natural_image
Simple line drawing of a curved mechanical arm or linkage (no text or symbols)J-Σ التبكم في الشقط
natural_image
Two technical illustrations of a mechanical device, one with a tool and the other with a load mechanism (no text or symbols visible)natural_image
Illustration of a car with a magnified inset showing the wheel (no text or symbols)خزان الأدوات
أربة ذات شلوق
natural_image
Simple line drawing of a mechanical device with a lever and base (no text or symbols)natural_image
Simple line drawing of a mechanical joint or bracket (no text or symbols)natural_image
Pure mechanical assembly diagram without any text, numbers, or symbolsnatural_image
Pure mechanical component diagram without any text, numbers, or symbolsflowchart
graph TD
    A[" exhaust 0-1: 我道 exhaust"] --> B[" exhaust 1: 燃气"]
    B --> C[" exhaust 2: 燃气"]
    C --> D[" exhaust 3: 燃气"]
    D --> E[" exhaust 4: 燃气"]
    E --> F[" exhaust 5: 燃气"]
    F --> G[" exhaust 6: 燃气"]
    G --> H[" exhaust 7: 燃气"]
    H --> I[" exhaust 8: 燃气"]
    I --> J[" exhaust 9: 燃气"]
    J --> K[" exhaust 10: 燃气"]
natural_image
Illustration of a car interior with visible engine compartment and dashboard (no text or symbols)DJ68-00287L REV(0.2)
Brand : DELL
Model : SC4020
Category : Disk array