
CB8 - Lautsprecher MONITOR AUDIO - Kostenlose Bedienungsanleitung
Finden Sie kostenlos die Bedienungsanleitung des Geräts CB8 MONITOR AUDIO als PDF.


| Produkttyp | Einbaulautsprecher (In-Wall/In-Ceiling) |
| Marke | Monitor Audio |
| Modell | CB8 |
| Kategorie | Haut-parleur (Lautsprecher) |
| Treibergröße | 8 Zoll (20 cm) |
| Frequenzgang | 35 Hz – 30 kHz |
| Empfindlichkeit | 90 dB (1 W/1 m) |
| Impedanz | 8 Ohm |
| Belastbarkeit (RMS) | 150 W |
| Einbauort | Wand oder Decke |
| Montageart | Vorbaubügel (Pre-Construction Bracket) |
| Gehäusematerial | Polymerrahmen mit Metallflügeln |
| Abmessungen (B x H x T) | ca. 300 x 200 x 100 mm (Schätzung) |
| Gewicht | ca. 1,5 kg (Schätzung) |
| Farbe | Weiß (Standard) |
| Garantie | 5 Jahre (Herstellergarantie) |
| Lieferumfang | Lautsprecher, Vorbaubügel, Montageanleitung |
| Reinigung | Mit einem trockenen, weichen Tuch abwischen |
| Sicherheitshinweise | Installation nur durch qualifiziertes Personal |
| Reparatur | Ersatzteile über den Fachhandel erhältlich |
Häufig gestellte Fragen - CB8 MONITOR AUDIO
Benutzerfragen zu CB8 MONITOR AUDIO
0 Frage zu diesem Gerät. Beantworten Sie die, die Sie kennen, oder stellen Sie Ihre eigene.
Eine neue Frage zu diesem Gerät stellen
Laden Sie die Anleitung für Ihr Lautsprecher kostenlos im PDF-Format! Finden Sie Ihr Handbuch CB8 - MONITOR AUDIO und nehmen Sie Ihr elektronisches Gerät wieder in die Hand. Auf dieser Seite sind alle Dokumente veröffentlicht, die für die Verwendung Ihres Geräts notwendig sind. CB8 von der Marke MONITOR AUDIO.
BEDIENUNGSANLEITUNG CB8 MONITOR AUDIO
(Ω) MONITOR AUDIO
PRE CONSTRUCTION BRACKET
Pre-Construction Bracket Installation Instructions.
The following product is meant solely for the purpose described and the installation should be carried out by qualified personnel only.
The Monitor Audio pre-construction brackets are designed with the professional installers in mind. They will provide a quick and easy way of locating the desired position of the Monitor Audio custom install loudspeakers.
In Wall
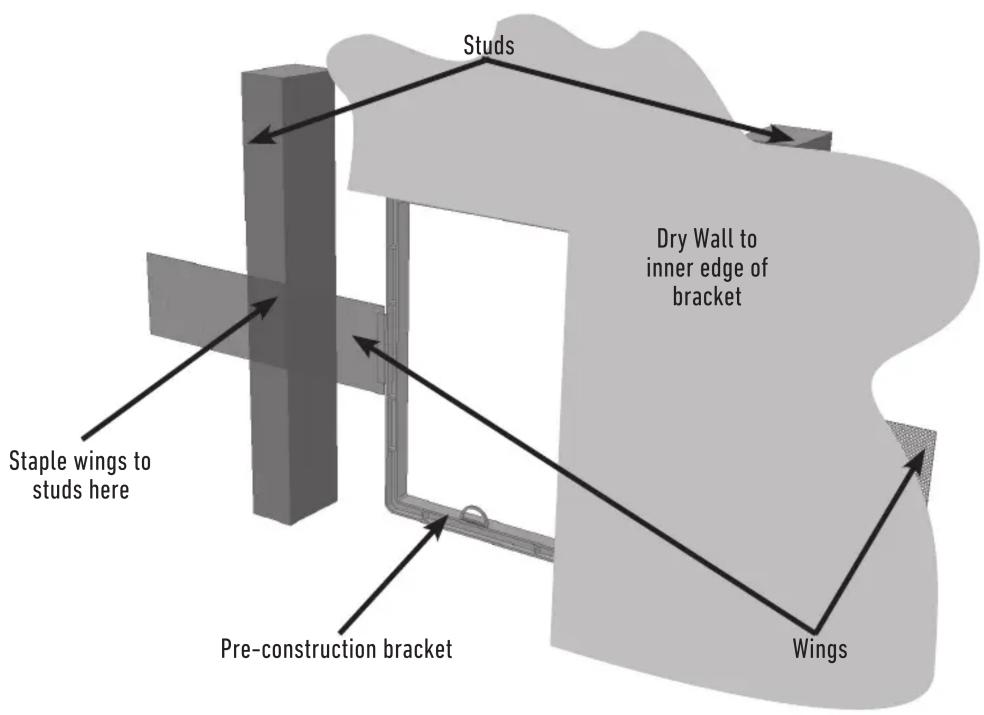
In Ceiling
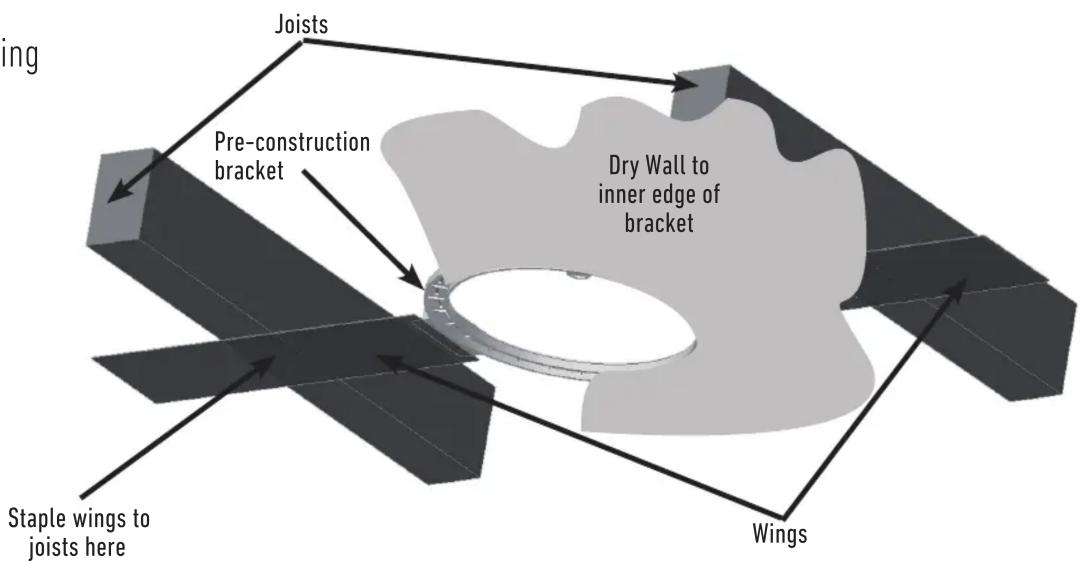
Pre-Construction Bracket Installations Steps:
- Decide location of speaker (s).
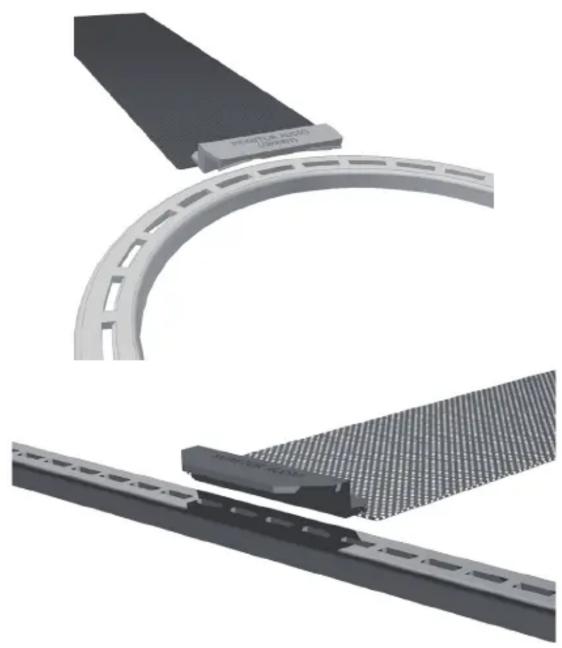
- Clip fixing wings into place in convenient location around the polymer frame to suit the joists.
NOTE: Ensure the clips of the wings are fixed securely. There should be no gap around the outside of the wing where it joins the bracket. If there is a gap, this is a sure sign one of the clips is not in correctly.
natural_image
3D rendering of mechanical components including a curved bracket, meshed plate, and rectangular base (no text or symbols visible)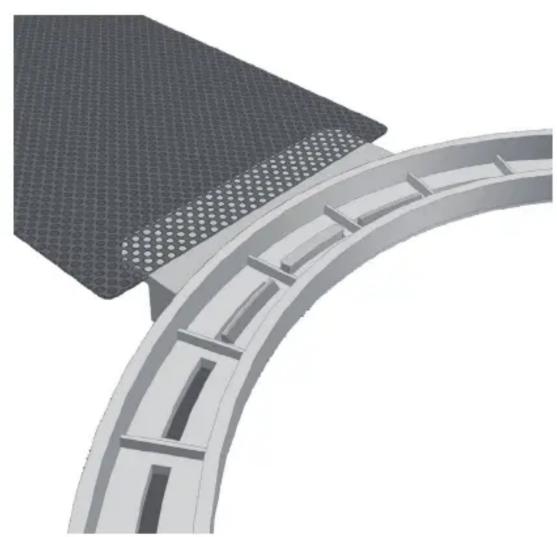
natural_image
3D rendering of a curved road with grid pattern and mesh cover (no text or symbols)Alternative fixing arrangements are possible:
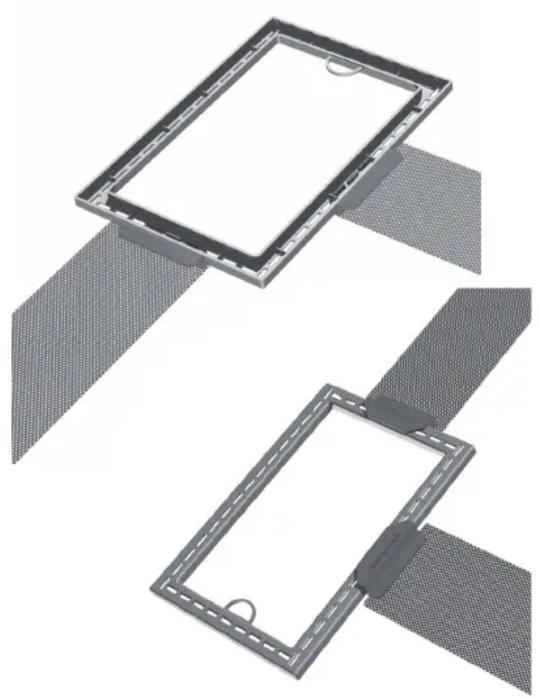
natural_image
Diagram of two rectangular metal panels with mesh patterns, no text or symbols present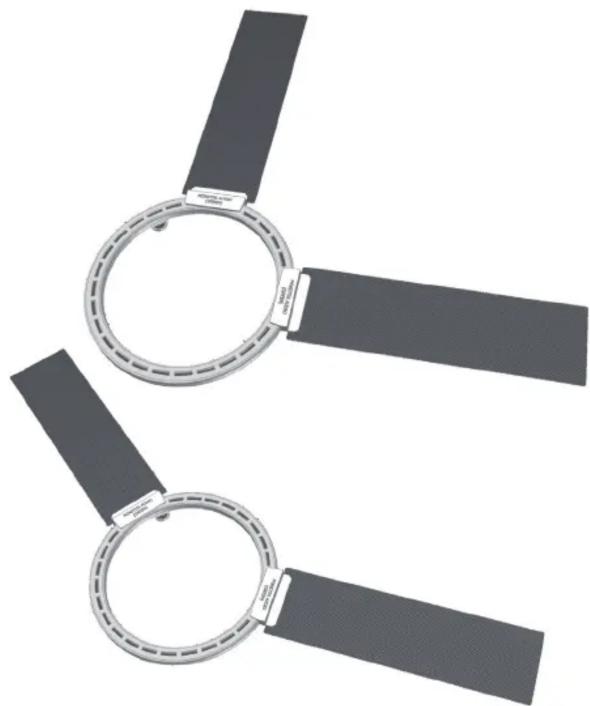
natural_image
Two circular mechanical components with black bands, no visible text or symbols- Staple fixing wings to joists/ studs. Ensure the Monitor Audio and colour text on the wings face away from you when fastening.
- Cable tie/ zip tie the speaker cable to the loop provided inside the moulding. Snap the loop off when installing speaker.
- Fix plaster board/ dry wall.
- Cut hole using INNER edges as cutting reference. DO NOT CUT TO THE OUTER EDGES OF THE BRACKET.

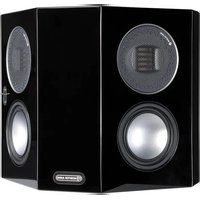
Marke : MONITOR AUDIO
Modell : CB8
Kategorie : Lautsprecher