63QUE - Lautsprecher James - Kostenlose Bedienungsanleitung
Finden Sie kostenlos die Bedienungsanleitung des Geräts 63QUE James als PDF.


Benutzerfragen zu 63QUE James
0 Frage zu diesem Gerät. Beantworten Sie die, die Sie kennen, oder stellen Sie Ihre eigene.
Eine neue Frage zu diesem Gerät stellen
Laden Sie die Anleitung für Ihr Lautsprecher kostenlos im PDF-Format! Finden Sie Ihr Handbuch 63QUE - James und nehmen Sie Ihr elektronisches Gerät wieder in die Hand. Auf dieser Seite sind alle Dokumente veröffentlicht, die für die Verwendung Ihres Geräts notwendig sind. 63QUE von der Marke James.
BEDIENUNGSANLEITUNG 63QUE James
PAINTABLE GRILLE INSTRUCTIONS
Many of our speaker grilles rely on adhesive to keep them in-place. This adhesive must be applied after painting of the grilles is completed, for this reason the adhesive is shipped unapplied when paintable grilles are specified in the order.
There are two types of paintable grilles currently supplied by James Loudspeaker. The supplied grille type depends on the product ordered. For example, if you've ordered from the SXC, QXC, QX, and SLT series you'll receive a grille and a grille frame with snap connections (grille pins) or magnets. If you've ordered from the FXA, FXC, FXCQ, OW, UE, SA, Wedge or the SPL series, then you'll receive a grille that uses strips of foam with adhesive on the back. These foam pads apply consistent pressure to keep the grille in place. Instructions on how to install both grille types can be found below:
I
natural_image
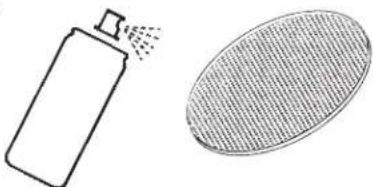
Simple line drawings of a spray bottle and a textured oval object (no text or symbols)Once received the grille can be painted to better match the installation environment.
2
natural_image
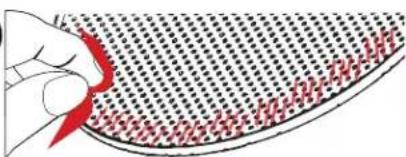
Illustration of a hand holding a red ribbon over a textured surface (no text or symbols)After the paint has completely dried, sand to roughen the areas where the adhesive is to be applied. For grills with a grille frame, sand the underside of the grille about 1-inch in from the outer diameter of the grille. For grilles without a grille frame sand the entire raised lip of the grille.
3
natural_image
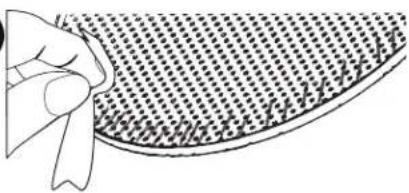
Line drawing of a hand holding a textured circular object with a visible texture pattern (no text or symbols)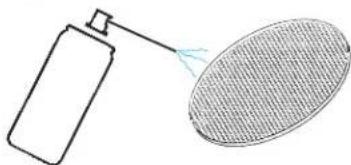
natural_image
Simple line drawing of a spray bottle connected to a textured circular object (no text or symbols)Once the sanding has been completed, use a lint-free cloth or compressed air to clean the sanded surface.
4A
natural_image
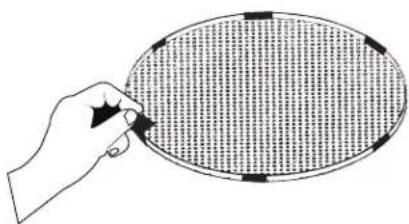
Hand holding a circular filter or grating with grid pattern (no text or symbols)If supplied with foam adhesive, evenly line the edges of the grille, as shown above, with the foam making sure to fold the excess toward the back of the grille to avoid the foam from showing on then front when installed.
4B
text_image
Grille Frame ②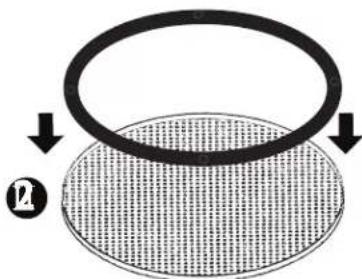
natural_image
Diagram showing a circular ring with arrows pointing downward on a textured surface, labeled with number 2 (no text or symbols beyond the label)5
natural_image
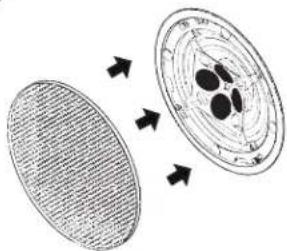
Diagram showing two oval structures with internal dark circular elements, connected by arrows indicating rotation or movement (no text or symbols)Once the grille is assembled, it can now be installed on to the speaker enclosure to finish the installation.

natural_image
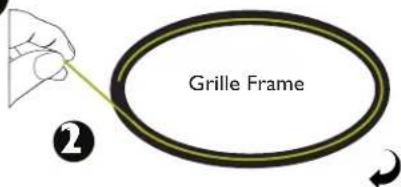
Illustration of two hands holding a circular object with a mesh pattern, no text or symbols present.If supplied with a grille frame remove the tape from the rear of the grille frame to expose the adhesive, then flip the grille frame, firmly and evenly press the side with the adhesive onto the back of the grille to secure it into place.
James LOUDSPEAKER