SEQ-400 - Empfänger SONY - Kostenlose Bedienungsanleitung
Finden Sie kostenlos die Bedienungsanleitung des Geräts SEQ-400 SONY als PDF.


Benutzerfragen zu SEQ-400 SONY
0 Frage zu diesem Gerät. Beantworten Sie die, die Sie kennen, oder stellen Sie Ihre eigene.
Eine neue Frage zu diesem Gerät stellen
Laden Sie die Anleitung für Ihr Empfänger kostenlos im PDF-Format! Finden Sie Ihr Handbuch SEQ-400 - SONY und nehmen Sie Ihr elektronisches Gerät wieder in die Hand. Auf dieser Seite sind alle Dokumente veröffentlicht, die für die Verwendung Ihres Geräts notwendig sind. SEQ-400 von der Marke SONY.
BEDIENUNGSANLEITUNG SEQ-400 SONY
Graphic Equalizer
SEQ-400
Operating Instructions
Before operating the unit, please read this manual thoroughly and retain it for future reference.
Owner's Record
The model and serial numbers are located at the rear. Record the serial number in the space provided below. Refer to these numbers whenever you call upon your Sony dealer regarding this product.
Model No. SEQ-400
Serial No. ____
WARNING
To prevent fire or shock hazard, do not expose the unit to rain or moisture.
text_image
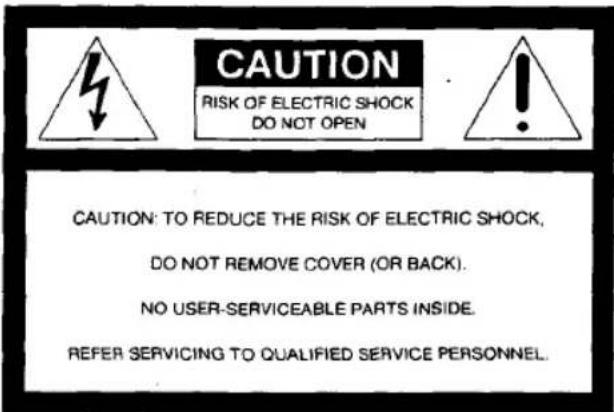
CAUTION RISK OF ELECTRIC SHOCK DO NOT OPEN CAUTION: TO REDUCE THE RISK OF ELECTRIC SHOCK, DO NOT REMOVE COVER (OR BACK). NO USER-SERVICEABLE PARTS INSIDE. REFER SERVICING TO QUALIFIED SERVICE PERSONNEL.
This symbol is intended to alert the user to the presence of uninsulated "dangerous voltage" within the product's enclosure that may be of sufficient magnitude to constitute a risk of electric shock to persons.

This symbol is intended to alert the user to the presence of important operating and maintenance (servicing) instructions in the literature accompanying the appliance.
Precautions
On safety
• Operate the unit only on 120 V AC, 60 Hz.
- The unit is not disconnected from the AC power source as long as it is connected to the wall outlet, even if the unit itself has been turned off.
- Unplug the unit from the wall outlet if it is not to be used for an extended period of time. To disconnect the cord, pull it out by the plug. Never pull the cord itself.
- Should any solid object or liquid fall into the unit, unplug the unit and have it checked by qualified personnel before operating it any further.
On Installation
Place the unit in a location with adequate air circulation to prevent internal heat build-up.
If you have any question or problem concerning your unit, please consult your nearest Sony dealer.
Frequency Coverage of Each Equalizer Control
Specifications
60 Hz: Use to boost or cut the bass.
150 Hz: This control governs the low-middle range and greatly influences the overall characteristics of the sound.
400 Hz: Use to adjust the power, spaciousness and warmth of the sound.
1 kHz: Use to provide more presence for vocals.
2.4 kHz: Use to boost a brighter sound and to reduce stridency.
6 kHz: This control effects the treble. Use to adjust the brightness of the sound and to reduce high frequency noise, such as tape hiss.
14 kHz: This control adjusts the general atmosphere rather than the sound itself. Use to highlight the delicate quality of instrumental sound.
Checking the equalization results
Press EQUALIZATION again to OFF (released position).
The equalizer circuit is bypassed, and you can hear the sound without equalization.
By switching EQUALIZATION ON and OFF, compare the results.
The spectrum analyzer can be used to visually confirm the need for, and effect of, equalizer adjustment.
Inputs LINE IN: Phono jacks,
245 mV (-10 dBs), 50 k ohms
TAPE: Phono jacks.
245 mV (-10 dBs), 50 k ohms
Outputs LINE OUT: Phono jacks,
245 mV (-10 dBs).
Load impedance: more than 10 k ohms
REC OUT: Phono jacks,
245 mV (-10 dBs),
Load impedance: more than 10 k ohms
Graphic equalizer
Boost/cut range: ±10 dB
Center frequencies: 60 Hz, 150 Hz, 400 Hz,
1 kHz, 2.4 kHz, 6 kHz, 14kHz
Frequency response (with EQUALIZATION ON)
LINE IN: 20 Hz to 40 kHz ^+0_-1.5 dB
Harmonic distortion
LINE IN: Less than 0.008% (at 1 kHz, 1 V
Output)
Signal-to-noise ratio (with EQUALIZATION ON)
LINE IN: Better than 100 dB (A network,
1 V output)
Power requirements
120 V AC, 60 Hz
Power consumption
5W
AC outlet 100 W, unswitched
Dimensions Approx. 430 × 80 × 245 mm (w/h/d)
(17 × 3½ × 9¾ inches)
Weight Approx. 2.3 kg (5 lb 2 oz)
Accessories supplied
Connecting cords (2)
Design and specifications subject to change without notice.
Troubleshooting Guide
Before going through the check list below, first refer back to the connections and operating procedures. Should any problem persist after you have made these checks, consult your nearest Sony service facility.
| Symptom | Cause |
| No audio even when the POWER switch is turned on. | The power cord is disconnected.The connecting cord is disconnected.The TAPE switch setting is not correct. |
| No equalization | The EQUALIZATION switch is set to OFF (the indicator is off).Connections are not made properly. |
| The program source connected to the amplifier cannot be recorded. | The TAPE switch is set to ON. |
Equalizing an Input Source
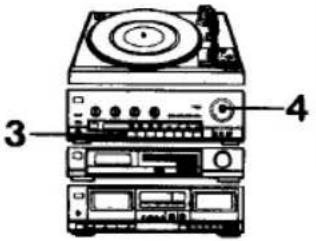 | 1 When the equalizer is connected to TAPE jacks of the amplifier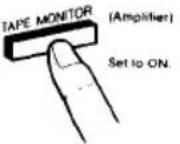 | 2 Select the input signal to be equalized on the equalizer.For playback output from the amplifier.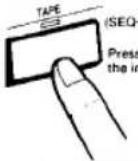 | 3 Select the desired input source with the amplifier, and play the program source.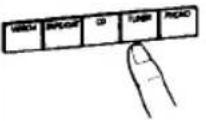 | 4 Adjust the amplifier volume.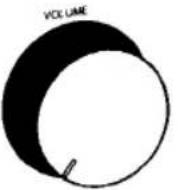 | 5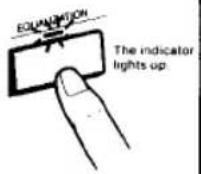 |
2 For playback output from the cassette deck connected to the equalizer,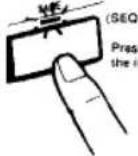 | 3 Play back the tape on the deck | 6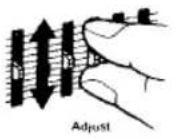 |
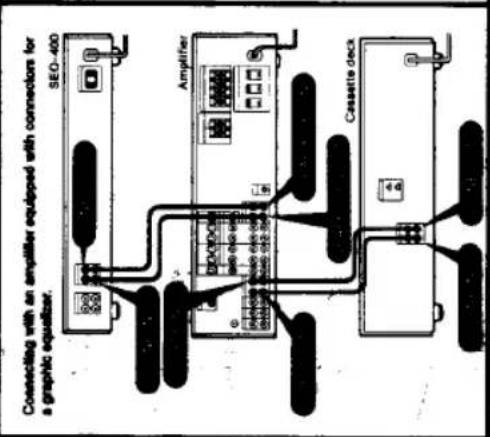
Connections
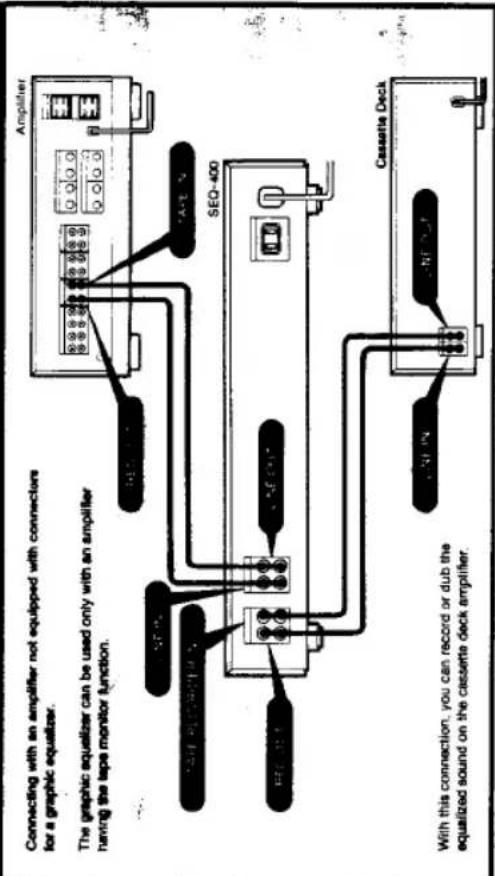
text_image
Connecting with an amplifier not equipped with connectors for a graphic equalizer. The graphic equalizer can be used only with an amplifier hanging the tape monitor function. SEQ-400 Cassette Deck With this connection, you can record or dub the equatified sound on the cassette deck amplifier.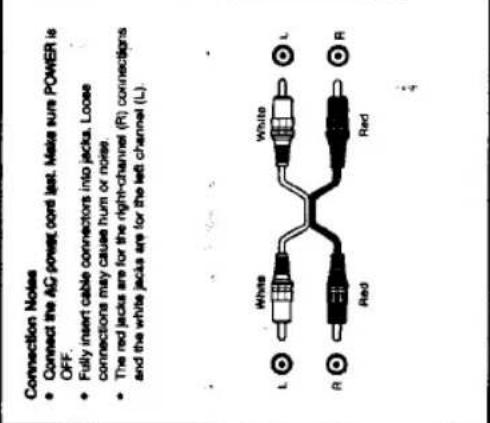
text_image
Connection Notes • Connect the AC power cord last. Make sure POWER is OFF. • Fully insert cable connectors into jacks. Loose connections may cause hum or noise. • The red jacks are for the right-channel (R) connectors and the white jacks are for the left channel (L). White L A Red R