EK2069 - Machine à cupcakes Giles & Posner - Kostenlose Bedienungsanleitung
Finden Sie kostenlos die Bedienungsanleitung des Geräts EK2069 Giles & Posner als PDF.


Benutzerfragen zu EK2069 Giles & Posner
0 Frage zu diesem Gerät. Beantworten Sie die, die Sie kennen, oder stellen Sie Ihre eigene.
Eine neue Frage zu diesem Gerät stellen
Laden Sie die Anleitung für Ihr Machine à cupcakes kostenlos im PDF-Format! Finden Sie Ihr Handbuch EK2069 - Giles & Posner und nehmen Sie Ihr elektronisches Gerät wieder in die Hand. Auf dieser Seite sind alle Dokumente veröffentlicht, die für die Verwendung Ihres Geräts notwendig sind. EK2069 von der Marke Giles & Posner.
BEDIENUNGSANLEITUNG EK2069 Giles & Posner
AMERICAN
originals
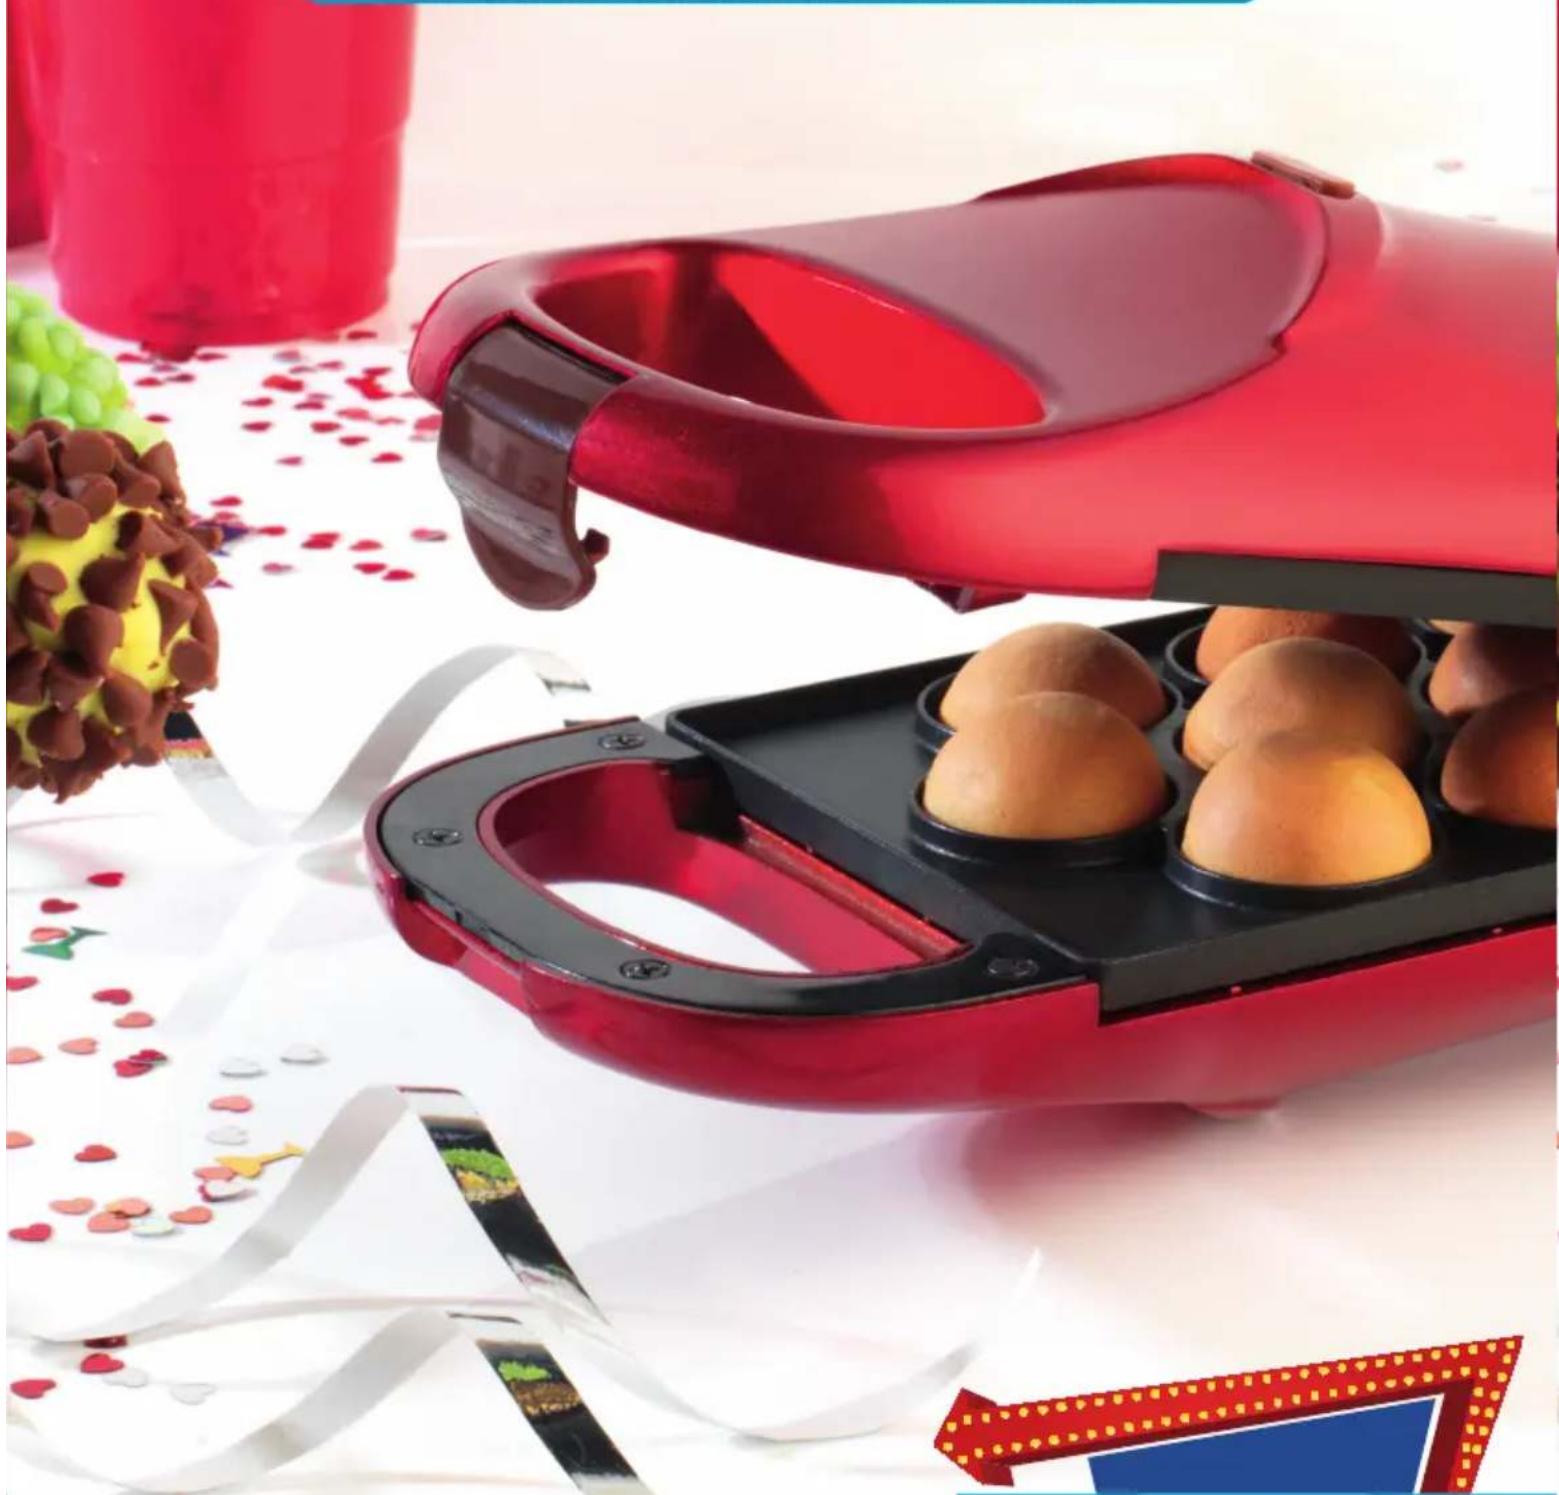
FLIP-OVER CAKE POP MAKER
MAKE 12 DELICIOUS CAKE POPS IN MINUTES
natural_image
Red hand-operated food kit with chocolate and chocolate candy, placed on a patterned surface (no text or symbols visible)NOW SHOWING
ATTACK OF THE
CRAZY CAKE POPS
INSTRUCTION MANUAL
Make deeelicious cake pops in minutes with this super speedy, totally awesome Flip-over Cake Pop Maker – mmmmm! Remember though, read all of the instructions carefully and keep them for future reference.
SAFE & SOUND
When you're using the Flip-over Cake Pop Maker you gotta keep safe and sound, so make sure that when you use electrical gadgets you always stick to these basic safety precautions.
SAFETY INFO
When using electrical appliances, basic safety precautions should always be followed.
Check that the voltage indicated on the rating plate corresponds with that of your local network before connecting the appliance to the mains power supply. Children aged from 8 years and people with reduced physical, sensory or mental capabilities or lack of experience and knowledge can use this appliance, only if they have been given supervision or instruction concerning use of the appliance in a safe way and understand the hazards involved.
Children should be supervised to ensure that they do not play with the appliance. Unless they are older than 8 and supervised, children should not perform cleaning or user maintenance.
This appliance is not a toy.
This appliance contains no user serviceable parts. If the power supply cord, plug or any part of the appliance is malfunctioning or if it has been dropped or damaged, only a qualified electrician should carry out repairs. Improper repairs may place the user at risk of harm.
Keep the appliance and its power supply cord out of reach of children.
Keep the appliance and its power supply cord away from heat or sharp edges that could cause damage.
Keep the power supply cord away from any parts of the appliance that may become hot during use.
Keep the appliance away from other heat emitting appliances.
Don't immerse the appliance in water or any other liquid.
AMERICAN
originals
Don't operate the appliance with wet hands.
Don't leave the appliance unattended whilst connected to the mains power supply. Don't remove the appliance from the mains power supply by pulling the cord; switch it off and remove the plug by hand.
Don't use the appliance for anything other than its intended use.
Don't use any accessories other than those supplied.
Don't use this appliance outdoors.
Don't store the appliance in direct sunlight or in high humidity conditions.
Don't move the appliance whilst it is in use.
Don't touch any sections of the appliance that may become hot or the heating components of the appliance, as this could cause injury.
Don't use sharp or abrasive items with this appliance; use only heat-resistant plastic or wooden spatulas to avoid damaging the non-stick surface.
Always unplug the appliance after use and before any cleaning or user maintenance.
Always ensure that the appliance has cooled fully after use before performing any cleaning or maintenance or storing away.
Always use the appliance on a stable, heat-resistant surface, at a height that is comfortable for the user.
Use of an extension cord with the appliance is not recommended.
This appliance should not be operated by means of an external timer or separate remote control system, other than that supplied with this appliance.
This appliance is intended for domestic use only. It should not be used for commercial purposes.
The door or the outer surface of the appliance may get hot during operation.
Warning: Keep the appliance away from flammable materials.

Caution: Hot Surface – Don't touch the hot section or heating components of the appliance.
Caution: Take care not to pour water on the heating element.
AMERICAN
originals
LET'S BEGIN
Remove your Flip-over Cake Pop Maker from the box.
Remove any packaging from the Flip-over Cake Pop Maker.
Place the packaging inside the box and either store or dispose of safely.
LET'S SEE WATCHA GOT
Awesome Flip-over Cake Pop Maker Instruction manual
COOL CHARACTERISTICS
Makes 12 cake pops at any one time
Cool-touch handle
700 W power
Delicious recipes
Non-stick coated cooking plates
ALL OF THE BITS
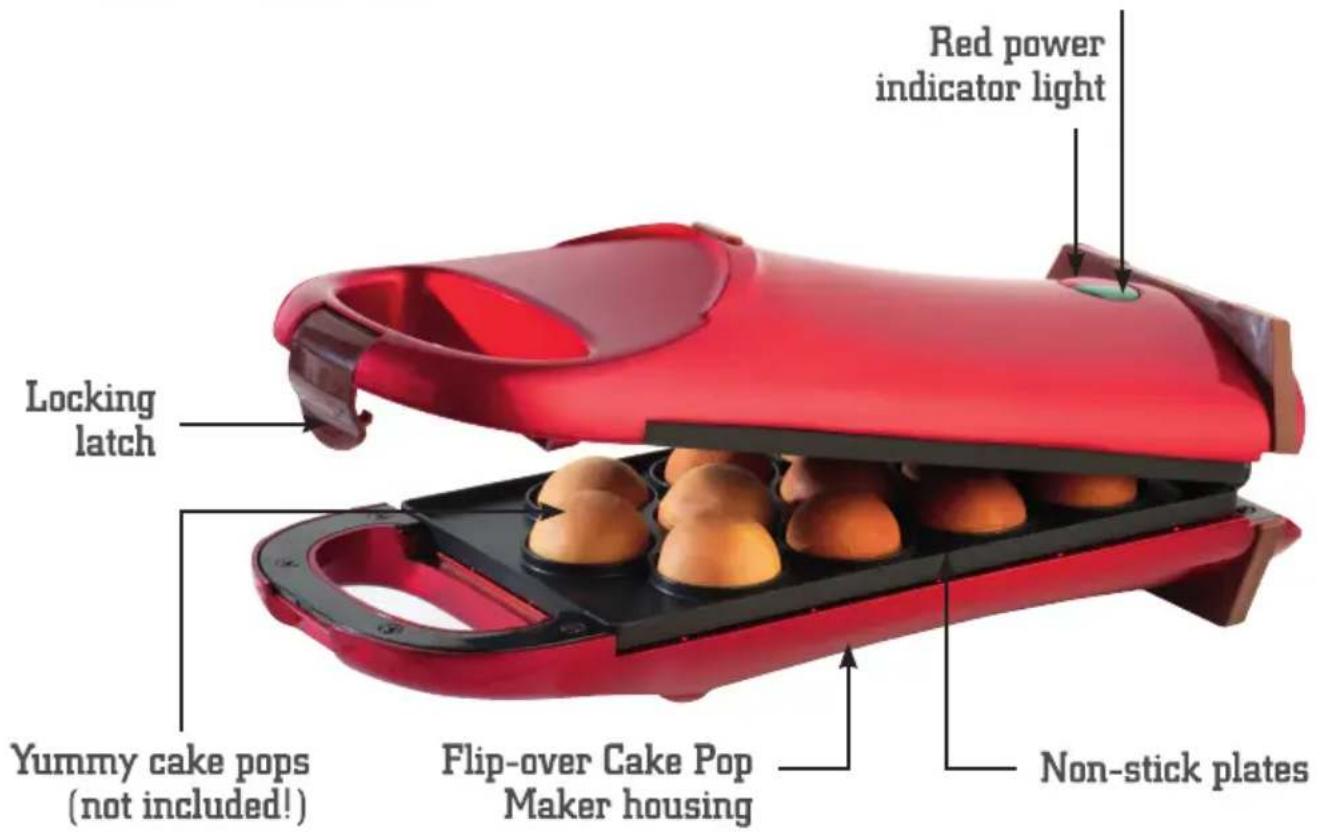
text_image
Red power indicator light Locking latch Yummy cake pops (not included!) Flip-over Cake Pop Maker housing Non-stick platesAMERICAN
originals
GET READY...
IT'S PARTY TIME!
Before using your totally awesome Flip-over Cake Pop Maker for the first time you should wipe it down with a soft, damp cloth and let it dry thoroughly. Make sure that you clean the non-stick plates too!
Remember, don't immerse your Flip-over Cake Pop Maker in water or any other liquid!
Note: When using your Flip-over Cake Pop Maker for the first time, it may emit a slight smoke or odour. This is nothing to worry about and will soon go away, as long as you make sure that your Flip-over Cake Pop Maker is getting enough ventilation.
GET SET...
PREP, PREP, PREP!
Check that your Flip-over Cake Pop Maker is turned off and unplugged from the mains power supply.
Position your Flip-over Cake Pop Maker on a stable, heat-resistant surface at a height that is comfortable for you to bake, bake, bake away!
Prepare the cake pop batter required to make your delicious treats; this will save time later.
Ensuring that the lid is closed, plug in and switch on your Flip-over Cake Pop Maker at the mains power supply; the red power indicator light will illuminate.
Preheat your Flip-over Cake Pop Maker for approximately 4 minutes or until the green ready indicator light switches on; this indicates that the required temperature has been reached. Carefully apply a thin coat of cooking oil to the non-stick plates, rubbing it in carefully with a paper towel.
Note: Always preheat the non-stick plates before starting to bake.
Caution: These non-stick plates get very hot during use; always use heat-resistant gloves so that you don't get burnt.

text_image
AMERICAN originals 6 FLIP-OVER CAKE POP MAKERGO!
MAKING TOTALLY DELISH CAKE POPS
Using heat-resistant gloves, carefully open your Flip-over Cake Pop Maker, then pour your deliciously tasty cake pop batter into the centre of each well on the lower non-stick plate and close the lid.
It's baking time! Let your Flip-over Cake Pop Maker do its thaaang until your totally delish cake pops are baked to perfection. This should take approximately 5–10 minutes (super speedy!).
Remember to keep an eye on your cake pops from time to time, by carefully opening the lid. If they require any further baking, simply close the lid to let them bake a little while longer but don't forget to keep checking them to prevent them from burning!
To make sure that your cake pops bake evenly, flip your Flip-over Cake Pop Maker part way through baking by using the handle and turning the whole unit 180°.
Once your totally delish cake pops are ready, unplug your Flip-over Cake Pop Maker from the mains power supply to turn it off. Leave the lid open and allow it to cool fully.
Remove your cake pops by gently loosening the edges from the non-stick plate with a heat-resistant plastic or wooden spatula.
If you can't get enough of your totally delish cake pops and want to bake more, close the lid after removing each batch to make sure that your Flip-over Cake Pop Maker stays nice and hot.
Allow your cake pops to cool slightly, and then decorate until your heart's content!
Note: Always preheat the non-stick plates before starting to bake.
Note: During use the green ready indicator light will cycle on and off to show that your Flip-over Cake Pop Maker is maintaining the temperature.
Note: Your cake pop batter will expand when cooking so don't overfill the wells as things could get messy! Fill each well by 23 .
Caution: The locking latch and outer surface of the Flip-over Cake Pop Maker may get hot during operation. Take extra care when flipping your Flip-over Cake Pop Maker.
Warning: Be extra careful when using your Flip-over Cake Pop Maker and avoid coming into contact with escaping heat and steam.
AMERICAN
originals
THE NO-NO'S - LISTEN UP!
Make sure that you don't over mix your cake pop batter, as this may leave you with dense cake pops.
Don't overfill the wells, as things could get messy!
For the first few minutes of baking, don't open your Flip-over Cake Pop Maker as this could stop your cake pops from forming properly.
ONE OR TWO TIPS
Mix, mix and mix your cake pop batter until all of the large lumps are gone. This will make your cake pops even more delish!
Only fill each well until approximately 23 full.
Make sure that your yummy cake pop batter is spread evenly between the wells on the lower non-stick plate.
Using a disposable pastry or piping bag will make filling the lower non-stick plate easy peasy!
If you want to make your cake pops even cooler and wish to decorate them, it is best to do so when they are fully cooled.
KEEPING YOUR FLIP-OVER CAKE POP MAKER IN APPLE PIE ORDER!
Before attempting any cleaning or maintenance, unplug your Flip-over Cake Pop Maker from the mains power supply and allow it to cool fully. Clean your Flip-over Cake Pop Maker and the non-stick plates with a soft, damp cloth and dry thoroughly.
Remove baked on batter by applying a small amount of warm water mixed with a mild detergent to the non-stick plates, before wiping them clean with a paper towel or non-abrasive scourer.
Remember, don't immerse your Flip-over Cake Pop Maker in water or any other liquid!
Never use harsh or abrasive cleaning detergents or scourers to clean your Flip-over Cake Pop Maker as this could cause damage.
Your Flip-over Cake Pop Maker should be cleaned after every use to keep it in tiptop condition.
AMERICAN
originals
STORING YOUR FLIP-OVER CAKE POP MAKER AWAY
Before storing, ensure that your Flip-over Cake Pop Maker is cool, clean and dry. Never store whilst it is wet.
Never wrap the cord tightly around your Flip-over Cake Pop Maker; wrap it loosely to avoid causing damage.
Store in a cool, dry place.
SPECIFICATIONS
Product code: EK2069AO
Input: 220–240 V \~ 50/60 Hz
Output: 700 W
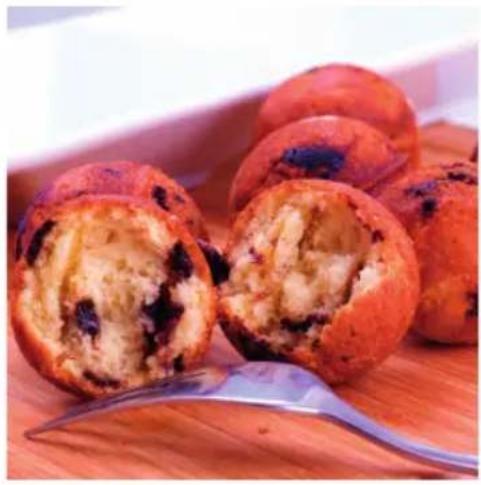
VANILLA CAKE POPS
INGREDIENTS
100 g self-raising flour
100 g caster sugar
100 g margarine
2 medium eggs
12 tsp vanilla essence
^1/_2 tsp baking powder
natural_image
Close-up of sliced chocolate chip cookies on a wooden surface with a fork in the foreground (no text or symbols visible)METHOD
Cream together the margarine and sugar in a food processor until light and fluffy. Add the eggs one at a time, the vanilla essence and the baking powder, with a little flour each time, until well mixed.
Mixing on a medium speed, add the remaining flour little by little until the ingredients are combined.
Preheat the Flip-over Cake Pop Maker and then carefully fill each cake pop well with the batter. Ensure that each well is filled by 23 . Close the Flip-over Cake Pop Maker and bake for approximately 5–10 minutes or until golden brown.
To ensure even baking of the cake pops, flip the Flip-over Cake Pop Maker part way through baking by using the handle and turning the whole unit 180°.
Note: The baking time can be increased or decreased to suit personal taste.
CHOCOLATE CAKE POPS
Follow the vanilla cake pop recipe but replace the vanilla essence with 2 tbsp of good quality cocoa powder.
LEMON CAKE POPS
Follow the vanilla cake pop recipe but replace the vanilla essence with finely grated peel and juice of 12 unwaxed lemon.
ALMOND CAKE POPS
Follow the vanilla cake pop recipe but replace the vanilla essence with 2 tbsp of good quality cocoa powder.

text_image
AMERICAN originals 10 VANILLA CAKE POPS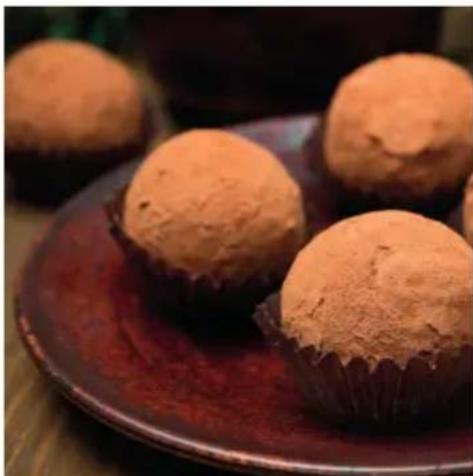
natural_image
Close-up of chocolate cupcakes on a maroon plate (no text or symbols visible)COFFEE AND CHOCOLATE CAKE POPS
INGREDIENTS
168 g plain flour
112 g caster sugar
60 ml buttermilk
60 ml freshly brewed, hot coffee
1 egg
3 tbsp cocoa powder
3 tbsp vegetable oil
^1/_2 tsp vanilla essence
^1/_2 tsp baking powder
METHOD
Sift together the flour, sugar, cocoa powder and baking powder in a mixing bowl.
Add the buttermilk, vegetable oil, egg and vanilla essence.
Using a mixer, blend until smooth. Add the coffee and continue mixing until the coffee is evenly incorporated into the batter.
Preheat the Flip-over Cake Pop Maker and then carefully fill each cake pop well with the batter. Ensure that each well is filled by 23 . Close the Flip-over Cake Pop Maker and bake for approximately 5–10 minutes or until golden brown.
To ensure even baking of the cake pops, flip the Flip-over Cake Pop Maker part way through baking by using the handle and turning the whole unit 180°.
Note: If buttermilk is not available, a perfect substitute is to add 1 tbsp of lemon juice or white vinegar to 225 ml of milk. Whisk it in and let it sit for around 5 minutes.
AMERICAN
originals
RED VELVET CAKE POPS INGREDIENTS
337 g plain flour
168 g caster sugar
56 g butter, softened
112 ml buttermilk
1 egg
1 tbsp cocoa powder
1 tbsp red food colouring
1 tsp vanilla essence
^1/_2 tsp vinegar
12 tsp baking soda

natural_image
Close-up of chocolate brotzeln with red heart decorations, surrounded by blurred colorful roses (no text or symbols visible)METHOD
Cream the butter until it is soft, then add the sugar and vanilla essence. Mix until light and creamy, then beat in the egg.
Sift together the flour and cocoa powder, blend well and set aside. In a separate bowl, whisk the red food colouring into the buttermilk.
Alternately mix the flour and buttermilk blends into the butter mixture, beginning and ending with the flour mixture.
Combine the vinegar and baking soda in a small bowl and allow it to fizz; fold into the cake pop batter.
Preheat the Flip-over Cake Pop Maker and then carefully fill each cake pop well with the batter. Ensure that each well is filled by 23 . Close the Flip-over Cake Pop Maker and bake for approximately 5–10 minutes or until golden brown.
To ensure even baking of the cake pops, flip the Flip-over Cake Pop Maker part way through baking by using the handle and turning the whole unit 180°.

text_image
AMERICAN originals 12 RED VELVET CAKE POPS
natural_image
Close-up of red caramel pops with white and pink decorative toppings, no text or symbols visibleAPPLE CIDER CAKE POPS
INGREDIENTS
337 g plain flour
112 g caster sugar
112 ml apple cider
56 ml vegetable oil
1 egg
1 tbsp baking powder
^1/_2 tsp cinnamon
1 / 4 tsp nutmeg
CINNAMON SUGAR TOPPING
200 g sugar
2 tbsp cinnamon
METHOD
Sift together the flour, sugar, baking powder, cinnamon and nutmeg in a mixing bowl. Add the vegetable oil and egg.
Using a mixer, blend until smooth. Add the apple cider and continue mixing until the cider is evenly incorporated into the batter.
Preheat the Flip-over Cake Pop Maker and then carefully fill each cake pop well with the mixture. Ensure that each well is filled by 23 . Close the Flip-over Cake Pop Maker and bake for approximately 5–10 minutes or until golden brown.
To ensure even baking of the cake pops, flip the Flip-over Cake Pop Maker part way through baking by using the handle and turning the whole unit 180°.
Mix the cinnamon and sugar together in a bowl and place the cake pops into the mixture whilst still warm; shake to coat thoroughly.
Serve warm.
AMERICAN
originals
APPLE CIDER CAKE POPS
GLAZES AND COATINGS
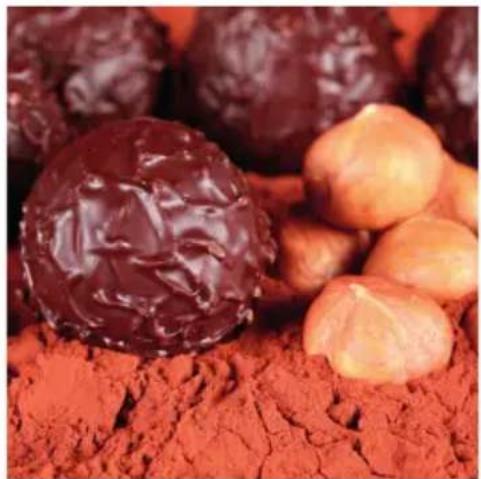
CANDY MELTS
Candy melts are readily available at craft and hobby stores as well as stores specialising in cake decorating. Melt according to the pack directions.
Note: If the candy melts are too thick, add 1 to 2 tbsp of butter and melt according to the pack directions.
natural_image
Close-up of chocolate and halved fruit dusted in red powder (no text or symbols visible)ALMOND BARK COATING
Almond Bark, either vanilla or chocolate flavoured, is readily available at most supermarkets.
Add 1 to 2 tbsp of butter to each 340 g of almond bark to create a dipping consistency.
Melt according to the pack directions.
CHOCOLATE GLAZE
INGREDIENTS
175 g sifted icing sugar
2 tbsp cocoa powder
2–2 ^1/2 tbsp milk
1 tsp vanilla essence
METHOD
Sift the icing sugar and cocoa powder into a bowl, then blend in the vanilla essence and milk to make a glaze consistency.

text_image
AMERICAN originals 14 GLAZES AND COATINGS
natural_image
Close-up of sliced garlic cloves on a wooden surface (no text or symbols visible)GLAZES AND COATINGS
WHITE CHOCOLATE GLAZE
INGREDIENTS
170 g white chocolate
112 g sifted icing sugar
3 tbsp butter, cut into thirds and softened
3 tbsp whipping cream
12 tsp vanilla essence
METHOD
Combine the white chocolate and cream in a deep bowl. Microwave on a high power for approximately 1 minute; stir thoroughly. Add the butter and microwave again on a high power for approximately 30 seconds, then stir. Microwave on a high power for an additional 10–15 seconds if necessary to ensure that all of the ingredients have melted. Blend in the icing sugar and vanilla essence and stir until smooth.
CREAMY GLAZE
INGREDIENTS
220 g icing sugar
2 tsp vanilla sugar
40 g butter
2 tbsp hot water
METHOD
Heat the butter in a saucepan until melted, and then remove from the heat. Stir in the icing and vanilla sugar until the mixture is smooth. Add the water 1 tbsp at a time, until the desired consistency is achieved.
AMERICAN
originals
GLAZES AND COATINGS
MAPLE GLAZE
INGREDIENTS
400 g sifted icing sugar
2 to 2 ^1/2 tbsp milk
1 / 2 tsp maple extract
METHOD
Sift the icing sugar into a bowl, then blend in the maple extract and milk to make a glaze consistency.
VANILLA FROSTING
INGREDIENTS
300 g sifted icing sugar
56 g melted butter
1 tsp vanilla essence
1-1½ tbsp hot water
METHOD
natural_image
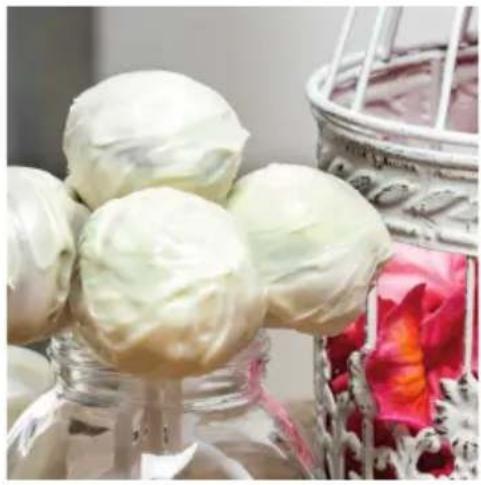
Close-up of white chocolate boll on a glass jar, with decorative cake and red ribbon in background (no text or symbols)Sift the icing sugar into a bowl, then blend in the melted butter, vanilla essence and hot water to create a frosting.
POWDERED SUGAR COATING
Place 400 g powdered sugar in a paper bag or bowl.
Add hot cake pops to the bag or bowl and shake gently until coated.
DECORATING
There are a variety of ingredients available for decorating as well as many websites specialising in such creations.
Cake pops can simply be dipped in melted chocolate, finely chopped nuts, glitter or any kind of sprinkles. For more experienced cake makers, icing sugar and marzipan can be used for cake pop creations.
Cake pop sticks can be purchased in specialist cake shops and from internet websites.

text_image
AMERICAN originals * Any recipe images used in this instruction manual are intended for illustrative purposes only. 16 GLAZES AND COATINGSCONNECTION TO THE MAINS
Please check that the voltage indicated on the product corresponds with your supply voltage.
IMPORTANT
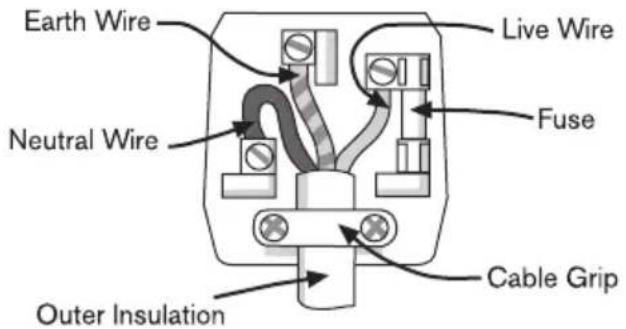
As the colours in the mains lead of this appliance may not correspond with the coloured markings identifying the terminals in your plug, please proceed as follows:
The wires in the mains lead are coloured in accordance with the following code:
Blue Neutral (N)
Brown Live (L)
Green/Yellow Earth ( 12 )
text_image
Earth Wire Neutral Wire Outer Insulation Live Wire Fuse Cable GripFOR UK USE ONLY - Plug fitting details (where applicable).
The wire coloured BLUE is the NEUTRAL and must be connected to the terminal marked N or coloured BLACK.
The wire coloured BROWN is the LIVE wire and must be connected to the terminal marked L or coloured RED.
The wire coloured GREEN/YELLOW must be connected to the terminal marked with the letter E or marked 12 .
On no account must either the BROWN or the BLUE wire be connected to the EARTH terminal ( ± ).
Always ensure that the cord grip is fastened correctly.
The plug must be fitted with a fuse off the same rating already fitted and conforming to BS1362 and be ASTA approved.
If in doubt consult a qualified electrician who will be pleased to do this for you.
NON-REWIREABLE MAINS PLUG
If your appliance is supplied with a non-rewireable plug fitted to the mains lead and should the fuse need replacing, you must use an ASTA approved one (conforming to BS1362 of the same rating).
If in doubt, consult a qualified electrician who will be pleased to do this for you. If you need to remove the plug - DISCONNECT IT FROM THE MAINS and then cut it off the mains lead and immediately dispose of it safely. Never attempt to reuse the plug or insert it into a socket outlet as there is a danger of an electric shock.
AMERICAN
originals
UP GLOBAL SOURCING
Victoria Street, Manchester OL9 ODD. UK.
If this product does not reach you in an acceptable condition, please contact our Customer Services Department using one of the following methods:
Telephone: 0161 934 2240*
*Telephone lines are open Monday – Friday, 9 am–5 pm (Closed Bank Holidays)
Email: customercare@upgs.com
Fax: 0161 628 2126
Please have your delivery note to hand as details from it will be required. If you wish to return this product please return it to the retailer from where it was purchased with your receipt (subject to their terms and conditions).
GUARANTEE
This product is guaranteed for a period of 1 year from the date of purchase against mechanical and electrical defects.
This guarantee is only valid if the appliance is used solely for domestic purposes in accordance with the instructions and provided that it is not connected to an unsuitable electricity supply or dismantled or interfered with in any way or damaged through misuse. Under this guarantee we undertake to repair or replace free of charge any parts found to be defective. Reasonable proof of purchase must be provided.
Nothing in this guarantee or in the instructions relating to this product excludes, restricts or otherwise affects your statutory rights.
In line with our policy of continuous development we reserve the right to change this product, packaging and documentation specification without notice.
Consumables are not guaranteed i.e. plug and fuse.
text_image
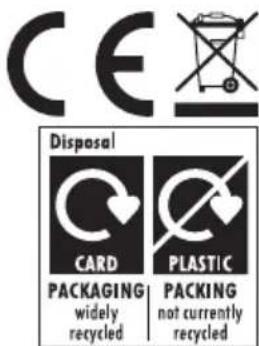
CE Disposal CARD PACKAGING widely recycled PLASTIC PACKING not currently recycledThe crossed out wheelie bin symbol on this item indicates that this appliance needs to be disposed of in an environmentally friendly way when it becomes of no further use or has worn out. Contact your local authority for details of where to take the item for recycling.
AMERICAN
originals

natural_image
Silhouette of a city skyline at dusk with multiple skyscrapers in shades of blue and cyan (no text or symbols)Distributed by UP Global Sourcing, Victoria Street, Manchester OLS 0DD. UK.