Sporty Trailer Air IPS-050 - Tierzubehör InnoPet - Kostenlose Bedienungsanleitung
Finden Sie kostenlos die Bedienungsanleitung des Geräts Sporty Trailer Air IPS-050 InnoPet als PDF.


| Produkttyp | Fahrradanhänger und Buggy für Hunde |
| Modell | Sporty Trailer Air IPS-050 |
| Marke | InnoPet |
| Kategorie | Tierzubehör |
| Verwendung | Fahrradanhänger und Buggy (Stroller) |
| Maximales Tiergewicht | ca. 25 kg |
| Eigengewicht | ca. 8 kg |
| Maße (L x B x H) | ca. 60 x 40 x 30 cm |
| Radgröße | 20 Zoll (ca. 50 cm) |
| Anzahl Räder | 3 (1 Vorderrad, 2 Hinterräder) |
| Material | Stahlrohrrahmen, Polyestergewebe |
| Lieferumfang | Rahmen/Tasche, Vorderrad, 2 Hinterräder, Fahne, Deichsel, Regenabdeckung, Anleitung |
| Sicherheitsmerkmale | Sicherheitsclips, Sicherheitsfahne, Regenabdeckung |
| Klappbar | Ja, einfaches Zusammenklappen |
| Regenabdeckung | Im Lieferumfang enthalten |
| Montage | Einfach, werkzeuglos, in wenigen Minuten |
| Pflege | Mit feuchtem Tuch reinigen |
| Garantie | 2 Jahre |
| Hersteller | InnoPet |
| Ursprungsland | China |
Häufig gestellte Fragen - Sporty Trailer Air IPS-050 InnoPet
Benutzerfragen zu Sporty Trailer Air IPS-050 InnoPet
0 Frage zu diesem Gerät. Beantworten Sie die, die Sie kennen, oder stellen Sie Ihre eigene.
Eine neue Frage zu diesem Gerät stellen
Laden Sie die Anleitung für Ihr Tierzubehör kostenlos im PDF-Format! Finden Sie Ihr Handbuch Sporty Trailer Air IPS-050 - InnoPet und nehmen Sie Ihr elektronisches Gerät wieder in die Hand. Auf dieser Seite sind alle Dokumente veröffentlicht, die für die Verwendung Ihres Geräts notwendig sind. Sporty Trailer Air IPS-050 von der Marke InnoPet.
BEDIENUNGSANLEITUNG Sporty Trailer Air IPS-050 InnoPet
Assembly Manual:
natural_image
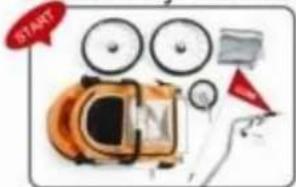
Illustration of a vintage camera with circular components and a red 'START' speech bubble (no readable text or symbols)1 Content: 1 Trailer frame/ bag, 1 front wheel, 2 rear wheels, 1 flag, 1 towing arm (including 2 clevis pins), 1 rain cover.
natural_image
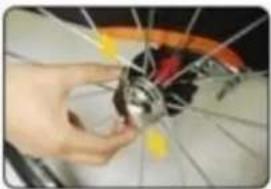
Close-up of a hand holding a bicycle wheel component (no visible text or symbols)2 Push rear wheel to the bottom of axle till the spring clip clicks. Check both wheels are securely locked by pulling.
natural_image
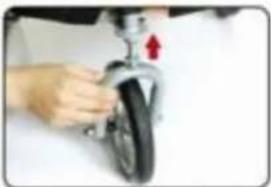
Close-up of hands adjusting a bicycle wheel (no visible text or symbols)3 Insert the front wheel axle into the slot till hearing the spring clip click. Check the front wheel is securely locked by pulling. (Skip this step if you are going to use it as a bicycle trailer)

natural_image
Person using a small electric vacuum cleaner with a red flag (no visible text or symbols)4 Unfold the trailer by pulling backwards the trailer frame as shown in the photo.
natural_image
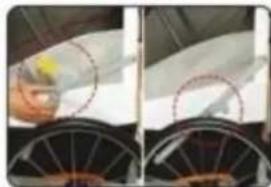
Close-up of a person's hand holding a small object, partially obscured by red dashed circles (no visible text or symbols)5 Press both sides' supporting arm till the end and make sure each side of the supporting arm is properly locked.
natural_image
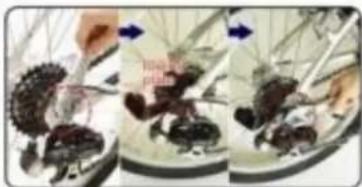
Three-panel photo showing a hand holding a tool interacting with dark, irregular objects in a glass bowl (no visible text or symbols)a. Securely install the towing arm on the rear wheel axle as the picture shown.
text_image
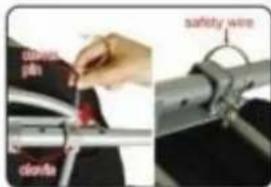
clords pin clords safety wireb. Insert the towing arm through both clevis. Secure towing arm by inserting the clevis pin through clevis and towing arm. Property secure clevis pin by setting the safety wire over the tip of clevis pin.
natural_image
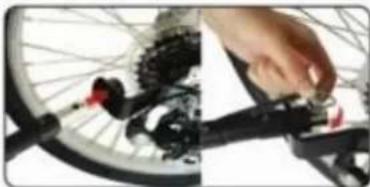
Close-up of a bicycle wheel with a hand adjusting the wheel rim (no visible text or symbols)c. Insert the bar into the slot of connecting plate. Secure the bar by inserting bolt and set the bolt ring over the end of bar.
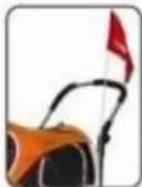
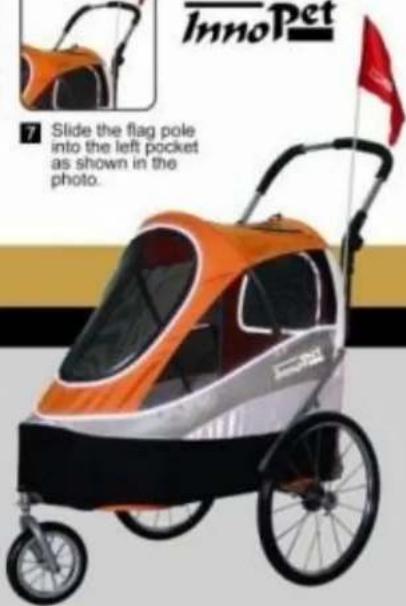
7 Slide the flag pole into the left pocket as shown in the photo.
Sporty Dog Trailer
Folding steps:
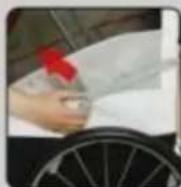
1 Release the lock.
natural_image
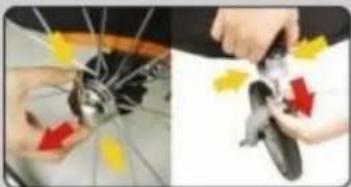
Two-step illustration showing hands using a bicycle to adjust the wheel and blade (no text or symbols present)2 Press down the spring clip to remove each wheel.
natural_image
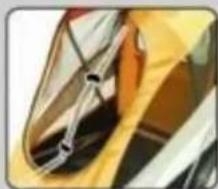
Close-up of a car's front wheel and side grille (no visible text or symbols)3 During the stroller state, secure towing bar inside stroller by Velcro straps as shown in the photo. Remember to take out the towing bar before flatten stroller.
Rain cover:
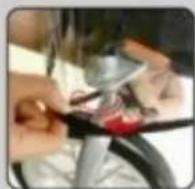
1 place the hook around the front wheel axle to secure rain cover.