Gunnison 3.2 - Zelt Kelty - Kostenlose Bedienungsanleitung
Finden Sie kostenlos die Bedienungsanleitung des Geräts Gunnison 3.2 Kelty als PDF.


Benutzerfragen zu Gunnison 3.2 Kelty
0 Frage zu diesem Gerät. Beantworten Sie die, die Sie kennen, oder stellen Sie Ihre eigene.
Eine neue Frage zu diesem Gerät stellen
Laden Sie die Anleitung für Ihr Zelt kostenlos im PDF-Format! Finden Sie Ihr Handbuch Gunnison 3.2 - Kelty und nehmen Sie Ihr elektronisches Gerät wieder in die Hand. Auf dieser Seite sind alle Dokumente veröffentlicht, die für die Verwendung Ihres Geräts notwendig sind. Gunnison 3.2 von der Marke Kelty.
BEDIENUNGSANLEITUNG Gunnison 3.2 Kelty
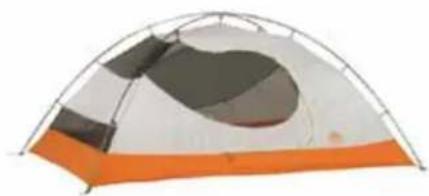
Gunnison 1.2, 2.2, 3.2 & 4.2-Pitching Instructions
natural_image
Illustration of a simple tent with orange base and gray interior, no text or symbols visibleGunnison 2.2 pictured
In order to familiarize yourself with your new tent, we recommend you "test pitch" before your first camping trip. For additional information please visit http://www.kelty.com/c-tents-shelters.aspx.

text_image
KIELTY®Package Includes: Tent Body, Rain Fly, Pole Set, Guy Cords, Tent Stakes, Gear Loft, Pole Bag, Stake Bag.
natural_image
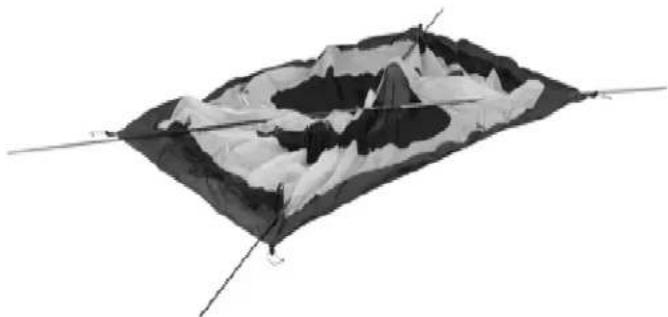
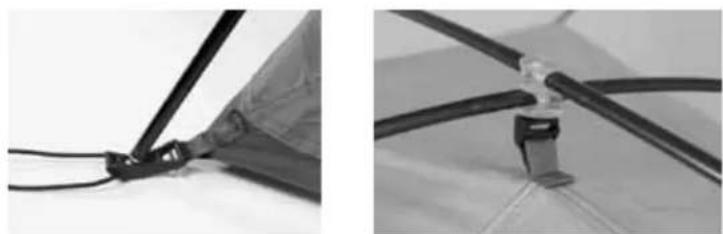
3D-rendered black-and-white tent structure with no visible text or symbolsStep 1: Find an even piece of ground; be sure area is clear of debris. Assemble poles. Lay poles on tent forming an "X". Be sure the H-Clip button on the center pole hub faces down.
natural_image
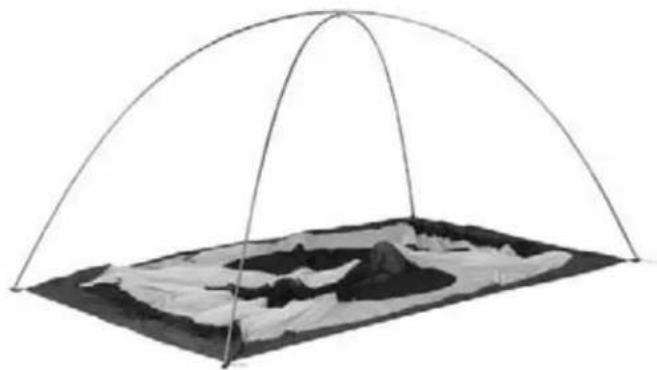
Diagram of a tent structure with a curved roof and a flat base, no text or symbols presentStep 2: Stake out corners. Insert pole tips into Jake's Foot™ on all 4 corners.
natural_image
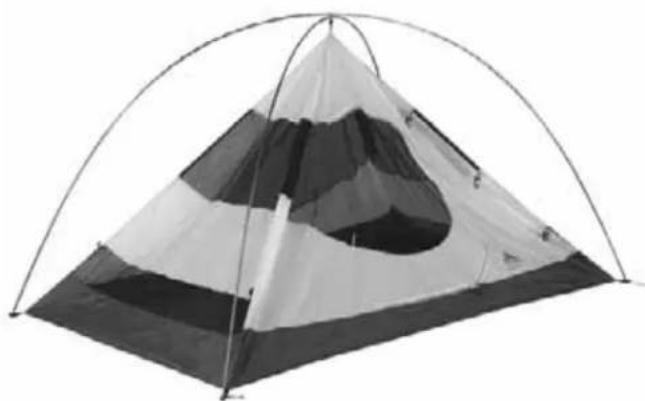
Black and white camping tent with a curved roof structure (no text or symbols visible)Step 3: Find H-Clip at center of tent body and attach to H-Clip button on Swivel Hub™.
natural_image
Two-panel image showing cable installation details: left panel shows a cable being inserted into a socket, right panel shows a cable securing a bracket (no text or symbols visible)Jake's Foot™ Swivel Hub™ with attached H-Clip
natural_image
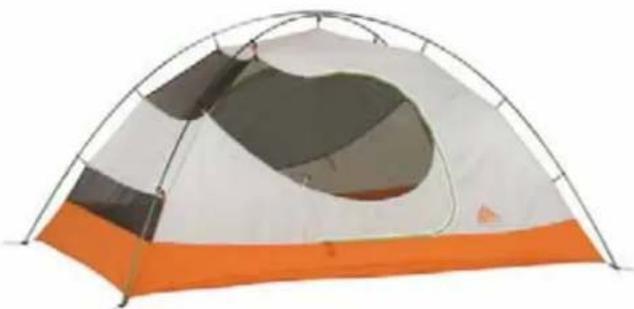
Exterior view of a camping tent with orange base and gray interior (no text or symbols)Step 4: Work your way around the tent and attach all pole clips on tent body to poles.
natural_image
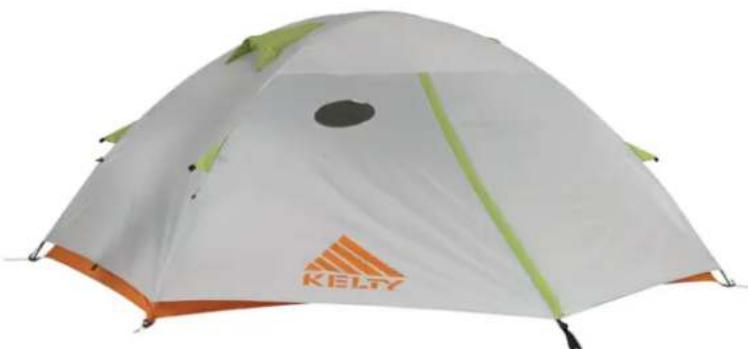
Exterior view of a white camping tent with orange base and 'KELIX' branding (no additional text or symbols)Step 5: Drape rain fly over tent body. Attach velcro loops on underside of rain fly (at guy out) to poles. Attach fly clip to each Jake's Foot™. Stake out vestibules and add guy lines as needed.