Vortex 2 - Zelt Kelty - Kostenlose Bedienungsanleitung
Finden Sie kostenlos die Bedienungsanleitung des Geräts Vortex 2 Kelty als PDF.


Benutzerfragen zu Vortex 2 Kelty
0 Frage zu diesem Gerät. Beantworten Sie die, die Sie kennen, oder stellen Sie Ihre eigene.
Eine neue Frage zu diesem Gerät stellen
Laden Sie die Anleitung für Ihr Zelt kostenlos im PDF-Format! Finden Sie Ihr Handbuch Vortex 2 - Kelty und nehmen Sie Ihr elektronisches Gerät wieder in die Hand. Auf dieser Seite sind alle Dokumente veröffentlicht, die für die Verwendung Ihres Geräts notwendig sind. Vortex 2 von der Marke Kelty.
BEDIENUNGSANLEITUNG Vortex 2 Kelty
FastFACT
The two tent poles are the same size
text_image
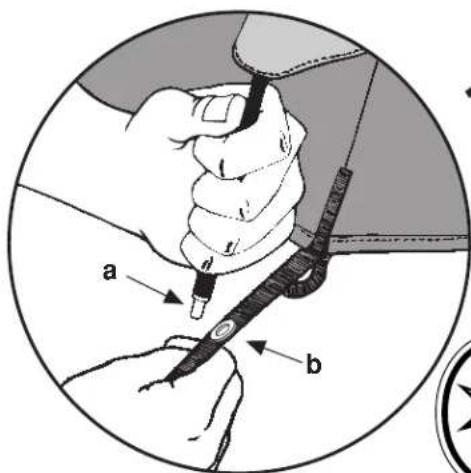
a ba- Tent pole grommet-tip
b- Grommet
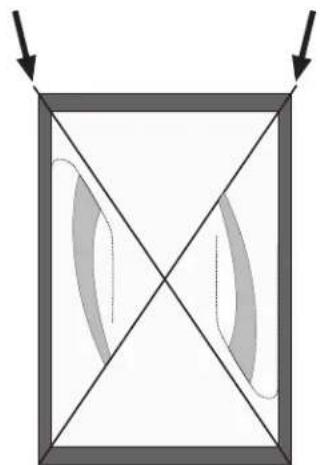
Sleeve Openings
natural_image
Pure geometric diagram with intersecting lines and arrows, no text or symbols present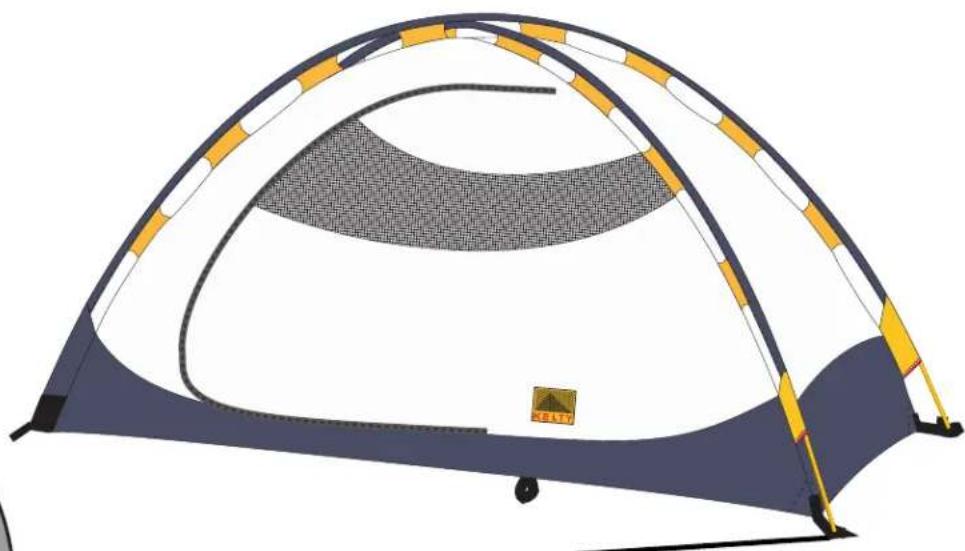
natural_image
Illustration of a camping tent with blue and yellow sections, featuring a mesh pattern and a small icon (no text or symbols)
Take the poles out of the stuff sack and help the shockcord to assemble them.
Caution: It damages the poles if you let the shockcord snap/whack the sections together.
Unroll the tent and spread it out. If there's a wind, stake down the end of the tent that's into the wind before adding poles.
Locate the open ends of the sleeves. They are color-coded gold.
Take a tent pole, put it into the sleeve of your choice, torpedo-end first, and feed it in until it fully seats against the closed end.
Push the pole in all the way and set the end into the grommet (see drawing in circle above left). Repeat for the other pole.
8 Stake the tent down!
Take the tent down Pus out tent po starting from t sleeve's closed en
(Pulling separates the sections in the sleeve)
Pitching the Rainfly
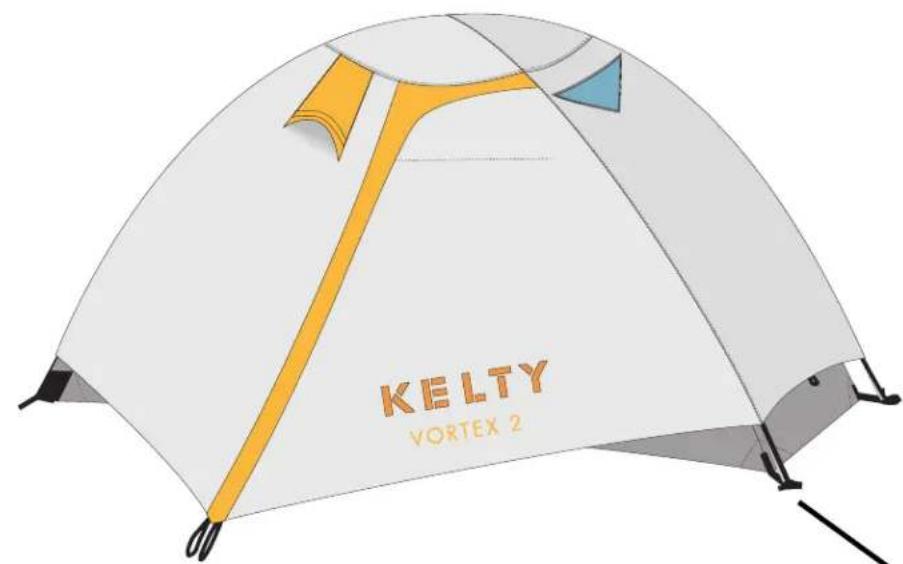
Unfurl the rainfly and pull the rainfly over the tent with the vestibule doors positioned over the tent's doors.
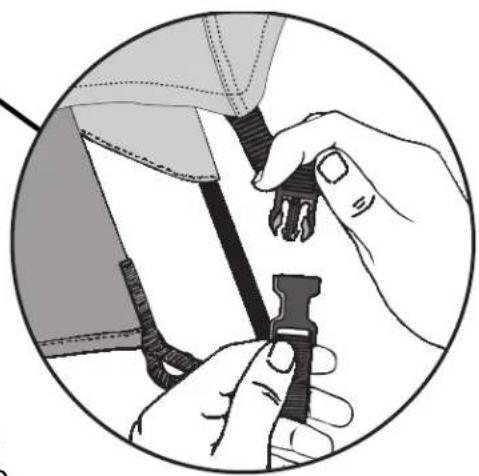
Loosely clip the rainfly to the tent and stake out the two vestibules.
Snug the rainfly buckles—making the fly tight. That's it.
natural_image
Illustration of a Vortex 2 tent with yellow and blue design (no text or symbols on the tent itself)FastFACT
The rainfly clips on with quick-release buckles
Notes and Tips
If you pitch the tent in a wind, anchor the tent before you put the poles in. Also, gear alone probably won't hold down your tent even in winds as light as 25mph. Many tents have been destroyed by unexpected winds rolling them away with gear inside! In strong winds you will want to anchor every stake loop and guyout.
natural_image
Illustration of hands adjusting a black cable with a strap, no text or symbols present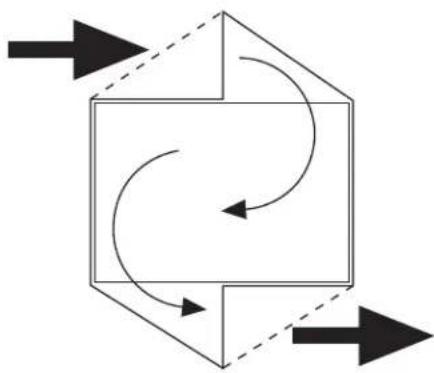
flowchart
graph TD
    A["Top Right Arrow"] --> B["Bottom Left Arrow"]
    B --> C["Center Circle"]
    C --> D["Right Arrow"]
    D --> E["Bottom Right Arrow"]
    E --> F["Center Left Arrow"]
    F --> G["Right Arrow"]
    G --> H["Bottom Left Arrow"]
    H --> I["Center Right Arrow"]
○ The vestibules can be staked partway open to greatly increase ventilation in even a slight breeze (see drawing at left). The trick is to
open the vestibules so one side scoops wind and the other side spills it. This creates a mini-whirlwind inside—just right on a hot night.
○ Loops on the tent's ceiling are for tying in the gear loft. You can also string cord between the loops to make a drying rack. Hanging a flashlight from them is another favorite.
○ Leaving the fly on the tent when you take it down is sometimes handy. Packing the tent and fly as a single connected unit speeds setup and the tent will be immediately protected from rain when you pull it out
next time. Before packing you should dry out the tent and fly. This way you won't have to carry water rolled into the tent and it will help keep the tent from mildewing.
○ Fire near your tent is a no-no. Your tent can burn. Never cook in your tent or use candles for light inside.
To minimize UV damage from the sun, don't keep tent set up for long periods of time or when not in use. If there is any part of these directions you do not fully understand please call Kelty customer services at 800·423·2320.