KTX-WXE-CA8 - Ukategorisert ALPINE - Gratis bruksanvisning og manual
Finn enhetens veiledning gratis KTX-WXE-CA8 ALPINE i PDF-format.

Brukerspørsmål om KTX-WXE-CA8 ALPINE
0 spørsmål om dette apparatet. Svar på dem du kjenner, eller still ditt eget.
Still et nytt spørsmål om dette apparatet
Last ned instruksjonene for din Ukategorisert i PDF-format gratis! Finn veiledningen din KTX-WXE-CA8 - ALPINE og ta den elektroniske enheten tilbake i hendene. På denne siden er alle dokumenter som er nødvendige for bruken av enheten din publisert. KTX-WXE-CA8 av merket ALPINE.
BRUKSANVISNING KTX-WXE-CA8 ALPINE
Driving Mobile Media Solutions™
ALPINE ELECTRONICS OF ASIA PACIFIC CO., LTD.
555 Rasa Tower 1, Unit 2601-2602, 26th Floor, Phaholyothin Rd.,
Chatuchak, Bangkok, Thailand 10900
Tel: +662-937-0505 Fax: +662-937-0569
http://www.alpine-asia.com
KTX-WXE-CA8
INSTALLATION KIT
Owner's Manual
ALPINE
| Car Model | Model Year |
| CAMRY | 2012 |
This owner's manual will give you clearly understanding about installation.
For making installation correctly, please read this manual carefully before operating installation.
1 Component Parts
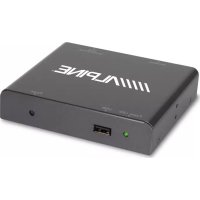
| Audio Panel Alpine-Toyota power cord Bracket | Alpine-Toyota Antenna cable | ||
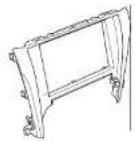 | 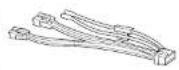 | 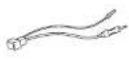 | 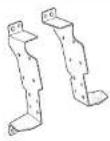 |
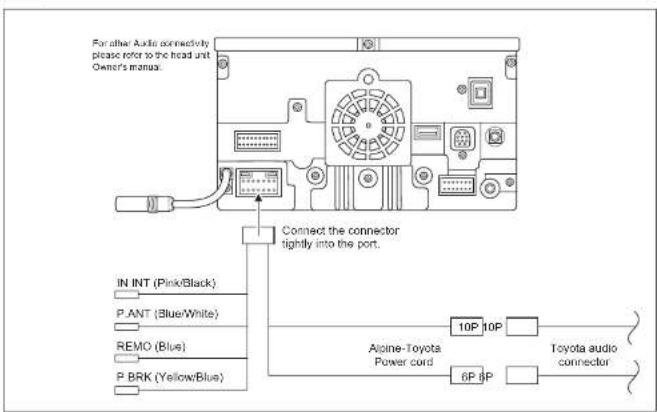
2 Connecting Diagram
3 Removing Vehicle Parts
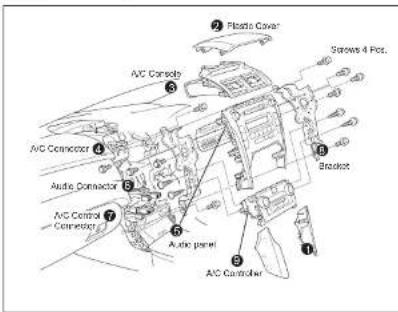
- Remove part no. ① by removing all clips off.
- Remove plastic cover ② by removing all clips off
- Remove A/C console ③ by removing all clips off
- Remove A/C connector ④ from A/C console
- Remove audio panel ⑤ by removing all 4 screws
- Remove all connectors ⑥ from the head unit.
- Remove all A/C control connectors ⑦ from A/C controller ⑨
- Remove bracket ⑧ both left and right sides of audio panel by removing all 10 screws (5 screws each side).
- Remove A/C controller ⑨ from audio panel by removing all clips off.
III Caution !!! Make sure that all the accessories are off so that you do not cause a spark
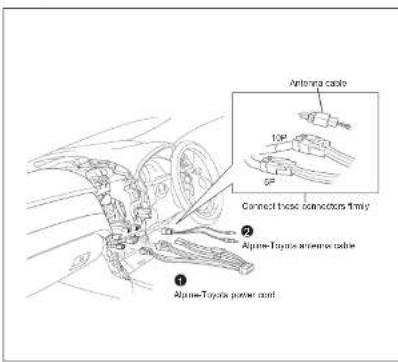
4 Harness Connection
-
Connect the Alpine-Toyota power cord ① into the car connectors both 10P and 6P.
-
Connect the Alpine-Toyota antenna cable ② into the car connectors.
!!! Caution !!!
Make connection between connectors tightly (until you hear "Click")
5 Bracket Assembly
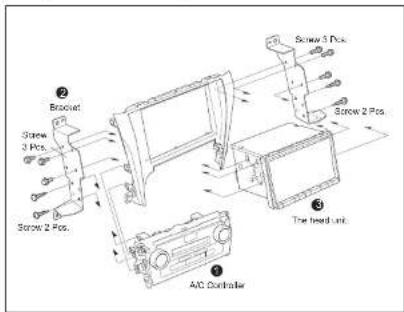
- Connect A/C controller ① with audio panel by pressing all clips tightly.
- Install bracket ② with audio panel both left and right sides by using 4 black screws (2 screws each side).
- Install the head unit ③ from rear side into audio panel by using 6 screws (3 screws each side).
6 Retracing Vehicle Parts
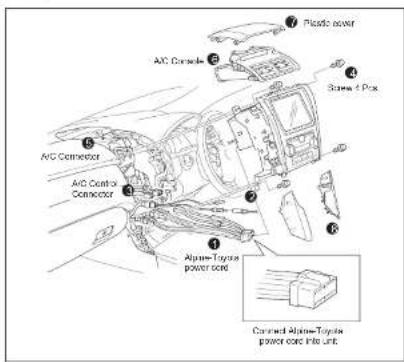
- Connect the Alpine-Toyota connector ① and the Alpine-toyota antenna cable ② into the head unit tightly until you hear "Click".
- Connect A/C Control connector ③ into A/C control tightly until you hear "Click".
- Drive 4 screws ④ to make it tight between the head unit and console.
- Connect A/C connector 5 with A/C console.
- Connect A/C console ⑥ into car console by pressing all clips to dash panel until you hear "click"
- Install plastic cover ⑦ by pressing all clips tightly into console.
- Install part no. 8 by pressing all clips tightly into console.
Remark
Perform full function checks for the head unit. If no problem found assemble back all the parts to their original position.