TH-32-60-UTM - Veggfeste Atdec - Gratis bruksanvisning og manual
Finn enhetens veiledning gratis TH-32-60-UTM Atdec i PDF-format.

Brukerspørsmål om TH-32-60-UTM Atdec
0 spørsmål om dette apparatet. Svar på dem du kjenner, eller still ditt eget.
Still et nytt spørsmål om dette apparatet
Last ned instruksjonene for din Veggfeste i PDF-format gratis! Finn veiledningen din TH-32-60-UTM - Atdec og ta den elektroniske enheten tilbake i hendene. På denne siden er alle dokumenter som er nødvendige for bruken av enheten din publisert. TH-32-60-UTM av merket Atdec.
BRUKSANVISNING TH-32-60-UTM Atdec
Installation Instructions
TELEHOOK
32"-60" WALL FIXED
Important Notes
- The Telehook 32-60 Wall Fixed supports LCD and Plasma Flat Panel Displays from 32" (81cm) to 60" (152cm) and supports a maximum load of 91kgs (200lbs).
- This product suits displays with mounting hole patterns from 180mm to 740mm wide (7"-29") by 93mm to 500mm high (3 ^11/16 "-20").
- The manufacturer does not accept responsibility for incorrect installation.
Component Checklist
natural_image
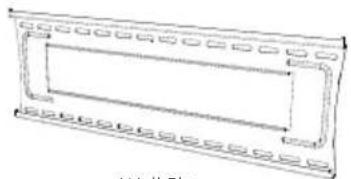
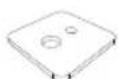
Simple line drawing of a rectangular frame with internal compartments and no text or symbolsWall Plate
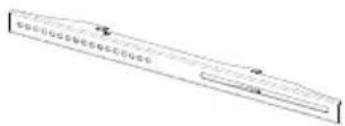
Display Bracket (x2)
TOOLS REQUIRED:
- Power Drill
- 12mm or 8mm Drill Bit
• Phillips Head Screw Driver - Spirit Level
- 17mm (11/16") Socket Wrench or Shifter
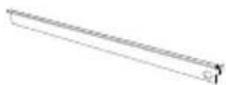
Security Bracket (right)
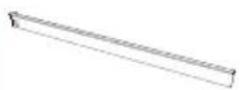
Security Bracket (left)
Bits Bag
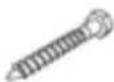
Coach Screw (x4)

Washer (x4)
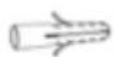
Masonry Wall Plug (x4)
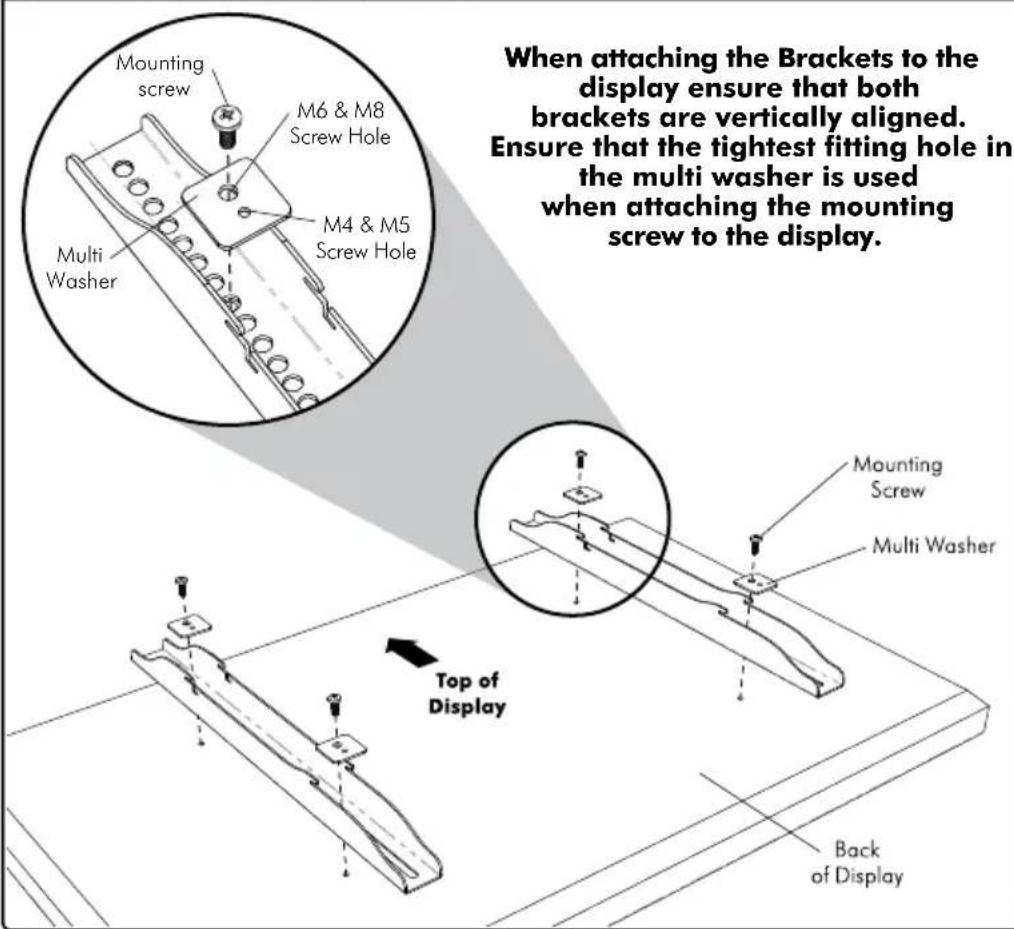
Multi Washer (x4)

Recessed Hole Bush (x4)

Spacer Bush (x4)
Mounting Screws
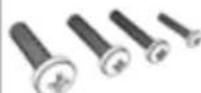
Cross Recess Screws
M8x15mm / M8x35mm / M8x45mm (x4 each)
M6x15mm / M6x35mm / M6x45mm (x4 each)
M5x15mm / M5x35mm / M5x45mm (x4 each)
M4x15mm / M4x35mm / M4x45mm (x4 each)
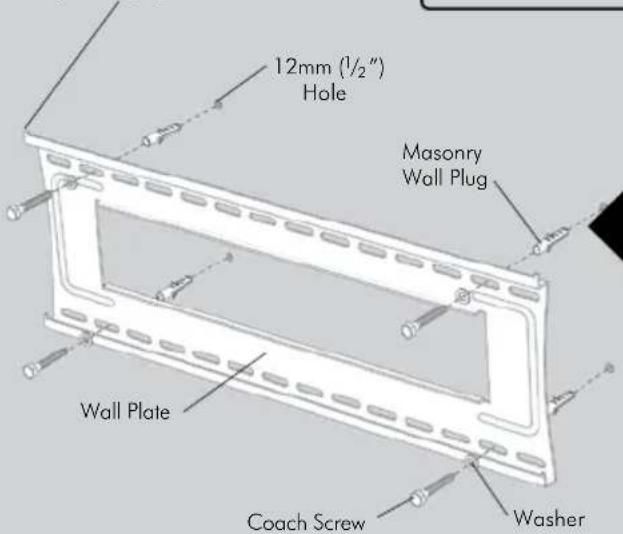
Ⓐ Mounting the Wall Plate
Masonry Wall
Note: Ensure the Wall Plate is mounted with the folded tabs pointing upwards.
TIP: Use a spirit level to ensure the wall plate is horizontal
OR
Timber Stud Wall
Note: Ensure the Wall Plate is mounted with the folded tabs pointing upwards.
TIP: Use a spirit level to ensure the wall plate is horizontal
8mm (5/16") Hole
Timber Stud
Wall Plate
Coach Screw
Washer
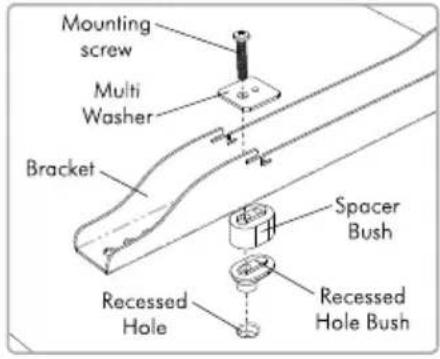
⑧ Mounting the Display Brackets
Recessed Mounting Holes If the mounting holes are recessed into the back of the display, use the supplied Recessed Hole Bushes to pack the recessed hole. If the brackets require further clearance from the display, attach the Spacer Bushes. Ensure that the brackets are securely fixed to the display.
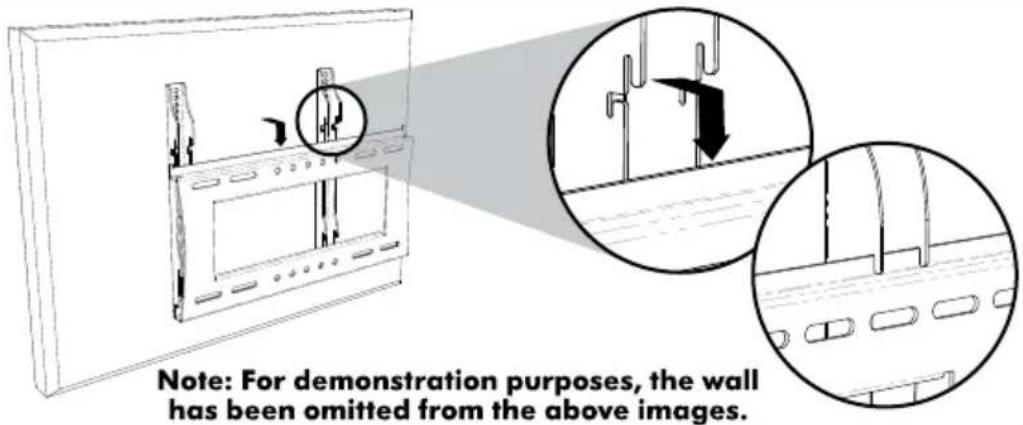
© Attaching the display to the wall plate
Note: This procedure will require two persons
With the Brackets attached to the display, lift the display and hook the brackets onto the Wall Plate as shown.
D Security Option
Note: For demonstration purposes, the display has been omitted from the images below.
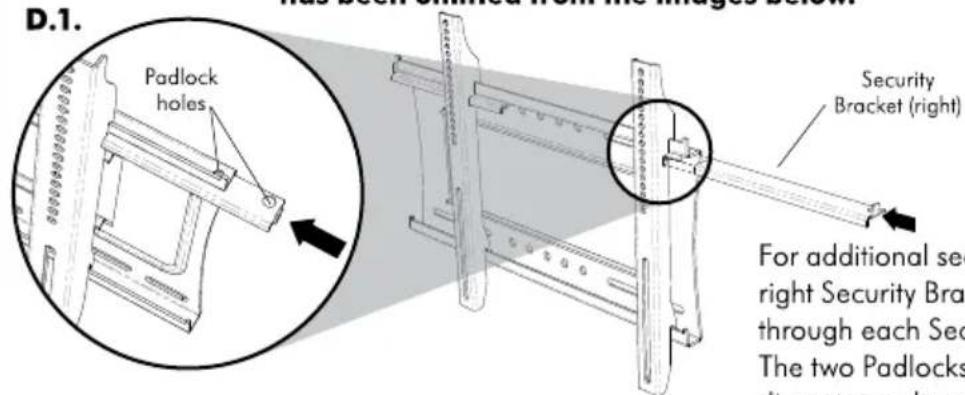
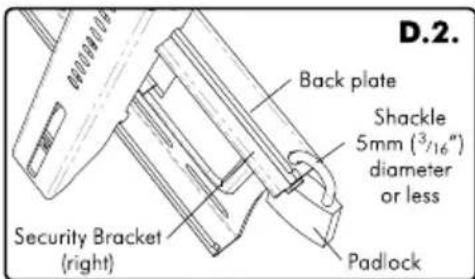
For additional security, it is suggested that the left and right Security Brackets be inserted and a Padlock attached through each Security Bracket and the Wall Plate as shown. The two Padlocks (not supplied) should have a shackle diameter no larger than 5mm ( ^3/16 ).