70-1000 - Ukategorisert Metra - Gratis bruksanvisning og manual
Finn enhetens veiledning gratis 70-1000 Metra i PDF-format.

Brukerspørsmål om 70-1000 Metra
0 spørsmål om dette apparatet. Svar på dem du kjenner, eller still ditt eget.
Still et nytt spørsmål om dette apparatet
Last ned instruksjonene for din Ukategorisert i PDF-format gratis! Finn veiledningen din 70-1000 - Metra og ta den elektroniske enheten tilbake i hendene. På denne siden er alle dokumenter som er nødvendige for bruken av enheten din publisert. 70-1000 av merket Metra.
BRUKSANVISNING 70-1000 Metra
Receiver Wiring Adaptor
IMPORTANT
120 70-1000
Before starting, compare items on your invoice with items received. Thoroughly check packing materials. If an item is missing, please call Crutchfield at 1-888-955-6000.
Revision 09/29/16
STEP 1 -- MATCH & CONNECT WIRES
A. Match wires below to the matching function of each wire on your receiver (refer to instructions supplied with receiver). The wire colors of your new receiver may, or may not, match the wire colors of the adaptor. Match adaptor and receiver wires by function, disregarding color.
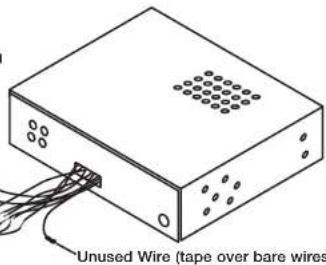
B. Connect the illumination wire from the new receiver to the illumination wire in the wiring adaptor. Tape off the Orange/White (dimmer wire) as it is not used. Tape off both wires individually if the new receiver does not have an illumination or dimmer wire.
C. Individually tape off any unused wires.
D. Make final wiring connections following instructions on the next page.
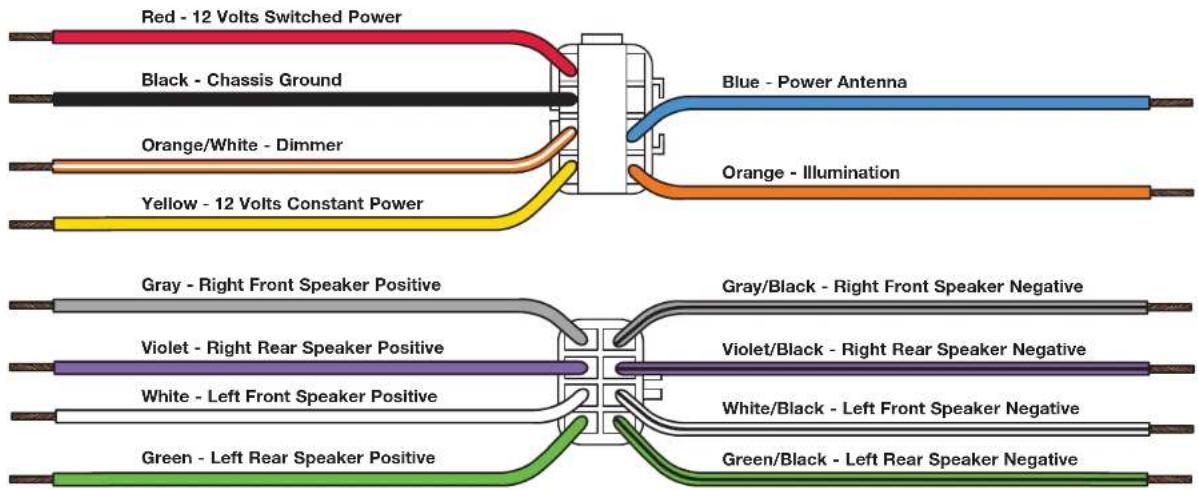
Receiver Wiring Adaptor Connections
120 70-1000
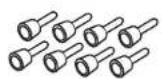
STEP 2 -- CRIMP CONNECTIONS
Tools & Parts Required ▶
Wire Stripper/Crimp Tool Crimp Caps
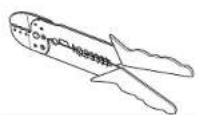
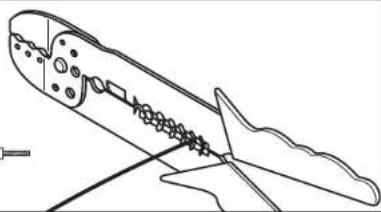
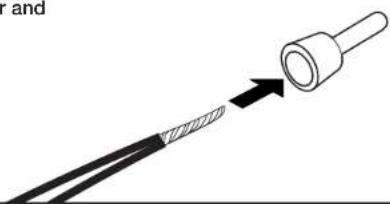
A. Strip wires back 1/2".

natural_image
Line drawing of a mechanical component with internal gear-like structure (no text or symbols)B. Twist wires together and insert in crimp cap.
natural_image
Diagram showing a cable being inserted into a plug, with an arrow indicating the process (no text or symbols present)C. Squeeze middle of cap for tight connection.

STEP 2 -- CONTINUED
D. Complete crimp connections for all necessary wires.
E. Be sure to wrap any wires from the Wiring Adaptor that are not necessary (wires with no match from the new receiver) with electrical tape.
Receiver Wiring Adaptor
Generic Illustration
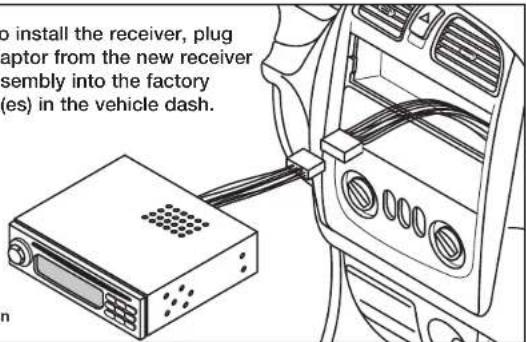
STEP 3 -- APPLICATION
When ready to install the receiver, plug the Wiring Adaptor from the new receiver or receiver assembly into the factory radio harness(es) in the vehicle dash.
Generic Illustration
CRUTCHFIELD
Copyright 2016 Crutchfield Corporation